Leaderboard


Popular Content
Showing content with the highest reputation on 09/25/2021 in Posts
-
Once cured the front assembly could then be installed using C/A glue. Simples! You could also tint the lenses by using Uhu glue to stick a small piece of acetate to thew inside. Sent from my SM-G950F using Tapatalk3 points
-
TK-85421 Requesting HWT EIB Status (ATA) For your consideration: EIB Application = No 9 Costume = Heavy Weapons Trooper Costume CRL Link = https://databank.501st.com/databank/Costuming:TK_hwt Name = Glen "Q" Rhodes TKID = 85421 Forum Name = gmrhodes13 Legion Profile = https://www.501st.com/members/displaymember.php?userID=15264&costumeID=122 Garrison/Squad = Desert Scorpion Garrison Armor = ATA Helmet = ATA Blaster = Scratch build & Doopy Doo's Pauldron = Self made Pouches = Self made Pack = Self made Height = 5'11" Weight = 78kg Grip reflection2 points
-
Thank you Andrew, this armor was payment I received for a commission build I recently completed, so it was basically complete, just needed to bring it up to L3 standards. I never took my HWT to the higher levels, thought it was about time2 points
-
Hello Christoph, thanks for offering me your help, I will surely come back to it. Nice to know that there are others hanging around close to where I live.2 points
-
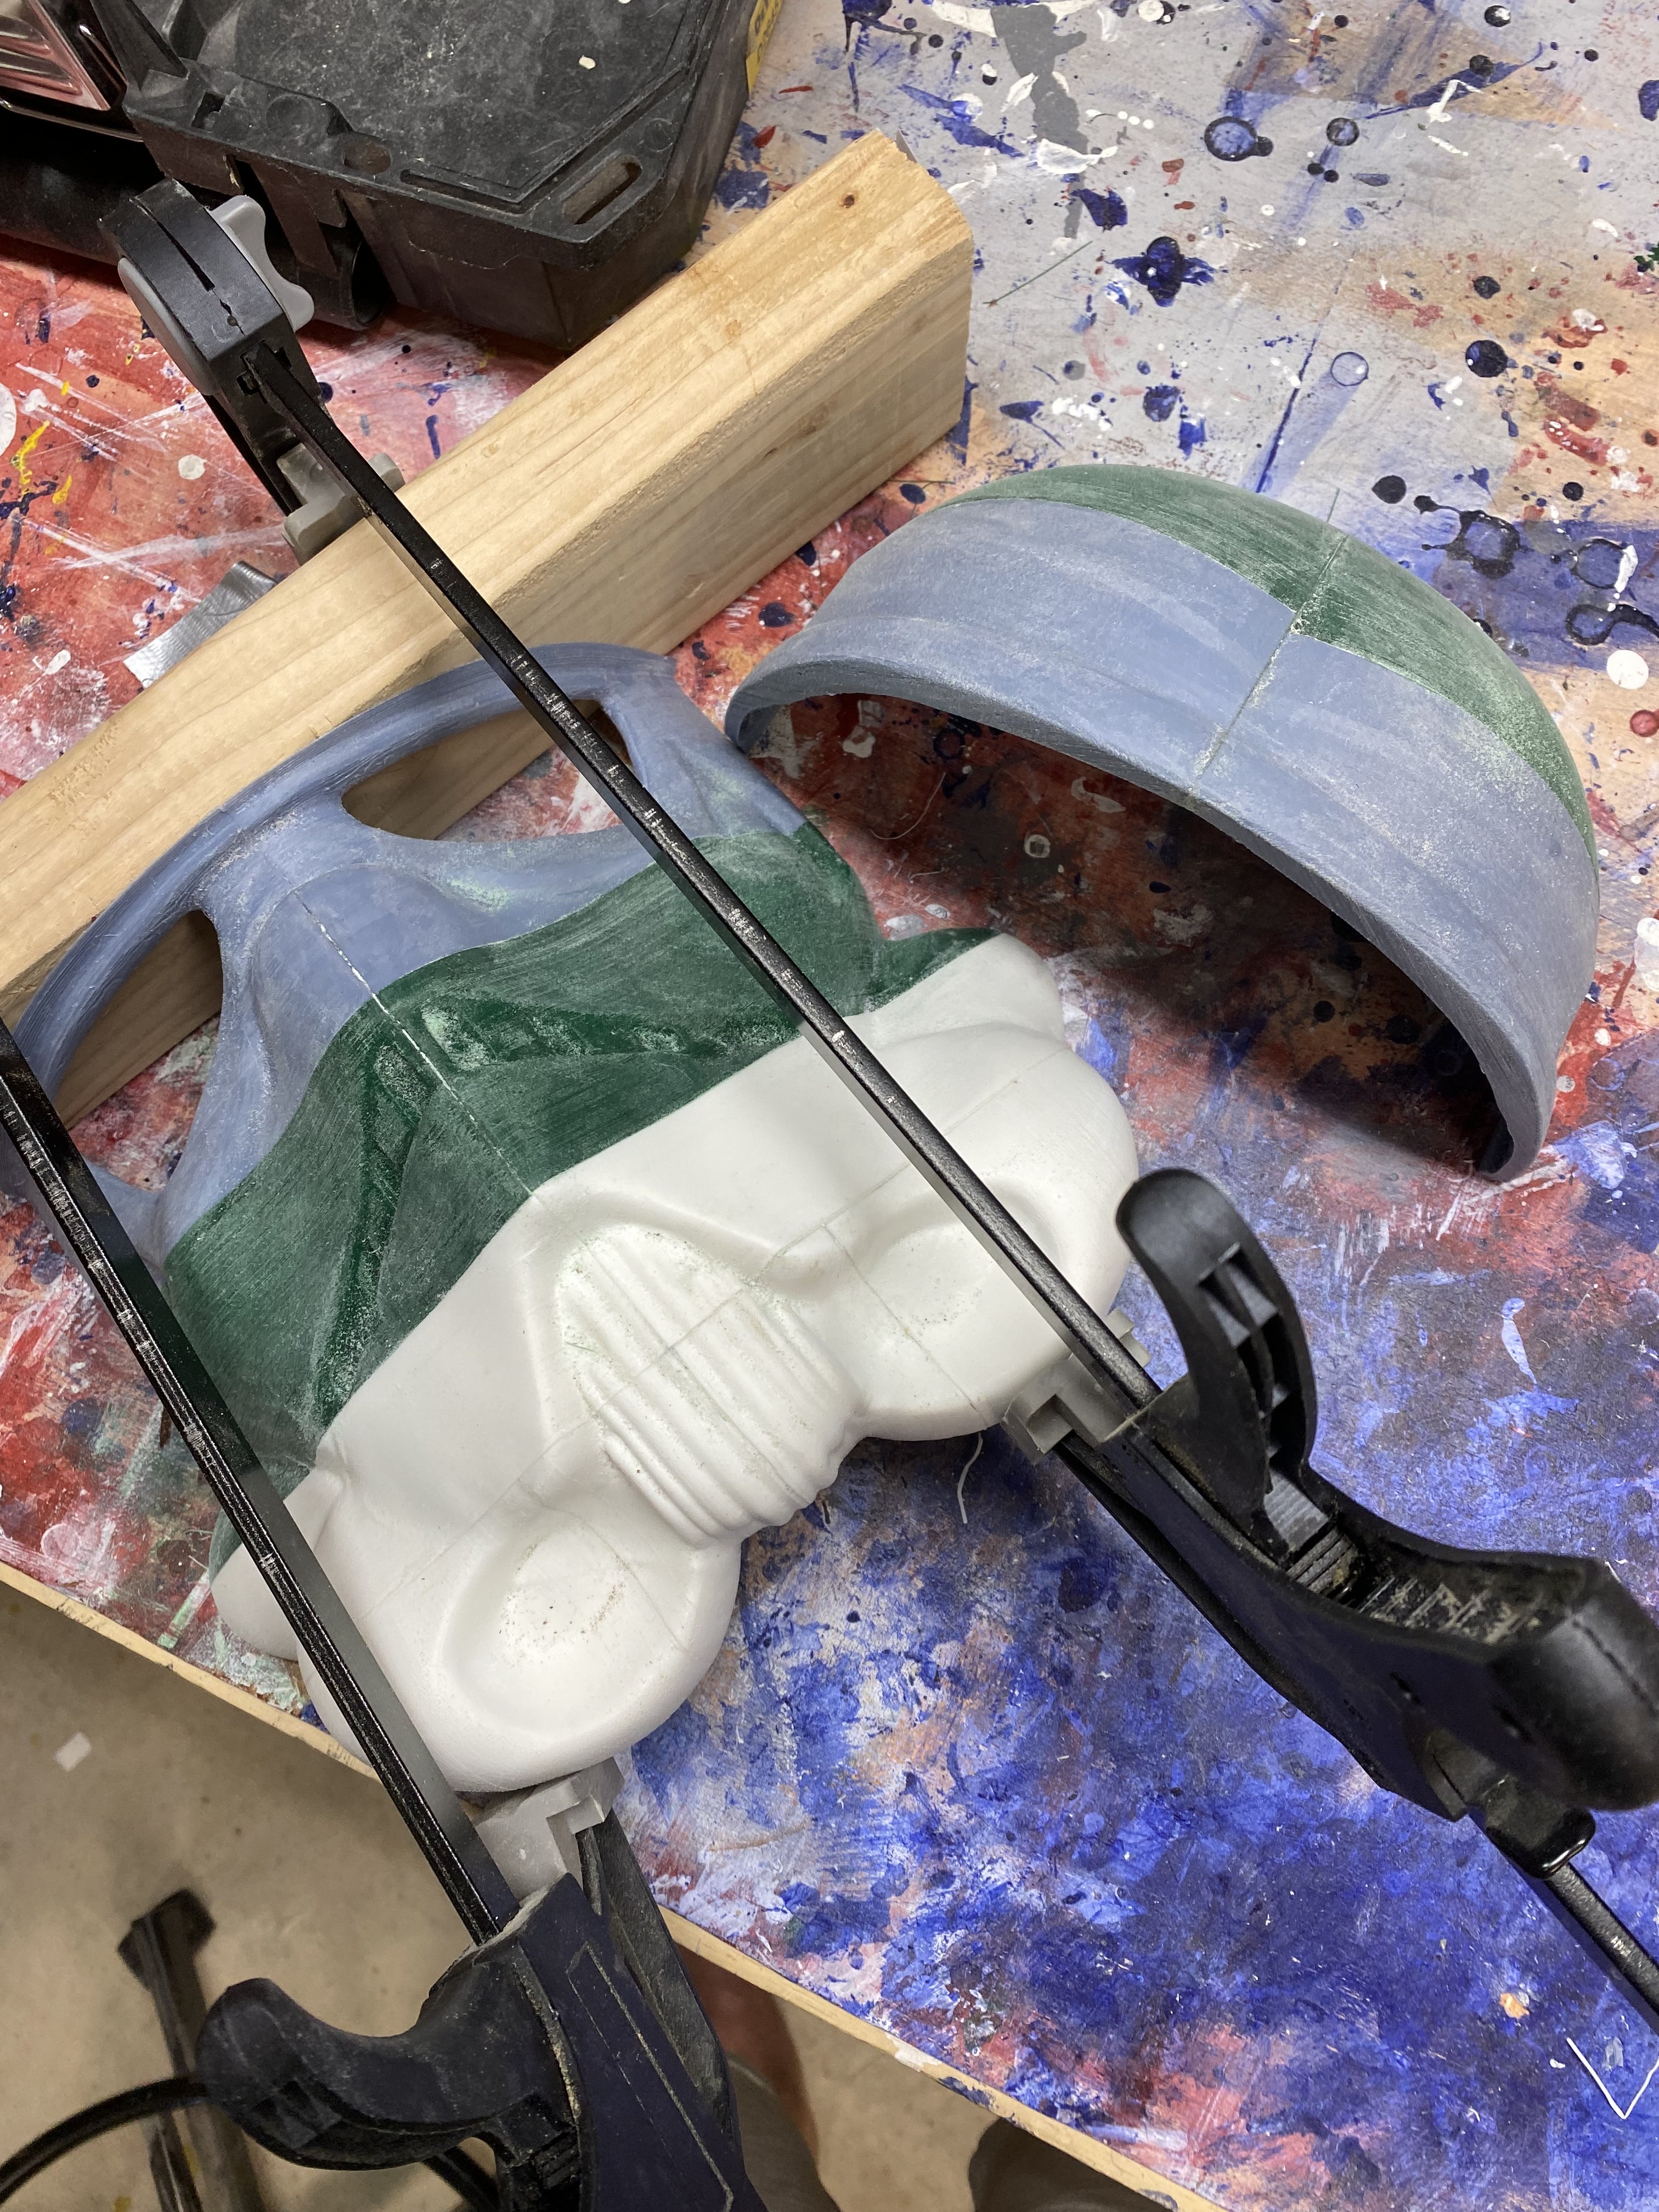
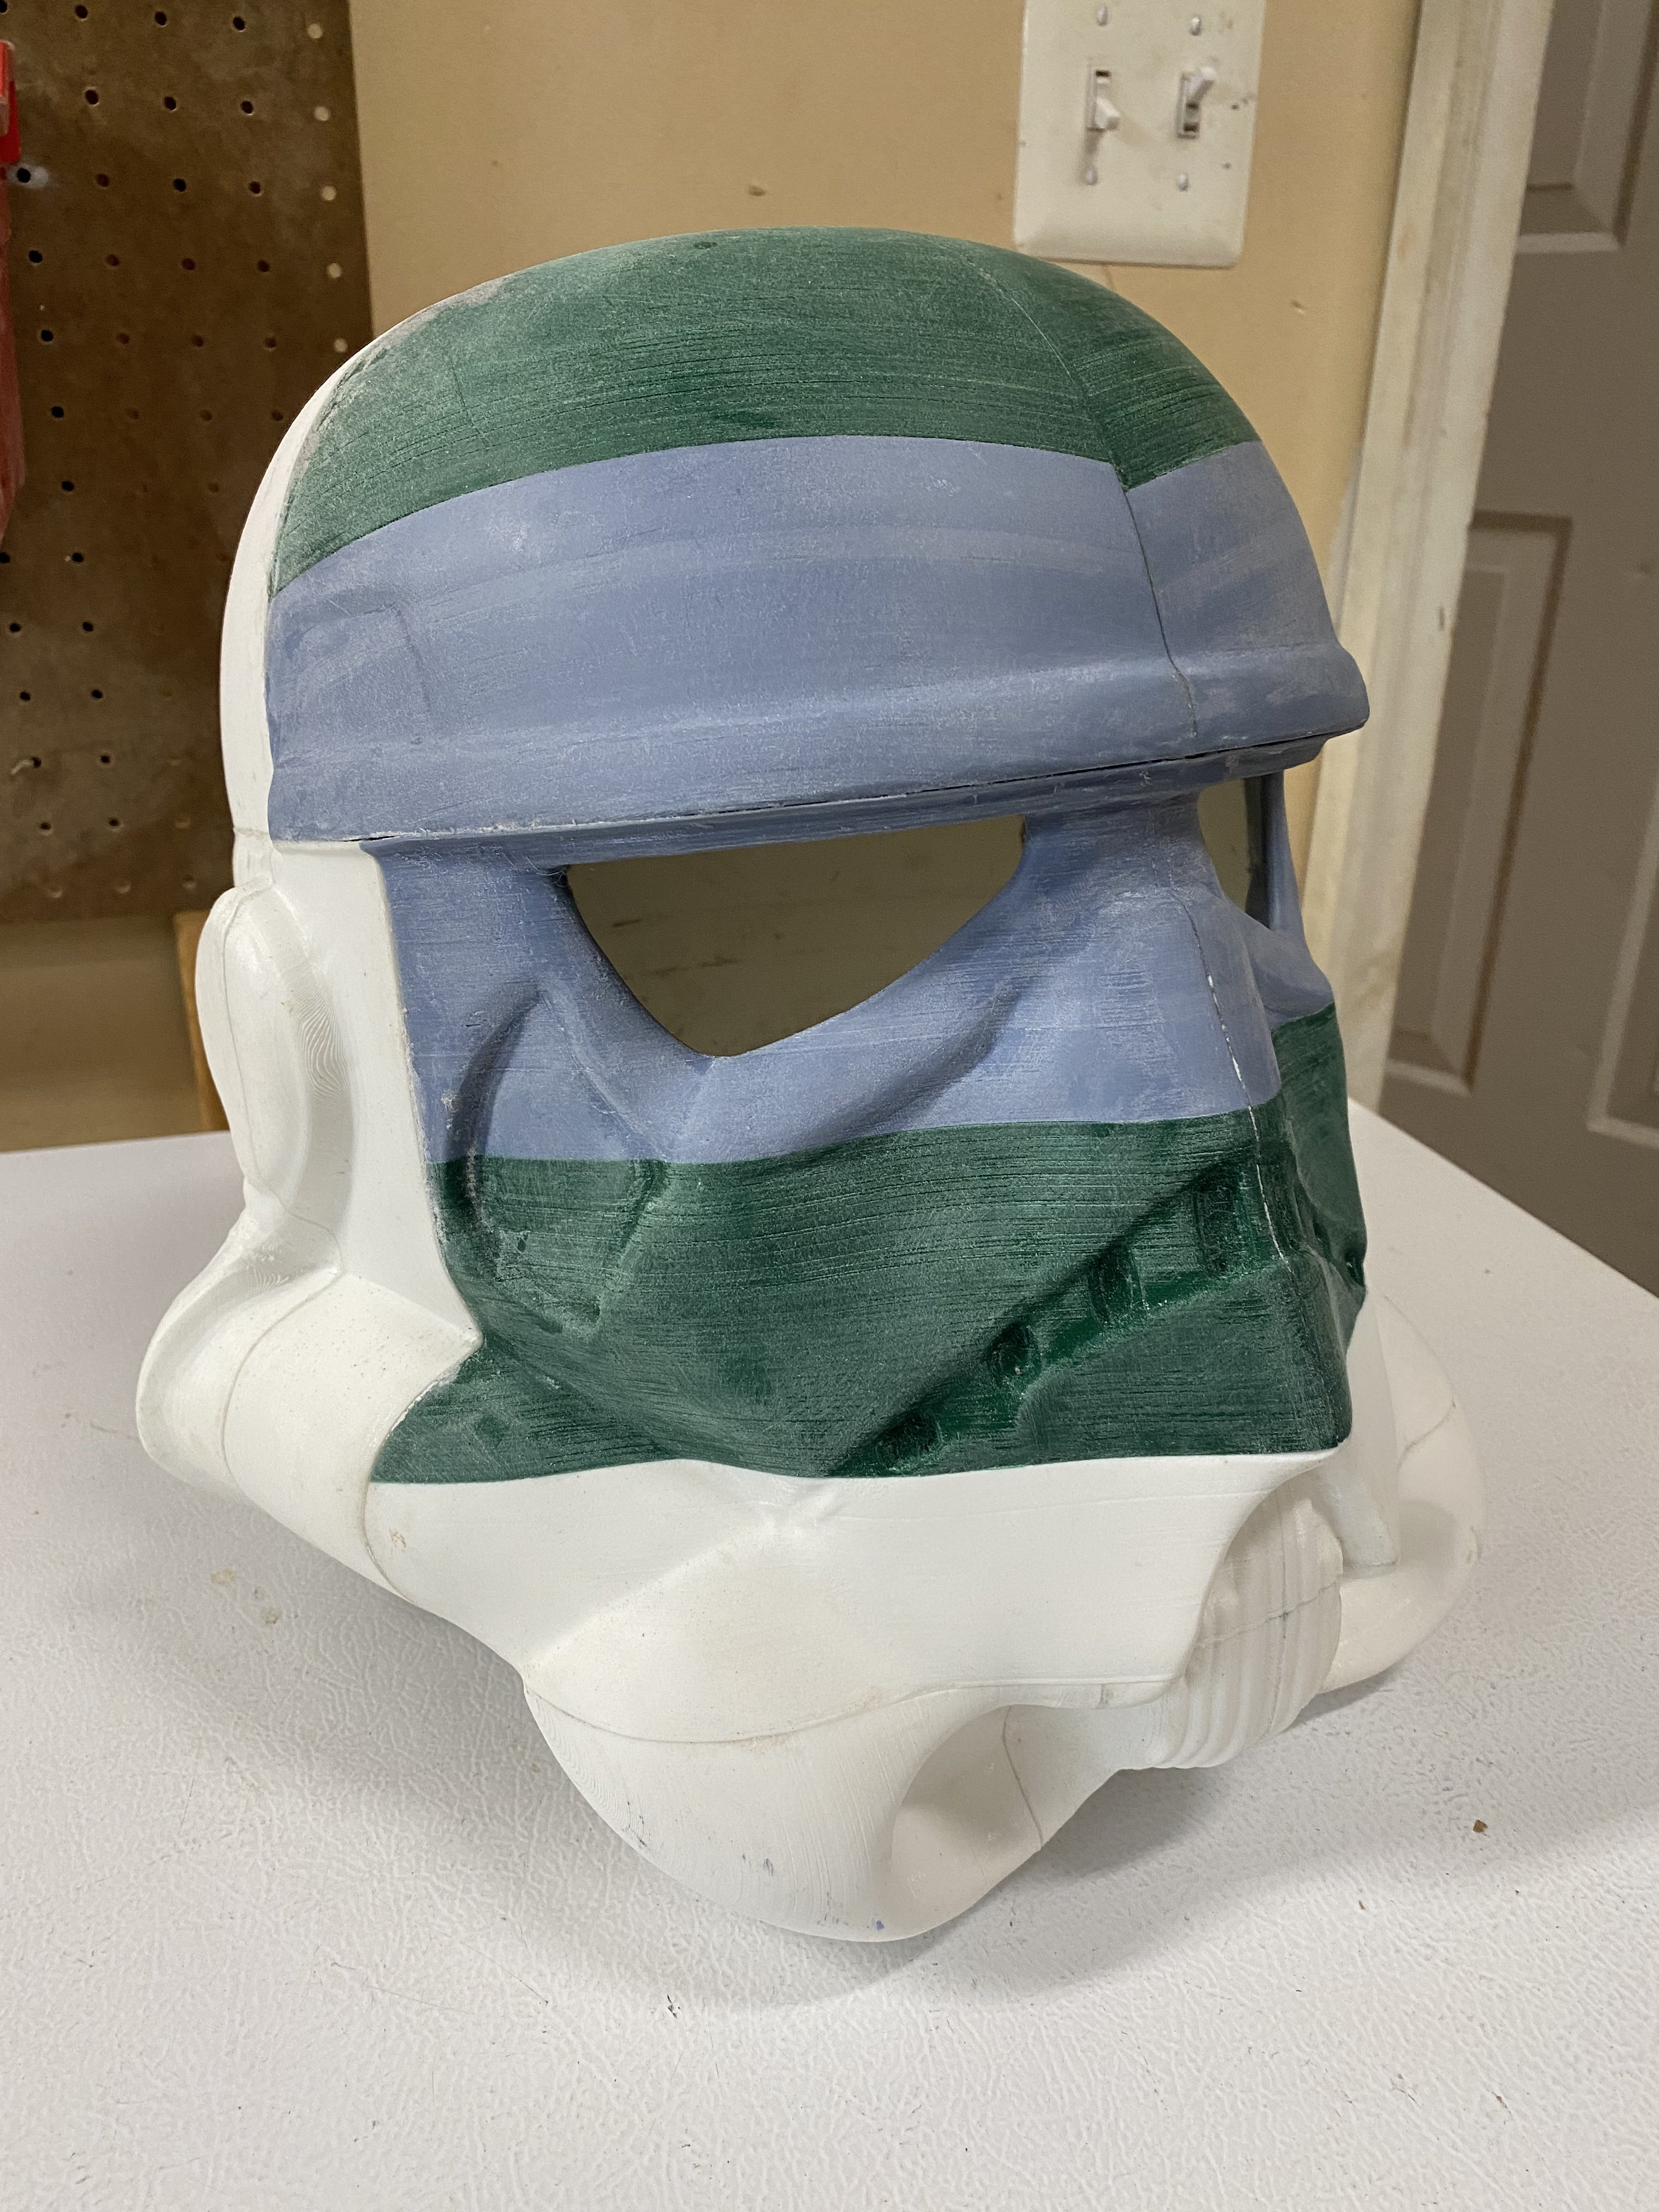
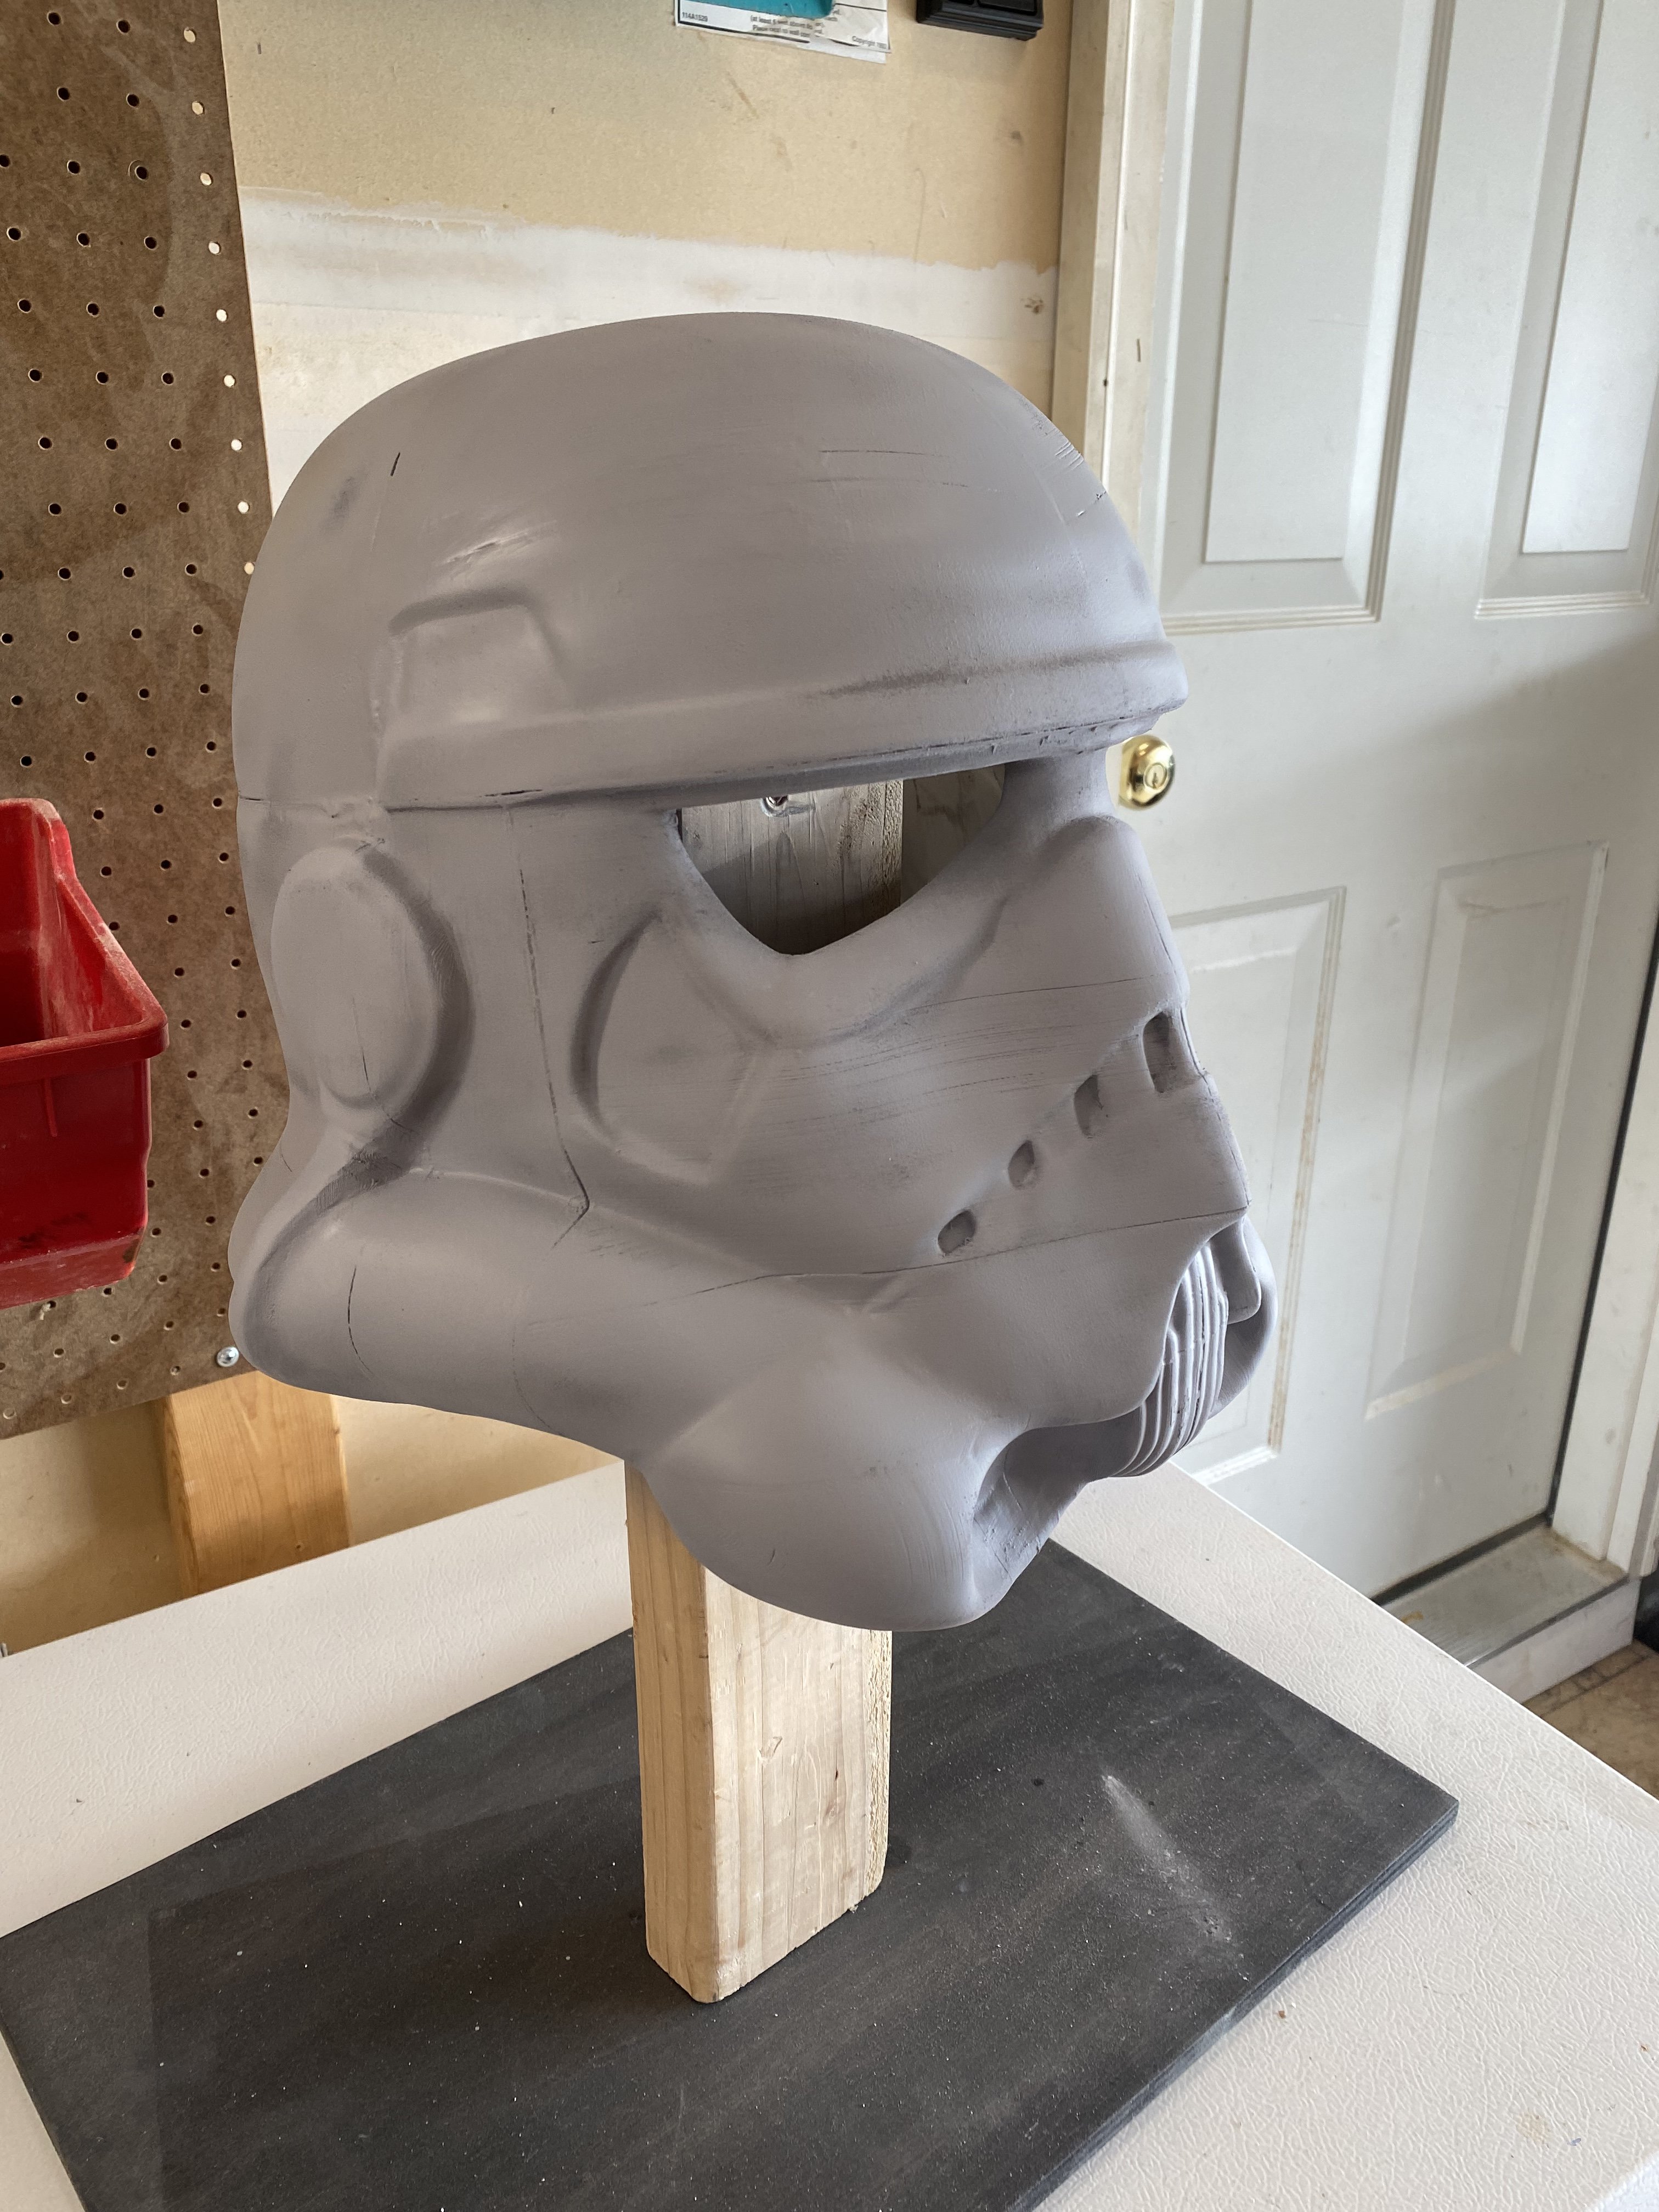
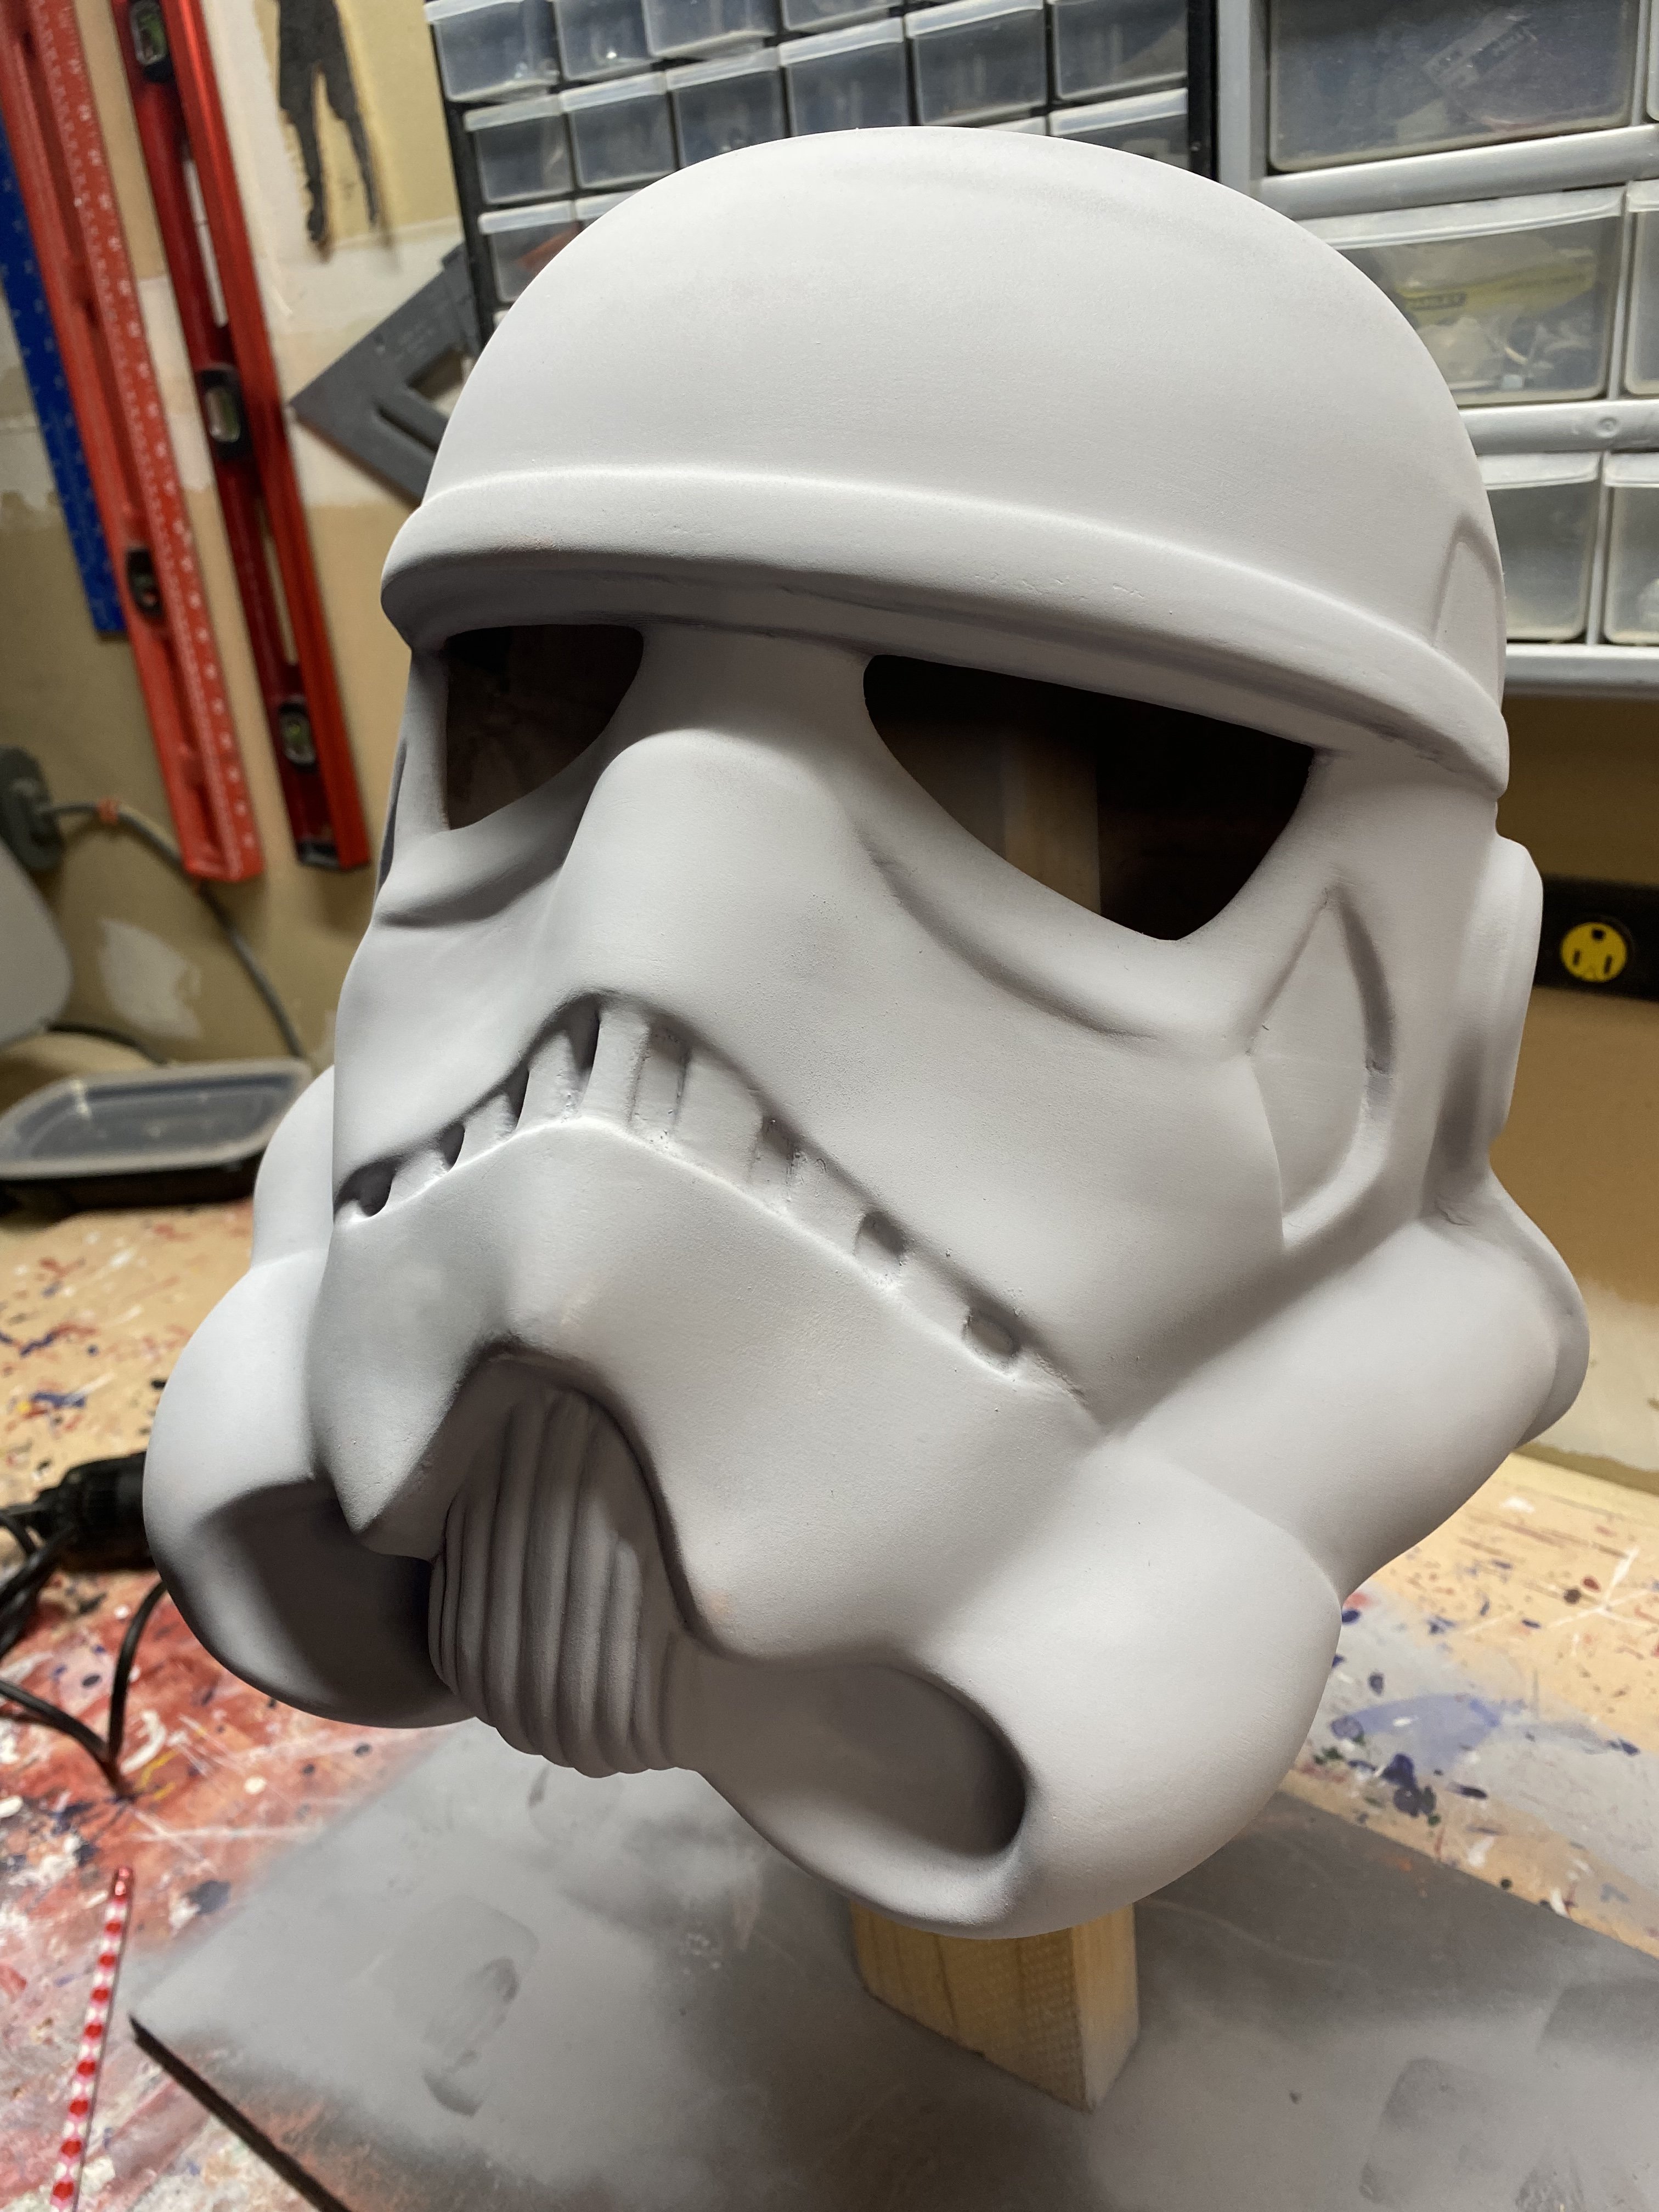
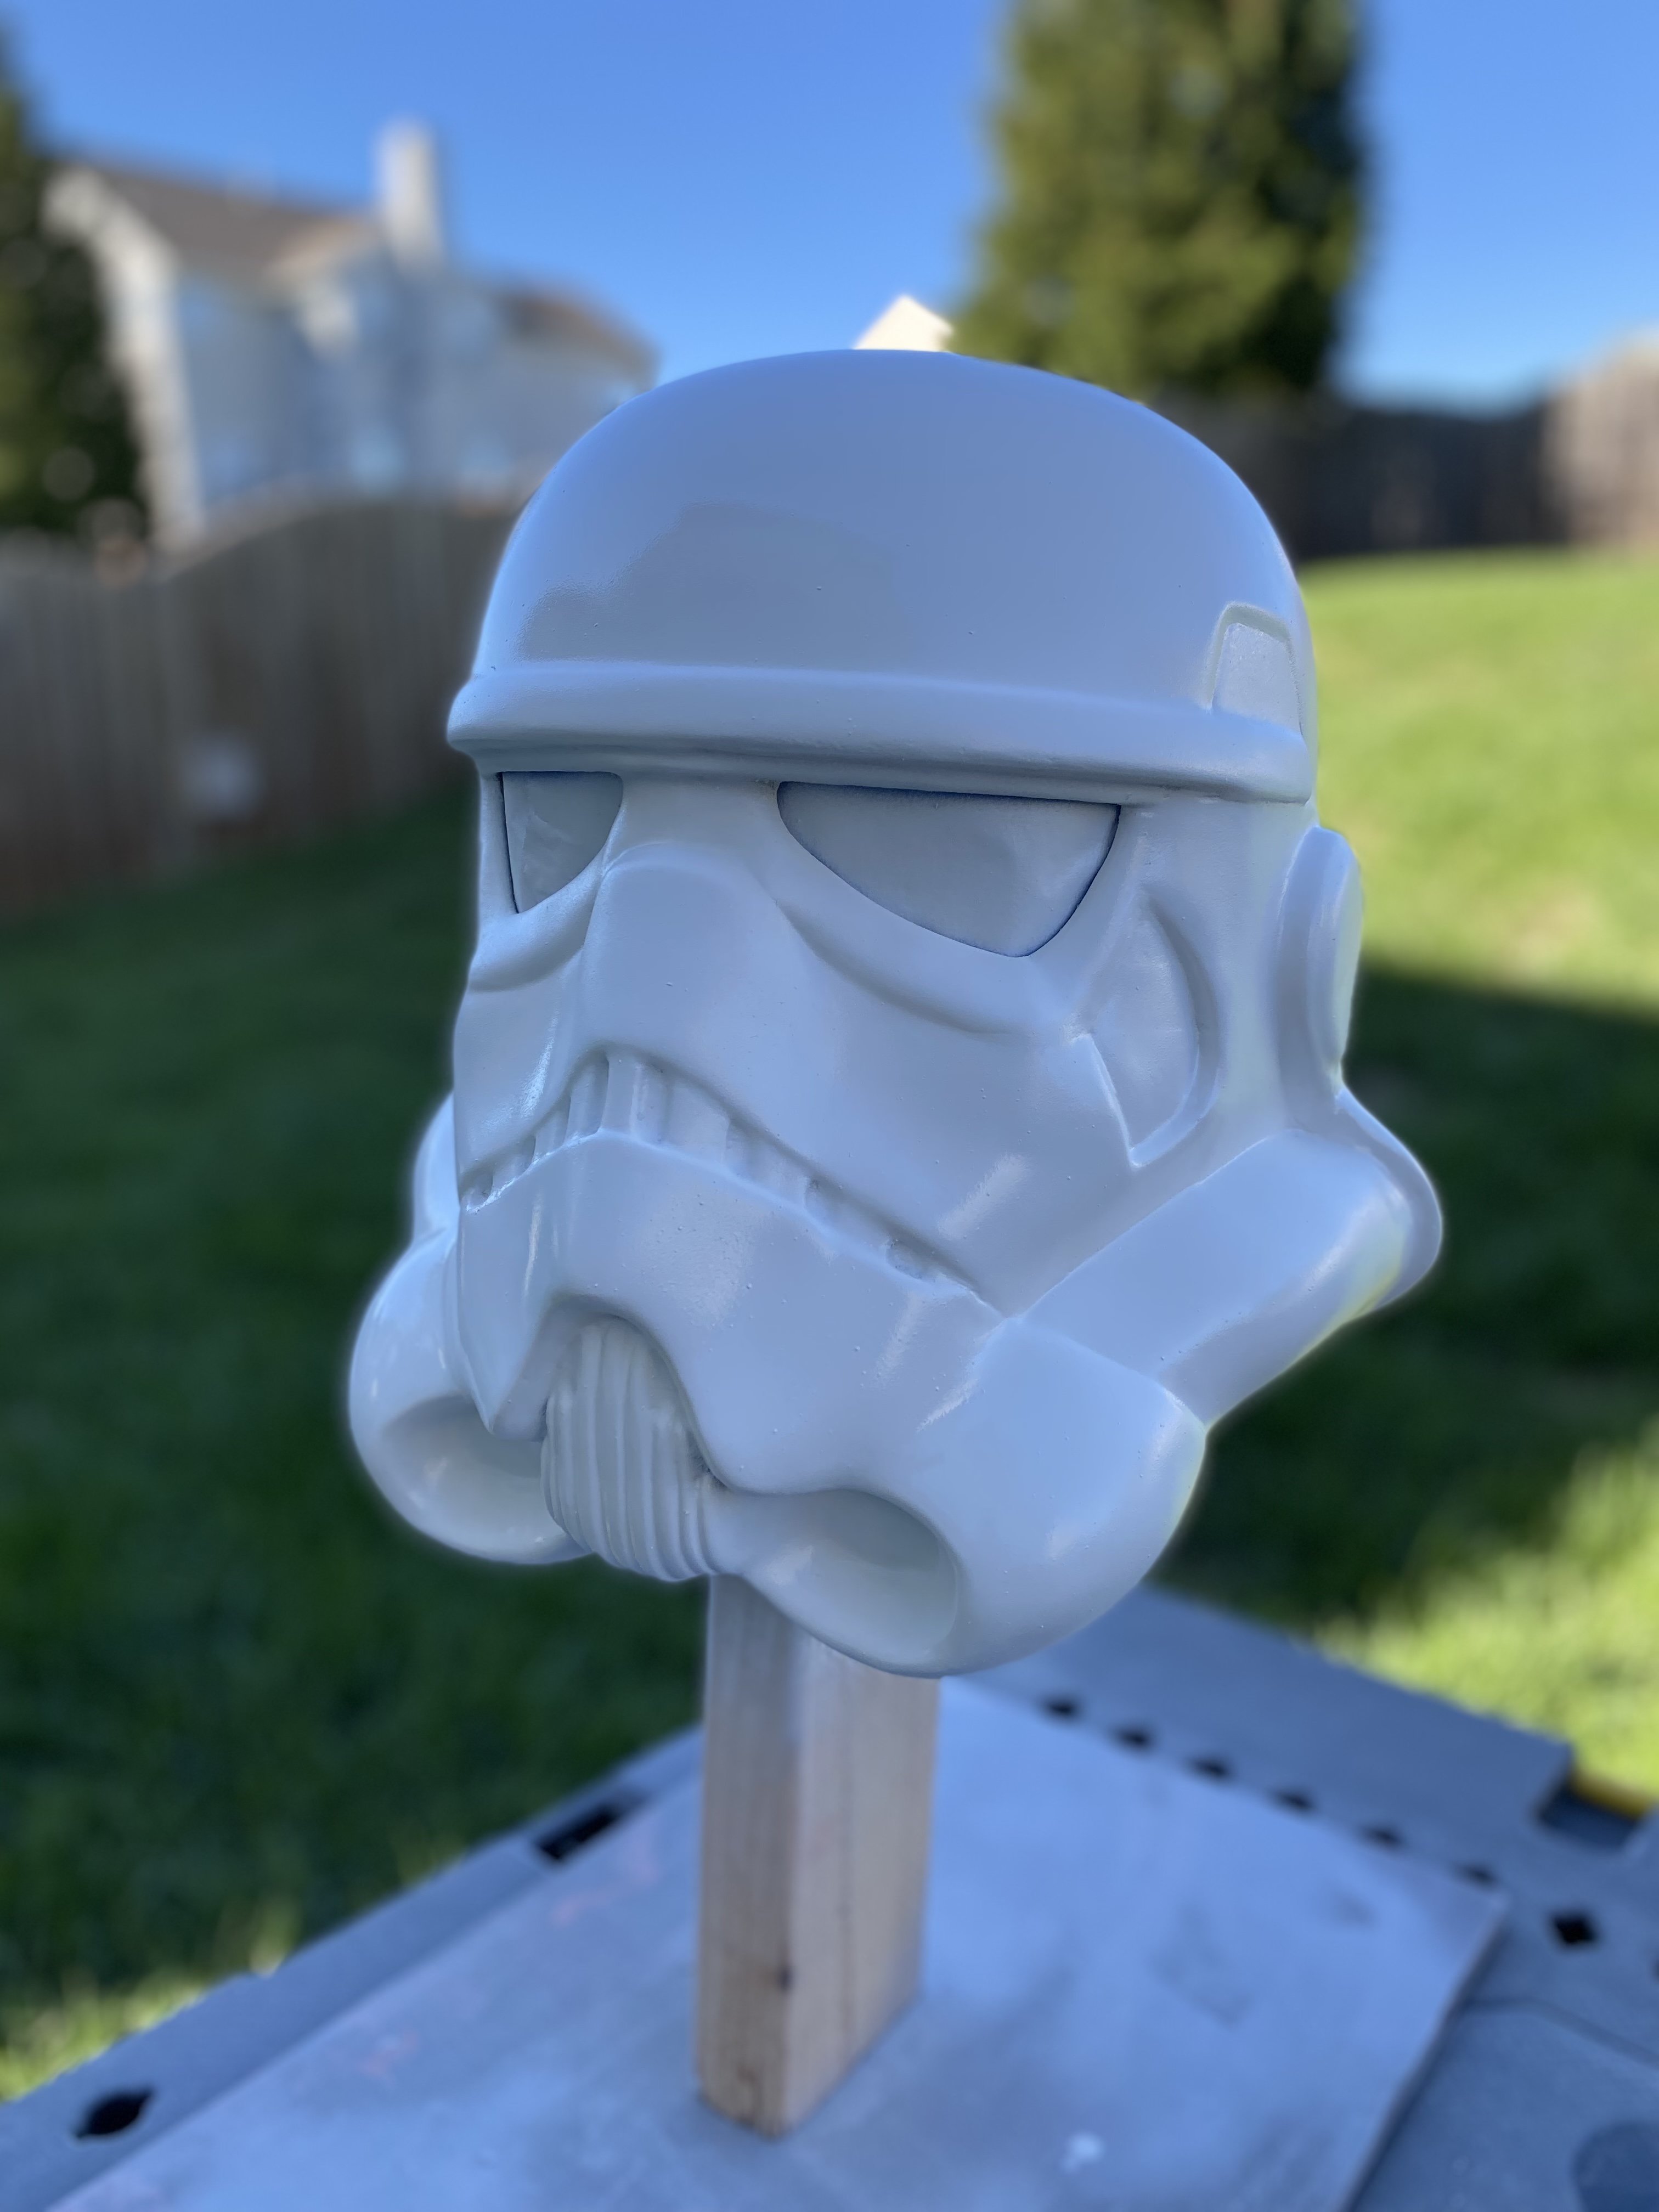
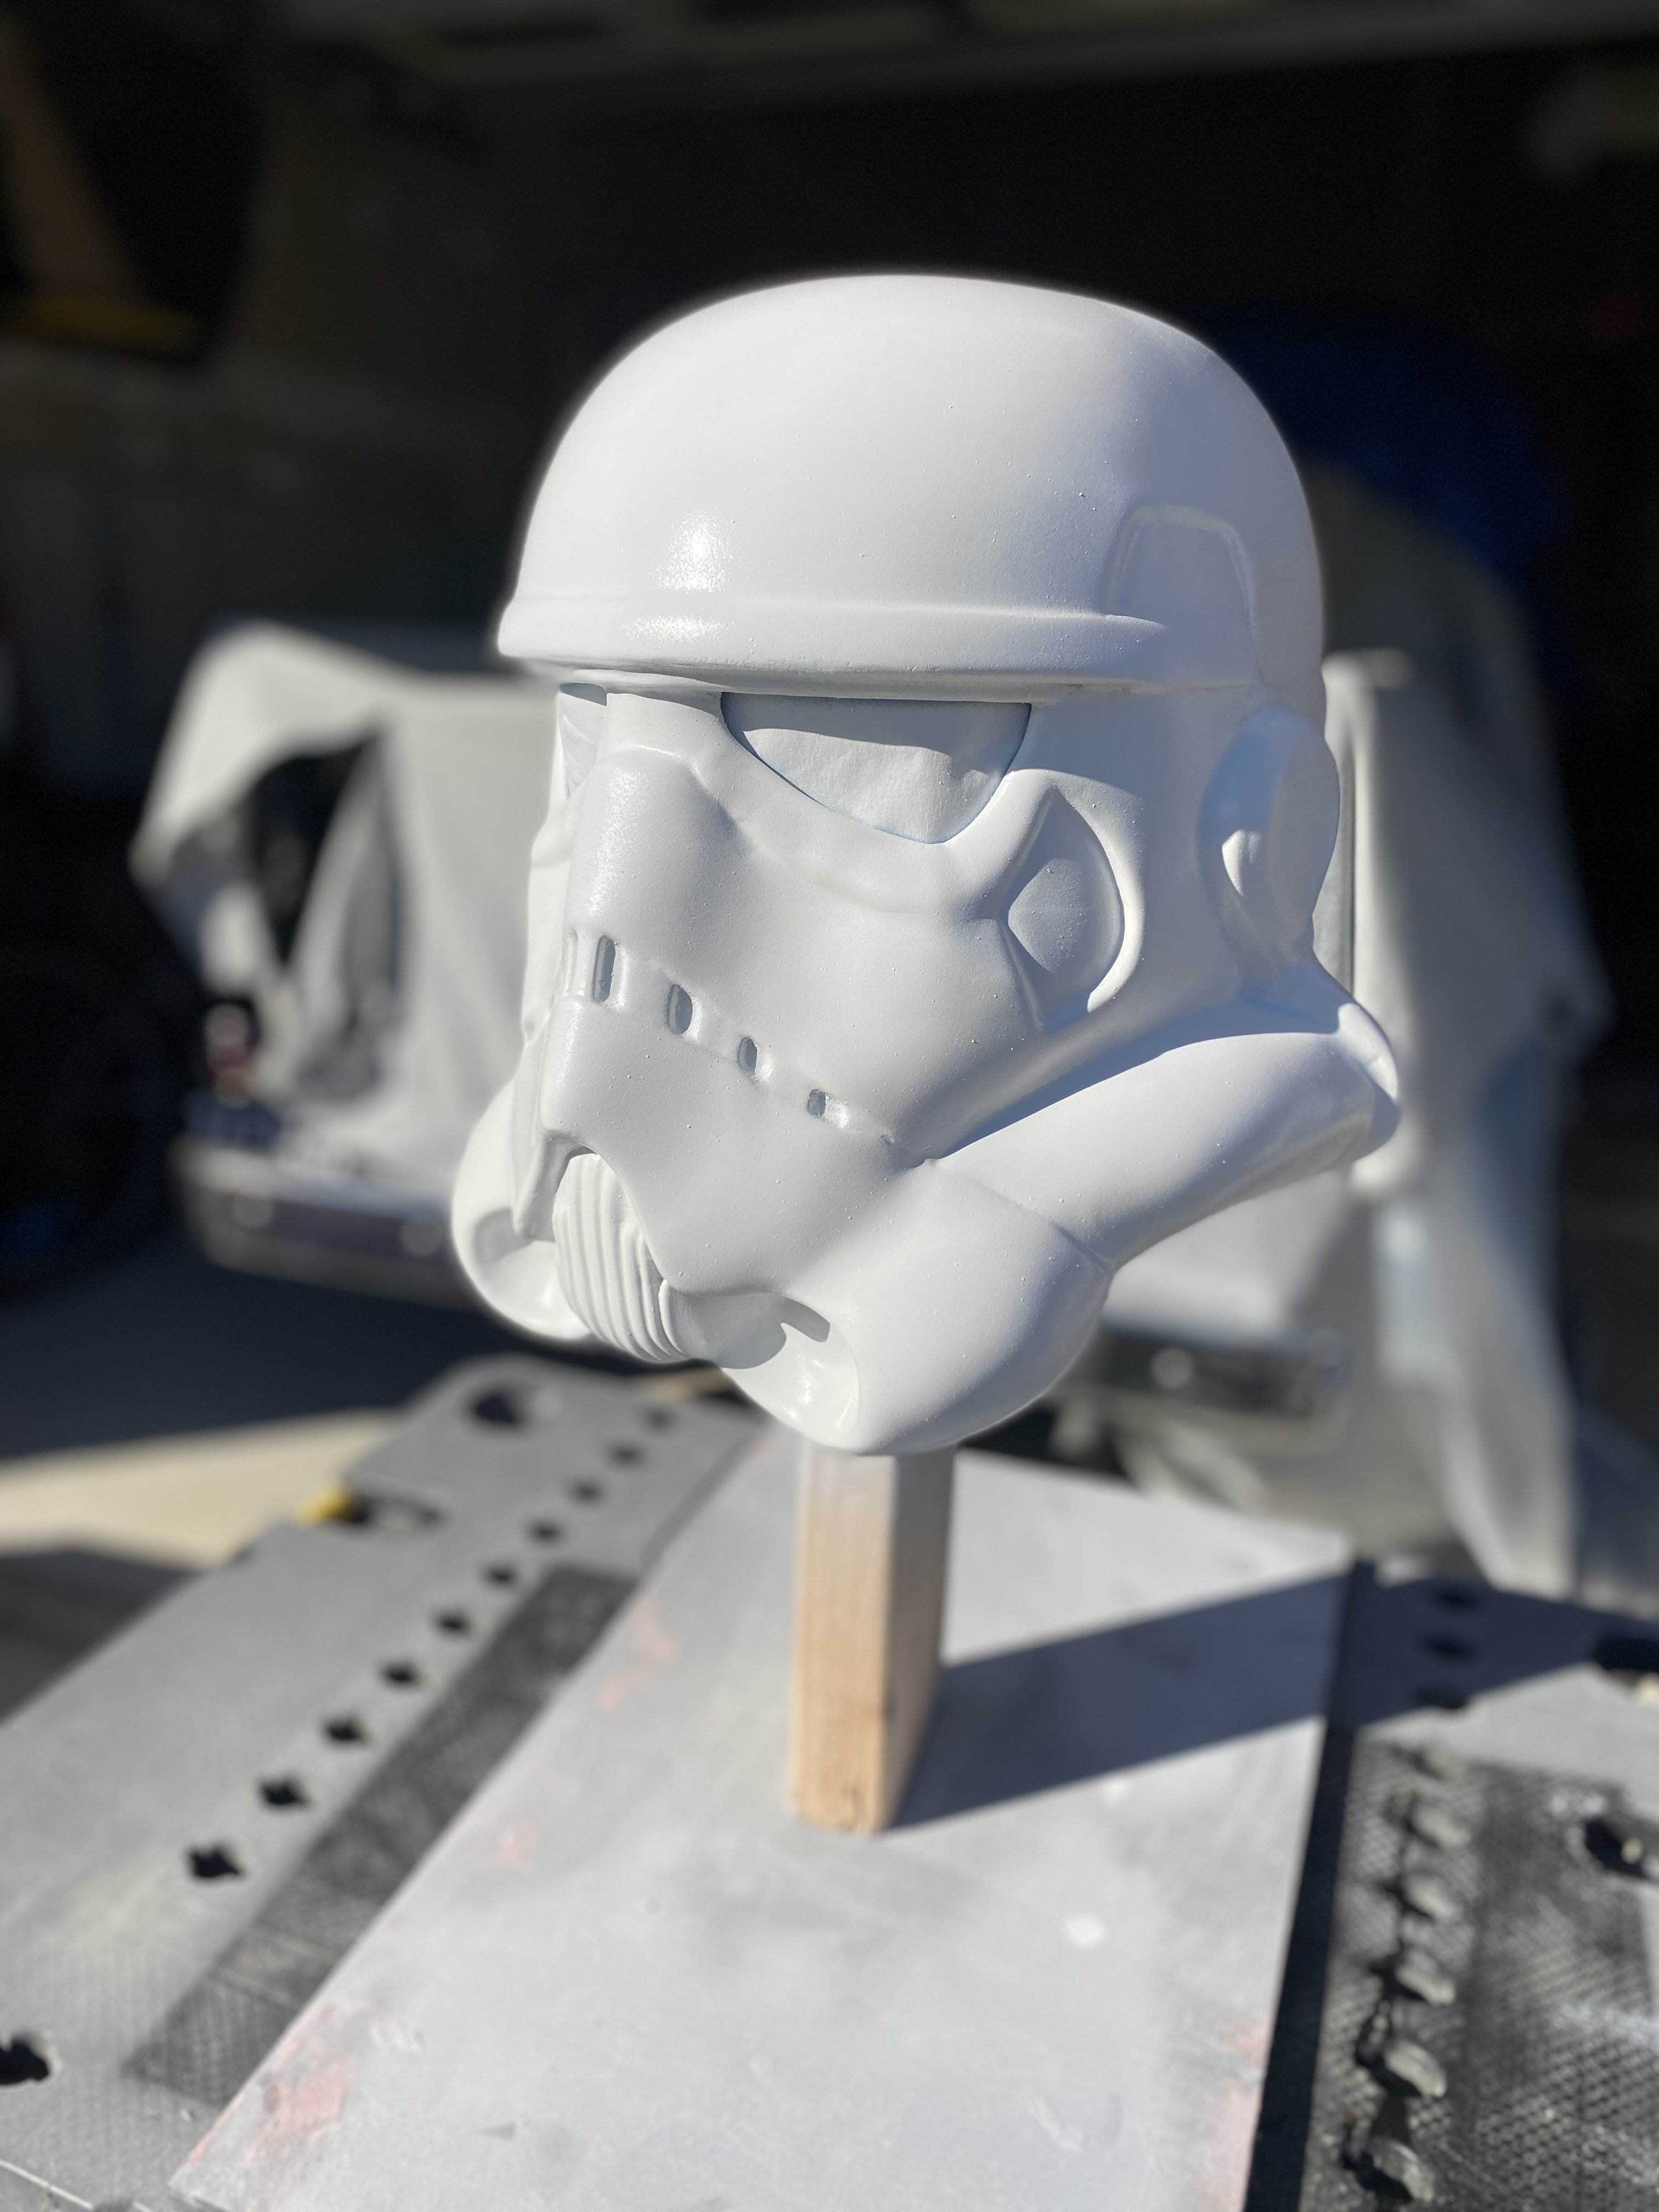
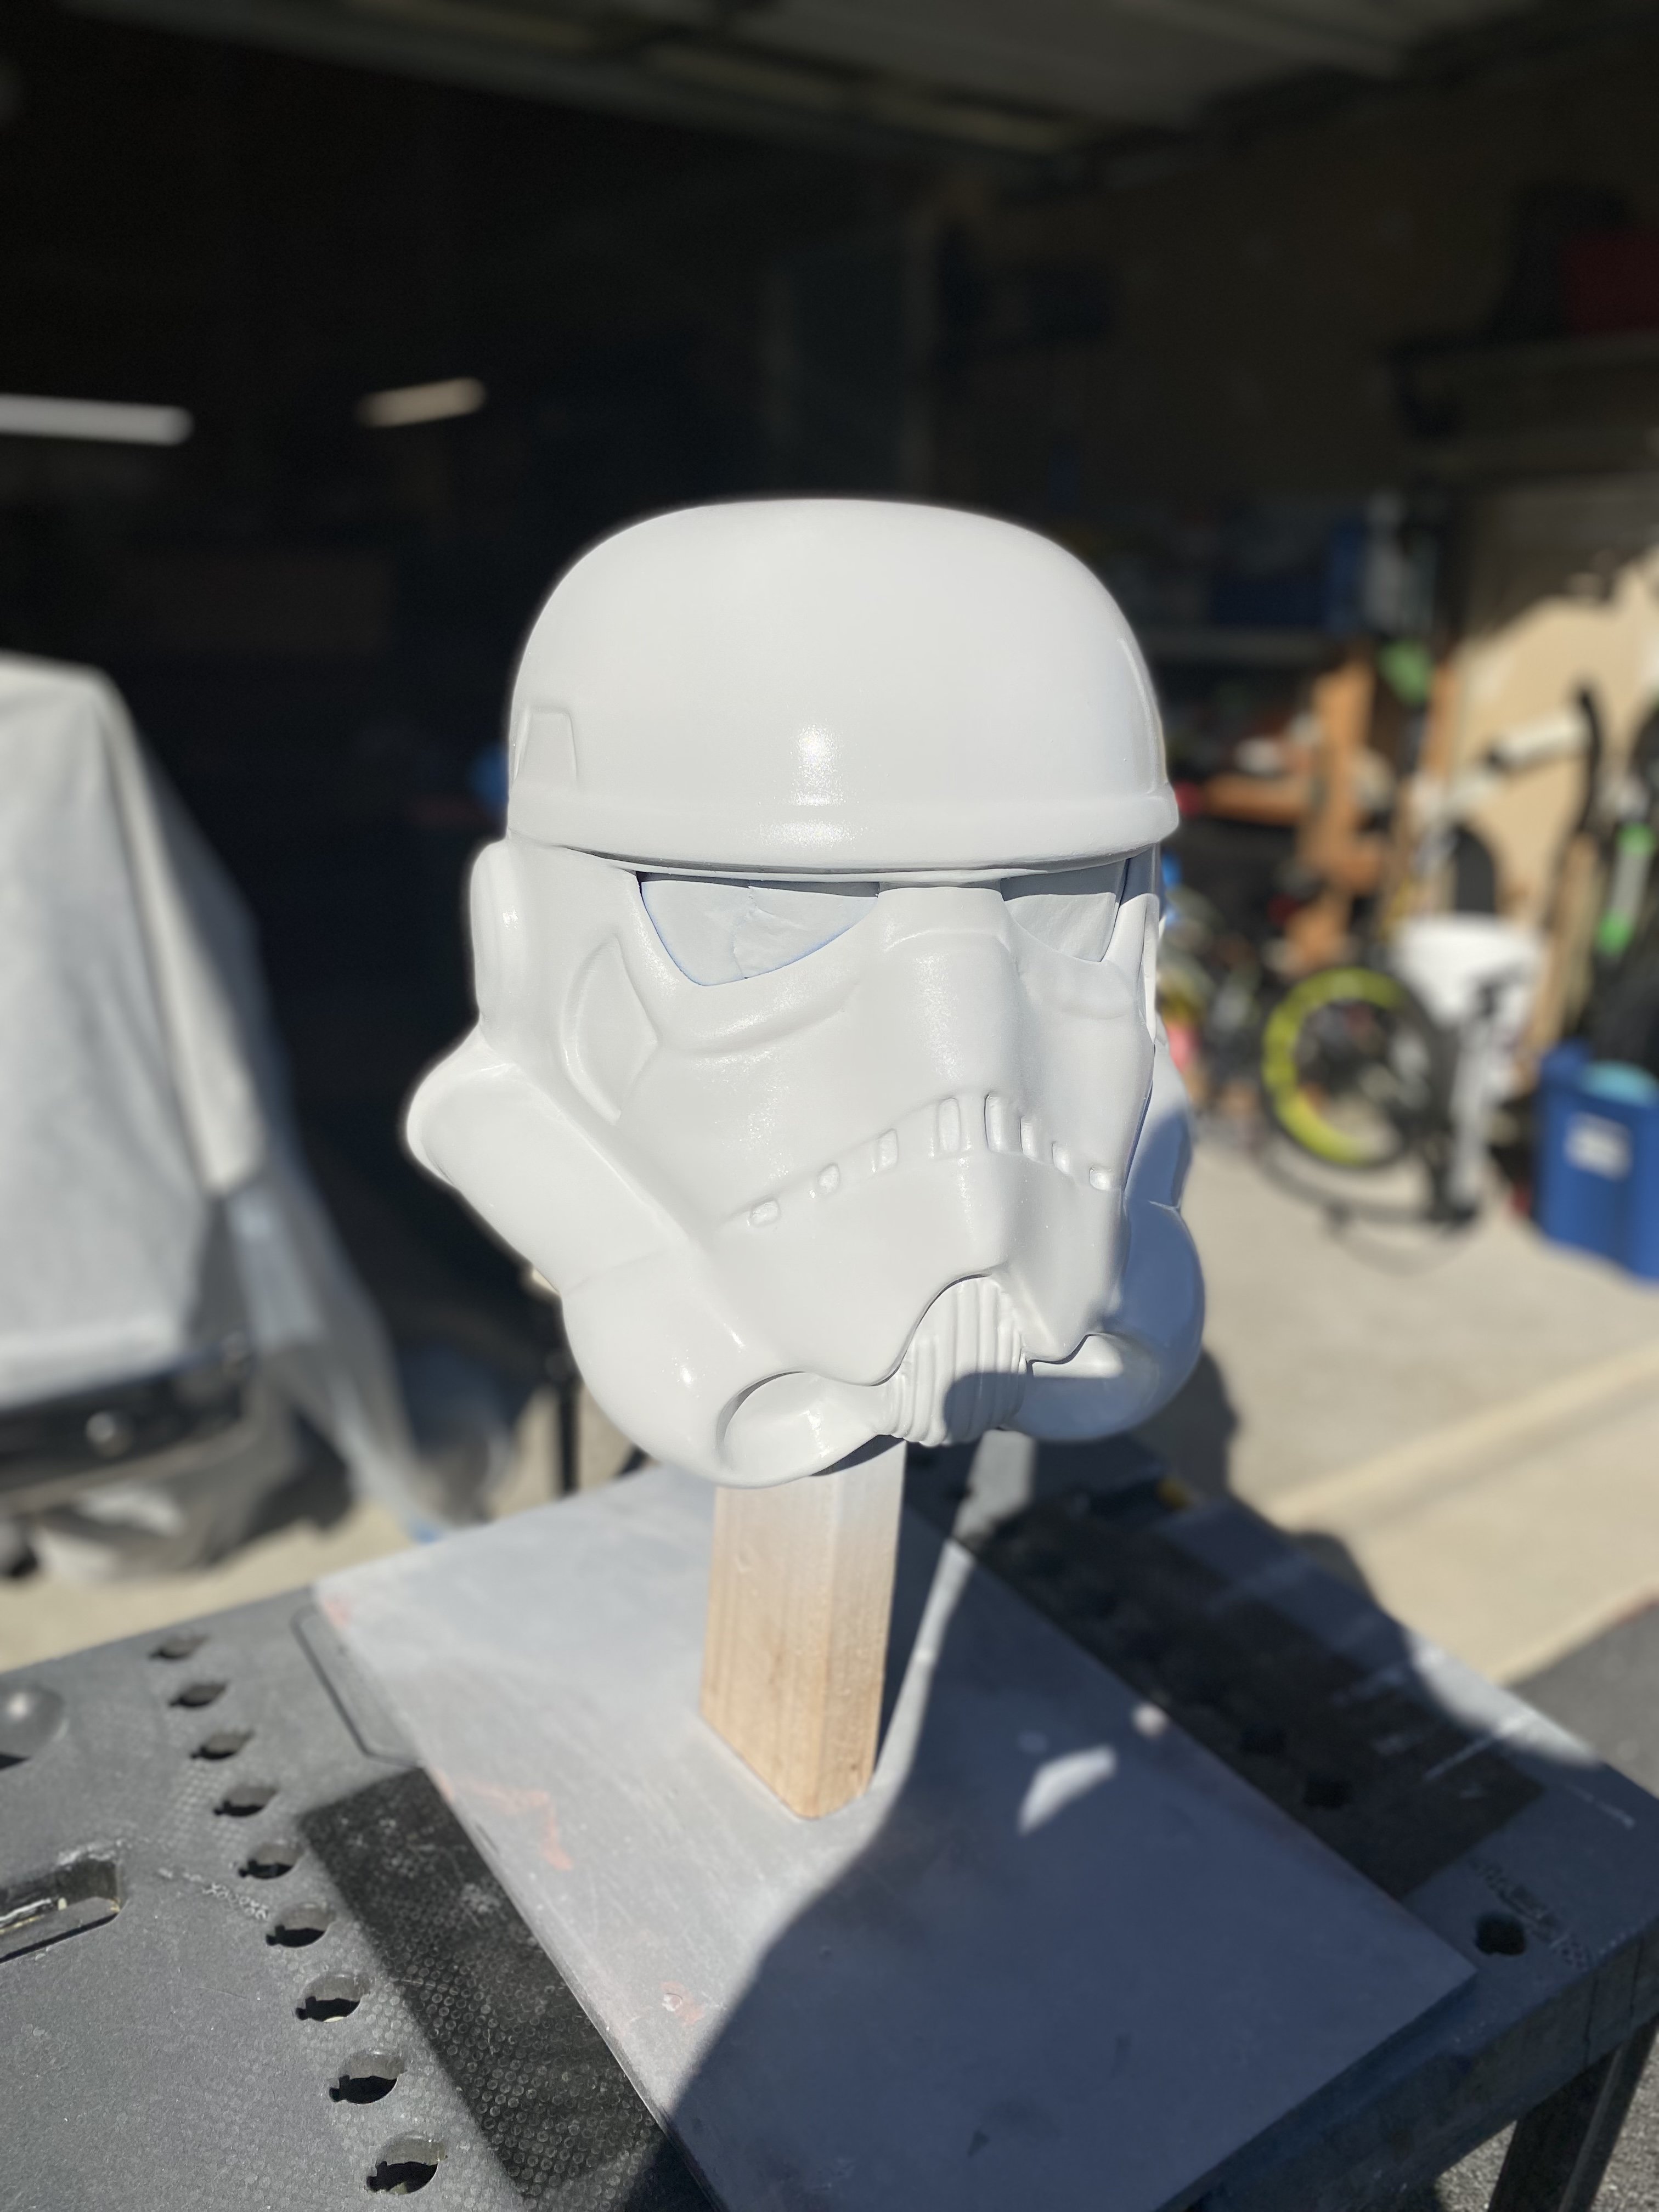
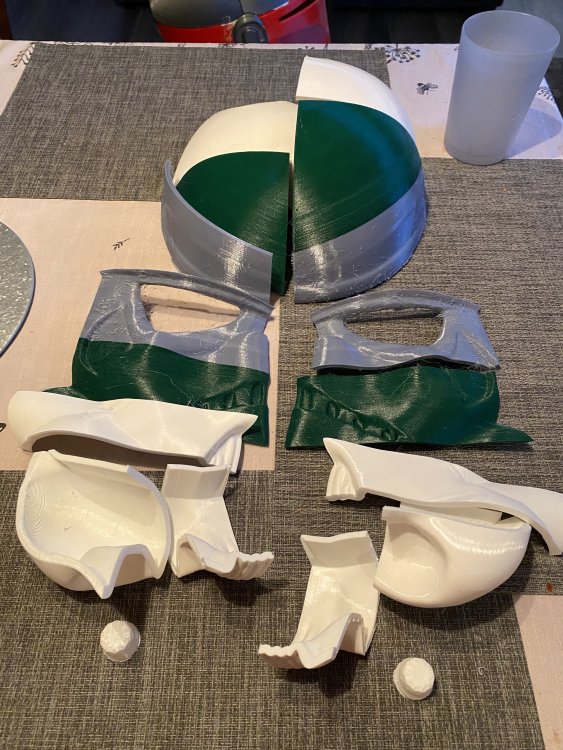
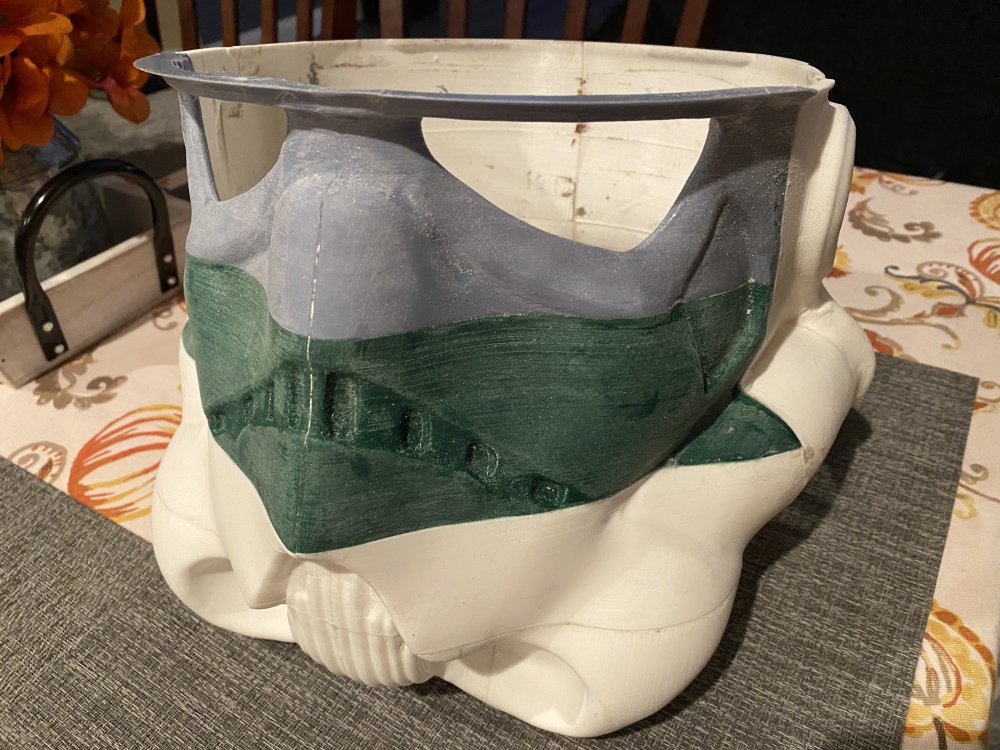
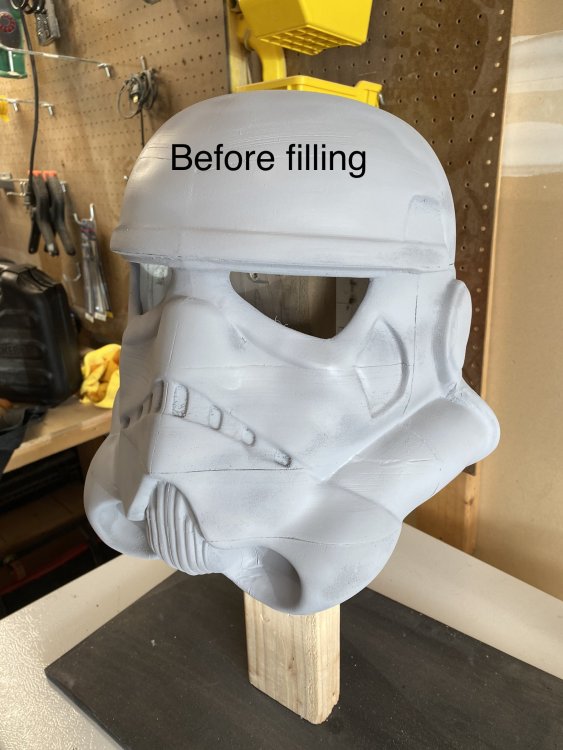
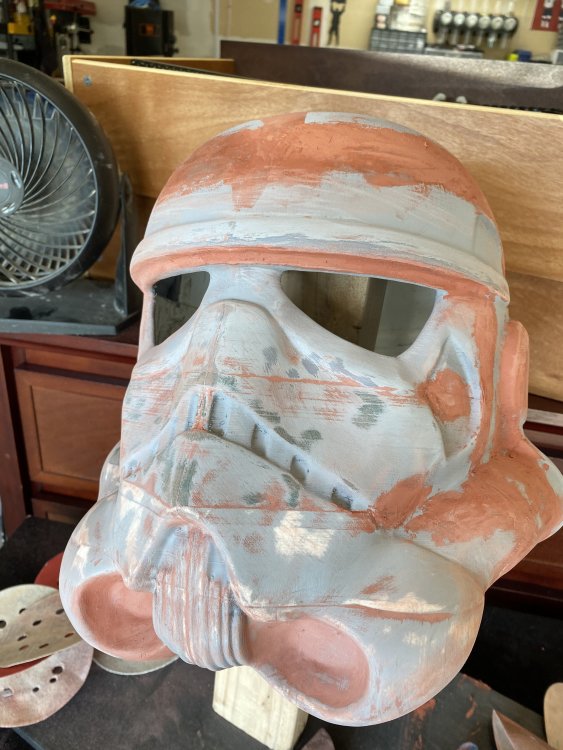
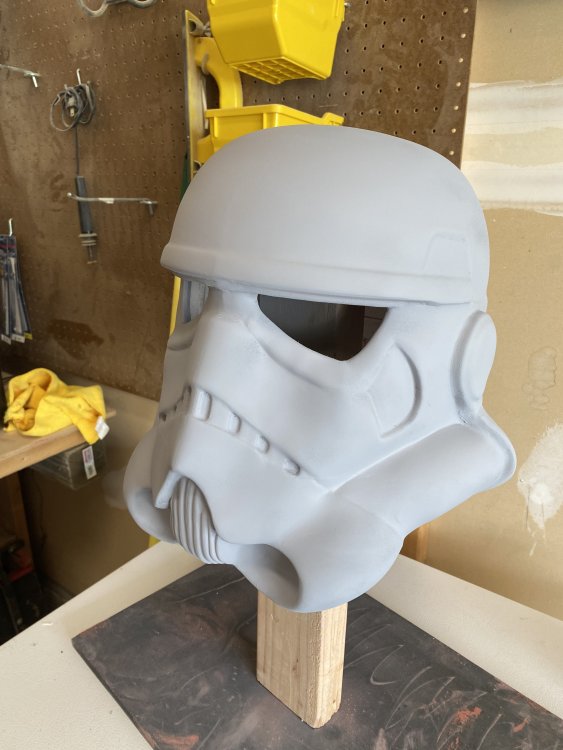
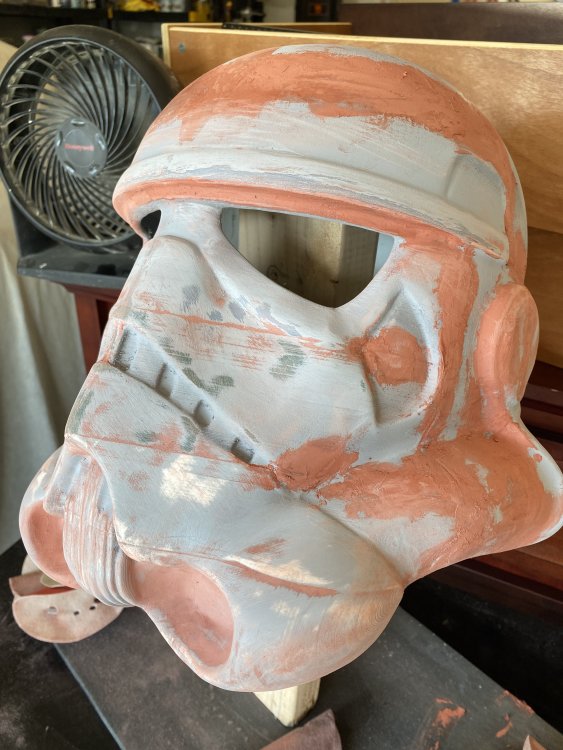
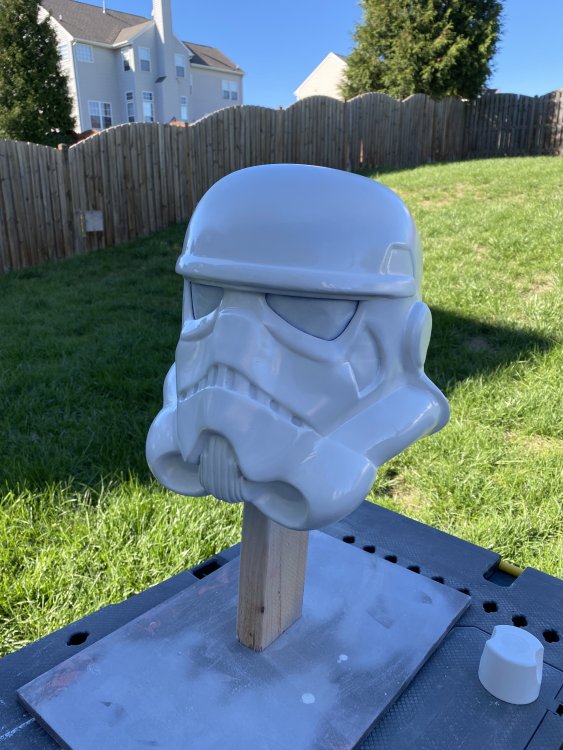
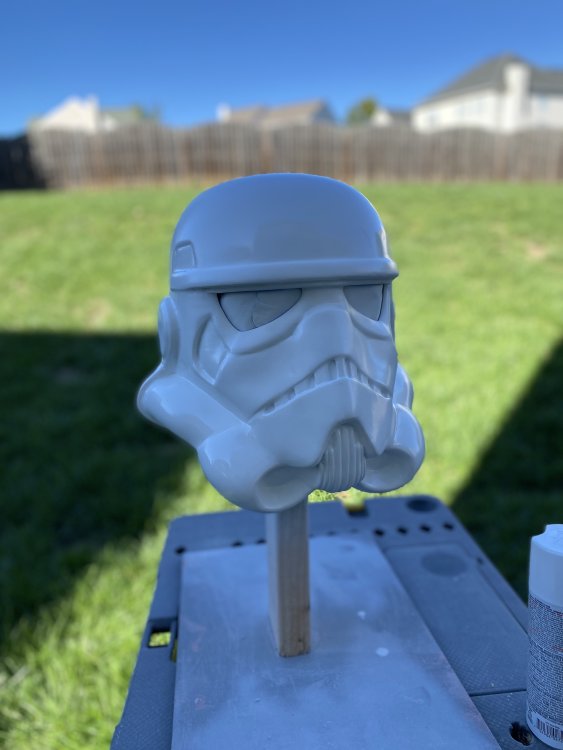
Hi everyone, first let me say thanks for being such a great resource and you all seem like a great community. I’m in the process of building my first helmet…I know, just a helmet, but this has been a really cool really great build so far. A friend 3D printed all the parts for me (28 pieces). So far I have glued, fitted, sanded, glued, sanded, primed, filled, sanded, filled, sanded, filled, sanded, primed and today I got the first real paint on. This has been a lot of work, but hey, keeps me out of trouble and I think I’m going to start a helmet collection. Not sure if I’ll ever do full armor, but the helmets are a blast! Anyway, great to meet you all, and thanks for all the help you have already been!


 1 point
 -
Go for it, Glen. It certainly gets my approval. :-). (https://www.whitearmor.net/forum/topic/50841-build-log-the-new-jmc-e-11-from-troopacoola/)1 point
-
You know I'm going to have to put one of these on my Santa wish list, there are some really nice details in this kit1 point
-
Lovely work, Glen! :-)1 point
-
What can I say Glen, awesome as always. Good luck with the submission [emoji106]1 point
-
Looking sharp as always Glen! Good luck with the application. Sent from my SM-G781V using Tapatalk1 point
-
Most of the screws for the original strapping are not needed. So you can skip the brackets entirely if you want to. In case you still want those screws, feel free to go ahead and use the brackets to install the small screws for the torso (3 sets of two screws for the chest, ab, back, upper and lower kidney and top of the butt plate). I first tried the original strapping, then removed everything aside from the screws and installed the snaps. In my experience, you could skip installing the original strapping if you do not plan on keeping it. Feel free to only add the screws in case you're interested in having that small extra, without the need to go as far as adding the elastic. The set-up that I use from the inside. Hope this helped!1 point
-
Hi Glen!!! Excellent background for your photos . Good luck with your application!!!1 point
-
My mistake. You already answered my question before I asked it! Sent from my iPhone using Tapatalk1 point
-
Here is a quick diagram of how the locking system for the stock works. I would replace the ABS posts for aluminium if I were to make this functional. Sent from my SM-G950F using Tapatalk1 point
-
Following on from that, the front ABS post was inserted through the handle, leaf spring and clip. With the stock pretty much done it will be fitted later in the build. Sent from my SM-G950F using Tapatalk1 point
-
There is a tiny clip which fits inside the front hinge of the arm. This is what forces the internal post to move backwards in the real stock to unclip the stock from the main body. Although this is not required to function. However, it is still a big detail of the front of the blaster. I have dry fitted it without the handle so you can see the set-up. Sent from my SM-G950F using Tapatalk1 point
-
I dry fitted the leaf spring inside the handle. The rear of the arm was then fitted into the wishbone using some ABS tubing. Sent from my SM-G950F using Tapatalk1 point
-
First off was to drill out the rear of the wishbone to accommodate small dowels which will be glued in place during the final installation. Sent from my SM-G950F using Tapatalk1 point
-
Ok, moving on to the stock. Although the stock can be functional. In this example I am building this to remain static. Once again, the excess material has been removed. Sent from my SM-G950F using Tapatalk1 point
-
I'm prepping the files for printing right now and I have printed the Abdominal Section to test out how the boxes will fit... Looks good so far. The size of the individual parts is of course dependent on how you scale it. The Chestpiece won't fit on my Anycubic Predator and it has a 38cm Diameter Buildplate. But my Chiron will probably be able to handle it with 40cm rectangular buildplate...
 1 point
 -
Thank you Mario, I figure I'm around here enough I may as well start my own1 point
-
Hey Glen !! The next Barracks Building into the FISD will be for you and your Platoon.!!! Thank you for your EIB Submission Sir. one of us will be with you shortly. Added to the processing line.1 point
-
You are an absolute machine Glen, where the heck do you find the time to keep pumping out costumes!! Looks fantastic by the way, good luck on your 3,000th EI application1 point
-
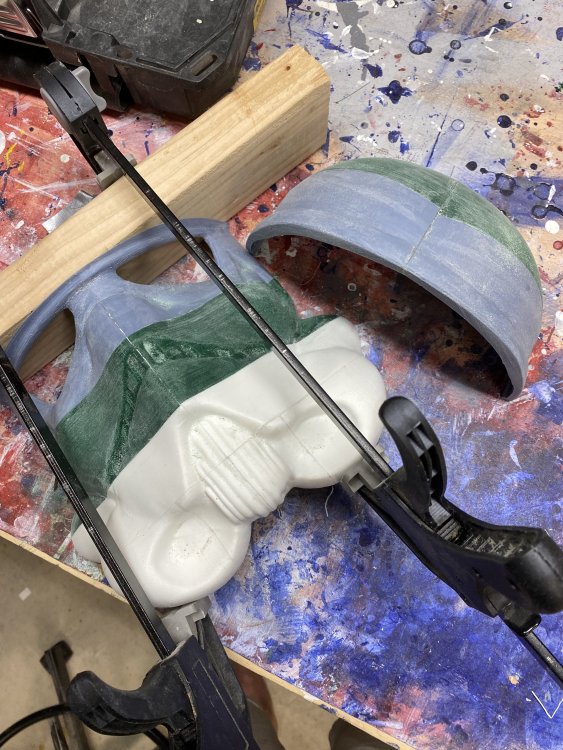
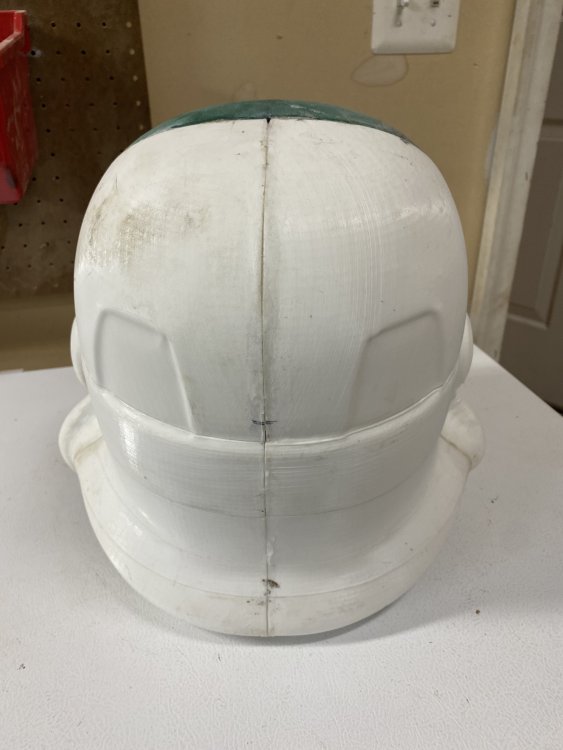
Nice work getting those pieces aligned and all the print lines gone, looking good1 point
-
Imperial commissary suggestion For Sale/Trade (Personal Items Only) Lets archive everything after page 5 which keeps all the personal items threads from the last couple of years only. the other 82 pages can go. Ongoing Sales & Project Runs Archive everything after page 5, this covers runs from the last few years that may still be avaiable or others can pick up on and potentially supply. eBay Armor not really sure what to do with this, but it could probably be combined with another thread.1 point
-
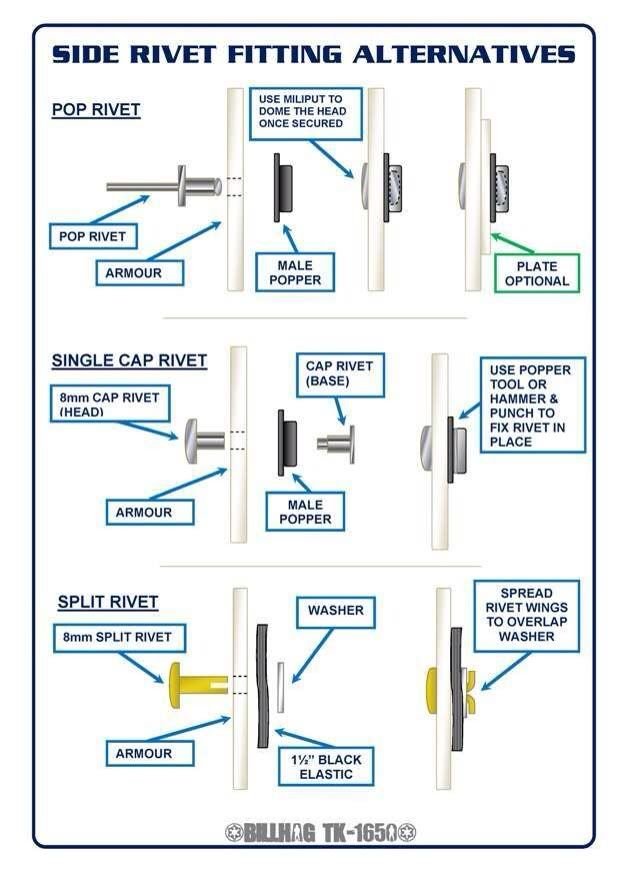
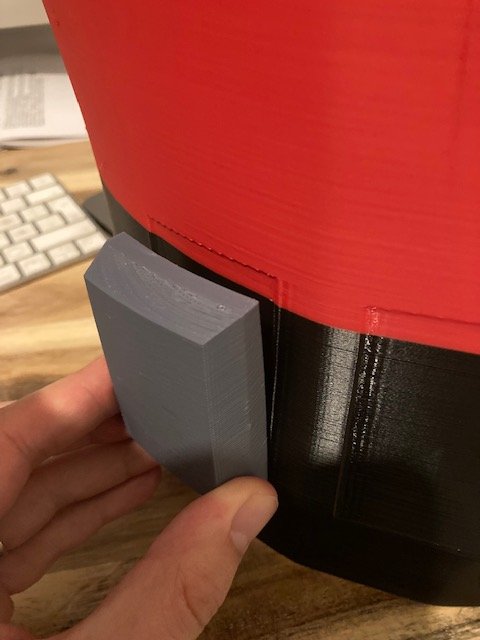
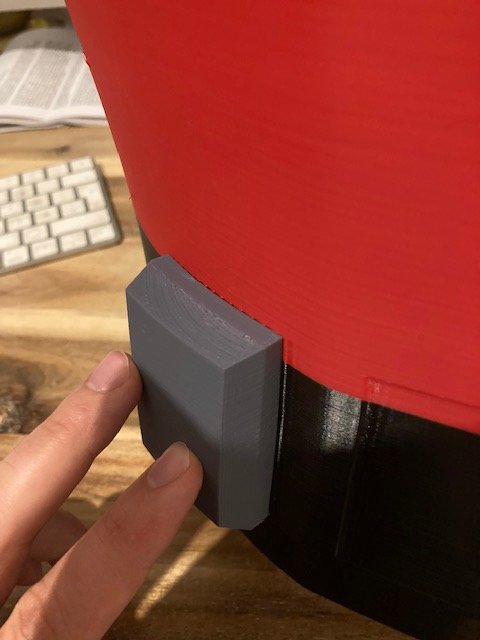
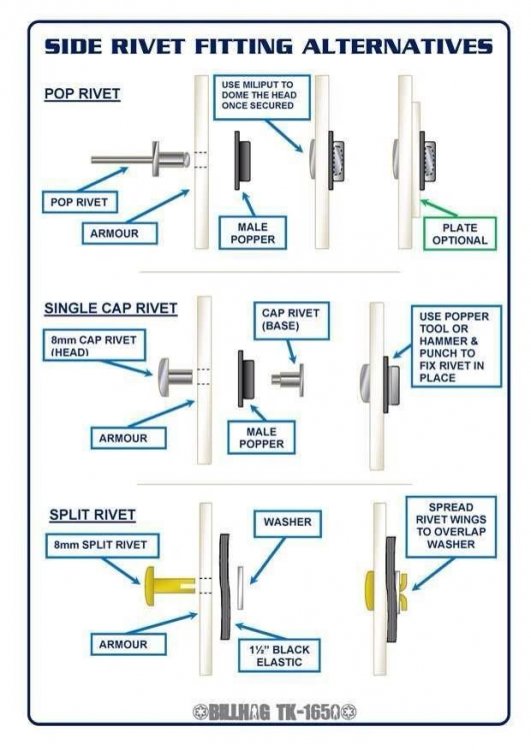
Found this random image with snaps on the rivets And another No 2 in this image shows cap rivets through the snap which is also another option rather than just using the rivets This one they add snaps next to the rivets. Another with snaps using plates for the other side of the snap, this would not allow any give though which the elastic does You could also cut the head off the split rivet and glue over the hole then glue snap plates behind, there are lots of different ways to do it.
 1 point
 -
It was then time to add the rear lens and ring to the main body. Once again using Uhu meant that the lens would not "fog up" as it would usually do if using C/A (Super) glue. Sent from my SM-G950F using Tapatalk1 point
-
The front internal lens assembly was then fitted and stuck in place using........Yes, you guessed it......Uhu! Sent from my SM-G950F using Tapatalk1 point
-
Next up was to mount the front lens to the lens mounting cap which will sit inside the front scope assembly. Using a dab of Uhu around the outside of the lens. Sent from my SM-G950F using Tapatalk1 point
-
Me again! I have separated all the components into bags to save searching for specific parts when making up each individual assembly. (attach x1 pic of bagged up kit and x1 unbagged) Sent from my SM-G950F using Tapatalk1 point
-
Thank you for the friendly welcome, I will take your advice on board and continue with my research in this forum, especially the Getting Started Section. Im actually not that far away from Rosenheim, I live near Traunstein which is about 50 kilometers east of Rosenheim.1 point
-
Hey there Andrew! Glad you've posted on here. When I bought my armor I felt the same way as you do. I didn't have the confidence or the know how to do it on my own. I wanted to partner up with someone to help guide me in person and lead me down the correct path. My armor arrived and ended up sitting in it's big ole box waiting for me to do something with it for way too long. I never had any luck connecting with the local garrison just because of my work schedule and the only offer of assistance I got was from someone who said they would build my armor for me and give it back. So I checked out build threads right here on FISD, looked at the EIB (Expert Infantry Level 2) and Centurion (Level 3) applications that others made with armor from the same vendor and eventually spoke to someone else I found who has armor and they're advice was simple, "start with one piece". By then I had gotten sick of looking at my pieces just sitting in that box so I started with one piece. I was so nervous about making the wrong cut but I followed along with a build thread that someone had made. Once I did that, it was on like Donkey Kong. I started my own build thread and any time I had a question or concern I would post that into my build thread. Usually by the end of the day or even within hours I would have answers and suggestions pouring in to help guide me along. Despite having only ever met a couple of the folks I talk to on the forum in person, I got way more help from them than I did from anyone in person. The camaraderie here is second to none. We are troopers helping troopers (even the aspiring trooper ). So ask your questions and feel confident that you have come to the Mecca of screen accurate stormtrooper and when you are ready, Build that beautiful set of armor so you too can be one of the bad guys doing good!1 point
-
It looks amazing! I'd be happy to do some test-prints for you Did you print any other parts than the helmet so far? And what measurements does the biggest part have? I can print some huge stuff on my CR-10 max, so I'm really looking forward to your files.1 point
-
Finally finished the DVH blaster and also the Phoenix Props/Doopy blaster. Here is the DVH blaster finished: Here are the parts leftover. I decided to use a few newer parts I casted from my own sterling parts. Here is the Phoenix Props/Doopy mixed parts blaster build. I did not use the Phoenix Props original aluminum tube and went with a PVC pipe. I still need to glue on the power cylinders and then is 100%done. Some pics of the grip and trigger assembly parts from my sterling parts . These were B grade castings with some cracks and air bubbled needing to be filled. Power Cylinders for blaster #2: Not 100% accurate or cleanly made but look decent enough. Slowly making improvements on these. Overall a good learning experience with crinkle paint, recycling older kit parts and testing new resin parts. The second blaster crinkle paint went on way too thick and not that happy with it. Hoping to figure out the best way to use that paint and get the results to be consistent and applied in a thinned coat. Last thing I noticed was that the folding stock position on both blasters was off and this was due to the template I used.If you notice the entire stock is positioned a little bit too far back. The front of the stock should protrude past the front muzzle. I believe that is more accurate. I will be using a different template now for future builds and also getting measurements from other sources to confirm the positioning. Thank you for stopping by.1 point
-
Does anyone else think that The Bad Batch's Hunter has a very similar helmet to this one? First thing I noticed when seeing him appear in the Clone Wars1 point
-
Nice to see your BBB photos, looking forward to seeing you kitted up1 point
-
Eric, Great job so far. I'm pretty excited to see this come together. Who did you order your clone armor from?1 point
-
Almost there with this blaster. Scope rail and counter bracket needs a quick coat of paint and the power cylinders need a touch of weathering. Work will begin on the second blaster soon after this.1 point
-
Hi Diana, Yes, ABS colors vary quite a bit. Sometimes even within the same kit! My hand plates are stark white while the rest of the kit started egg shell and now UV weathered a shade of "misty tan" as I like to call it. But yes, I too agree if it's just the belt, chances are no one would notice the shade variance. Go for it and and continue to do what we do best - make our fans Happy to See Us!1 point
-
Sorry I didn't document my power cylinder build but here are a few photos of them after a fresh coat of black paint. Not level or perfect but the look the part and much better than the original DVH power cylinders seen in the first post. Just wanted to assemble these quickly and figure out how to improve things as I make more of them. Weathering still needed once I am able to set up the magnets for mounting them on the blaster. I did not position the 3 inner capacitors as I would have liked to. I glued them together and just left them as they are. For the next practice build of these I will experiment more with replicating the ones from the reference photos.1 point
-
Progress pics: Base sterling finished with some minor weathering, bolt painted & installed. Inner barrel is just black PVC pipe. The grip and the bolt charging handle are the original raw cast color. Bolt is painted with Mr. Hobby dark iron and chrome silver metallic paints. Hand brushed and then rubbed to a dull shine. Also added a light layer of black wash paint from Tamiya. The end cap photo shows the wrinkle paint pattern well. I could not get the same wrinkle pattern across the entire receiver but it added some character to the blaster and made it easier to attempt some worn weathering effect. The bolt completed. Some subtle metallic weathering on the mag release button and the mag clip edges. T tracks installed and a temporary hand wound spring. Next up is the scope rail, scope and counter and then I need to finish a set of power cylinders. Almost there.1 point