Leaderboard


Popular Content
Showing content with the highest reputation on 10/21/2020 in all areas
-
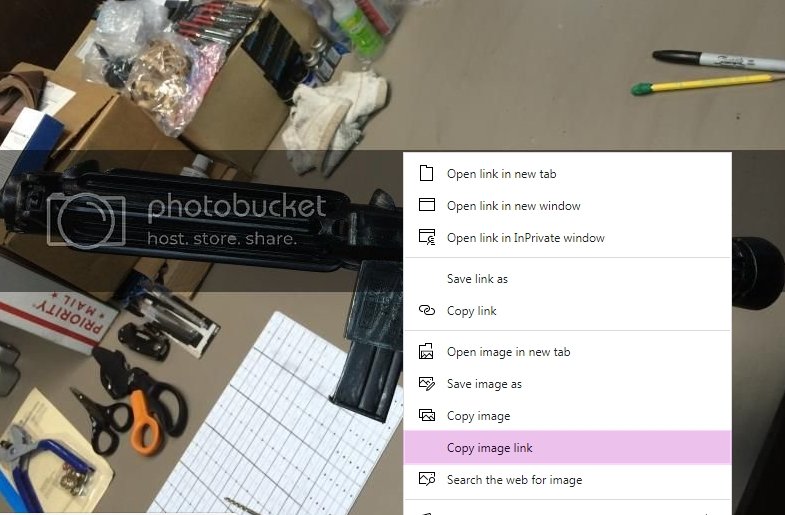
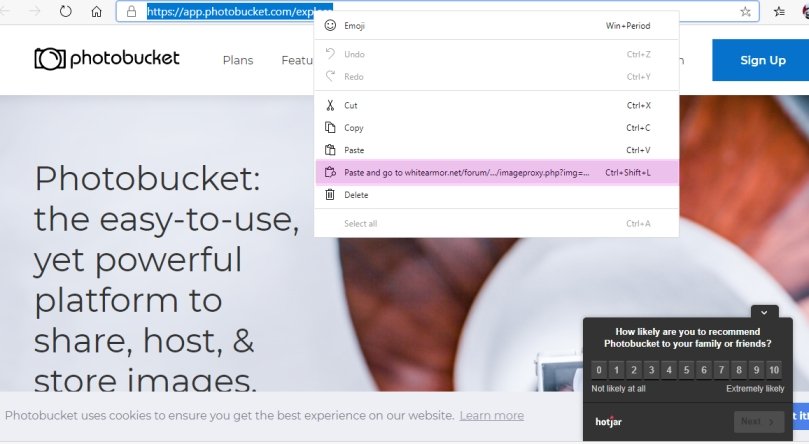
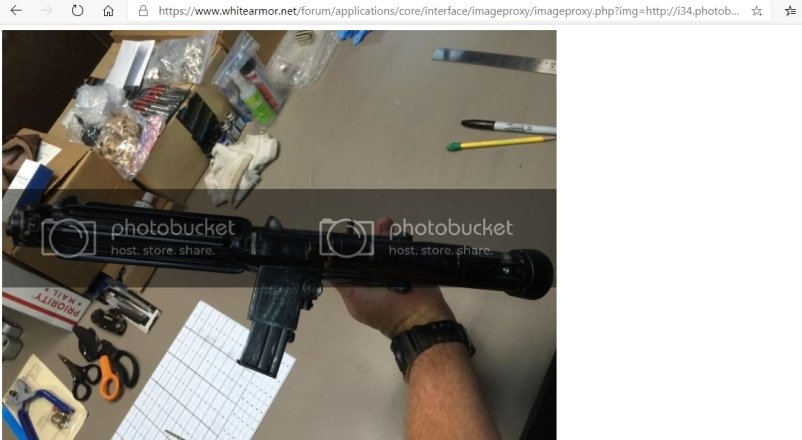
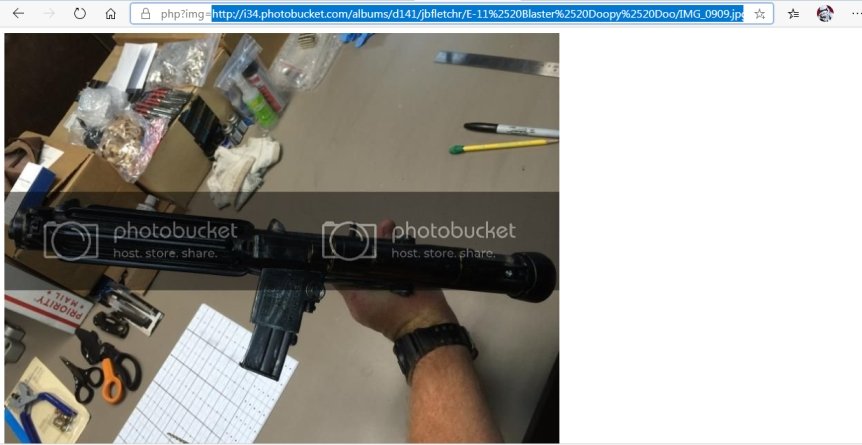
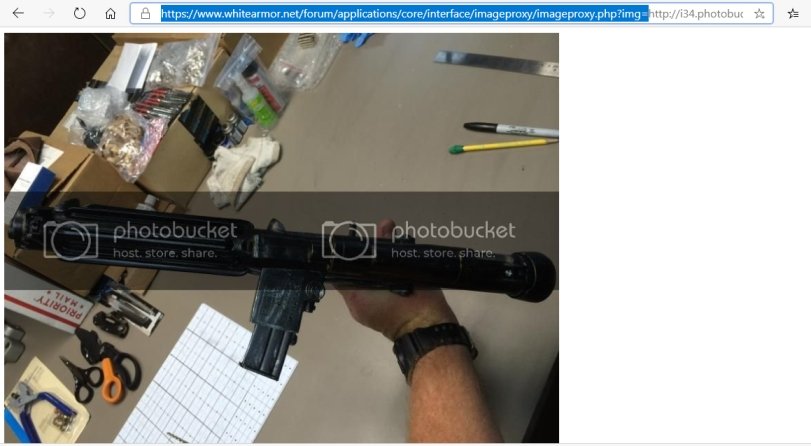
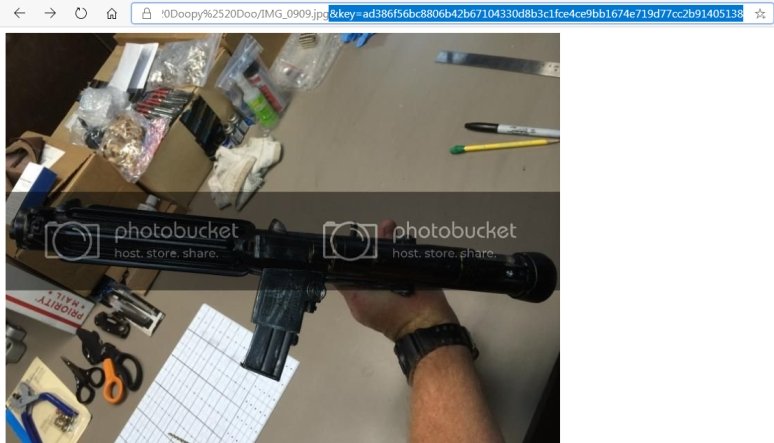
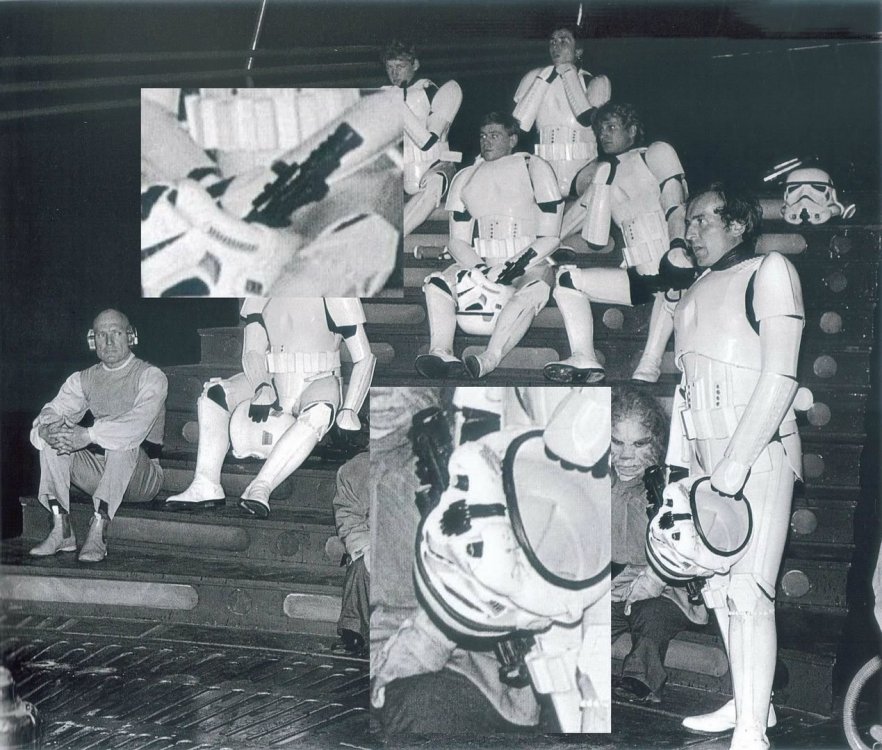
In the past if you wished to save Photobucket images that have been watermarked you could right click on an image in a post and select "open link in new tab" now this would take you to an unwatermarked image BUT depending on what account and when you started it this will no longer work, Photobucket have gotten the gist of this cheat and on some accounts they have changed what you are directed too, a generic sign up page no matter what image you try to open Fear not here is a work around On the image on our forum, right click it and select "copy image link", Then paste this into the header of any page (blank or not) and use "paste and go" This will then open the watermarked image, you then need to delete some of the code in the header, you want to keep the http://to the end.jpg Like this Highlight the front code before the http://i34.photobucket and click backspace Then highlight the end code after .jpg, click backspace then click enter You are now left with the unwatermarked image You can now right click and save the image This is a little time consuming with multi imaged threads but it works, so TAKE THAT PHOTOBUCKET

 2 points
 -
I think I’ll start a new topic and post pics there, I could also post pics of the crack test I did before I sprayed the armor! However I am not at home for a while so it’ll have to wait a few days before I can show you!2 points
-
PICS. You forreal? I never thought about doing the whole suit and it probably does add some weight... but tell me more!?2 points
-
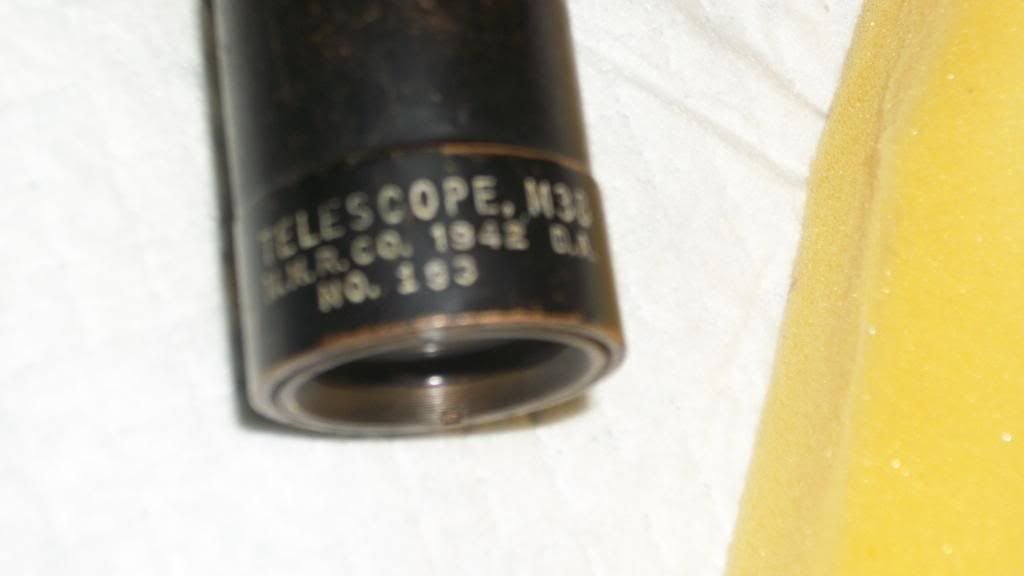
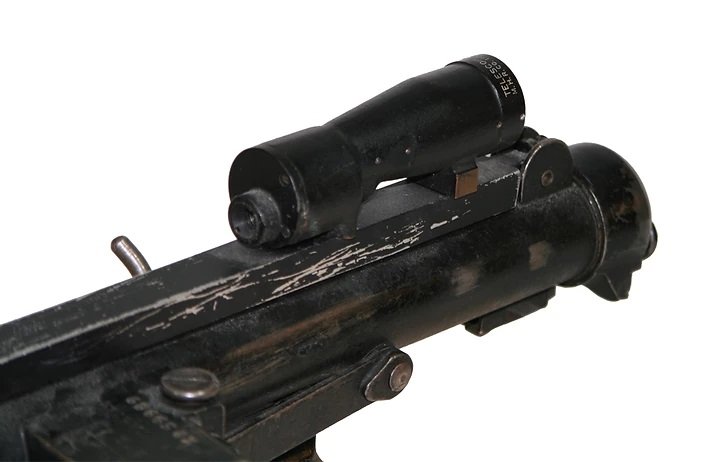
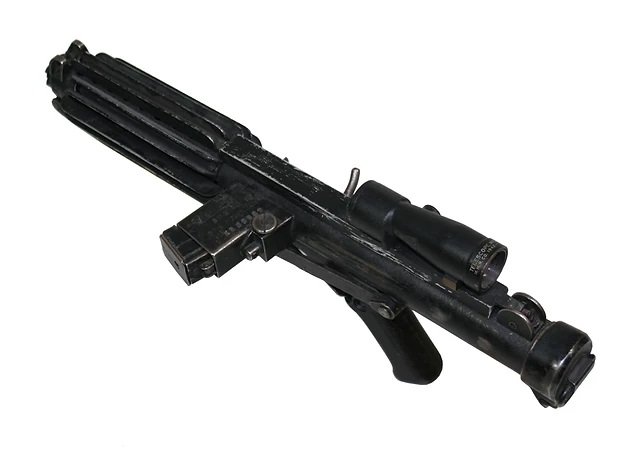
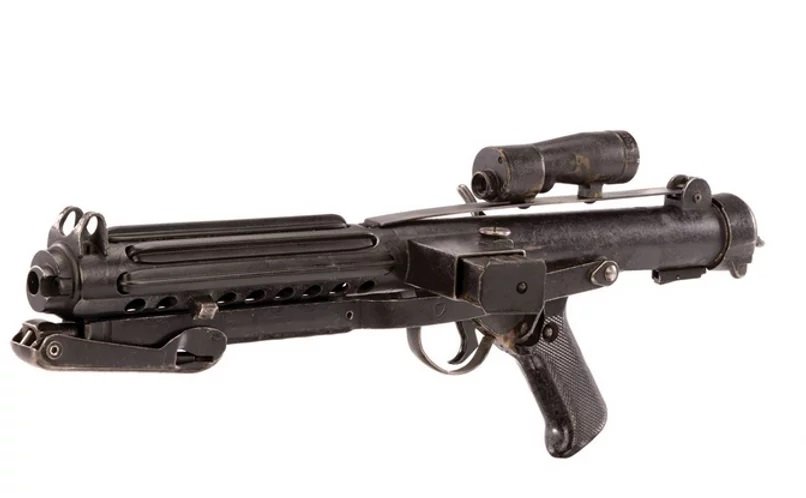
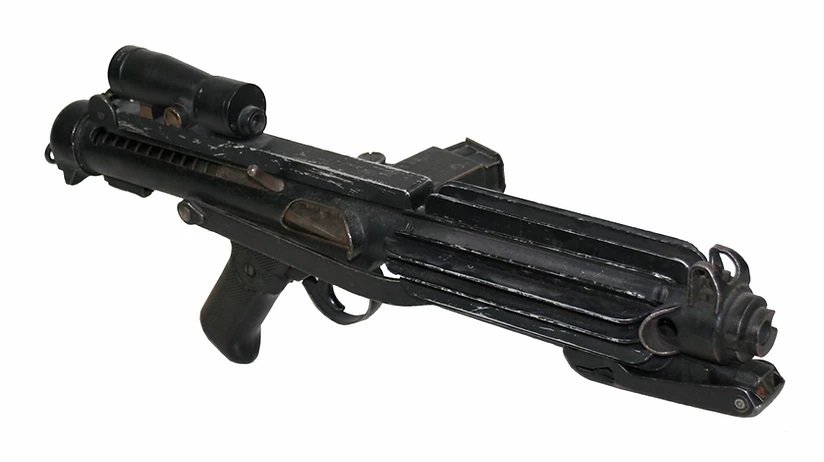
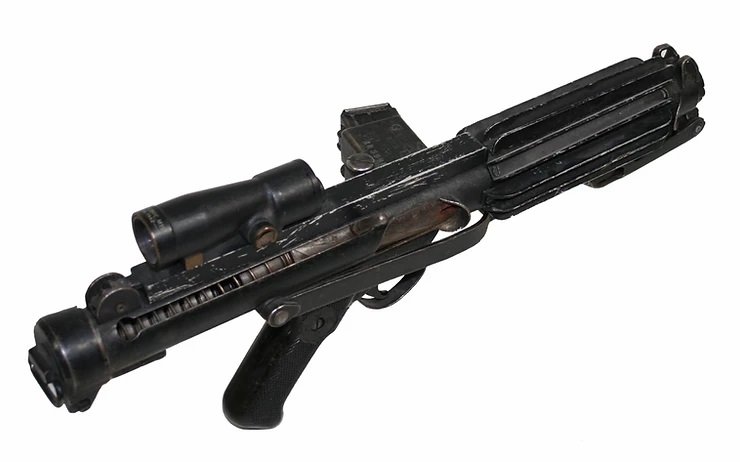
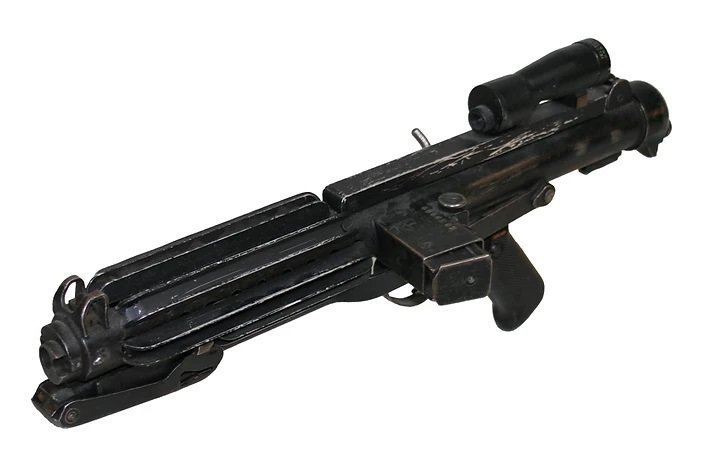
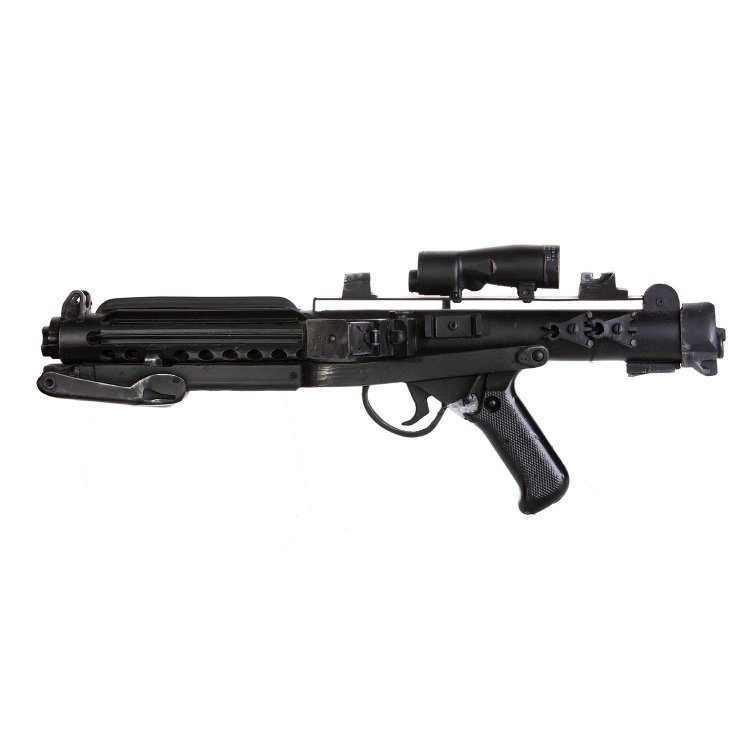
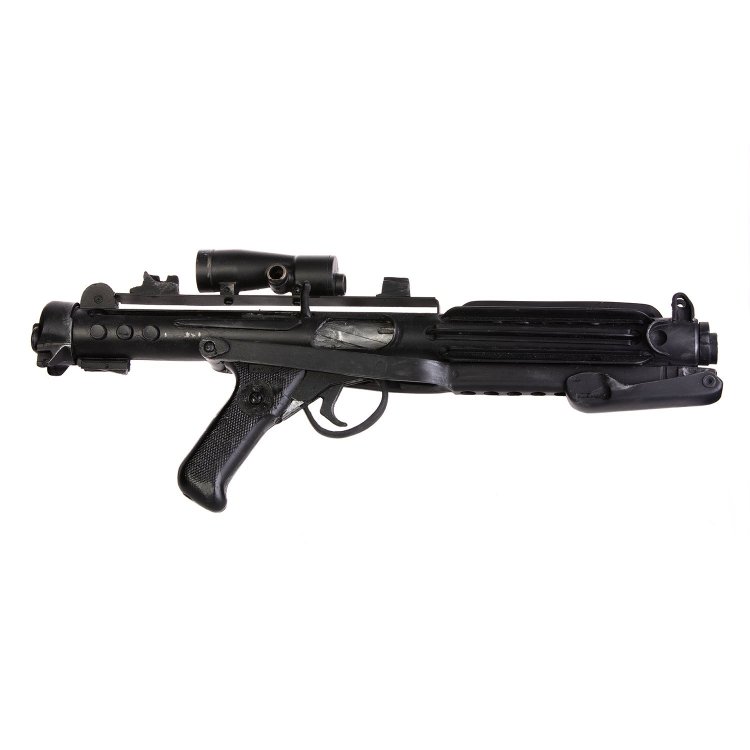
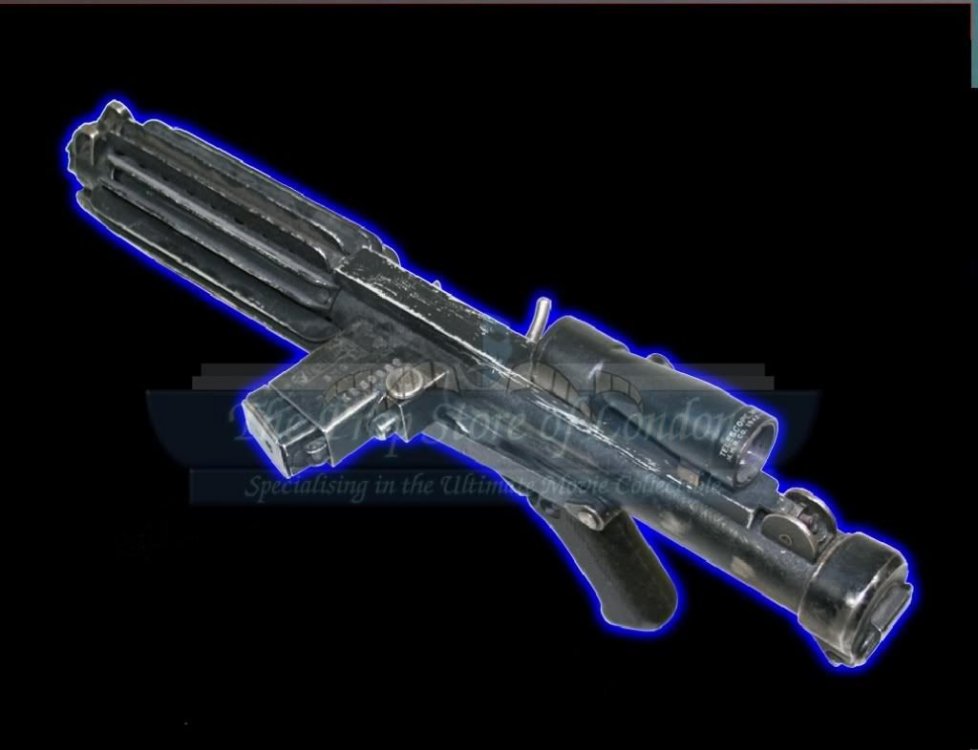
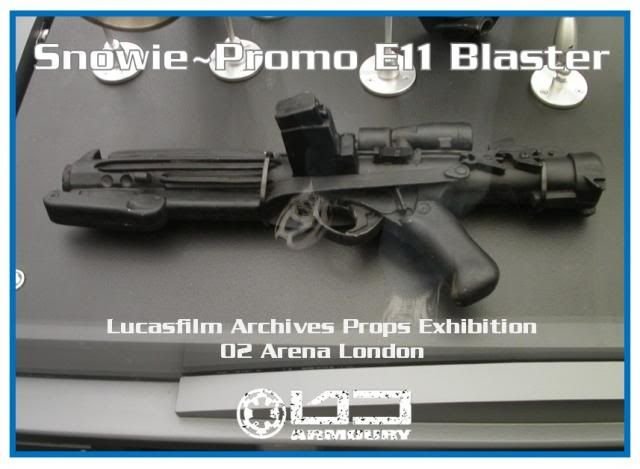
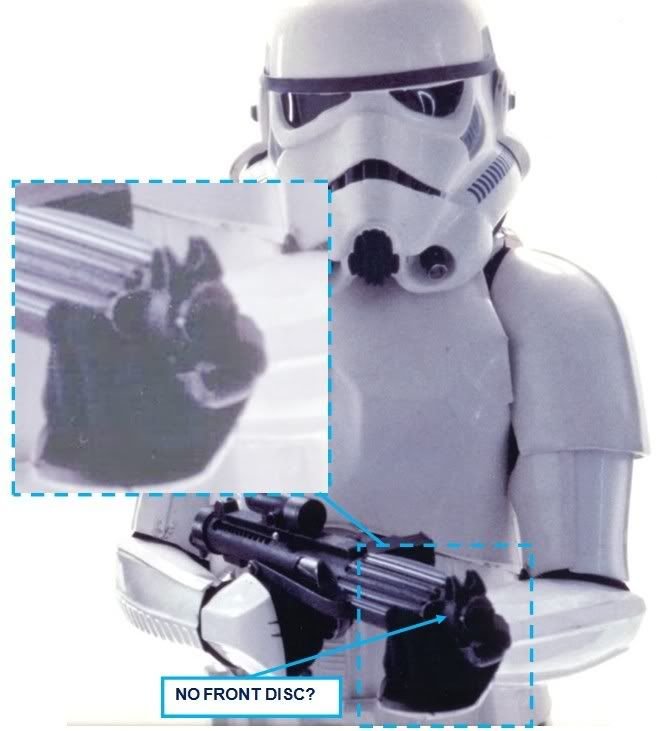
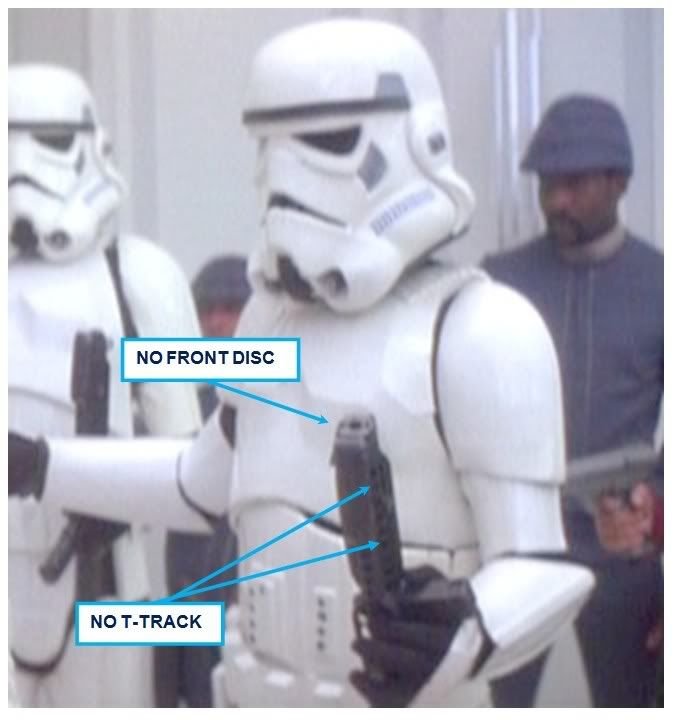
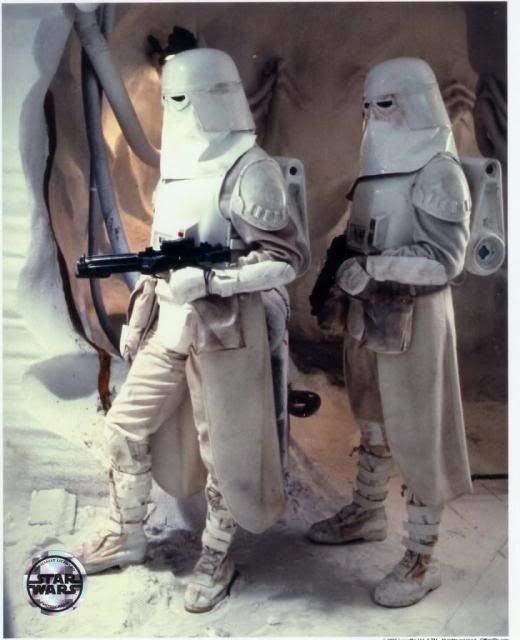
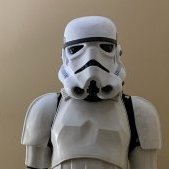
Version 1 Version 1 no front disk Version 2 PROMO/SNOWTROOPER \ Propstore Scope differences M19 Scope

.thumb.jpg.6ffcbf87ce6ee826749e4dd3495319e5.jpg)


.jpg.4191ae980f58887ddaa31a728f5d2beb.jpg.0e8188cb095dd0332e6bb6851121053a.jpg) 1 point
1 point -
Hey, Troopers! What are the best methods and product brands that are typically used for polishing ABS plastic that won't damage it?1 point
-
Hello all, some days ago I bought a HDPE helmet. Hopefully it will arrive next week. Now I am not sure what way I should go. I want to buy a armor ( without helmet ) from RS My options: A should I buy a ready to wear armor B should I buy a kit ? What do you think ? Is it very hard to build a Kit? At the end I want a Display armor. For me it is more important to have a armor near to the screen version than a practical one. I am a bit afraid to buy the kit. Because my manual skills are low hahahaha . And my wallte is afraid of buying a ready to wear armor ;). So what is the opinion of the experts?1 point
-
Very nice looking kit1 point
-
Hallo Sly11. Danke für deine Grüße. :). Did you build the armor by yourselfe? Or was it really ready to wear? Hi did you also bought a armor from RS ?1 point
-
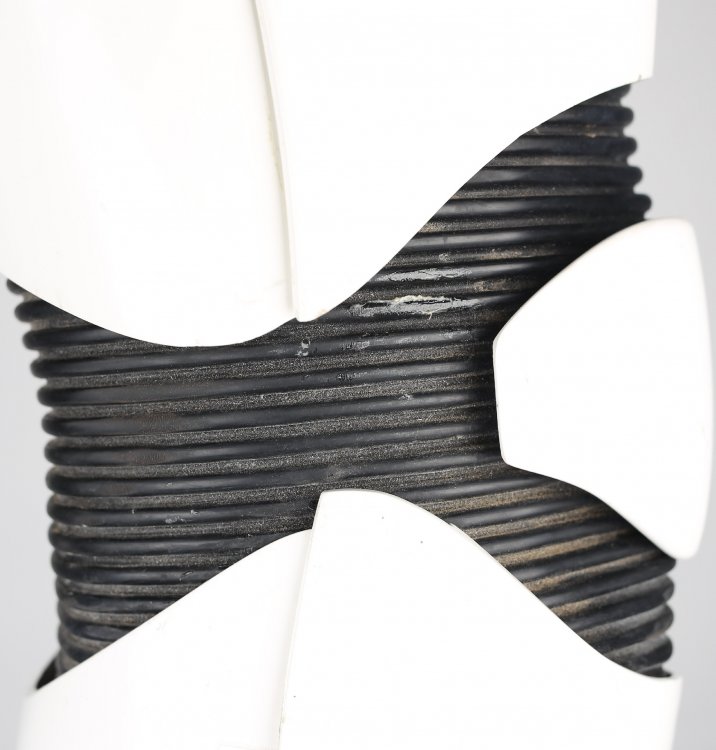
yeah, I'm not sure what they did to make theirs... I don't have Rubber as yet. I was thinking of trying to put the seam behind the parts where they are closest to touching. I may be able to minimize it some somehow as well. need to contact GeekyPink about that.1 point
-
the various glues I have settled on using, depending on WHAT the need is. E6000 Loctite Marine Epoxy Gorilla Super Glue (or maybe others if I need thicker or thiner) Plastruct Bonddene (this one is specific to Styrene and ABS)1 point
-
It worked! Thank you so much! Sorry it's so many pictures!1 point
-
I'm on a PC. I'll try the bbcode! I did share link. Thanks!1 point
-
Sent! I like this!! I want to offer some of my professional experience. I am a degreed BS in ME specific to Polymer Science of Plastics. Yes, most all plastics can experience some level of chemical reaction to paint. There's "a way" to do it. Example is all the plastic parts in the automotive industry. I won't go into all the chemical formulas about how certain types of alcohol or specifically ethanol can render down the polymer chains of ABS from polymers to monomers. Anyway, a thin coat of either clear or binder to the plastic before applying any color, will prevent any breakdown or bleeding. Krylon brand paint has a couple extra carbon elements in the paint which help it grip and bind really good to plastic, especially ABS since it has a Carbon, Nitrogen, Hydrogen backbone. You "can" use an acrylic paint if you like, however, I strongly suggest using an oil de-binder first, like Dawn dish soap, rinse, and let dry for at least 30-45 mins.. followed by light sanding to give it a rougher surface.1 point
-
TKC 69901 requesting access to EIB submission form. https://www.501st.com/members/displaymember.php?userID=16400&costumeID=139 I hope this is correct.1 point
-
Thank you for the feedback, I will work on that and resubmit the changes when they have been completed.1 point
-
I'm just going to short cut Glens process by 2 steps. Once you have pasted the right click etc into a new browser, simply copy the section that you require into a new tab rather than deleting the front and rear sections of the link. What you are copying looks like this as an example. http://i1270.photobucket.com/albums/jj610/Sly1169/photo2_zps3addc161.jpg So start withthe http://photo....... and end with the .jpeg Saves you having to highlight/delete twice and slightly lessens the chance of error.1 point
-
All good i just worked it out. I have all the images for my applications so will just load them into imgur and go from there. It was only my armour build I am missing a handful of images but just restored one so shall continue. Thanks Glen, good work around1 point
-
It's piqued my curiosity!1 point
-
Oh it definitely gives the armor extra strength. Makes it 100% crack-proof! I can’t recommend people to spray the inside of their armor with it enough!!! Plus it looks really nice with the texture.1 point
-
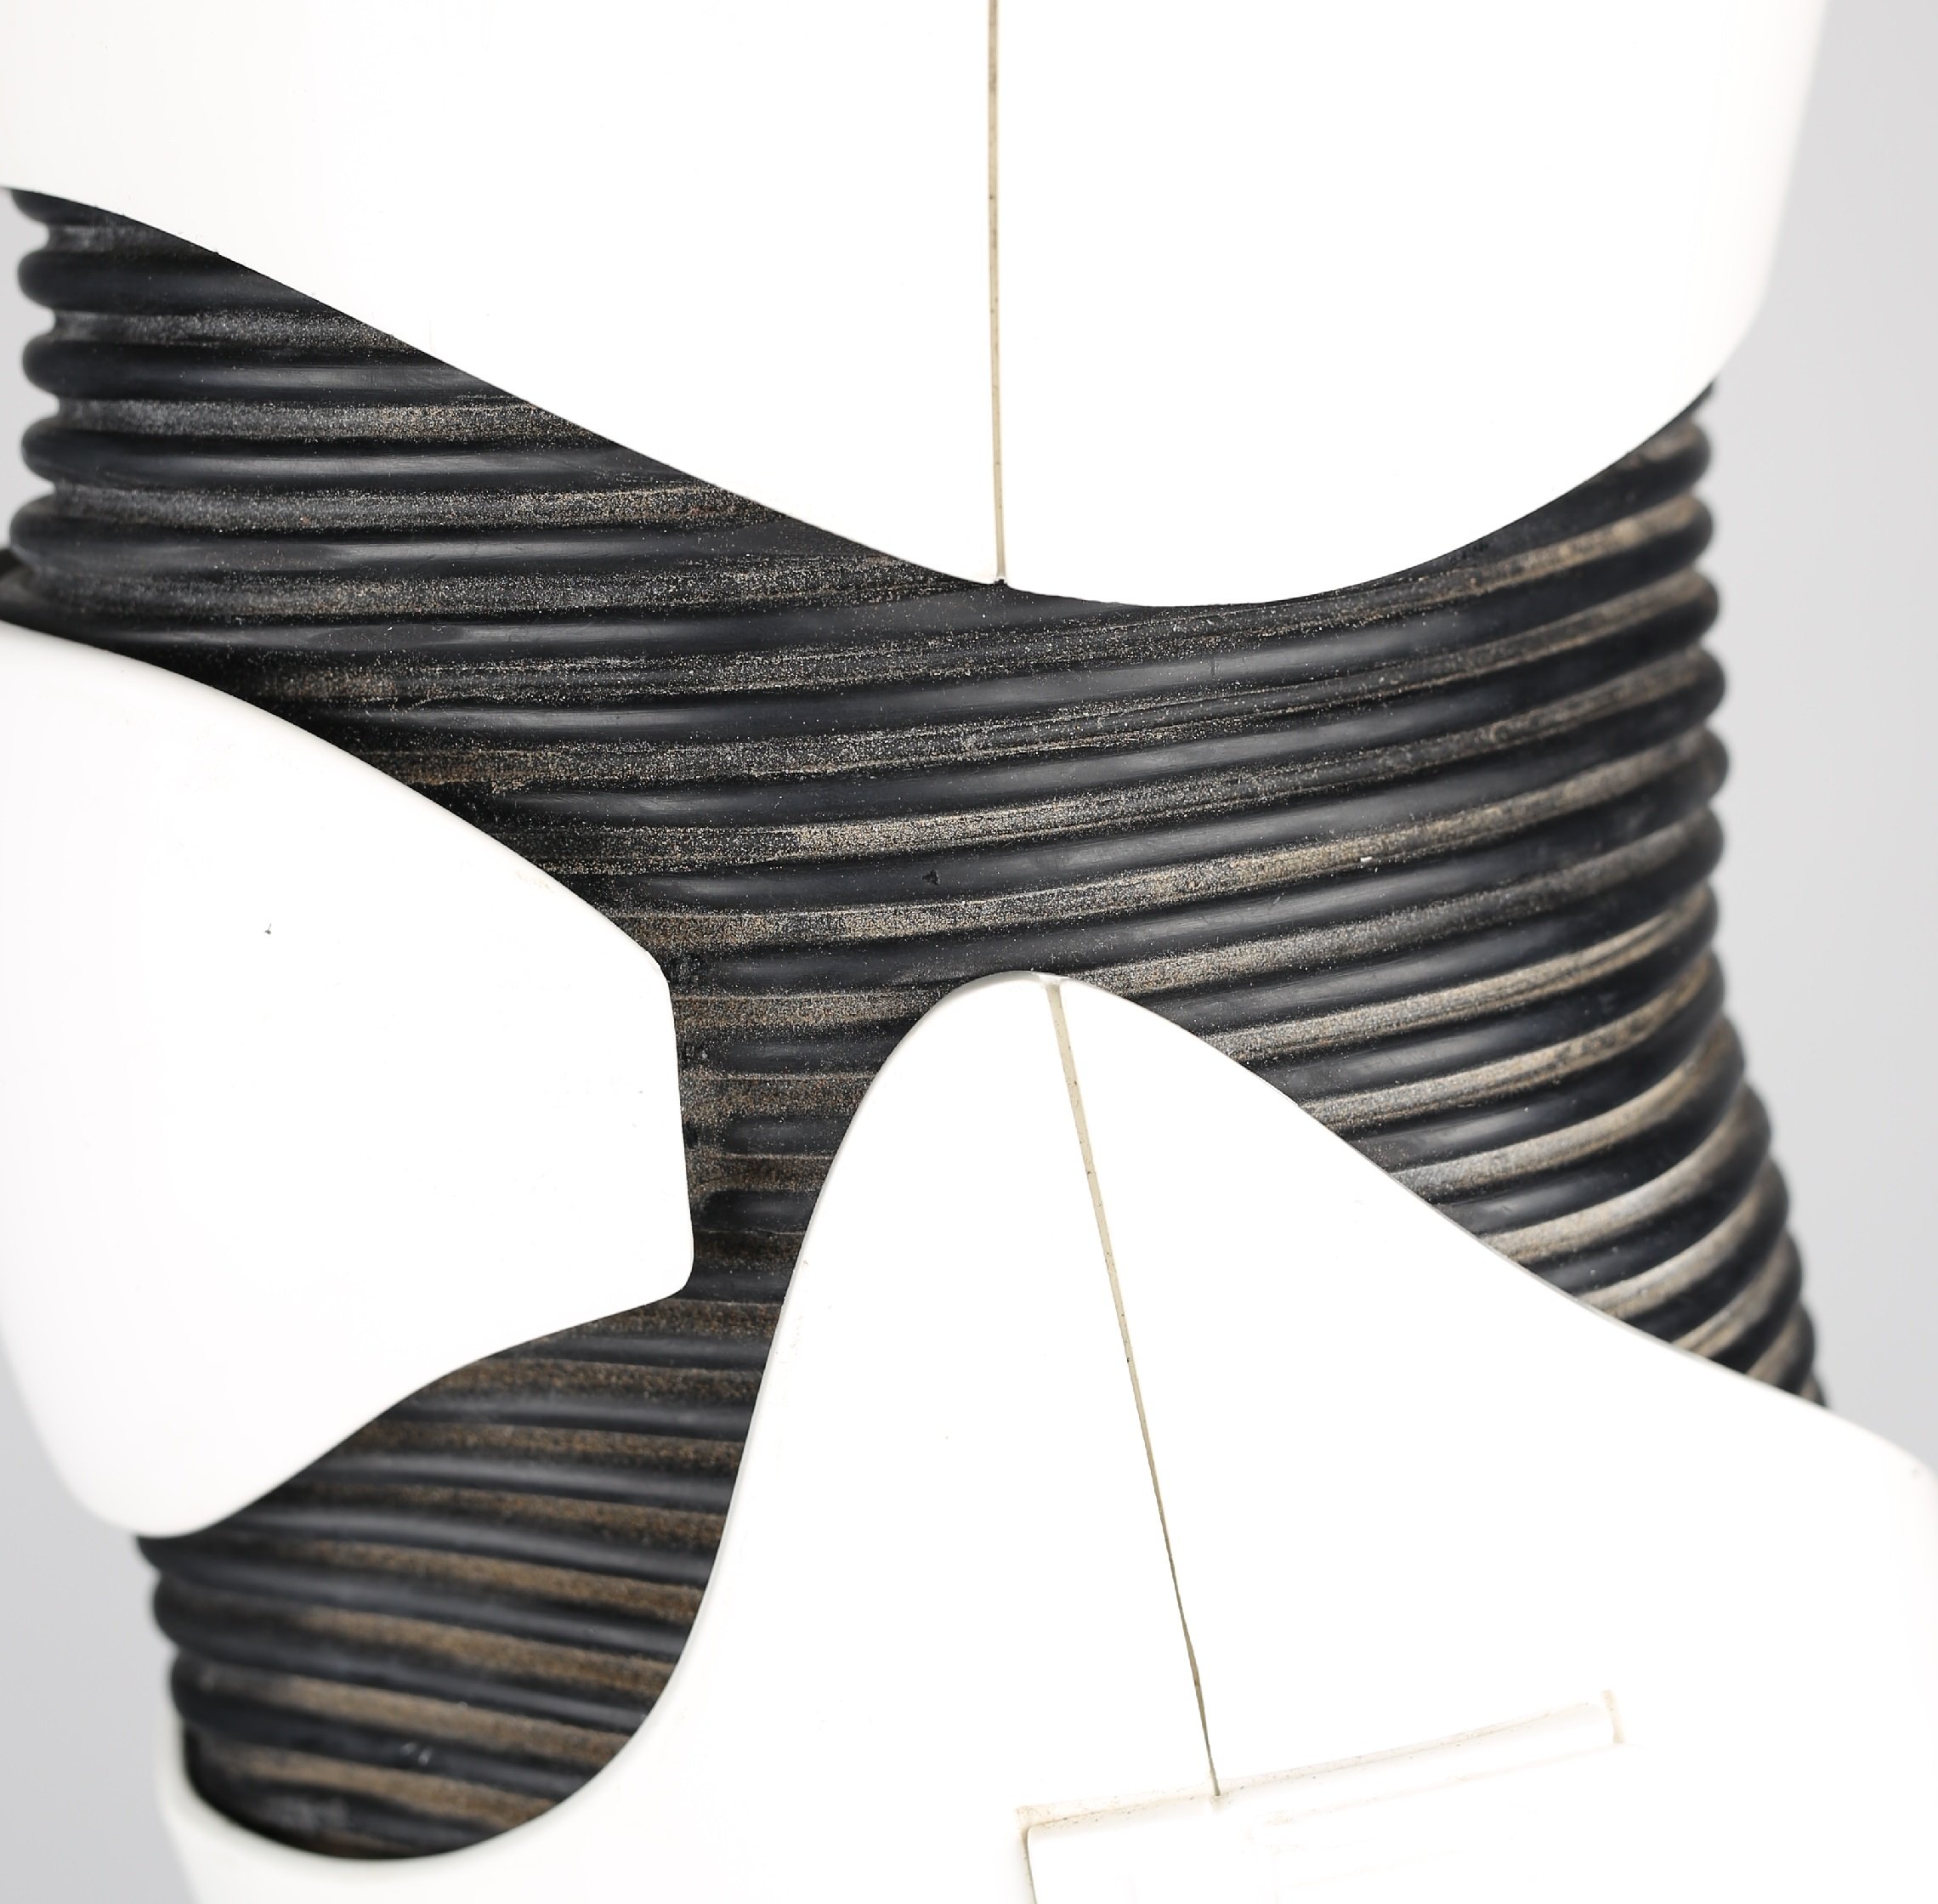
There is no visible seam on the screen used assets, so Glens suggestion of having it face inwards would probably best conceal it for yours.

 1 point
 -
Probably cheaper to go find it, but if you just wanna click... https://trooperbay.com/trooper-helmet-frown-screen1 point
-
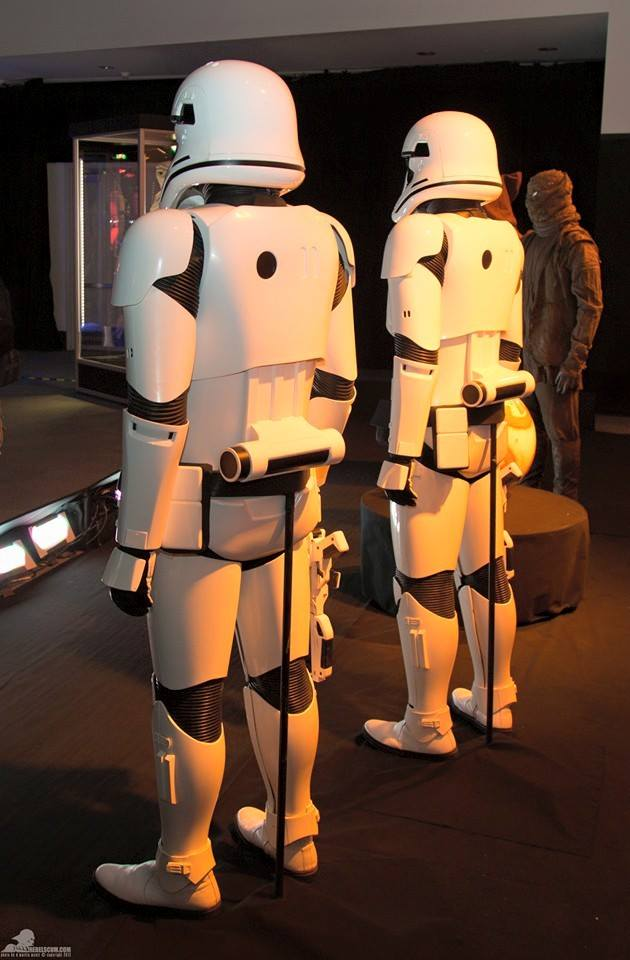
Not something that has been a mentioned at higher levels, on this display you can not see a seam on the rear so I would suggest they should face inside.
 1 point
 -
Aaaaah Big Brown Box.....now I understand.1 point
-
I submitted for Pre-Approval!! Will this work for an action shot? I already found a few fixes: - Adjust the back plate since it's slightly crooked in the pics - Adjust velcro to close greaves better - Raise bells so they're closer at the top - More glue to large ammo boxes, as their opposite sides are peeling up now - More snaps on bell/bicep elastic straps since one bicep popped off - Redo thigh straps since they loosen too easily - Elastic wraps to cover the thigh clips - Side plate foam so black doesn't transfer to the barrel So happy!!!1 point
-
Dave is actually going to send me out another. His customer service skills are top notch. He said there was another trooper that is doing a Death Trooper and can use the one I just got, so I’m mailing it back to him.1 point
-
The First Order Visual guides are all located in the First Order Battle Group Ssections of the forums. Here are the links directly to the section. Phasma CRL will be undergoing an update so guides will be completed to suit once they CRL's are complete.1 point
-
My research says both AP biceps are the same. http://www.whitearmor.net/forum/topic/25442-ap-biceps-left-or-right/?p=3202641 point


.jpg.bd802d7b40eb567de20e0f224b002336.jpg)