Leaderboard


Popular Content
Showing content with the highest reputation on 05/08/2019 in Posts
-
I've had mine for sometime, but always enjoy showing it off.3 points
-
Polished up the filled teeth areas and did some additional teeth cleanup. Then decided to tackle putting a frown on this lid! Before and after: The end "triangles" of the frown were my biggest hurdle at this stage. I freehand paint the frown, then clean up around the edges with thinner and a brush to get a nice, crisp, clean edge. But here's the problem: the ABS patch over the tooth divots isn't perfectly flat, even though it's been polished. There are still some tiny holes there. From experience, this means no cleanup can be performed in these areas without making a massive mess. Any sort of thinner mixed with the paint goes into all the tiny crevices and highlights them to a huge degree- and it's nearly impossible to get out unless you totally sand everything down. So I had to paint those triangles perfectly on the first go. I drew a very light pencil line to outline the ends of the frown. Then with a teeny-tiny-itty-bitty brush (I think it has about 5 fine bristles in it total and is just 2mm long), I carefully applied the paint until I had the outline of the triangle I wanted. From there, it was an easy bit of painting inside the lines to fill the triangles in. I can't tell you how relieved I was when I finished!2 points
-
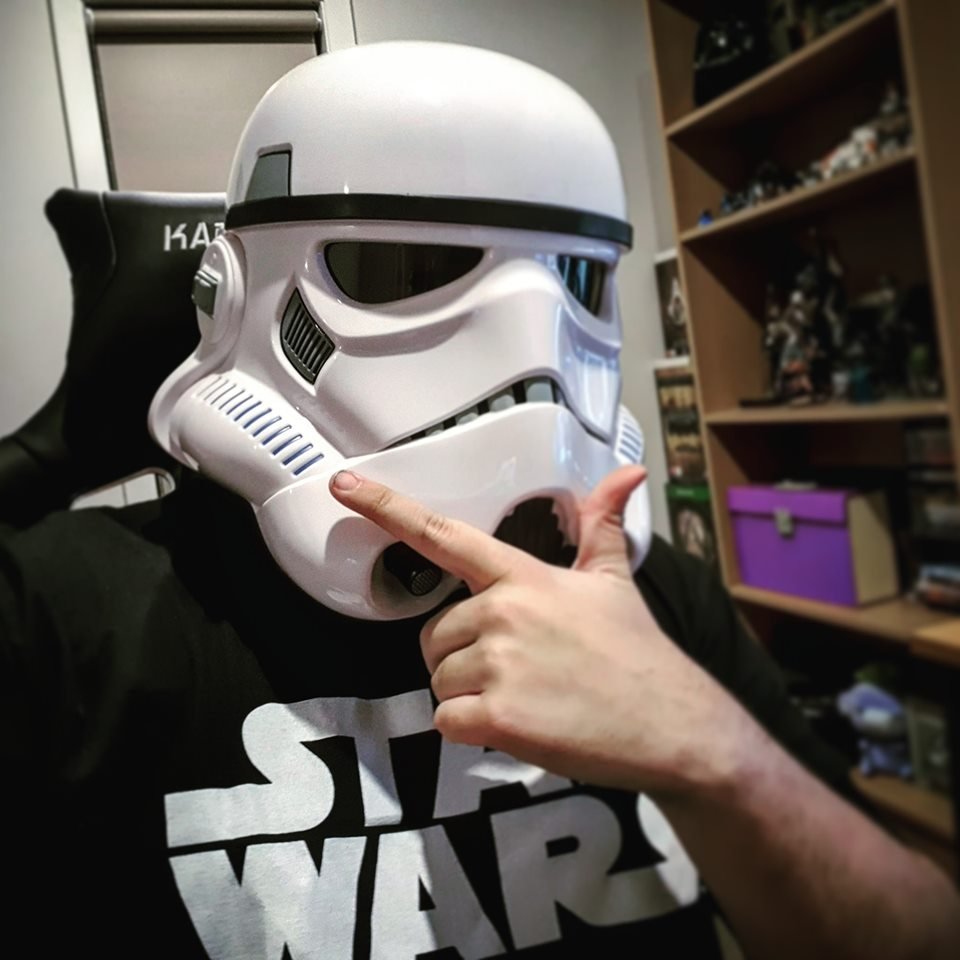
Officially have started my road to 501st approval by doing as much research as I can and deciding to begin my journey by creating a full "ANH Hero Costume". I was originally going to start with building a TFA Stormtrooper but decided to start with the original stormtrooper. Since I'm located in Melbourne, Australia I have started the build with The Black Series Stormtrooper helmet from Zing. (See Picture below). Next on my shopping list will be the Original Stormtrooper Battle Spec MK3 Armour from Shepperton Design Studios. Interested what people have had to do to their Black series helmet for approval and what people think of the original Stormtrooper Arma. Please note I know next to nothing about making molds and things from scratch but happy to pay the premium.
 1 point
 -
I was going to recommend the same @repentance3232 did. Are you in need of the other soft parts (undersuit, gloves, neckseal) as well? I can recommend various sources for those as well, if needed. Good luck on your build!1 point
-
Thanks Joseph! In other news, my webbing belt to hold up my thighs and my E11 finishing kit from Tino arrived today - getting there!1 point
-
I actually glued the elastic that holds the drop boxes directly onto my Stunt and Hero belts, no loops. If the tops of the boxes are snug (barely touching) the bottom of the ABS belt, they shouldn't flop around too much. The way you have it shown (below) would make any Centurion proud!1 point
-
I will be building TFA since that's the helmet that I already have.1 point
-
So, here's the velcro behind my holster and a shot of where the drop box elastic was... After the feedback yesterday, I decided rather than to put myself at the mercy of half a width of a piece of elastic hanging straight and holding up while trooping, I'd reengineer the whole thing by swapping the white elastic with white webbing. I didn't want to take apart the whole of my belt so, did the following... Cut a piece of webbing to match the elastic and put a hole in it that matched the position of the belt rivet, then cut a slightly upward slot to that hole... I removed the elastic, switched in the webbing and then slid it as absolutely far to the left as I could, making sure the belt rivet to the ABS piece slotted into the hole I'd made... I then pulled the slot shut and super-glued a small strip of webbing over the top to close the gap and stop the webbing from fraying/pulling open... Then, on the back inside, I installed some velcro to stop the back of the loop from sliding about... Finally, a test - hold it up flat against the wall and see how it hangs.... I still intend to drop in some wooden blocks to give gravity a little help and to stop things flapping around, which will be even better now with webbing since unlike elastic, it won't stretch away from the belt. The only other way to guarantee the alignment after this I think would be to put a few dots of E6000 on the webbing just above the drop box so that the webbing can't move away from the ABS plate.... And if we have more problems after that, I think I'll have to develop Force powers to hold them in place! In other news - I'm prepping my shoulder bridges - I found a good thread https://www.whitearmor.net/forum/topic/40831-ajs-of-am-20-build/page/8/?tab=comments#comment-642739 about reinforcing them with a second strip of ABS, so I've heat-formed a couple of strips to match the bridges with a plan to do just that.1 point
-
Nice work, sir! :-) If you wanted an alternative method, feel free to check out my build (linked in signature) for a fixing method for the stock. I used a v-head screw and located this into the dedicated slot in the underside of the tube. When you then Attach the rear end of the stock (either glue of coach bolts) this will hold it in place. This will last better than glue only. :-)1 point
-
Thank you so much ❤️1 point
-
1 point
-
Sort of. Two of the costumes are in the Jolly Rogers Squadron: Gideon Hask and Commander Iden Versio And one is in the Spec Ops Detachment: Del Meeko I don't know why they are separated... But hey, that's how it is.1 point
-
BUILD UPDATE: After 4 months of building my ANH Stunt TK, I finally suited up and took photos from my GML. My goal for my TK armor is to reach Centurion status with the FISD. Part / Status: Neck Seal - Adjusted neck seal as it was too big, re positioned velcro for tighter fit. Torso - Rivets to be painted white Right thigh - Rivets to be painted white Helmet - Repaint, align ear piece, fans to be installed, chin strap to be installed E-11 - Husky Travel Case - Interior padding with Star Wars material, 3D printed imperial cogs Front Front - No Bucket I received feedback from my GML that my neck seal was too loose. I have since re positioned the velco and sewn the neck seal for a tighter fit. Left Side Right Side Back THUMBS UP - I was so excited to finally take this photo after all my hard work!!! Thanks again for reading my posts! Matt1 point
-
Looking GREAT, Simon! The connections (highlighted in blue below) are absolutely spot-on.... NICE JOB! I would recommend raising your ABS belt, though (trust me). The top should cover the bottom of the ab button plate. In a few of your photos the drop boxes are in the proper position, but as seen below there needs to be a minimal (or no) gap between the tops and the bottom of the ABS belt, and the outer edge needs to align with the outside edge of the ABS belt. Keep up the fantastic work, Simon. At this rate you'll have no problems reaching Basic approval, then it's on to Expert Infantry and then Centurion!1 point
-
I have ordered a bunch of stuff i need to get started with snaps as internal strapping. I am using this guide: http://www.tonybarnett.plus.com/snaps.html?fbclid=IwAR3PKtcHQr-4IeAKo96SXoHnJtY787TgyeKnkmPOOsEQ4etUIKHw7HVKT78 as he uses stuff I am able to get here in Europe. Right now I just want to get moving on the build and get a basic approval. I dont think I will have a chanse to troop any more then once or twice a year (becuase of my time and also I live where there is only one other Stormtrooper and one Tie-Pilot, so not the biggest crew). How ever - this build is hanging over me like an exam i should have been preparing for - so I really want to get moving with what I have at hand.1 point
-
So ANH, if you watch some of the clips they had rubber thighs. so why not make a butt plate out of latex?1 point
-
For us newbie's this post is FANTASTIC.. Thank you for posting... I look forward to joining the 501 soon.....1 point
-
I went strapping as well. It went together very quickly. Watch your symmetry and spacing. When you get there, PM me if you want and I'll send you details of mine. I had to zip-tie one side tighter because it kept popping up.1 point
-
My armour has arrived!1 point
-
Cool, his name here is Sly111 point
-
Oh awesome I was gonna get the cooling system from him to but if there is an Aussy seller sure I’ll support him and buy from there! Sent from my iPhone using Tapatalk1 point
-
AP, good choice . Also, if you find yourself in need of a cooling system my friend Andrew lives in Australia. He can hook you up from there.1 point
-
I have to get a wife? I'll go with the neck pouch...1 point