Leaderboard


Popular Content
Showing content with the highest reputation on 03/03/2018 in all areas
-
Been trimming like crazy the past couple of days. Got all major trimming done, next step is to start sizing the forearms. Need to find an undershirt that fits, had no luck shopping today. My cat thinks I should use "bite and chew" instead of score and snap... Sent from my SM-G950U using Tapatalk2 points
-
I would remove the background from the first order cog, example below2 points
-
OK, I'm trying to centralize CRL change requests, as I'm aiming to update some items this month. There have been a lot so I'm sure I'm missing some. This will be the one place to suggest and discuss CRL changes that I'll process in March. After that the goal is to leave them alone for a bit. April's thread is here: OT TKs [Done] Addressed ambiguity of overlap method of limb construction. Overlap is now OK if the suit comes with the cover strip molded to the armor. [Done] Clarified correct crews for L2/L3 [Done] Clarified screw definition on thermal detonator for L2/L3 [Done] Added "v1" for the note of AM is no longer allowed on some parts, as AMv2 is OK [Done] Clarified thigh rivets for L3 to be single cap/rapid rivets [Done] Minimal gap now required between shoulder bells and shoulder strap at L3 [Done] Rubies blaster conversions not allowed at L3 ANH (Both) [Done] Clarified L3 space pack requirements to L2 (as only one person makes the packs) [Done] Shoulder strap back tabs no longer required ANH Hero [Done] Add promo holster for ANH Hero ESB [Done] Shoulder strap back tabs no longer required Rogue One [Done] Fixed back plate description to be correct for L1 [Done] Added frown mesh as a requirement for L1 [Done] Indicated that helmet tube stripes can be backed by blue mesh for L1 [Done] Velcro for forearms, biceps, and thighs required for L3 [Done] Update baton CRL to have a better description Legacy Era * Boots - make it simpler for L1 approval Reference threads https://mail.google.com/mail/u/0/#inbox/1620e3ab3d82bfeb?projector=11 point
-
Name: Greg Bell Height: 5’10” Weight: 165 lbs FISD Forum Name: Wook1138 Legion ID #: 34575 Garrison: Badlands 501st Member Page: https://www.501st.com/members/displaymemberdetails.php?userID=27237 EIB Application: https://www.whitearmor.net/forum/topic/44175-tk34575-requesting-anh-stunt-eib-status-ap-806/ Armor: AP Helmet: AP Blaster: E-11 (3D printed kit from Blaster Master) Boots: TK Boots Canvas Belt: AP Hand Plates: Rubber (AP) Electronics: Trooper Talk w Aker 1505 amp. Dual fans from TK421 Propstop and USB power source Neck Seal: Geeky Pink’s Phantastic Gaskets Holster: AP Extra Blaster: DLT-19 (3D printed kit from TK421 Propstop) Build Thread: https://www.whitearmor.net/forum/topic/43437-wooks-first-build-anh-stunt-tk-ap/ Pictures: Front Back Left Right Ab Detail - buttons Hand Plates Hand Plates (Flexible) Shoulder Bridge Back Shoulder Bridge Back Detail Shoulder Bridge Front Back/Chest Connection Thigh Pack Attachment - from right Thigh Pack Attachment - from left Knee Plate - right Knee Plate - left Drop Box Back Cod and Butt Plate Attachment (outside) Cod and Butt Plate Attachment (inside) Interior Strapping Strapping - arms Ab/Kidney Detail Right (snap and kidney notch) Ab/Kidney Detail left (Kidney notch) Wrist side of forearms Helmet Front Helmet right Helmet Left Helmet Back Hovi Mic Tip Detail Lens Color S-Trim E-11 Blaster Right E-11 Blaster Left E-11 Blaster D-ring detail Neck Seal Thermal Detonator (haven't put those slotted pan head screws in yet ) Holster Attachment - front Holster Attachment - back DLT-19 - right DLT-19 - left And again, thank you for your consideration.1 point
-
We can certainly make holsters optional - I want to re-watch the film to see if it's a minor case or common. For the pauldrons, they are only on sandy's in the film, so would not be part of the CRL for a clean TK.1 point
-
Slotted pan head screws - check. Sent from my iPhone using Tapatalk1 point
-
I lined the insides with white gaffers tape. Looks great, stays put, and keeps things snag - free.1 point
-
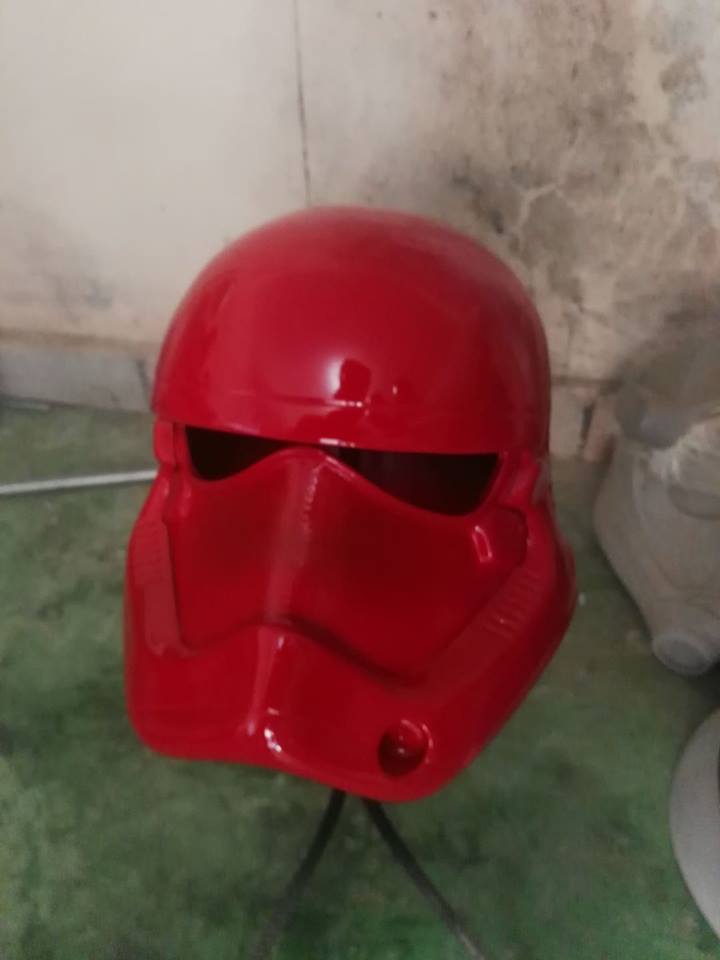
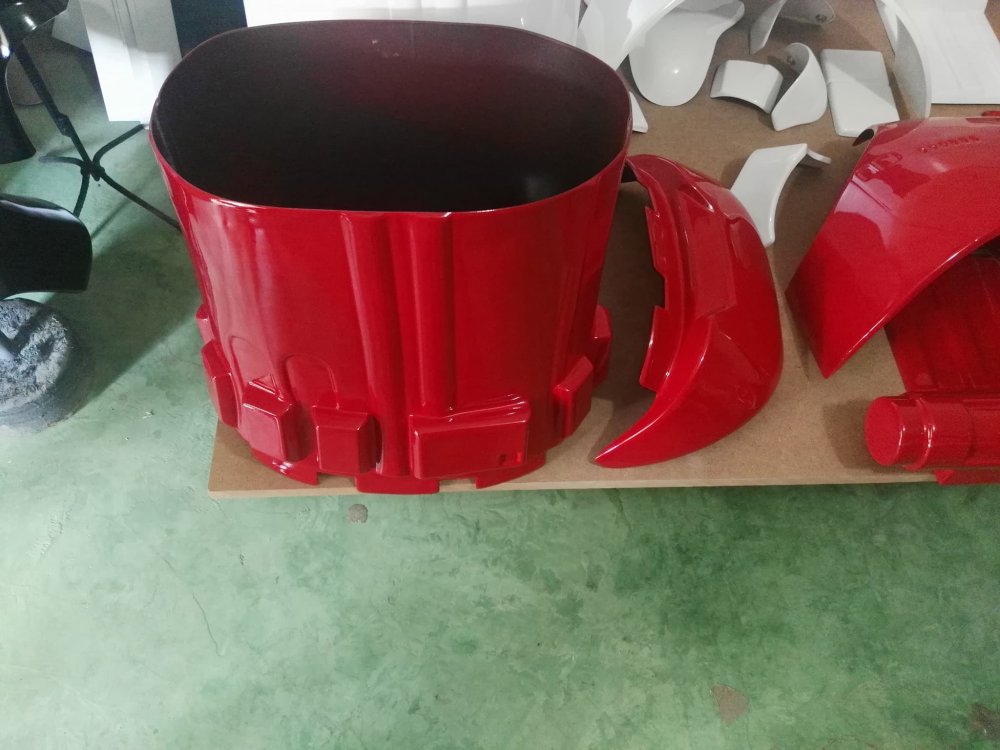
Still going on about the FISD logo, I think this helmet design would be great to use with the crossed blasters...not having a helmet just feels wrong.1 point
-
Bummer..but not to worry - it`s all fairly easy to fix Option one: remove cover strip and check length, from the looks of it it could come down a few mm at the bottom so maybe the lenght is right, otherwise trim and put back. Option 2: trim the top of the coverstrip were it sits using a dremmel (that`s how I would do it) or some other tool of your choice. The gap: glue some scrap abs on the inside and then abs-paste on the outside and some patient sanding your good to go1 point
-
Thanks Tony, it is indeed good to be back.1 point
-
I'm also agreed that having both is a smart move. It may upset some purists, but I think long term it's the right thing to do.1 point
-
Thanks Steve. Thoughts and prayers with Ryan, Lucy, and their family for sure.1 point
-
Well here's an update on mine, slowly but surely. Ordered the Phasma boot armor from phprops, so I can go either way with the boots. I'll have the cloak done once the armor is finished.
 1 point
 -
Hey Tim and thanks for the feedback: 1. Seeing as we are a fake space military I think its okay to veer from actual protocol on that, maybe? 2. I did a both version it would just need to be cleaned up:1 point
-
1 point
-
For the record and off topic great to see you back Tim1 point
-
Hey Katherine - I've added it for the queue of updates we want to do this month. Since it's L1 related we'll run it by the LMO as well to ensure they are onboard. I really do think making it simpler for L1 approvals and leaving the higher details for L2/L3 is the right way to go for this costume. We should have an updated by end of month at the latest.1 point
-
I just want to bump this back to the front page because it's a lifesaver! Just printed the front sight housing, as I carved mine up a bit too much trying to release my doopydoos housing and the sight itself.1 point
-
Weird that the torso costs the same as an arm or a leg (there's a joke in there somewhere).1 point
-
A couple of friends and I watched the Original Trilogy back-to back yesterday. I always had a feeling ANH and ESB were (mainly) lefties, then ROTJ went right. However, it appears that the majority of ‘set pieces’, rather than action scenes, the troopers are primarily lefties throughout all three films. I get the feeling that ‘force of habit’ kicked in for some of the action sequences and, as you would if you’re right handed, some blasters were in the right. I know that there are some exceptions to the rule but, as per pic below, the big, staged scenes are primarily left. Personally, this encourages me to troop as a lefty, just to bring that extra level of detail to the character as that how I believe they were “intended”. Don’t get me wrong, though - I’m not judging the righties - this is just my personal preference. :-) Sent from my iPhone using Tapatalk1 point
-
Hi Thomas and welcome to the FISD! While this detachment deals with just stormtroopers, I will try to help as best I can. I highly recommend you check out Radu Plucinski on Facebook. He is offering a very nice set. You can also check out RS Props on their website, Walts Trooper Factory on Facebook and Lord Zach on Facebook. See the trend? Pretty much need Facebook to check into Tie armor. You can head over to the Jolly Roger Forum but it is pretty much an empty shell. Also If anyone recommends a Targ to you, please run the other way as fast as you can. I hope this helps!1 point
-
So I finally got around to finishing my son's armour. Next up was the thighs, which were full of support plastic and took some time to clean out. Because all the screw posts were removed, I used shims to glue to thigh halves to each other. The shins were a lot easier to do - there was a lot less plastic to clean out. I also decided to leave the knee plates attached to the shins - we're not going for screen-accuracy here and leaving the knees attached to the shin armour means 2 fewer pieces to worry about losing. I didn't use shims to join the shin halves. Instead, I glued 40mm elastic strips inside. This allows the shin armour to 'hinge' open, making the shins easy to put on and hopefully allowing for some growing space in the coming year or 2. As my son doesn't have any white shoes (and as it was the night before his first troop), I quickly made something from white craft foam to cover his shoes. Lastly, I picked up a Rubies child helmet on eBay. It's actually not a bad helmet... for kids! Left: the original toy helmet; Middle: Rubies child helmet; Right: Anovos standard ABS helmet. At the start of April, I took him on his first troop - the opening of a Star Wars Lego exhibition at a museum. It was the perfect first troop for a 7 year old1 point