Leaderboard


Popular Content
Showing content with the highest reputation on 02/25/2018 in all areas
-
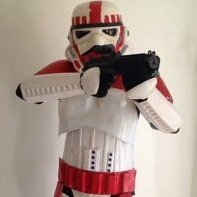
Congratulations on this superb looking blaster, Wayne! You rocked this build including many parts from the completion set in less than a month (wow!) and yes, it is absolutely good enough for trooping. And more... Regarding the ring on the end cap: depending on how clearly your application photos will show this area, you might get away with it like it is now. If on the other hand you have a few minutes, I would suggest to paint it black too. Anyway, I wish you a really good time with this blaster and a lot of events to use it on.2 points
-
So I believe I can call my arms done. Just need to attach the bicep and forearm. This is my right arm, the one I had to reshape due to accidentally trimming a bit too much. It's a tight fit getting my hand through the wrist, but after I get through it fits well. Sent from my VK815 using Tapatalk2 points
-
Oops, I did it again. Another BBB. It was actually a couple days ago but I’ve been too busy to open it. Sent from my iPhone using Tapatalk2 points
-
This will be a pretty short build thread because of the most awesome build threads already out there. I will be doing some basic mods to my R & D resin blaster. For those wanting the bible of blaster builds check out this reference guide. Part authored by one of our very own Garrison Troopers "Sith Lord".https://www.whitearmor.net/forum/topic/32111-fisd-e-11-blaster-reference/The R & D blaster below. I have already removed the top rail that the scope will sit on. The cast has good detail and is pretty light compared to a droopy version.I decided to start with the mysterious power cylinders. Its about the only part from the E11 that cannot be decisively identified. Last guess is they are from old WW2 radars.https://www.whitearmor.net/forum/topic/17306-e-11-power-cylinders-research-thread-renamed-from-3-central-fuses/Sheet aluminium- nice and soft to work with.Three central capacitors from tube aluminium and melted rubber and caps. The final bracket bent into shape.Slots were cut into the tubes for the wings to insert into for additional strength. Tubes were then hot glued with a brass wing detail added. For the end caps i heated some styrene and pressed it over the tube.1 point
-
If Only I Had Known Read Ukswrath’s thread all the way through before you begin. It is filled with tidbits that you will want to know ahead of time. There’s plenty to read until BBD. Get more magnets and clamps. I got 20 thin ones; 20 thick ones would have been better. Read the Centurion approval threads. Learn from other people’s errors. Oopses Peel the protective film off before you glue things together. (Don’t worry: It peels off. Then you can reglue the parts.) If it doesn’t feel like it fits that way, then maybe it doesn’t fit that way! Fo your approval photos, get someone to help. The TK Armor is not easy to put on yourself and get right for inspection. Additional Advice The Anovos strapping system is okay for initial fitting and your submission photos. But you will probably want to upgrade that. The Anovos belt is silly. Get a good one like Imperial Issue. Get Centurion-approved boots even if you don’t now plan on that level. The Sterilite 32 gallon tote is perfect and is a good thing to practice masking and spray-painting on. Thanks To The fine troopers in FISD who encouraged and advised me along the way. My friend Razek the Dragon who took time off from his vacation to help me suit up and pay attention to and fix all those finicky details. He earns a 501st patch!1 point
-
ha ha. yep, pretty much!1 point
-
Congratulations Greg - well done and buckets of to you (I imagine that’s how happy you look)1 point
-
Congratulations trooper1 point
-
Hi Greg, welcome and thank you for applying for EIB. Let's have a look your armor. CRL and EIB Application Requirements: All the required submission photos have been posted. Without further delay, your armor displays all the necessary elements to qualify for Expert Infantry. Ukswrath and myself would like to welcome you to Expert Infantry. Congratulations trooper . Other-Armor Fit/Assembly: In this section we review observations made by your fellow troopers and ourselves. Some observations may lead to suggestions to improve the overall look of your armor. If any suggestions may affect the application process, it will be listed separately in either the above EIB or below Centurion requirement sections. What a fantastic job you have done with this kit, so clean and aligned, wow we love it. If there was anything to suggest it is only the small gap opening between your back and kidney plate. Perhaps a thicker piece of elastic or slightly shortening the strap you have in the center should fix that. Also the screw types on the Thermal Det. These are a Pan head slotted type as opposed to the dome head we see below Reference Image Centurion Suggestions or Requirements: In this section we prepare you for Centurion. If there were any areas of concern they would be discussed here. As Centurion requires more of the finer detail photos, unless something stands out in those, there shouldn't be anything standing in your way to achieve level 3 Congratulations on a very well deserved Expert Infantry award, and we look forward to seeing a Centurion application from you in the very near future.1 point
-
Thanks, was really fun to do and to watch - seeing how it all fits when walking and was planning on doing some talking but the phone switched of..oh well there’s always next time and yes on the Terminator1 point
-
1 point
-
Love it!! What a fun video, and a great set of armour! :-) Was that a tiny bit of the Terminator theme at the end? Or possibly The Dark Knight?1 point
-
Hey Paul Andrew or myself will be with you in a moment1 point
-
Nice! (yep, this time I´m sure)1 point
-
Well, another night, another upgrade. :-) So, a little while back I asked on a group how people transport their blasters. Amongst the options, some of the advise included carrying it in its holster. Well, that has now become part of my transportation solution. [emoji1303] As the pictures below will show, I’m using the Homebase (UK hardware store) 145ltr battle box, and am now utilising the “height” of the box. By using some foam from the packaging of a new kitchen tap, clip straps from a suitcase, and a selection of nuts, bolts and washers, I’ve now attached straps to the box lid and can suspend the blaster in the lid, making the most of the free space ABOVE the armour. Hopefully these pictures give the idea, and show a little of how I get my full kit into the one box. Not sure how it’ll hold up in the long term, but seems sturdy for now. :-) Sent from my iPhone using Tapatalk1 point
-
I received my Echo bracket and fans from Tony earlier this week (thanks again!), so yesterday I cut out a decal for it so I could complete my helmet redo: The final product - lenses cut down and reinstalled along with padding, fan bracket and power supply:1 point
-
Just curious, why did you decide against plastidip? If you go with enamel paint you'll be sacrificing the sound absorbing benefits of painting inside your helmet. I only really bothered plastidipping the inside of my helmet to the avoid feedback from my mic, otherwise I would have left it white. Again, just wondering. Sent from my SM-G950U using Tapatalk1 point
-
A very radical and unusual approach, Freddy. But who cares?! The result speaks for itself - and that looks good so far. Not sure if you have to paint the inside of the scope at all. I would only do this, if the resin is visible somewhere inside when looking through the lenses. Just my two cents.1 point
-
He’s such a nice guy, Tapatalk thought your message needed repeating. ;-) It’s been a pleasure following your build, Wayne. [emoji1] Sent from my iPhone using Tapatalk1 point
-
Haha! Thanks Dan! Couldn’t have done it without yr input matey. Not sure why my reply to Tino duplicated? Strange. Sent from my iPhone using Tapatalk1 point
-
Wow! Thanks Tino! That really is accolade coming from u! Thank u for the kind words! I think I will take yr advice (and Dans) and paint it black just to be on the safe side before I submit it for clearance. No point falling short at this stage...right, time to get started with my armour! [emoji4] Sent from my iPhone using Tapatalk1 point
-
Top job mate. That’s a blaster to be proud of. (Hehe - wrote this about two hours ago - forgot to press submit reply - ooops)1 point
-
Wow! Thanks Tino! That really is accolade coming from u! Thank u for the kind words! I think I will take yr advice (and Dans) and paint it black just to be on the safe side before I submit it for clearance. No point falling short at this stage...right, time to get started with my armour! [emoji4] Sent from my iPhone using Tapatalk1 point
-
Good evening Troopers, it's time to hit the forum with a bigger update again: the scope is pretty much finished! After my work with the car surfacer a couple of weeks ago it was now time to take the next try and drill that thing out properly! First, after sending down any outstanding surfacer with a metal file I started drilling with this forstner bit here: This was what the scope looked like afterwards: Then, as the hole was about as deep as the lens and the plastic casing around it (I decided to keep the casings of all the lenses I used on which would later make it a lot easier to fit in and glue), I switched to this massive thing here: Also notice the aluminium rod + bit construction that we had to build because the drill would not have reached far enough into the scope.. I guess every Chadra-Fan out there would have been proud! Anyway, afterwards the scope looked like this: After a couple of rounds with a rotary cutter (God, I am learning so many new technical terms, it's actually amazing what a blaster build does to your vocabulary ), it was time to get the smaller side done. For this side, we used a "countersinking cutter" (at least that's what my trusted online English dictionary spat out when I punched in the German word "Senkbohrer") because it had just the right diameter for the hole we needed to fit in the smaller lens including its casing. Obviously we also had to free the lens first: Turns out I could be very happy with the result! Finally we only had to connect the two holes we drilled by first drilling a very small hole and then widening it with bigger and bigger holes. This is what it looked like: For my final trick, I put in the lenses to see what it will look like after painting and glu(e)ing: The bright orange will probably disappear a little bit after I painted the inside of the scope black, but I am still very happy with the result and cannot wait to finish this (probably most complicated) part of my blaster! Cheers, Freddy1 point
-
Thank you for links !!1 point
-
Looking good! If you have access to a belt or disc sander, that's the easiest way to wittle down the boxes. You can grind it all evenly that way. I didn't, so I CAREFULLY dremelled and then used sandpaper once I was closer to my line. It's easy to get carried away with the dremel haha Sent from my SM-G950U using Tapatalk1 point
-
Walt's Trooper Factory also does kids kits. You can find them on facebook too Sent from my SM-G950U using Tapatalk1 point
-
Ok...all put together now and I’m really happy with it. It’s not perfect up close but I never expected that and I’m sure it will be good enough for trooping. Just one thing Dan pointed out to me...the D ring...do I need to paint that black for clearance or can I get away with it? Sent from my iPhone using Tapatalk1 point
-
Almost there now....just waiting for the gloss on the grip to dry then I’ll get the rail etc fitted. Sent from my iPhone using Tapatalk1 point
-
Few more pics from the painting.... Sent from my iPhone using Tapatalk1 point
-
Bit of weathering on the counter... Sent from my iPhone using Tapatalk1 point
-
Looking good - all of it1 point
-
Getting there...[emoji4] Sent from my iPhone using Tapatalk1 point
-
Hello again. Well well well. This post has turned the unexpected milestone of 4K+ views! That's AMAZING for me! Never thought it would get so much attention BIG THANKS to you all. I'm flattered beyond limits. To celebrate it, I've gathered myself and decided to take it a little farther, the last step... so I've built a 3d printed stand, ordered a nice plaque and done the numbers on the henglster counter. Come and see! Finally I managed to tame the technique for the methacrylate glass. I was doing it all wrong all the previous times. I used too much force on such a delicate material. This is to be done gently and slowly. I cut a stripe twice the length needed to cover the numbers from a methacrylate sheet I already had. The reason to make it so long to give me room to hold the piece on both sides and have some extra glass done just in case something happens. For this I used a hobby saw and went slowly. Then, I roughly rounded the long side corners on one just one side of the piece, using a big file with minimal grain, those used to soften metal edges, and worked like charm... Then I spent some good couple of hours dry and wet sanding the thing with 500 sandpaper to smooth it to my limit. After that, half an hour more of elbow grease with "krafft scratch remover polish cream" until I got it transparent again. In the picture you can see that some nasty cracks occurred inside the plastic at some time during the process. Happily, having a long piece saved the day, allowing me to spare the flawed end. I've chosen this particular pic despite the general blur cause you can see clear the background through the piece... nice! After the piece was done, I carved just a little the slot on the hengstler to make it more regular to accommodate the numbers and my new glass. As for the number, I googled images and came up with a site with one I liked. You can track it here: http://www.501st.com.mx/foros/viewtopic.php?t=6198 Then I colour-printed a few different sizes of them in a glossy paper and see which one fits best to my liking. Then just mounted all properly. To fix the glass cover I made, I used Humbrol Clearfix glue. This was recommended on my regular hobby shop. It's an ultra clear glue, cures slowly and is not as a strong as CA glue, but doesn't lose any nasty vapours or fumes and doesn't fog or blur transparent surfaces. I've been told this stuff is what's used to glue cockpit on plane models and things like that. And here it is! Now I have numbers on my blaster! Just as PS, I've also printed a 3D stand from thingiverse so I can rest properly the blaster until my armor is done (sometimes in a near future I hope!). It's my first 3d printed project. I printed it directly with no scaling involve, and had to mod it afterwards to fit my gun. Here is a link to the files: https://www.thingiverse.com/thing:2741481 I've also ordered a nice plaque from Rich at PLAQUES4PROPS for my bigger blaster, a DD, but in the meantime will be displayed next to my rubies... Rich is a nice fellow, very communicative and his work is awesome, despite the fact I found him on a rebel scum forum [emoji854]. If someone is interested, you can see his work and contact him trough his Facebook site: http://facebook.com/plaques4props Thank you all for your interest. Now I can call this really done. Enviado desde mi iPhone utilizando Tapatalk1 point
-
Good point! Here they are;1 point
-
Sooooo jealous.1 point
-
I always heard chicken cookie jars and plaid table cloths were expensive.1 point
-
Took a few pictures. I have 2 display cases and a binder with coins. There are more pages in the binder, but you get the idea. I am small time compared to some other guys. Sent from my Pixel 2 XL using Tapatalk1 point
-
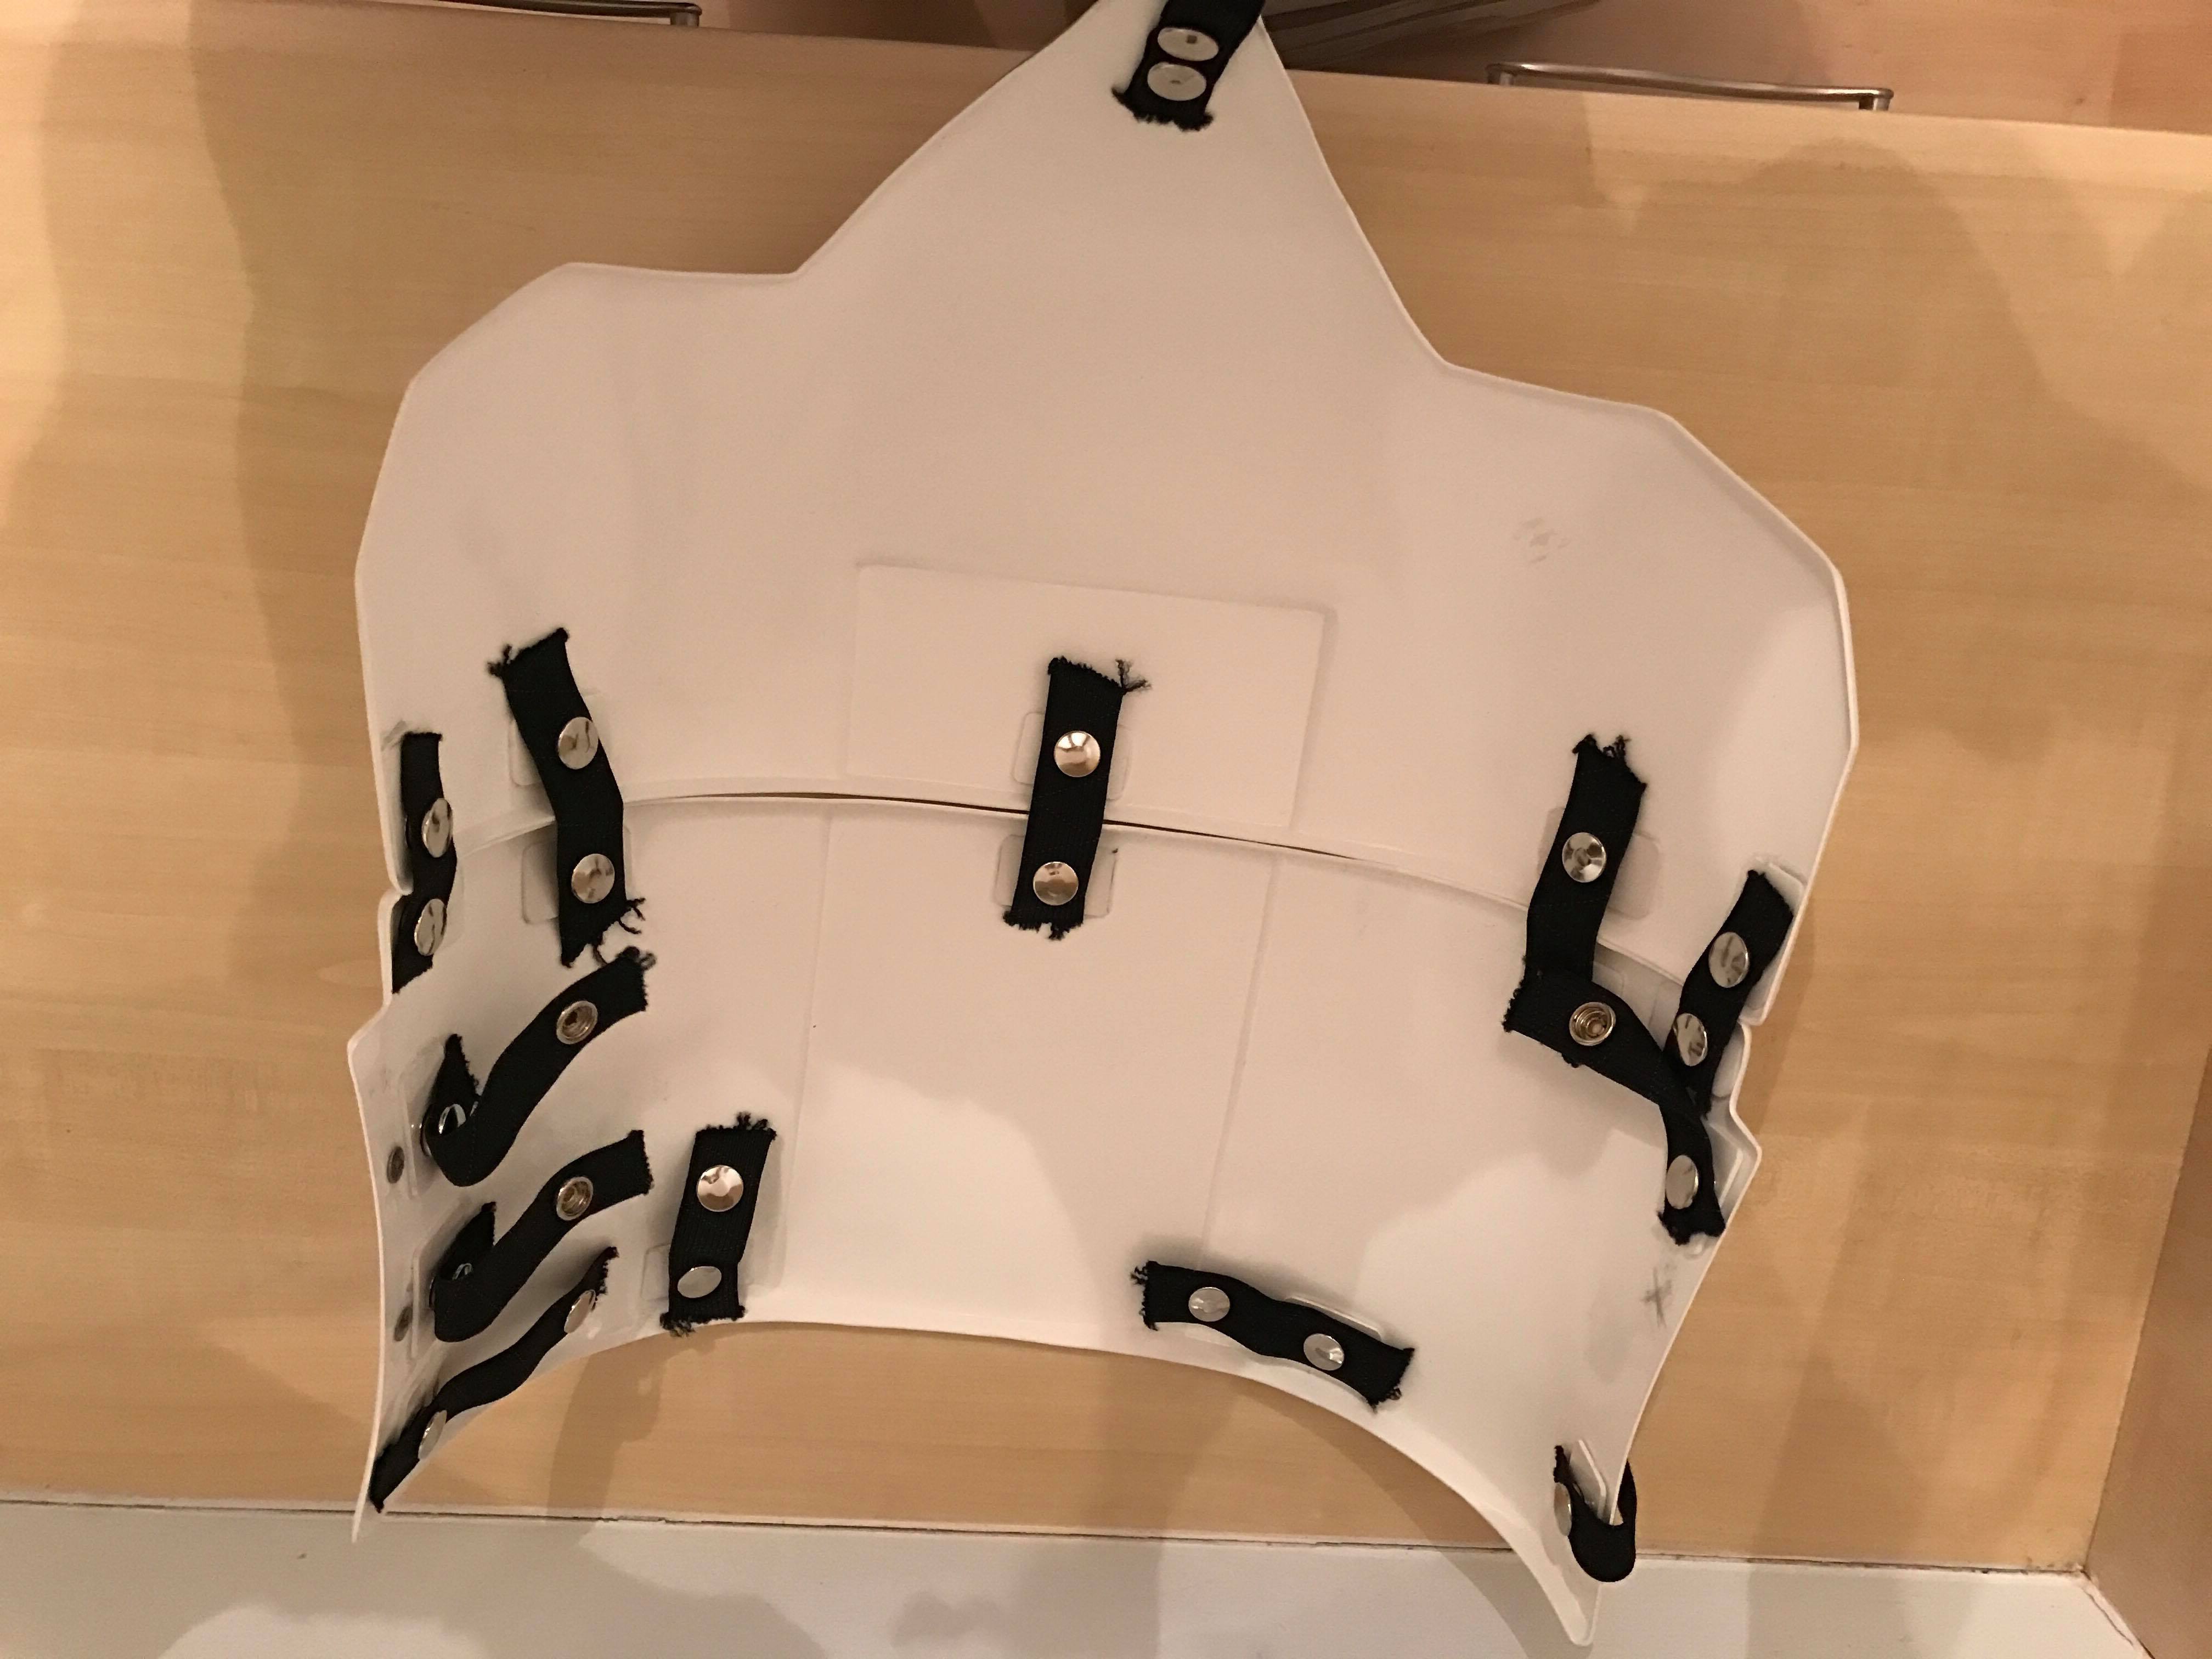
So got out and got some supplies and started installing the brackets. I'm not sure I'll be able to use them, but it's not out of the question, just not sure. I'll find out definitely when I move to the ab. If they don't then I'll finish of the screws and then convert the strapping to the snap plates method and leave them for the look. Sent from my VK815 using Tapatalk1 point
-
When I joined the legion I told myself I wasn't going to collect coins or pins. Since that time I've collected around 20 coins (although several of them were bought by my wife who is also in the legion). Rather than have them sit in a drawer I wanted to display them, so I got a display box and put it on the wall. I still keep a coin in my wallet and another in my helmet, always ready for that challenge.1 point
-
The gap between the top of your shoulder bells and the plastic shoulder bridges. These should be virtually touching, it will also help them sit closer to the chest plate. It also looks like some of your photos are missing, plus could you please add a photo of the end of your blaster showing the D ring. Thanks Justin1 point
-
Looking SHARP, Paul! You will need to post up pics of your bucket (left, right, front and back) and the hovi-tip detail. I think you have this one nailed, though!!!1 point
-
Well, EIB application posted! Anyway, I want to thank everyone for their input - either directly or just by posting their own builds. I can't begin to list all the people that helped but I will mention Sean, Dan, Q, Brad, and especially Daniel. Thanks guys! You provided sound advice and/or talked me off my OCD ledge. I also have to thank Tony (ukswrath) for his awesome build threads - this was the foundation for most of what I did. And thank you Mark at AP for this great kit. This is an amazing community - I'm proud to be part of it! TK-34575 Up next... TD. Gonna get dirty.1 point
-
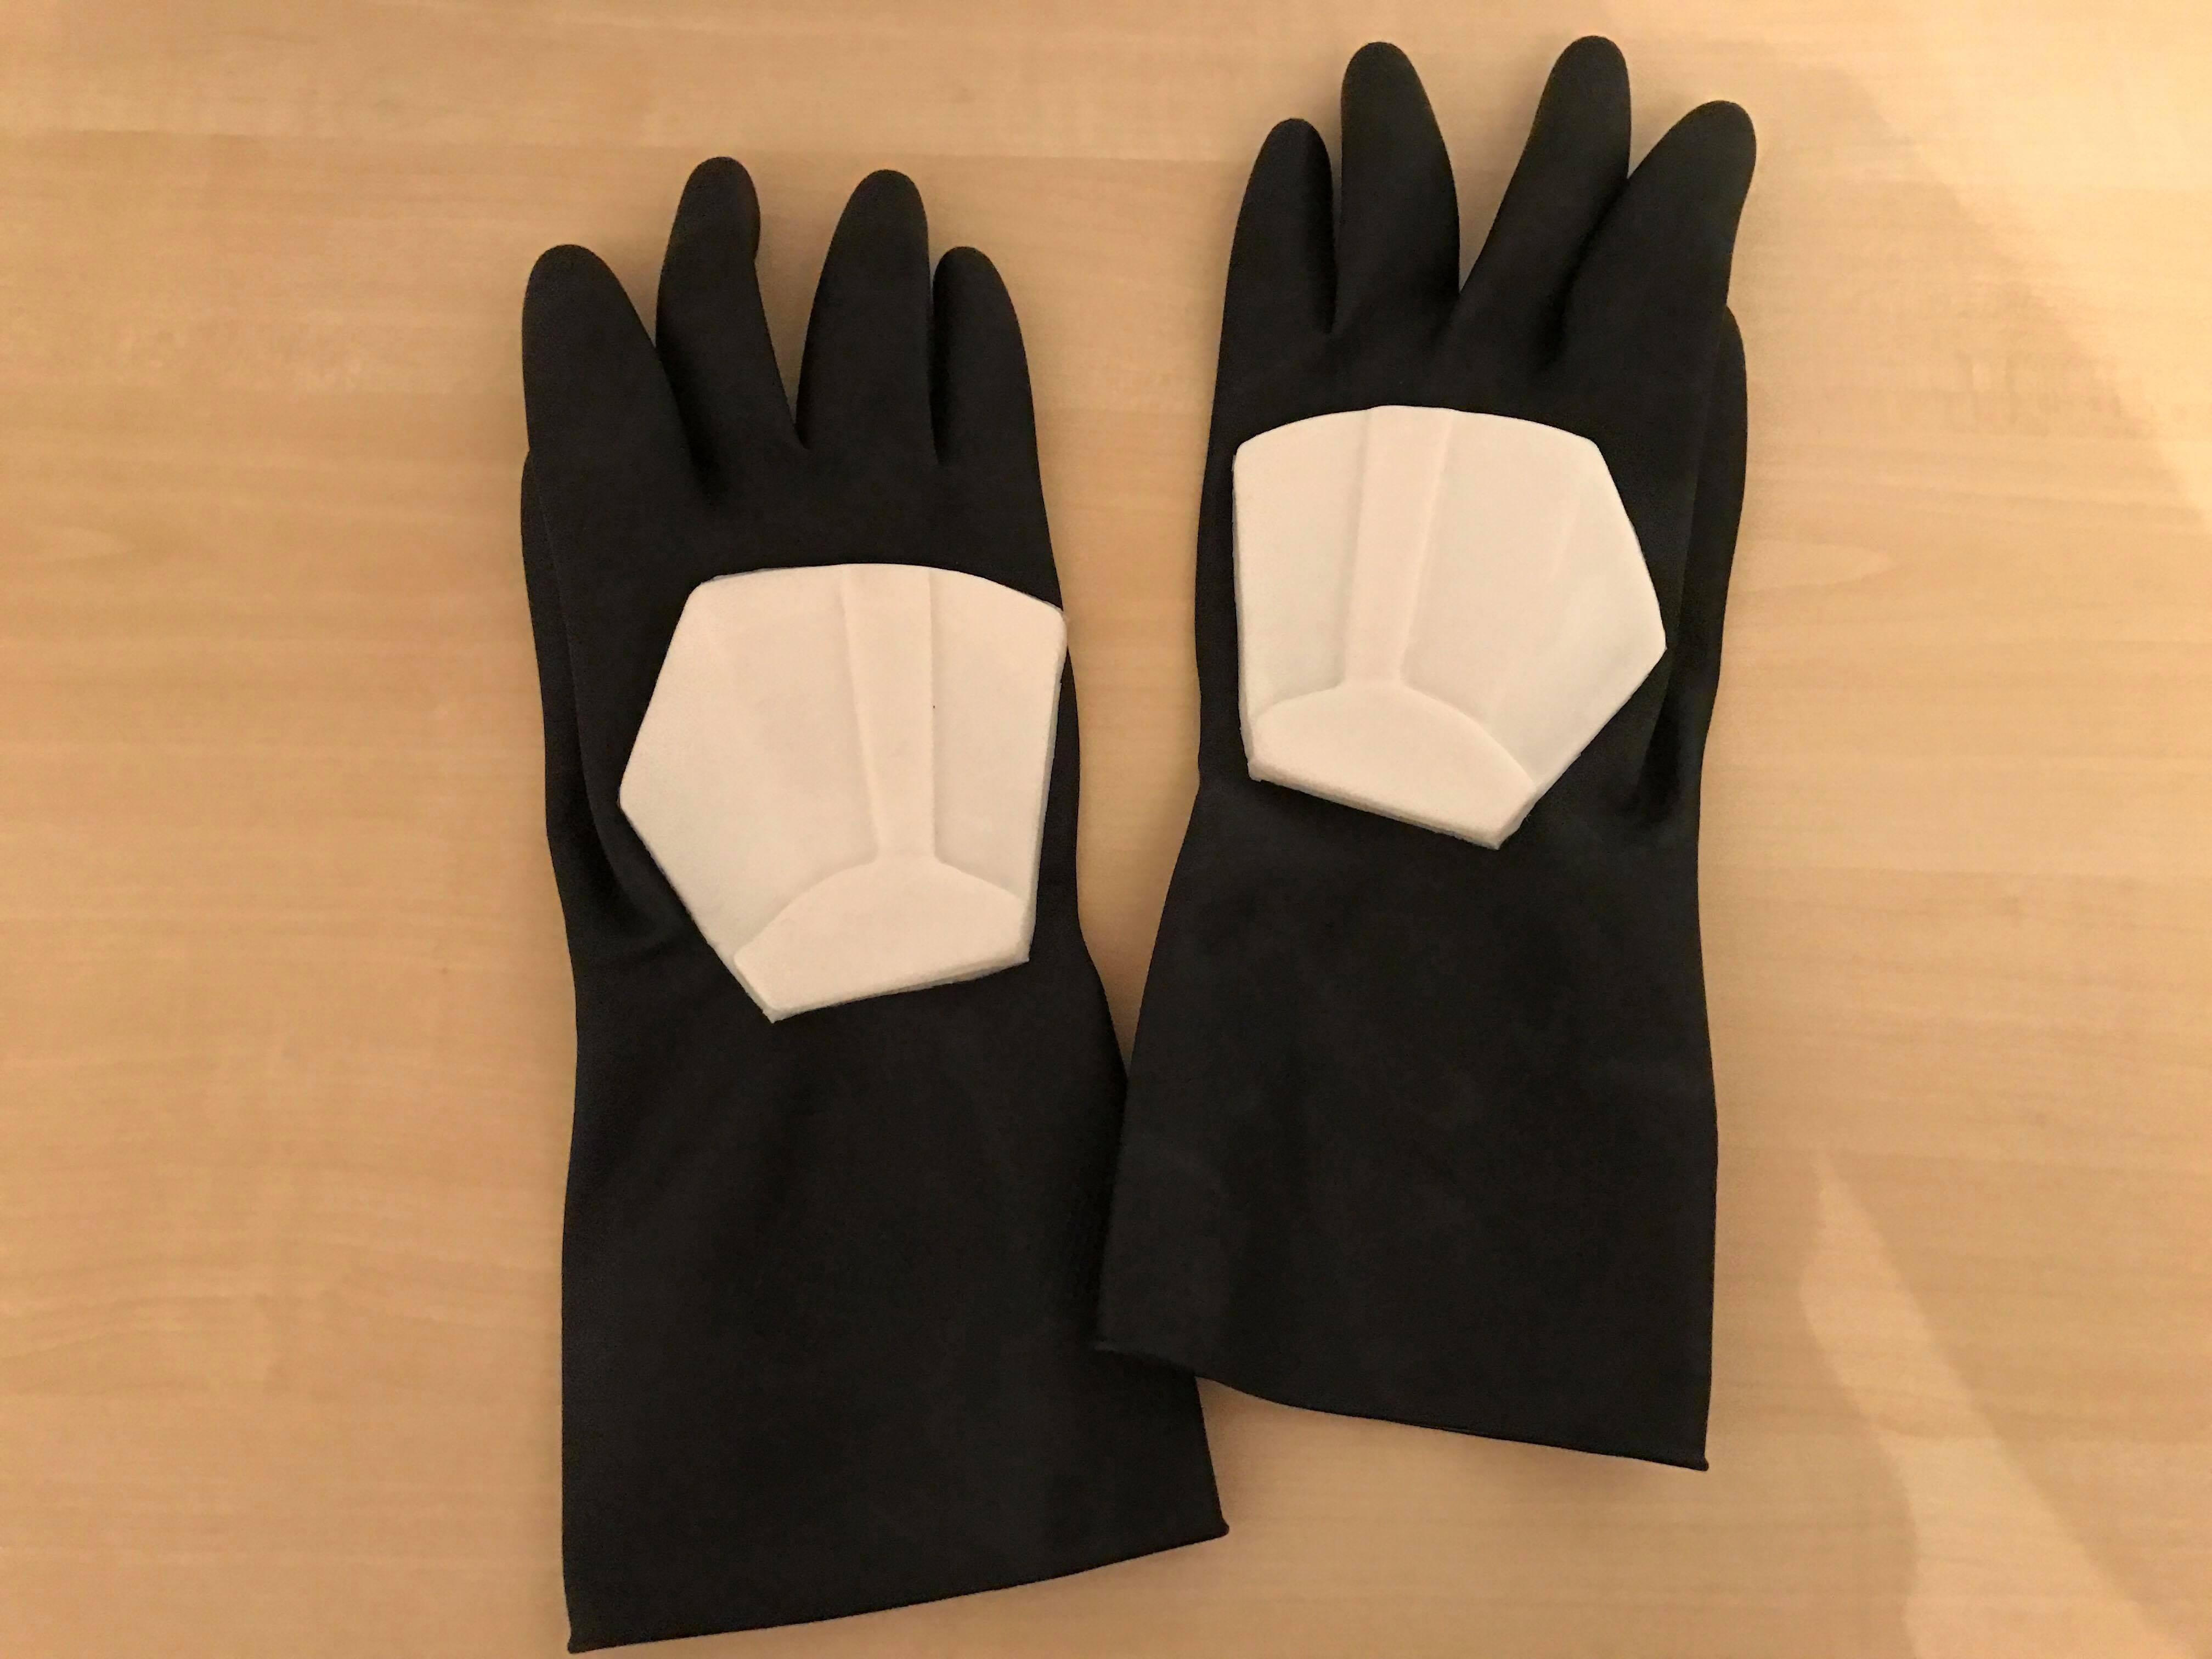
Brothers in arms...and....speaking of limbs, it looks like both got their hands cut if by some Jedi...oh well, spare body-parts are inbound1 point
-
Thank Stephen1 point