Leaderboard


Popular Content
Showing content with the highest reputation on 07/12/2017 in all areas
-
More trigger frame pictures,, ive got the side plates cut out and attached to my prototype..Ignore the extra hole where the select fire switch is , they are there for me to test with. ill engrave the proper letters in production.2 points
-
Run away. Neither of the helmets are approvable, (most) of the kit looks likeFX, which would need a ridiculous amount of work. Save your money and buy from an approved vendor2 points
-
I have both snaps and velcro. The snaps were holding fine by themselves, but adding the velcro makes it easier to put on and quite sturdier.1 point
-
Many people have done this, and will tell you it works just fine. I disagree. It might still work "good enough". But snaps will always be more reliable if you do it properly. Either way, it's your choice.1 point
-
I would avoid that one. Whilst most things could probably be fixed the cost and effort would make it significantly less work and cheaper to just buy a kit from one of the many well known makers. Even with updates and fixes this wouldn't be up to the standard most current armour could achieve from the box. Have a look in the vetted sellers list in the getting started area (https://www.whitearmor.net/forum/forum/38-getting-started-read-this-first/) as well as the build threads for an idea of what kits are available.1 point
-
Chris, I am having trouble posting pics since the update. I sent you a pic with ID of the Doopy Doos to your Facebook. Edit: Think I fixed it..... aghhhh nope. Can't get it to share from Amazon Drive. Edit... got it to work using IMGUR1 point
-
Turpentine will be fine, it is about the most gentle of the thinners available. Dip the toothpick in it and start working the edges, you will see the the paint comes away without too much effort.1 point
-
Good, since you're supposed to use single cap rivets anyway. Description says double, but pictures show single cap: ------------1 point
-
Hi Mike thank you for your EIB application. Let's take a look. CRL and EIB Application Requirements: All the required submission photos have been posted., your armour displays all necessary element as set out in the level 2 CRL, Congratulations. Other-Armor Fit/Assembly: In this section we review observations made by your fellow troopers and ourselves. Some observations may lead to suggestions to improve the overall look of your armor. If any suggestion affects any application, it will be listed separately in the above or below sections. We have a few areas to go over here so lets start at the top. Overall your helmet is pretty good. It is hard to see the finer details like the ear screws with small images, but i think you have worked out how to fix that, so lets have some larger shots for your Centurion application. We do think your Vocoder could do with a more defined shape and edge. Take a look at the reference image below to see what we mean. One of the tricks many use is to dip a toothpick in turpentine and scratch away the paint around the edges. Then they repaint the Vocoder with a defined outline. Reference Image Shoulder Bells: These are probably bang on when the elastic white straps under the shoulder bridges has not been pulled out. This is only a dressing issue, and probably the best first photo to take when suiting up for application shots. Get the shot before you need to raise your arms and move around too much causing the elastic to pull out. Secondly, but not a big issue the Bicep and forearm coverstrips should be facing forward and in alignment with each other. Just another dressing issue to be mindful of. Reference Images Back to kidney plate: Strap adjustment nice and simple, only a small amount but not a deal breaker, but your Thermal det is rather lop sided and needs to be pushed down and level. Sniper plate caught under thigh: I see you are on this as mentioned by one of your fellow troopers,foam inside the back of the thigh will do the trick. Centurion Suggestions: In this section we prepare you the best we can for Centurion. If there are any areas of concern they will be discussed here. The first item we will mention is the Thermal Det screws. This comes under the discretion of the builder or as we say the final accuracy is up to the applicant. Flat blade screws are the most accurate, so if you want that little finishing touch go get yourself some and replace the Phillips head style. This will have no bearing on a Centurion approval, its just a nice touch. Looks like yo have some white paint on the Ab snap. These should not be painted so I real easy clean up and its done Reference Image Lastly we come to your side shim. Generally you would make a shim for each side so all your armour parts remain central around your middle. I did read that you were contemplating removing it all together, if you do so just remember that should should be no gap either side between Ab and kidney. If you do decide to modify it, may we suggest making two (one for each side) but also you would need to make some ABS paste and get to work removing the join. As per CRL for Level 3 *A single visible seam line is present Well there you have it Mike, EIB approved and next stop Centurion. I don't think there is a single adjustment or modification listed above that is beyond your capabilities. Great build and hope to see you in Centurion review soon.1 point
-
Looks great! Those makeshift paint stands are awesome, maybe I should get a trike..1 point
-
Looks great! Can't wait to see more. Also yeah the undersuit is soo tight haha.1 point
-
I still don't understand why are we considering "extremely subtle "swoop" shape, or a bump on the bottom" in the CRL. This is an armor personality trait similar to that of OTTK armor which is loaded with them yet are not included in CRLs. IMO this bump or swoop would be an element mentioned at a SWAT level, if we had such a thing here. Point being, every other component in the L3 section could be picked up even by a novice looking at a photo, the swoop not so much. 2 cents1 point
-
Started the frame prototype,,,, this is the inner section.. Extra switches and functional safety shown... Two out thinner pieces will sandwich the inner part to give it the same layered look of the vintage frame..1 point
-
Thanks John i really app the you letting go of this ,,, these are hard to find1 point
-
Peripherals strongly depend on your preferences and blaster type, and wav files you can obtain from other members. Professional open source software is available from me or you can program your own (or any combination). Therefore this price is for the board. I can maintain this low price only if I manage to order larger quantities (100+) at a time.1 point
-
Looks like you're off to a flying start. This kit will come together in no time. Look forward to seeing the progress1 point
-
Right click the image in your local Dropbox folder and choose "Copy Dropbox link" and change ?dl=0 to ?raw=1 at the end of the URL. Now it'll embed. Now, how do you replace 100 pictures in a thread quickly on THIS forum? - Click on edit post - Right click image placeholder and choose "Open image in new tab" (This is in Chrome. IE or Firefox may differ) - Go to new tab (this will be Photobucket) and save image from new tab into the local Dropbox folder you want to use - Keep the Dropbox folder open (I recommend viewing files in detail view and ordering by "date created" so the current image is always at the top) - Right click saved image and choose "Copy Dropbox link" - Return to forum post and backspace to delete image in forum post - Click "Insert other media (bottom right) and choose "Insert image from URL" - Paste URL and change ?dl=0 to ?raw=1 at the end of the URL - Repeat This may sound difficult, but once you get into a groove it takes about 10 seconds an image. This saves you from having to download your whole Photobucket en masse, an trying to figure out what images were where. It is also way easier than uploading to a new image hosting service and running through the process of getting the new image URL for each. Feel free to copy and paste this to any forum anywhere . . . I don't mind. Vaya con Dark Side. Danny Steinberg TK 66668 Canadian Garrison1 point
-
The mobile friendly version of the skin is pretty good though to be fair.1 point
-
Absolutely not. It is anyone and everyone who likes to use Tapatalk.1 point
-
Yup, the team is aware and they are working on it. It will be ready when it's done.1 point
-
UPDATED 501st I have with appropriate level clearances. TK - ANH Stunt L3 TK - ANH Hero L3 TK - ESB L3 TK - Heavy Weapons Trooper TK - First Order ID - Officer ANH L3, Lt Tanbris L2, Lt Jir L2, Lt Childsen L2, 2nd Lieutenant L2, Lt Cmdre Praji L2, Lt Treidum L2 ID - Warrant ANH L2, ROTJ L3, Major Hewex L2, TC Joff L2, Col Dyer L2 ID - Line Officer ANH Chief Bast L2, Cmdre Cass L2, Capt Khurgee L2, Adm Motti L2, Gen Tagge L2 DZ - Jawa ANH DZ - Tusken ANH TB - Biker Scout Lancer L2 IC - Crewman ANH L3, ESB L3, ROTJ L3 IC - Mechanical Crew L3 TI - Reserve Pilot IG - Gunner TR - Guard ROTJ IN - Navy Trooper ANH L3, ESB L3, ROTJ L3 IN - Navy Dress Uniform ESB L2, ROTJ L2, Sgt Bean L2 ID - Line Officer - Olive CT - Clone Trooper (Ret) ID - Grand Moff Tarkin Working on SL - Emperor 80%1 point
-
Personally, I couldn't care less what sexuality people are... But if groups of people want to get together for their own reasons, where lies the problem?1 point
-
The thing with silicone is that nothing will adhere to it....except silicone. I embed the backs of my hand guards with white heavy-duty cotton "duck" cloth during the casting process so that it permanently bonds to them. This way, E-6000 can be used to attach them to either rubber or Nomex with no problems. If gluing them to rubber gloves, the top surface of the gloves should be thoroughly cleaned/degreased and scuffed up a bit with some sandpaper, This will help with adhesion. When gluing to Nomex gloves, be SURE to put a piece of wax paper inside first. Otherwise it may seep through and you will glue them shut.1 point
-
Me with TR-13927 as Bob.
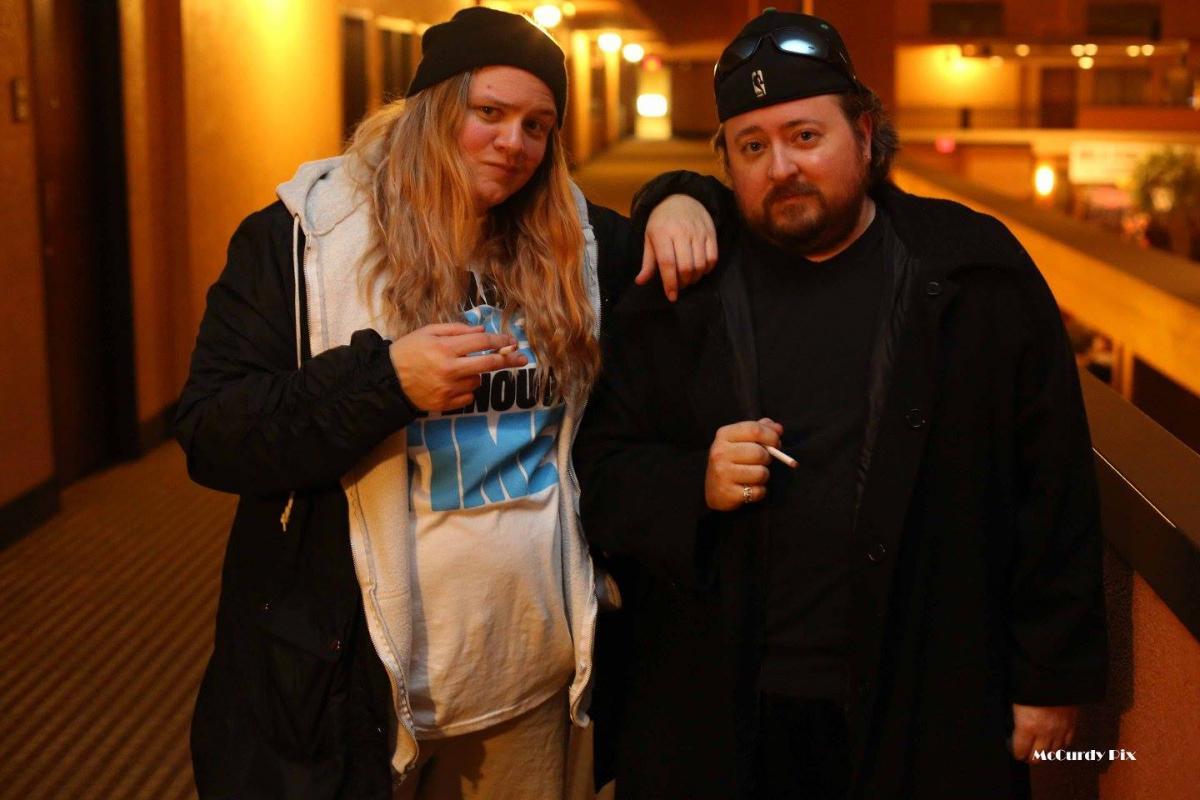 1 point
 -
I have completed: TK - ANH Stunt TA - AT-AT Driver (build: http://forum.armoredcavalry.net/index.php?/topic/2414-daryls-at-at-driver-build-wip/) I am working on: TS - Snowtrooper (build: http://thebhg.net/forum/index.php?showtopic=4301) BH - ESB Dengar (build: http://www.blizzardforce.com/forum/viewtopic.php?f=78&t=5787)1 point