-
Posts
28,632 -
Joined
-
Last visited
-
Days Won
834
Content Type
Profiles
Forums
Gallery
Articles
Media Demo
Everything posted by gmrhodes13
-

Alternative holster pattern.
gmrhodes13 replied to troopermaster's topic in Boots, Soft Parts, and other Accessories
I did compare a lot of the Hero versions early on in my build, the Hero version on the right to me it appears to have the RS image holster, can notice the longer holster straps and a taper to the side and also stitching on opposite side to ANH holsters. Can't find a better side image to see if it actually had a cut out for an E-11, personally I don't think it would. It also appears to be attached higher on the belt in the centre like the RS image At first I thought this was still the same Hero but it appears he has a normal short strapped ANH holster BUT then I realised he had a higher brow and his mic tip is not white like the other. The promo Hero holster had straps behind the belt and the 4 rivets, although carrying an SE-14R the holster still has a cut out like an E-11 holster. But it appears to be slightly different to a normal ANH version as it is stitched on the opposite side? Definitely has the cut out/notched section. Holstered SE-14R Promo image below has the same ANH E-11 styled as it has the cut out/notch, can see on the front the flap of the notch and also the opposite side sewn. My findings there appears to be 3 Hero version holsters: 1 RS image used on the Hero (not seen anything even slightly looking like this on any other Stormtrooper) and no E-11 cut out/notch. 2 ANH straps behind 4 rivet holster standard Hero version 3 PROMO: straps behind 4 rivets BUT stitched on opposite side and also has the E-11 cut out/notch. I believe this is a standard style ANH Hero version only oppositely stitched, not matching SE-14R (although it will fit in the holster). -
Try this link it's a 100mb file
-
Celebration Bash - Have You Purchased Your Ticket? More information and tickets available here
-

FirstOrders TLJ/Executioner Build - 9.23.2017
gmrhodes13 replied to First0rder's topic in TLJ Build Threads
Done -
Nice work, you may need to supply a close up of your TD screws, bit hard to make them out. Also close up of your thigh ammo strip rivets. Best to supply a photo of your ab/kidney rivets too, a little hard to make out in the side profile, they aren't aligned but that could be because your arm is up. You may need to add a drop of glue behind your drop box straps, they don't appear to be aligned at the end of your belts in a lot of your images. Thighs are sitting at different heights, can see it more on your back photos. I'd also advise bringing your forearms a little closer to your wrists, there is a lot of glove showing there. Good luck with approval.
-
For this year the Legion web team is handling all the syncs (detachment affiliation. You can contact the legion web team via email lwm@501st.com
-

Digz Graavz First Build - ANH Stunt from AP
gmrhodes13 replied to Digz Graavz's topic in ANH Build Threads
If you look at the center bottom you can just notice it's not quite aligned, if you look at he two bump risers compared to the cover strip, you could go as is but if you glued the sides, fully then them dry, then you could still be able to twist the front to straighten, apply glue behind and clamp tight, tape can help keep too. -
Hang on tight, the days will pass soon enough, besides there's always reading to keep you busy, EIB and Centurion threads and if you finish with those have a read through the Trooper Survival Guide
-

Lorelei's 5'4" ATA ANH-S Centurion-Hopeful Build
gmrhodes13 replied to TheLorelei's topic in ANH Build Threads
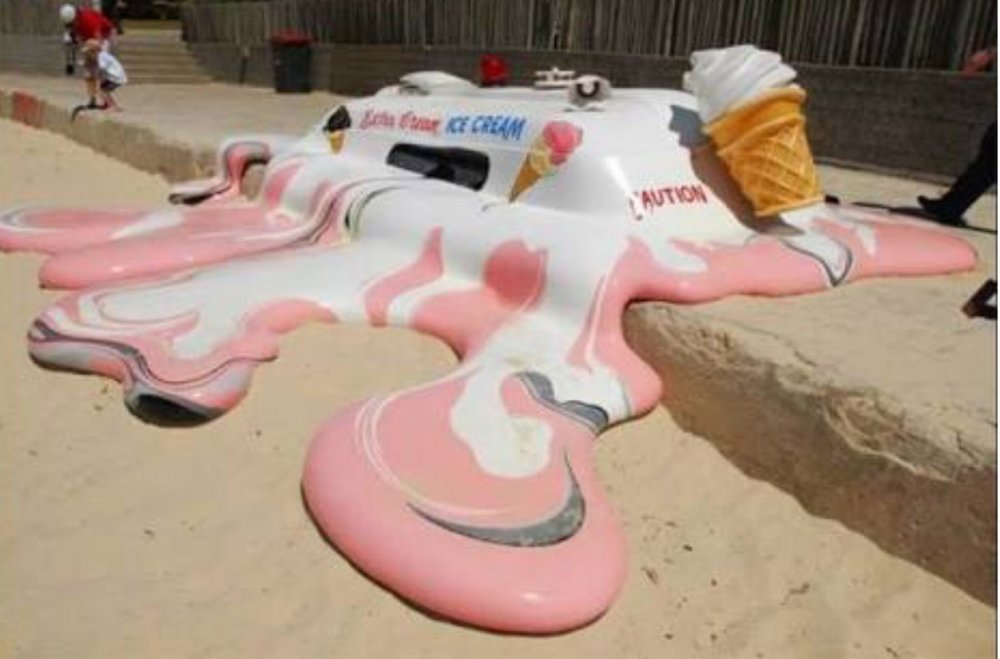
He’s gonna have to owe me, it’s 38 C here for next 3 days, poor old I’ve cream trucks just don’t do well -
For final smooth sanding if you use wet/dry sandpaper and soapy water the paper won't clog as fast and will last longer Great work, kit it up.
-

Making my Shims Passable for Centurion (WIP)
gmrhodes13 replied to TK-42134's topic in ANH (Stunt and Hero)
Check through a few of the ABS paste threads, some acetones work better than others, some won't even melt the ABS, I had a devil of a time finding one that would work down here, managed to finally get one from a local supermart -

Making my Shims Passable for Centurion (WIP)
gmrhodes13 replied to TK-42134's topic in ANH (Stunt and Hero)
Adding the ABS paste isn’t as daunting a project once you get going. The issiues I’ve found is sometimes you are left with tiny pinholes, yea these can be filled but depending with what you use it may need painting, then it’s a case of finding a paint which will match. Be looking forward to your progress good luck -

Lorelei's 5'4" ATA ANH-S Centurion-Hopeful Build
gmrhodes13 replied to TheLorelei's topic in ANH Build Threads
I want ice cream Well not at the expense of your build -
Nothing better than BBB's, good luck with the build, looking forward to the progress
-
Armor parties can certainly give you some great feedback and hands on assistance. Build is coming along great, nice work.
-

Cute pic during my first big group troop
gmrhodes13 replied to rzill's topic in Field Training Exercises
Hi mate I noticed you still don't have Stormtrooper access on the forum, have you requested higher access yet?, if you haven’t the thread is here -

Trooping as a Vet with PTSD and issues in crowds.........
gmrhodes13 replied to TK-42775's topic in Off Topic
Awesome work and congratulations on getting out there and giving it a go. I must admit after a marriage breakdown and living in a dark flat for a few years I wasn't very good at getting out in public, I don't do well in crowds especially with people I don't know but it's amazing how much being in a costume changes that terrible feeling, it's like it isn't even there, you forget all about a lot of things in costume and it's the smiles you see on kids faces that make it so worth while. -

Digz Graavz First Build - ANH Stunt from AP
gmrhodes13 replied to Digz Graavz's topic in ANH Build Threads
Awesome, (doesn't include that in his post) sneaky bugger -

Digz Graavz First Build - ANH Stunt from AP
gmrhodes13 replied to Digz Graavz's topic in ANH Build Threads
You could also add a couple of strips of abs behind your split rivets, if you then add a little glue before adding them they will help stop the elastic pulling through the rivets and washers -
Sounds like you are still on track, well except for the weather, we have the exact opposite situation there, work in the shed from 6am and cook from 10am onwards, does slow down progress, but any progress still the same all adds up in the end
-

TK-42134 ANH-S Requesting EIB Status (Anovos) (891)
gmrhodes13 replied to TK-42134's topic in Request Expert Infantry Status
Hang tight trooper I'm sure one of the DO's will be with you in due course, these things do take a little time -

Posterior (Butt) Plate pain, or pain in the @$$ Plate
gmrhodes13 replied to TK-42775's topic in Assembly, Mods, and Painting
I would try to at least keep the same looking shape even if you trim off an inch, trimming the sides will allow it to look standard as well as give you a little more wiggle room.


