


gmrhodes13
-
Posts
31,208 -
Joined
-
Last visited
-
Days Won
1,069
Content Type
Profiles
Forums
Gallery
Articles
Everything posted by gmrhodes13
-
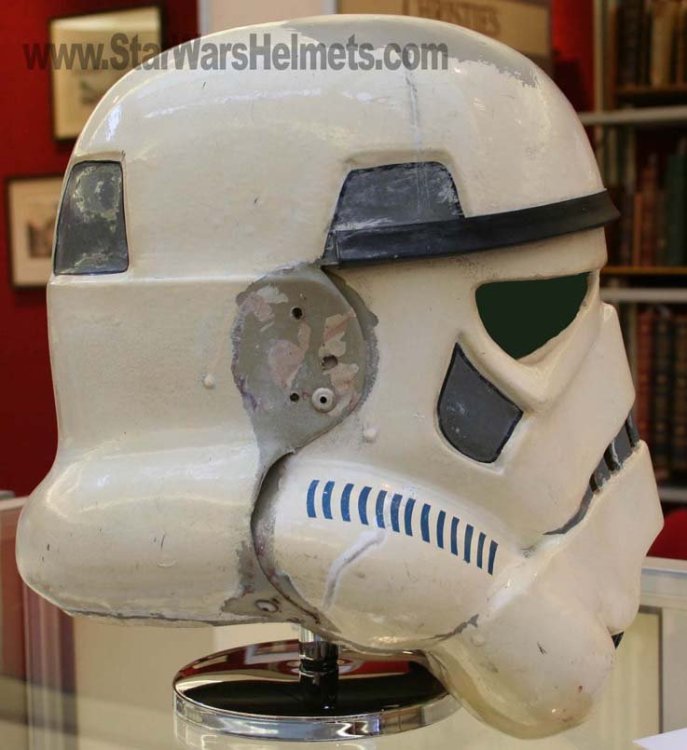
Just watch the tilt of the faceplate, this can increase and decrease the opening, make sure you can fit your head through. The alignment of the ears is a suggestion not specified for higher levels so if you can't quite make it don't panic. As long as you have enough material on the sides you can trim some off, the ear will cover this. This image without ears you could compare with, note the rivet on the ear portion to close the gap, a nut/bolt is fine and good for adjusting rather being stuck with a rivet. Note same helmet and different ear angles Some great how to threads, especially for trimming and fitting ears
-
 Congratulations and welcome to the centurion ranks trooper
 -
I use soft yellow foam from haberdashery store, I glued velcro to both the sponge and armor so I can remove for washing for those really sweaty troopers, you'd be amazed how much sweat can gather in the armor
-
Hello and welcome back trooper
-
SublimeBW's Armor Master's (AM) ANH Stunt Kit - Build Thread
gmrhodes13 replied to SublimeBW's topic in ANH Build Threads
I also leave mine for longer time to dry especially any areas which are under strain -
Well they aren't showing in your thread, only in preview so perhaps you may want to
-
Many of us we use a free image host Imgur for adding images to our posts, here's a how to on the subject
-
You should trim from either side so the cover strip is central. I have small arms and needed to add foam to the insides, you don't want to trim too small as you may look out of proportion with the rest of the armor on. Also use the "direct link" or right click copy paste when using Imgur so the images show in your thread. You can find a whole gallery of images for references of sizing and placement
-
Full checklist here
-
Your tube stripes don't appear to have the correct fall at the front, notice the lean from top to bottom From the CRL for L2: Fall of tube stripe tops ideally lean toward the front. I will also move this thread to the ANH build area as it does not belong here in Forum Help & Support
-
Nice work trooper, a few photos I know the DO's like to see: Sniper plate front, side and side Thigh ammo strip rivets inside and out Also side Ab/Kidney rivets Good luck with approval Awesome background by the way
-
Awesome when you try it all on for the first time. Looking forward to seeing more pics soon
-
Hello, if you would like detachment access and are an approved trooper you need to add a link to your membership profile, check the first post of this thread.
-
Coach_MattLewis is requesting pre-approval review
gmrhodes13 replied to Coach_MattLewis's topic in Request TK Pre-Approval
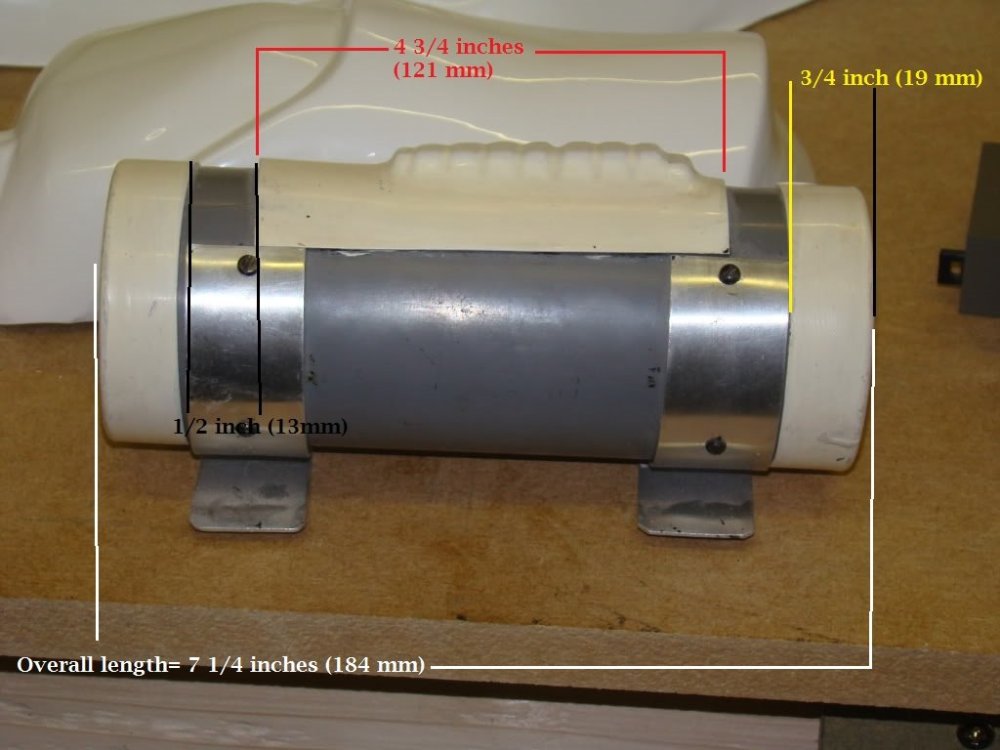
Try the "direct link" or copy paste the image '' Looks like it's popped apart, make sure you rough both surfaces with course sandpaper, if they are too tight you can have slightly bigger cover strips on the rear, the public won't notice them as you are usually seen from the front. -
Sorry but I have to call this quote out, "This debate is a clear case of elitism and "if I had to do it, everyone should have to do it" This is not the case at all (well not in my case anyway) it's a case of following what we see on screen, references are what the CRL's are based on, not how an armor supplier has made their kits, other armor makers have supplied kits with seams/joins in the same way DN have and members have been dealing with them since 2015. There's some pretty big differences between screen used and Disney troopers, BUT you can plainly see they also don't have the side seams on the AB same as screen used or the join between the top of the yoke and backplate same as screen used. References They do however have a one piece chest/yoke And of course they suffer cracking in the same stress points just like the rest of us. Screen suits displayed at Celebration 2015 No join top of yoke/backplate No seam on side of AB but you can clearly make out where they have been joined as their is a high point there I just don't see a valid argument to basically add/allow seams to a costume when they aren't present, the references are there and we've had members with DN kits who have used ABS paste successfully to remove the joins/seams to meet the current CRL's.
-
Would be good to also get the CRL text posted and start to make adjustments to wording to fit Pyre, while waiting for photos.
-
Hello and welcome aboard, research is the key to this hobby and don't be afraid to ask questions, there's always someone around to help, good luck
-
You need to add a link to your membership profile https://www.501st.com/members/displaymemberdetails.php?userID=9949
-
Unfortunately that is not the correct link, try this one https://www.501st.com/members/displaymember.php?userID=36300&costumeID=124
-
Hi Tyler nice work, you will however need to post each of the images into your application, copy the "direct link" of each image or right click select copy then paste directly into your thread. Also have a read through the application requirements here: https://www.whitearmor.net/forum/topic/22583-expert-infantry-application-guidelines/ You may also want to check some measurements on your TD clips are HUGE and your control panel plate is not quite straight on the sides Good luck with approval
-
Looking forward to seeing some photos, a great tutorial on adding images via a free online image hosting service
-
Here's my L3 for comparison, I can't see any issues but see what our DO's say @Deployment Officer Team From the CRL Hook arms should be black and center stem silver Visual dictionary
-
You need to add a link to your 501st membership profile, take a look at the first post in this thread for instructions
-
Transforming an Anovos Kit
gmrhodes13 replied to Coolajxl's topic in Hard Armor (General Discussion)
For yellowing you can try Ret0bright, worked great on my lid of my 10 year old ATA helmet. Those you have already mentioned and a couple other options, Heavy Weapons Trooper or The Force Unleashed, both have some weathering. -
Some other EIB RS comparison images


