gmrhodes13
-
Posts
31,208 -
Joined
-
Last visited
-
Days Won
1,069
Content Type
Profiles
Forums
Gallery
Articles
Everything posted by gmrhodes13
-

Dblcross requesting pre-approval ANH Stunt TK
gmrhodes13 replied to dblcross's topic in Request TK Pre-Approval
You don't have to, some do, if you keep the originals others may use them as a guide and then post new photos after the feedback. It's very hard to get everything sitting just right especially when you are in the armor, I find having a full length mirror handy or even checking the photos before undressing helps -
Overall gaps are looking pretty good, albeit I would bring your forearms up a little, they appears to be just touching the handplates and you have a big gap at the inner elbows.
-
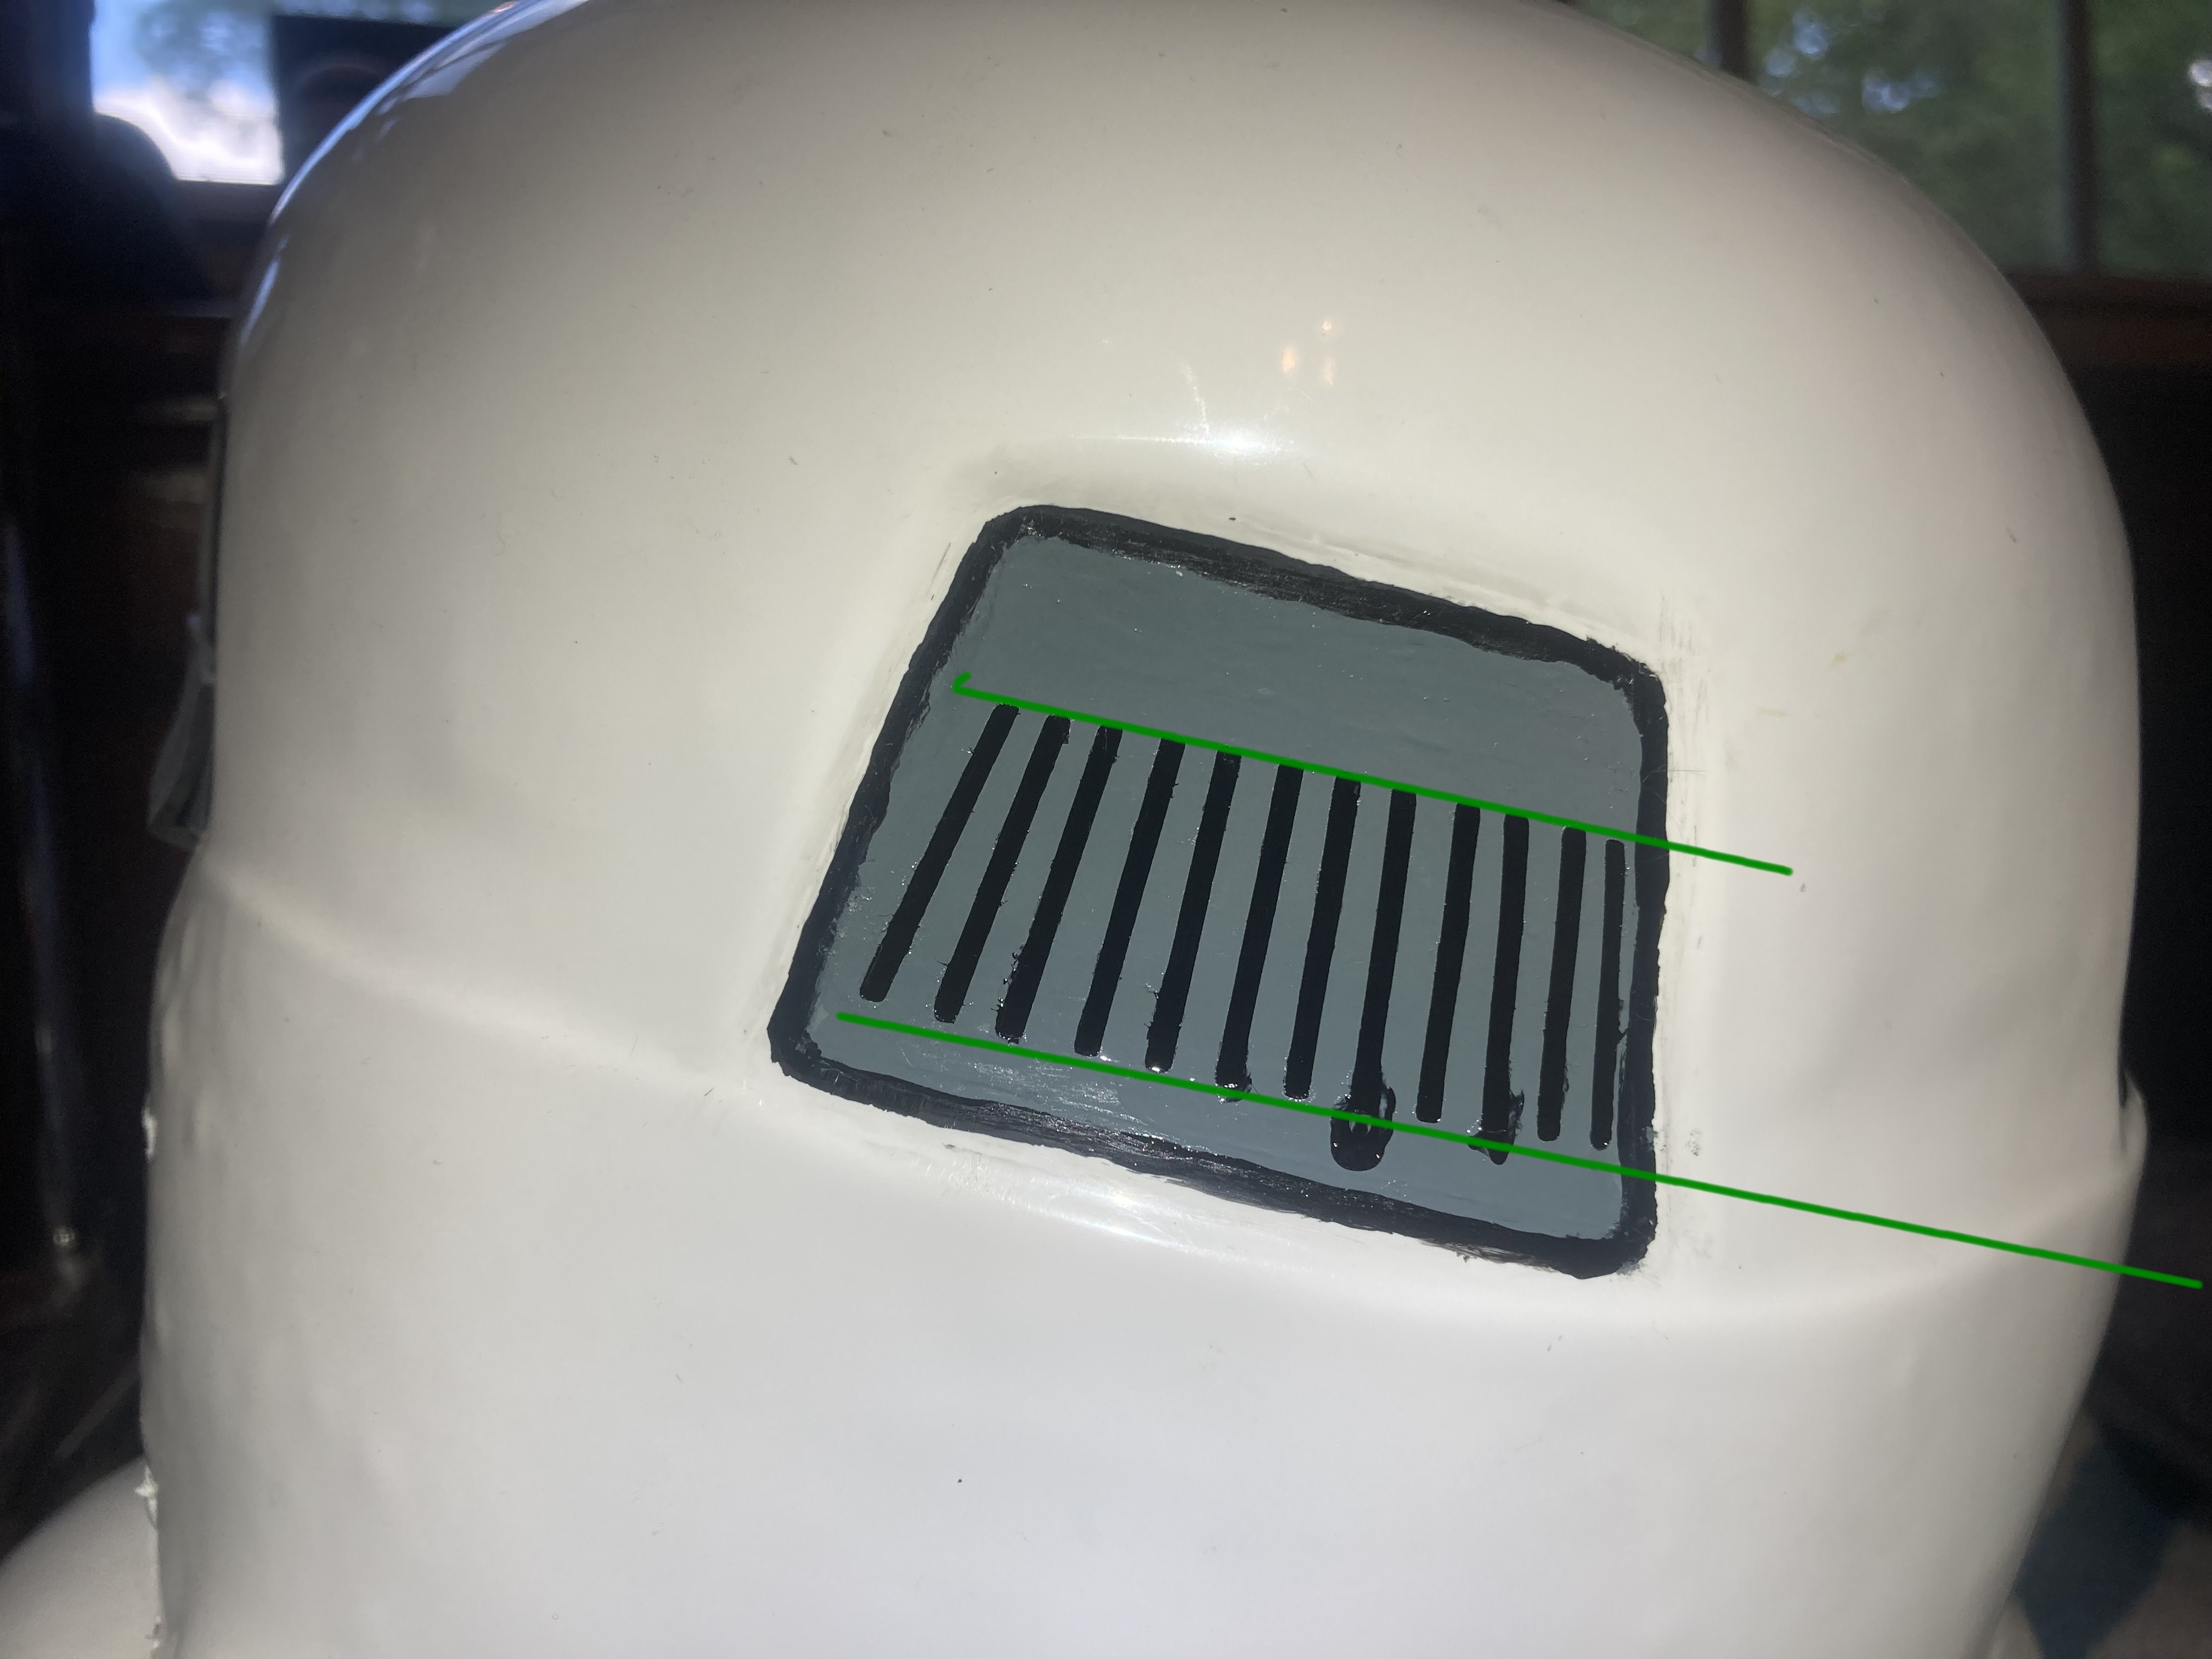
Nice work, just watch the angle of the template, angling upwards on side. Bottom of the corners should be sharp not rounded. I'd probably do a way with the last line, not much gap between it and the outside line. A touch up should get rid of most of your bleed.

-
Dblcross requesting pre-approval ANH Stunt TK
gmrhodes13 replied to dblcross's topic in Request TK Pre-Approval
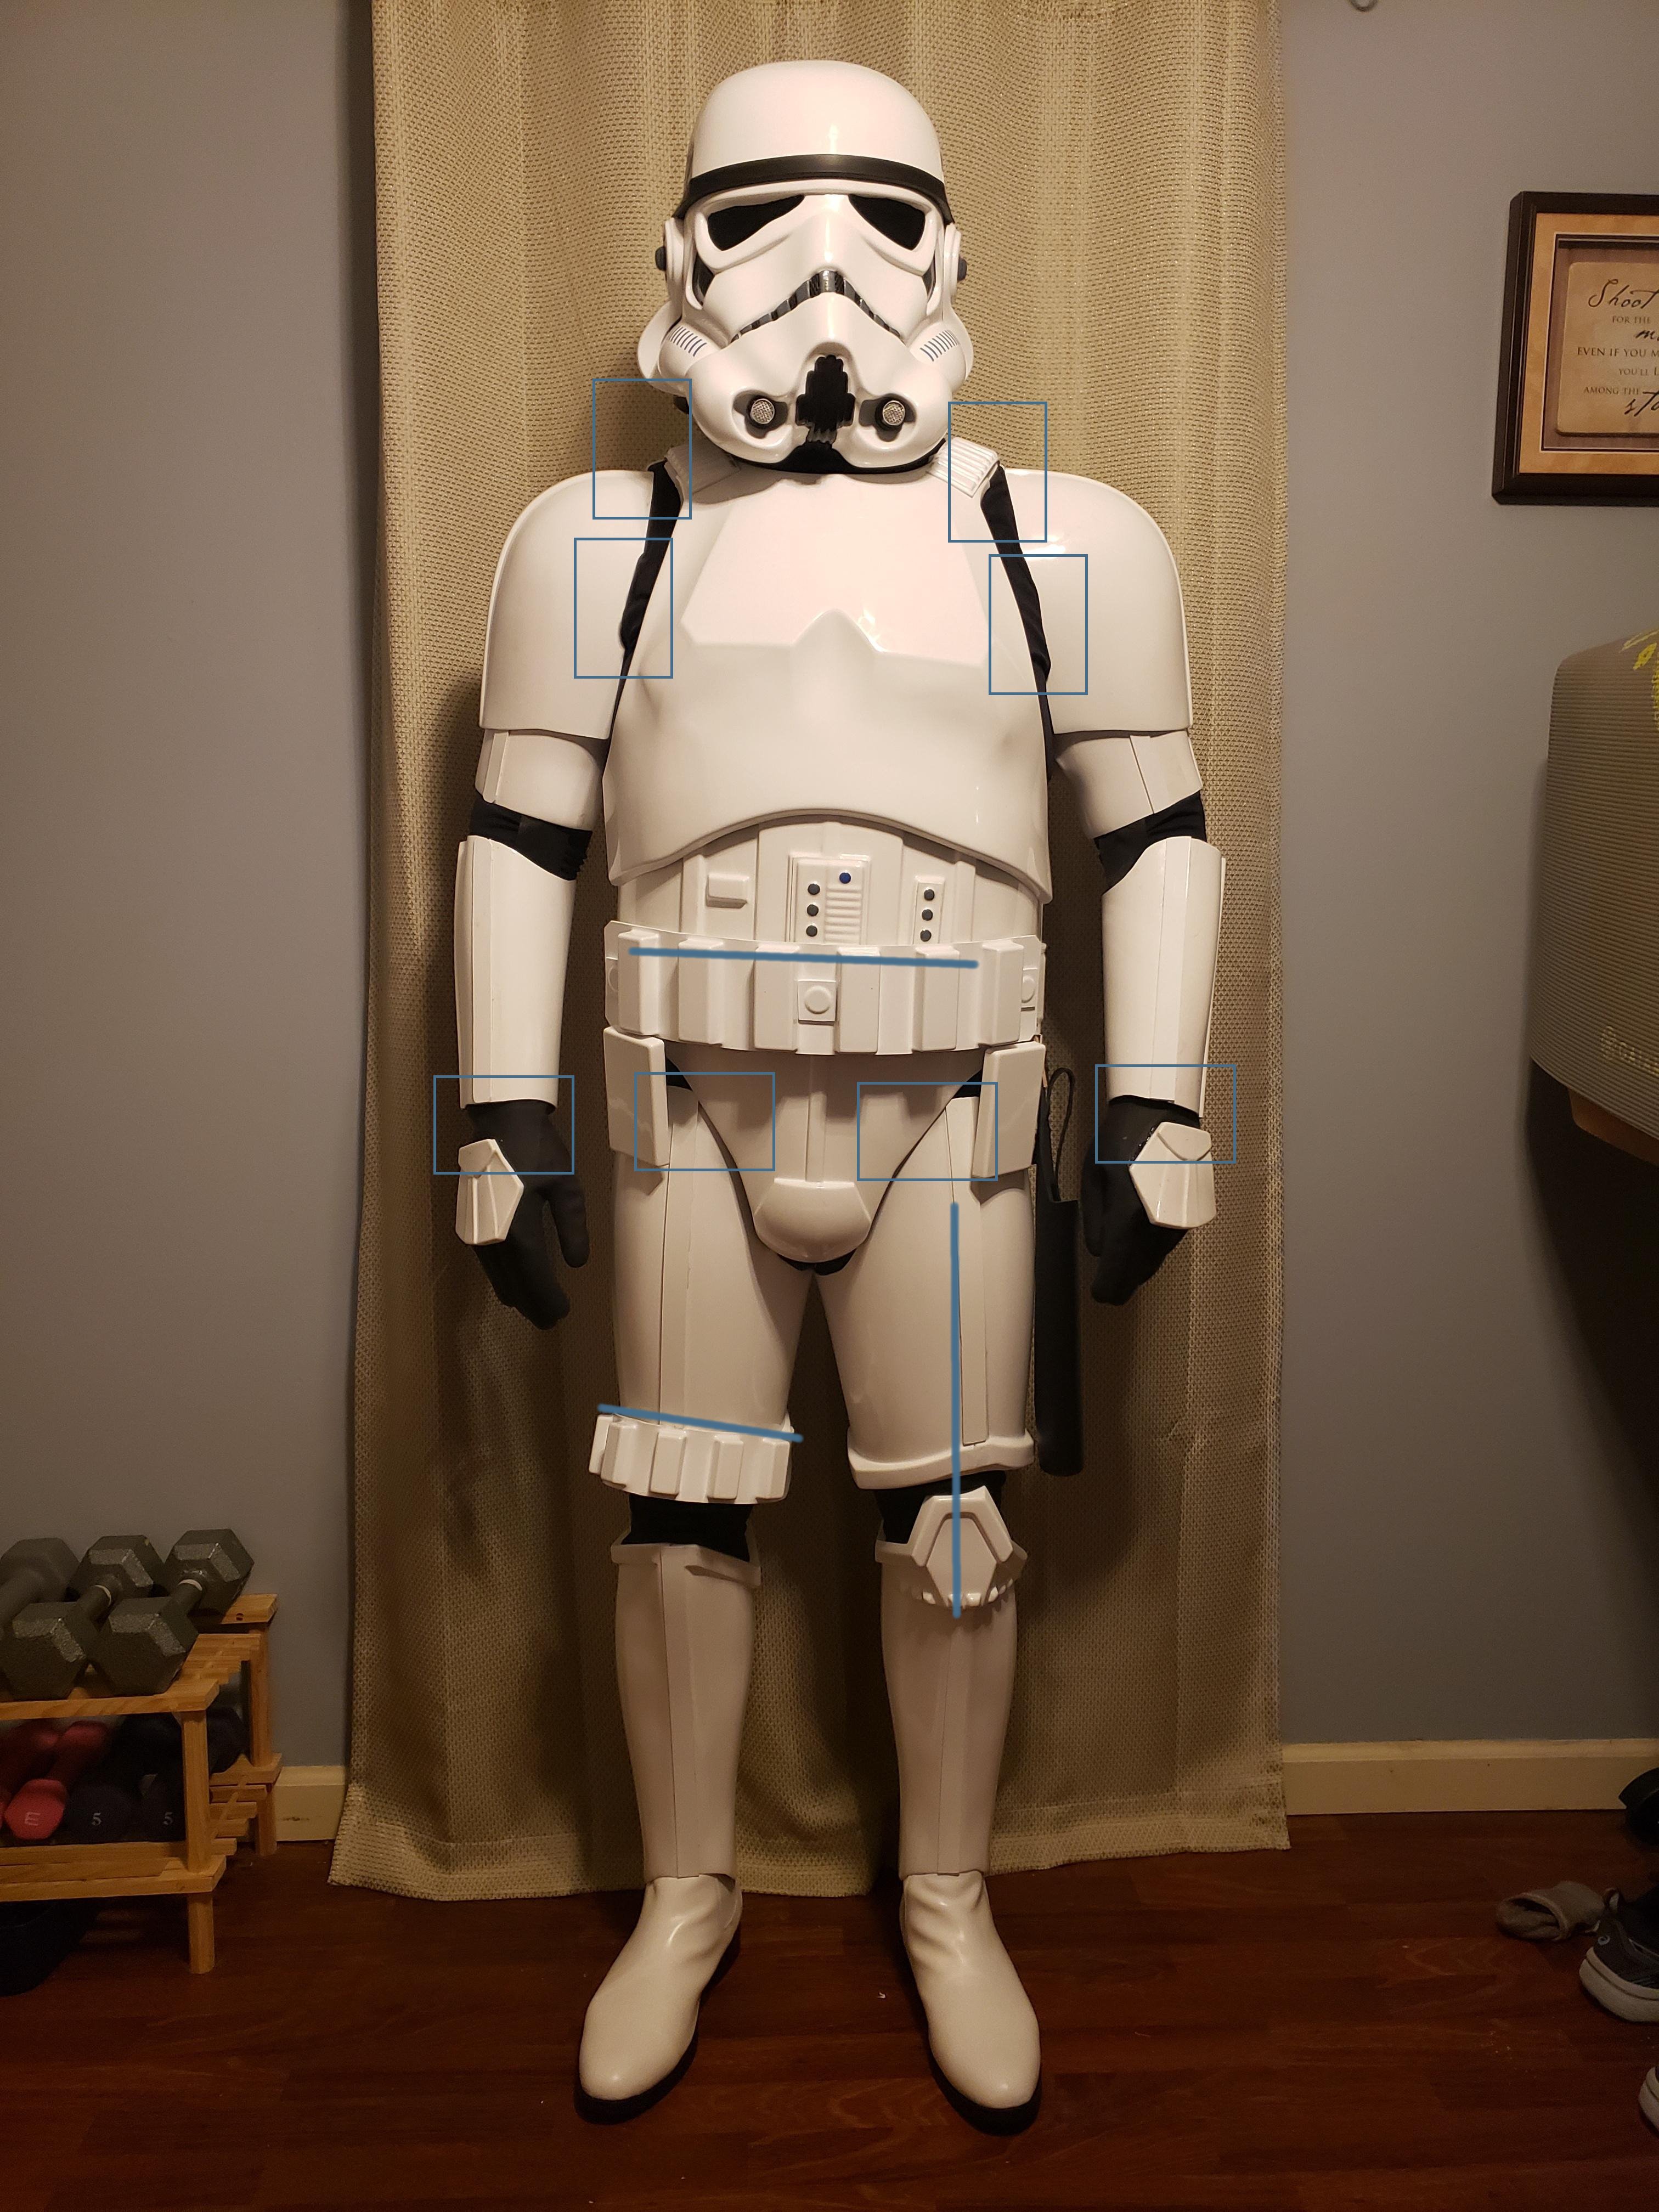
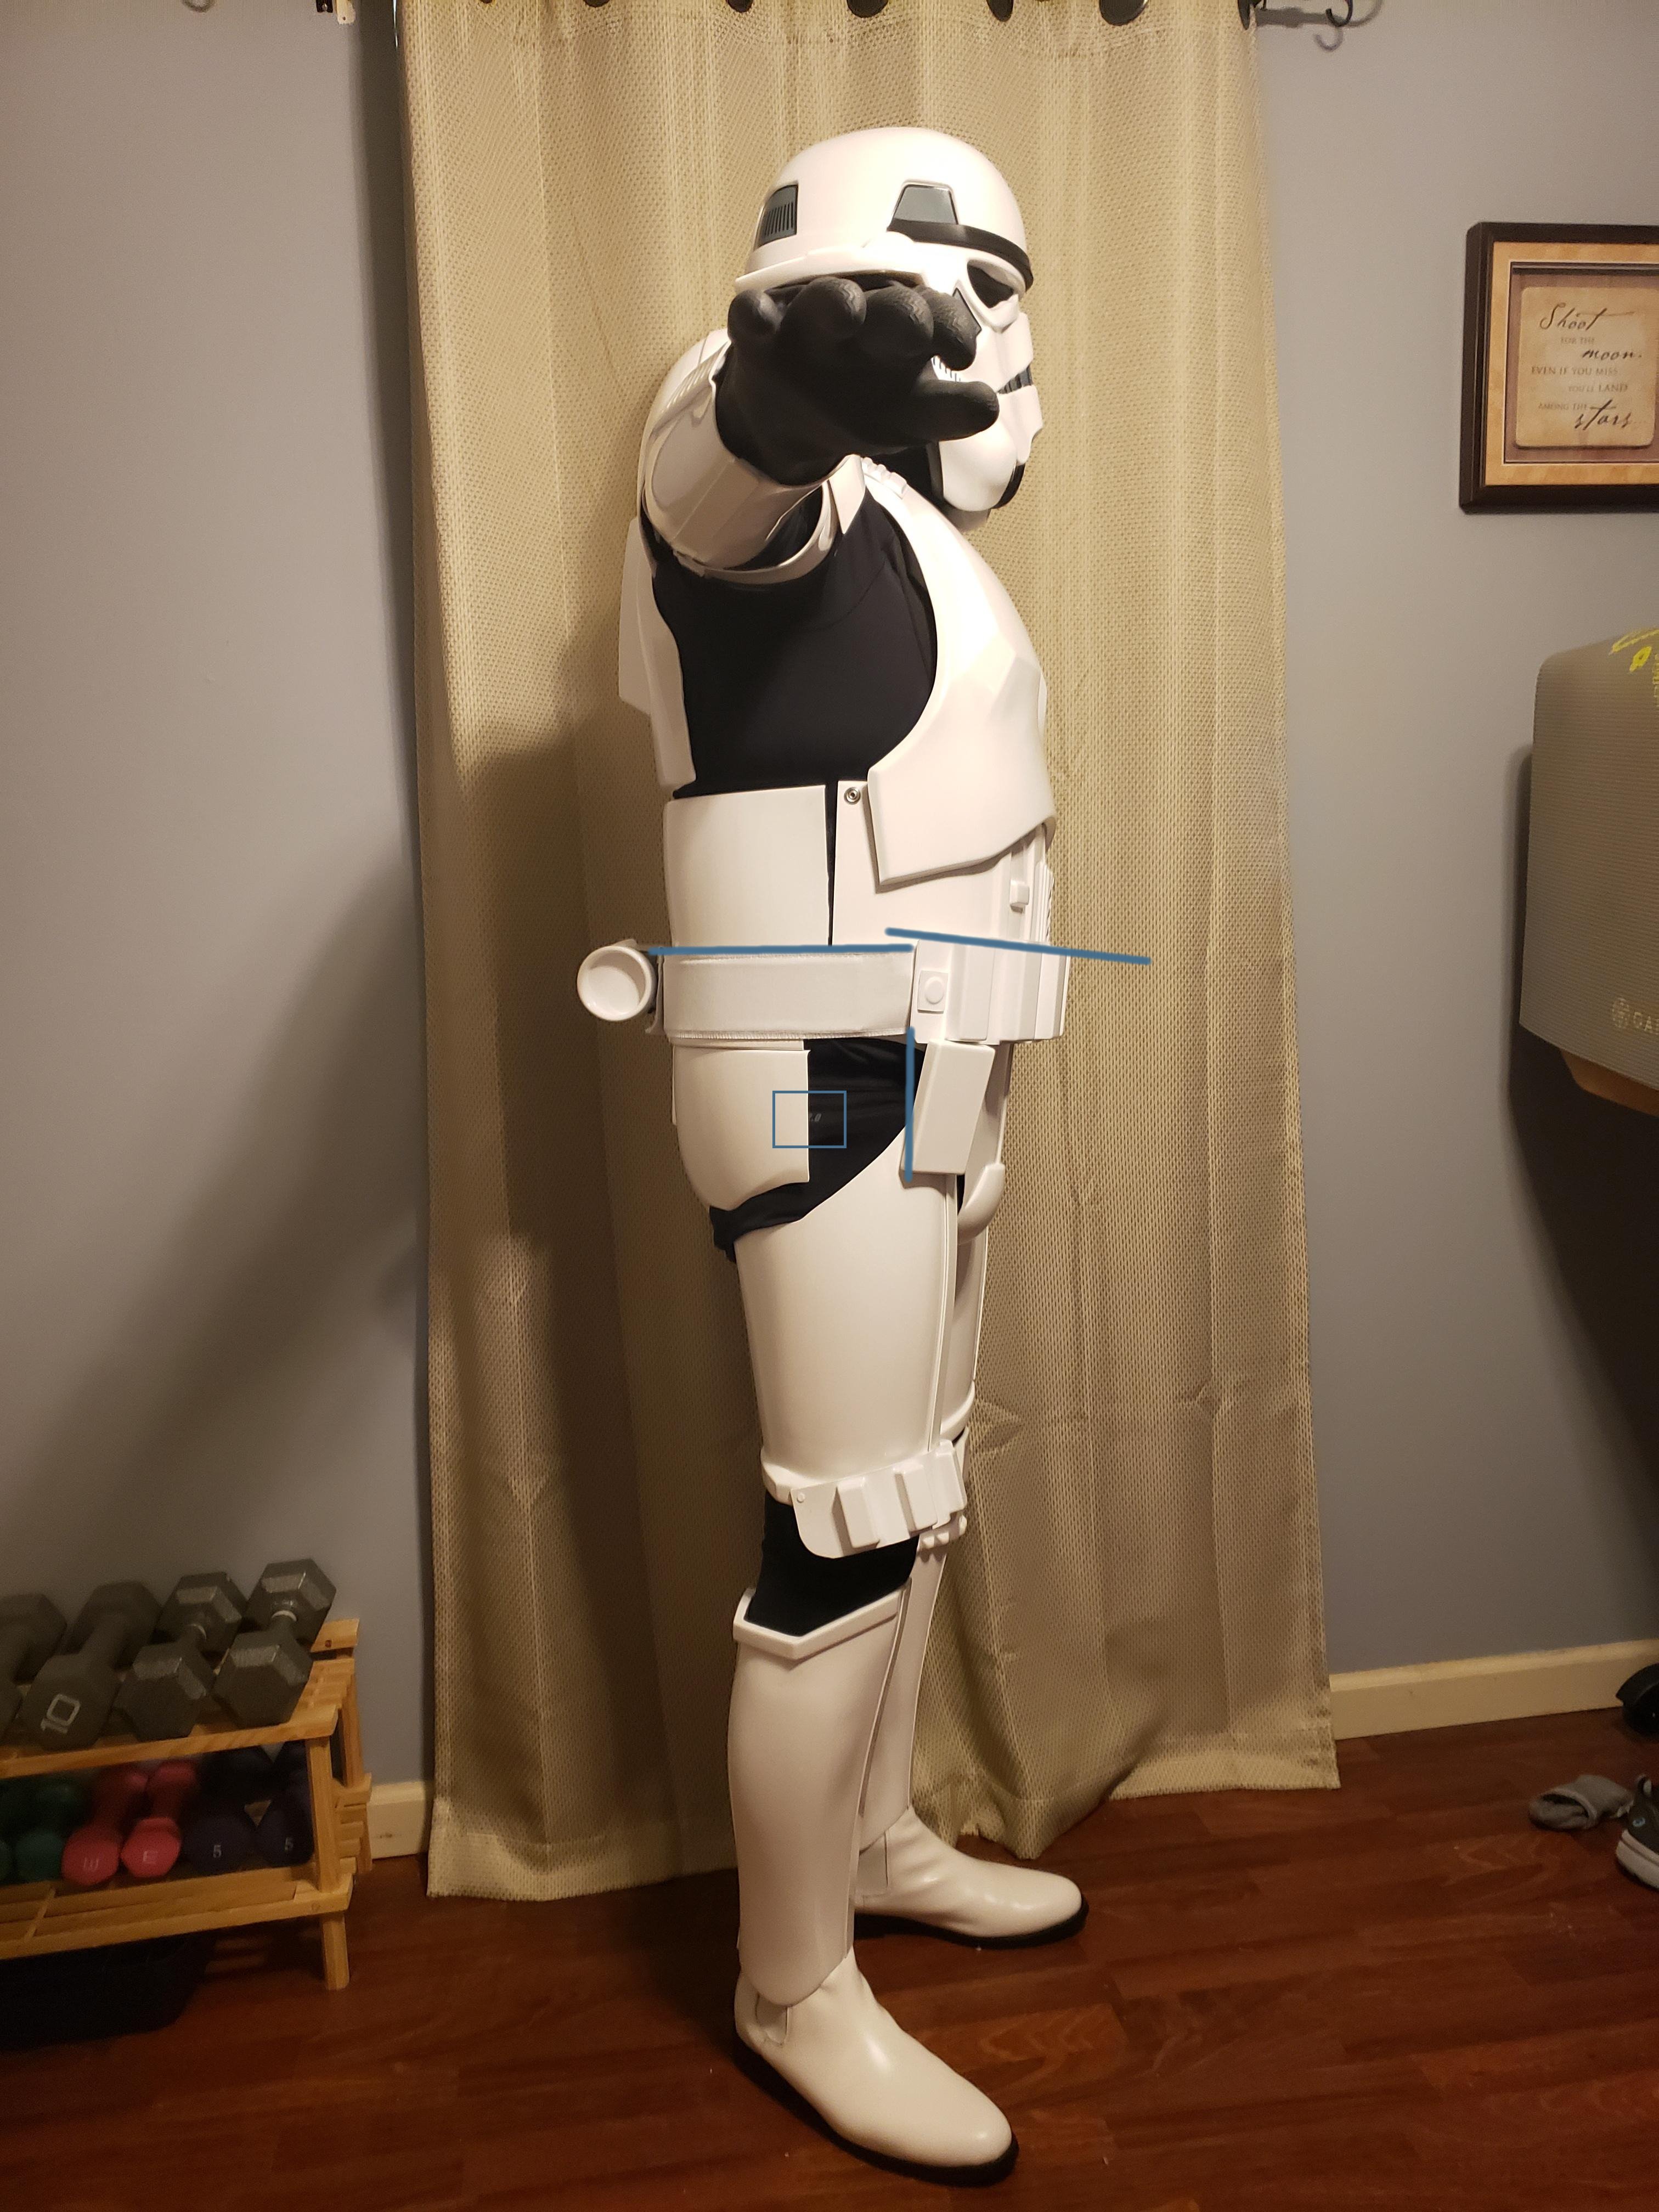
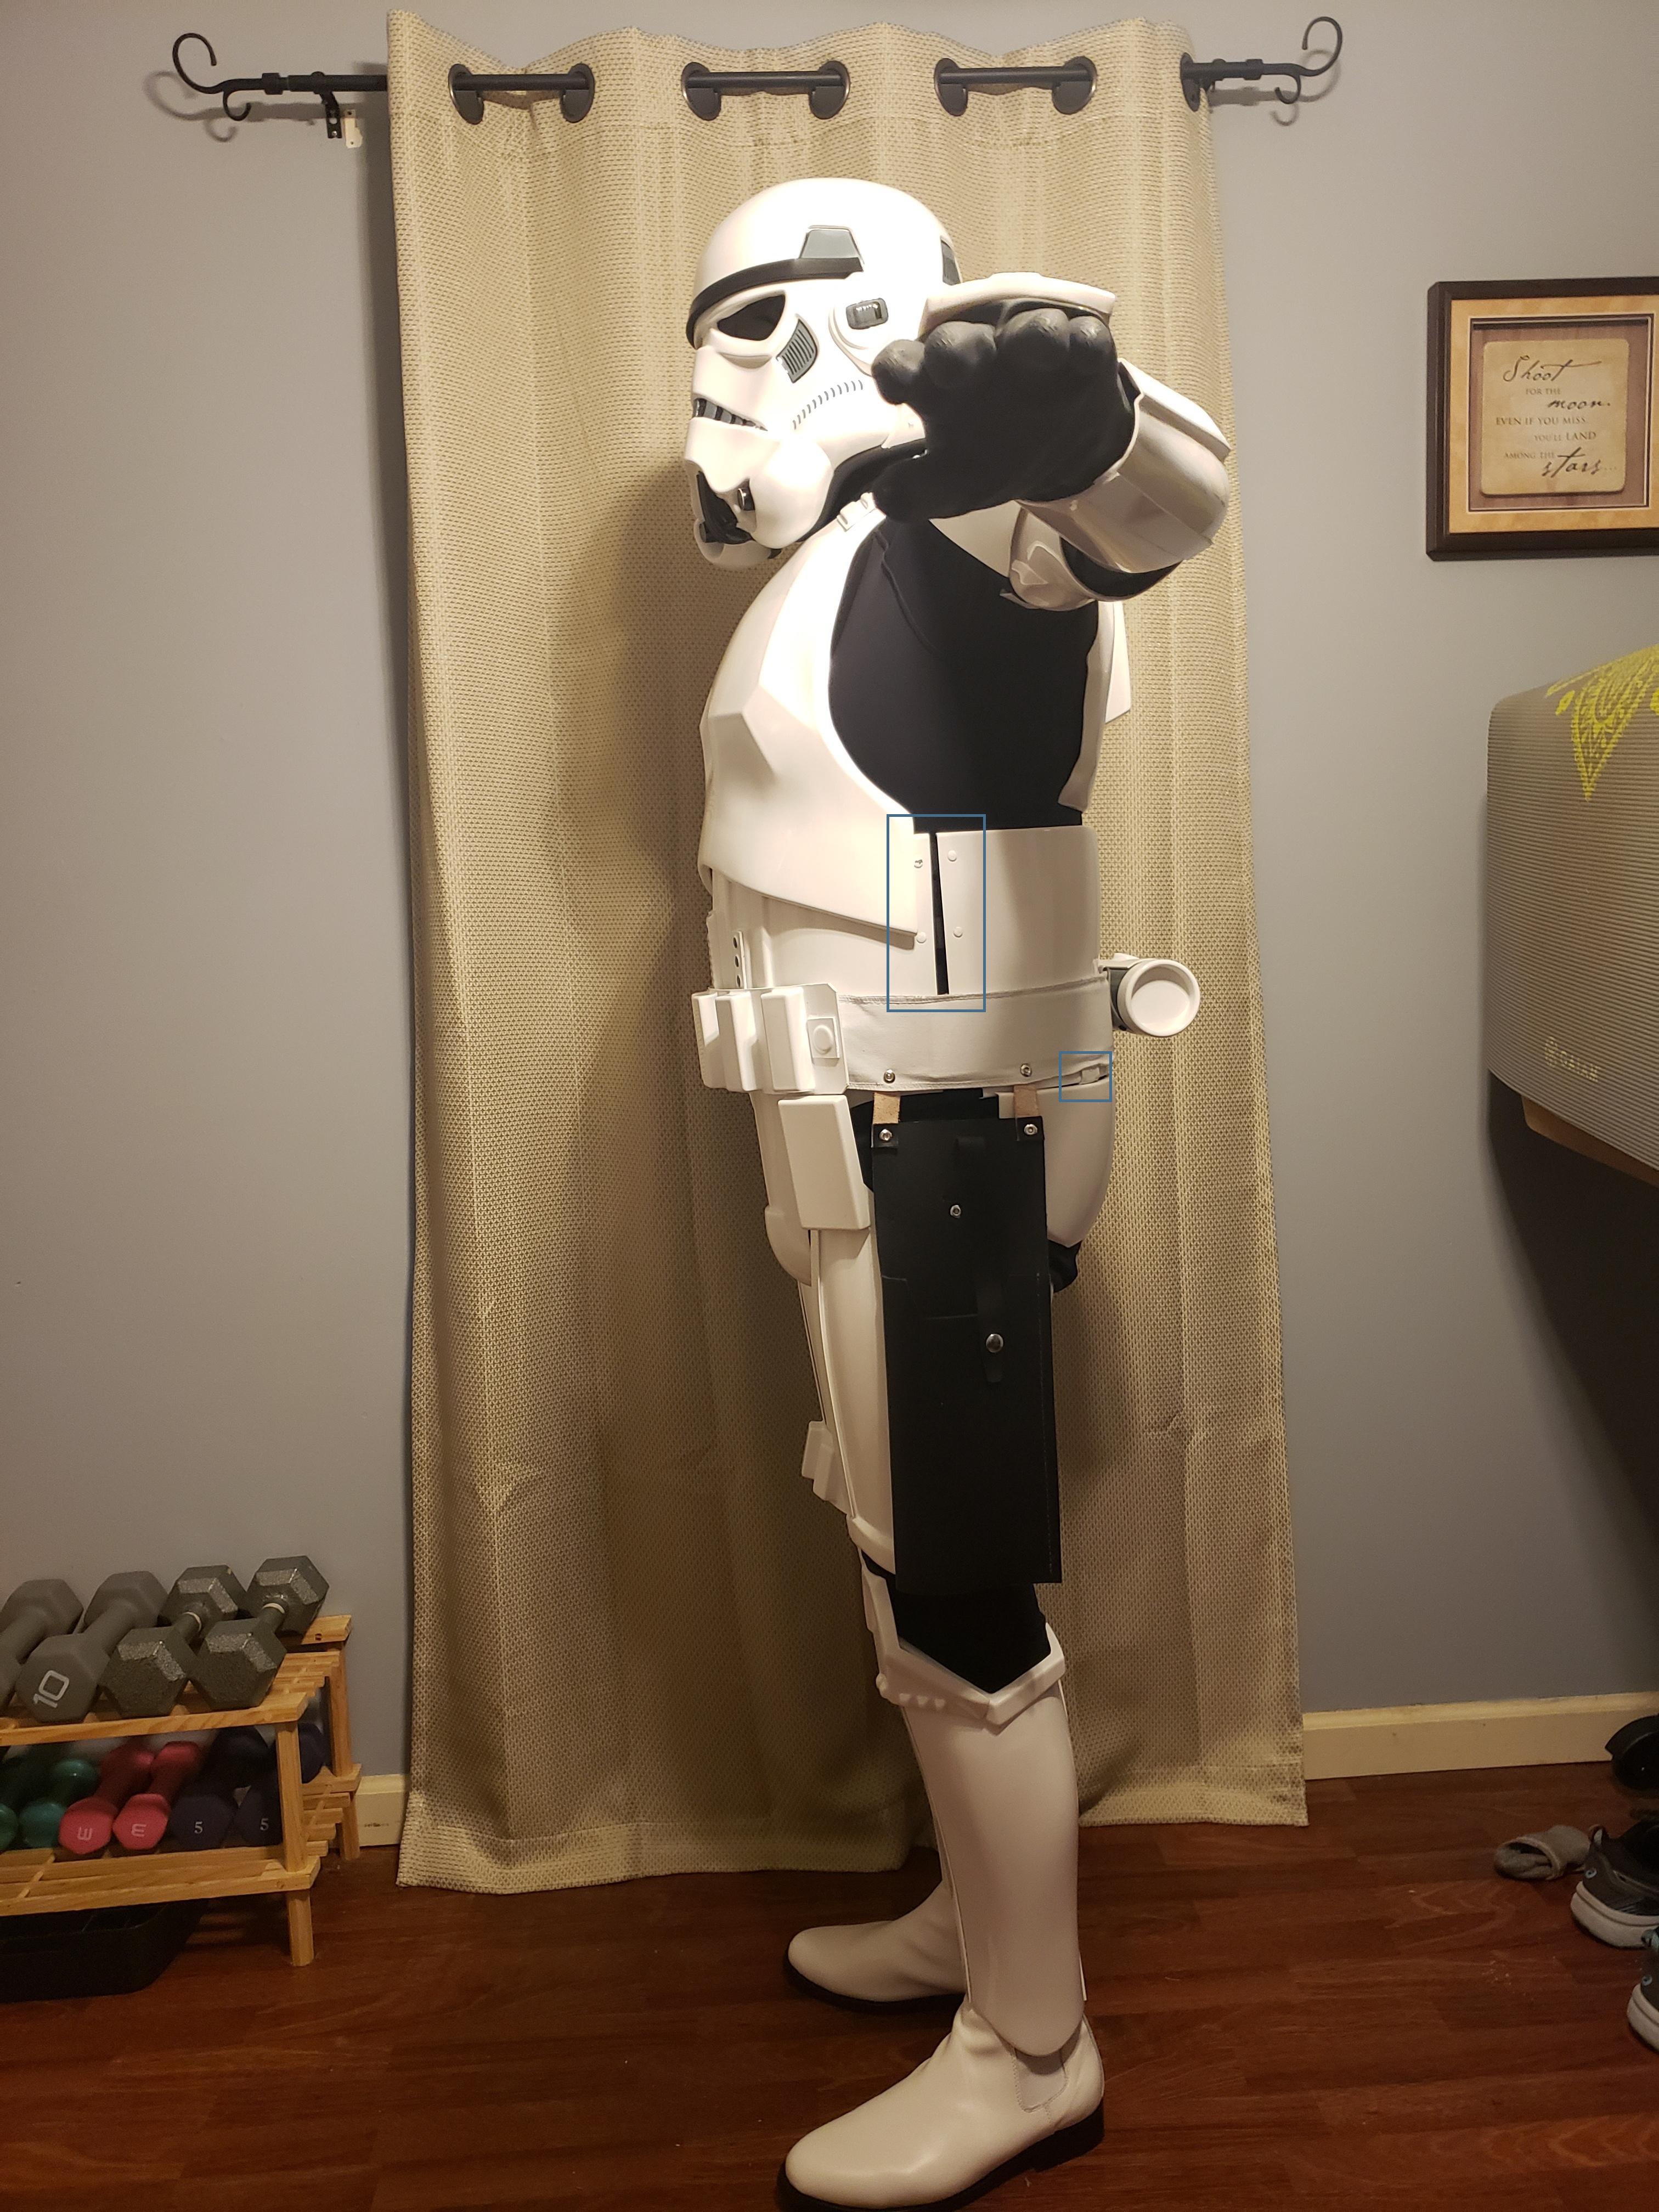
Nice work Terry, a couple of things, these will be more for the higher levels. Belt is just over the bottom button, should be just below. Shoulder straps to shoulder bells different gaps, left side touching, right side has a gap, also depending on how much gap on the side you could curve these, reference below.. Bunching of undersuit between shoulder bells and chest. Different forearm to wrist gaps. Thighs hitting cod. Twist on thigh ammo strip, this should be fine but I'd probably straighten a little, but that's me . Rotate left thigh so aligns with shin. Drop box not aligned with the end of the plastic belt. Can see part of a logo on your pants. Note the angle of your plastic belt and fabric belt, should follow the same angle. Note on this side the belt angle is better, also drop box is aligned correct. Small gap between ab and kidney plates, tighter strapping may help. I can also see one of your V tabs on top of the kidney I can't quite make out your rear shoulder straps so can't comment on their fitment. Generally on the front of the chest the shoulder straps align, 1 large tab and 4 to 5 smaller tabs, not something that normally gets mentioned though. Helmet not central to backplate, also backplate sticking out on bottom right. Personally I think you will be fine for basic approval, depending on your GML of course. Just a few tweaks and you should be ready for higher levels. Good luck, hope to see you with a TKID very soon


-
-
Nice work, the ATA TD is a lot smaller than other makers, I'd stick with the Anovos. Just on your TD screws are wrong and the brackets corners on the control panel end should not be rounded Clips shall be attached with slotted type flat or dome-head screws, and be black (two per clip). Forearms are looking good, there is a difference between them, one is more rounded, the other oval, see how you go with fitment you may want to add some heat to make the rounded a little more oval. With your trim lines you could use a piece of wood with sandpaper wrapped around to get a straighter line
-
Thanks for the share, only staff can add to the gallery area And added
-

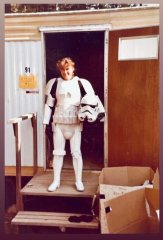
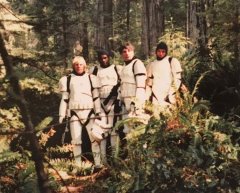
From the album: Behind The Scenes ROTJ
-
Behind The Scenes ROTJ
-
-
SublimeBW's Armor Master's (AM) ANH Stunt Kit - Build Thread
gmrhodes13 replied to SublimeBW's topic in ANH Build Threads
Looks pretty good to me, I'm sure our @Deployment Officer Team will jump in with a comment -
WIP Build Laura's Captain Phasma
gmrhodes13 replied to Laura's topic in Captain Phasma Build Threads
Looking forward to seeing the finish, it's all about the prep work -
Just remember there are plenty of people around to offer help if needed, measure twice and cut once
-
Don't use too much glue on joins so you won't have to remove any for filling with ABS paste (slurry)
-
With how some have been filling their yokes/back plates try to leave a small gap when you apply glue and fill with ABS paste, sand and polish then you won't have to paint that area
-
I missed (funny) that it was for an FOTK build, I used JB weld on any areas that needed strong bonding, it is sandable too which was good. For any flexing areas I still used E6000
-
Nice work, I've long thought of doing that mod to mine, anything that makes dressing a little easier is a win
-
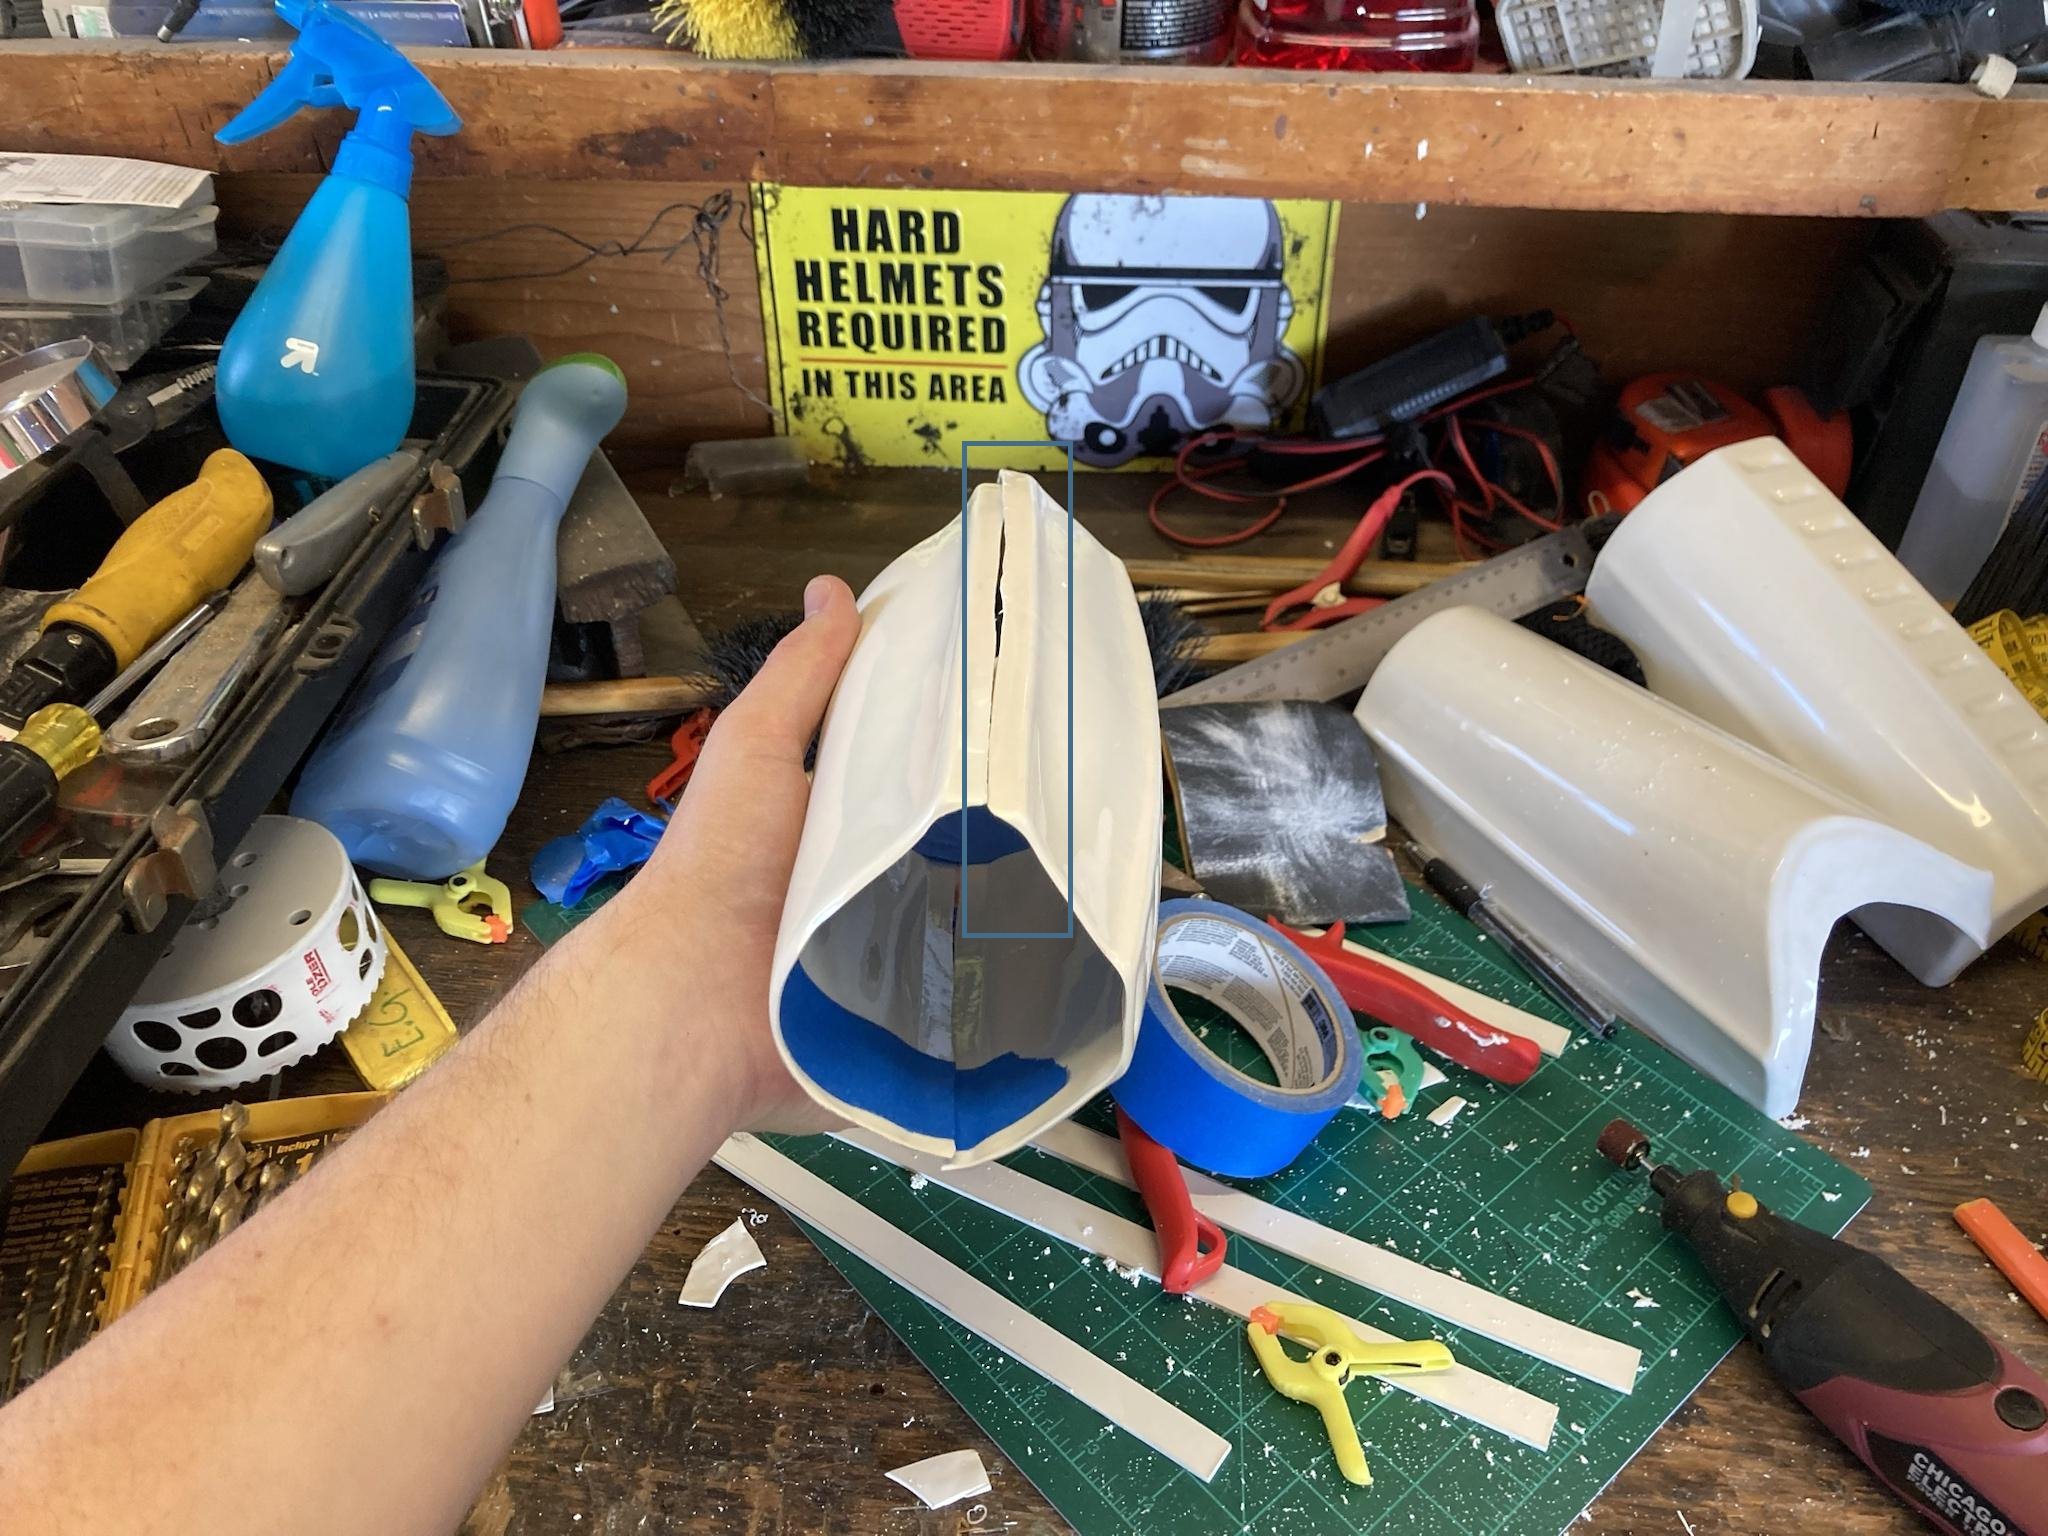
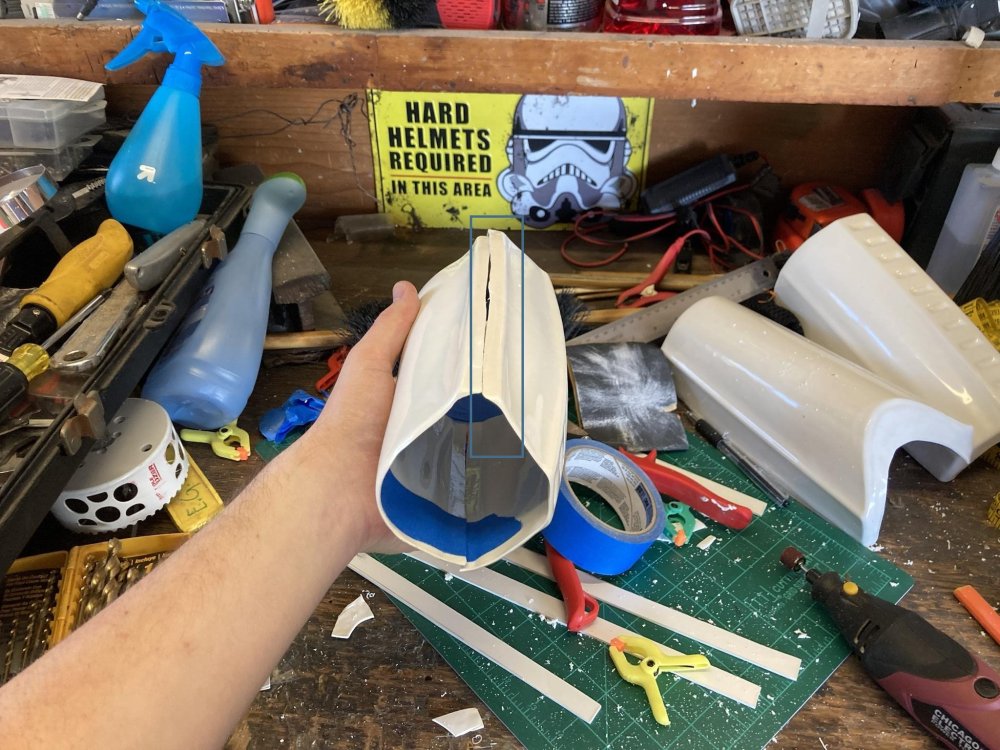
It's really hard to tell where pieces with sit without shoulder and forearm on, you do have a little gap around the inside of the bicep. There are no issues trimming any stepped areas of the top of the bicep, that should cut down any poking, albeit screen suits had a step (one side higher than the other
-
icomm and Acker amp not working correctly
gmrhodes13 replied to BAZINGA's topic in Electronics for Helmets / Blasters
The Icomm has an internal battery and after a few years it will die, you can either get a replacement from Icomm or elsewhere or modify to using a 3.7v AA battery, I used this method as I use these batteries for other projects plus it's rechargeable -
He doesn't get on the forum much, try his Facebook https://www.facebook.com/castfromoriginal
-
Personally I'd stick with E6000, easy to pry apart if you need to make changes (sizing up or sizing down) which is very useful if you do sell in the future. Make sure you rough up both areas you are gluing with some coarse sandpaper before applying glue, gives the glue something to bond too. Most parts not under strain leave dry for 24 hours, any parts under any strain leave 48 - 72 hours.
-
You can never have enough magnets, clamps or tape
-
SublimeBW's Armor Master's (AM) ANH Stunt Kit - Build Thread
gmrhodes13 replied to SublimeBW's topic in ANH Build Threads
You will normally see a little raised. You may notice the angle of the outer side isn't as flat as the inside, I normally heat the side a little and gently bend and hold until it cools, this will help it lay flatter BUT don't attempt unless you are confident with using heat on ABS plastic, always pays to practice first. -
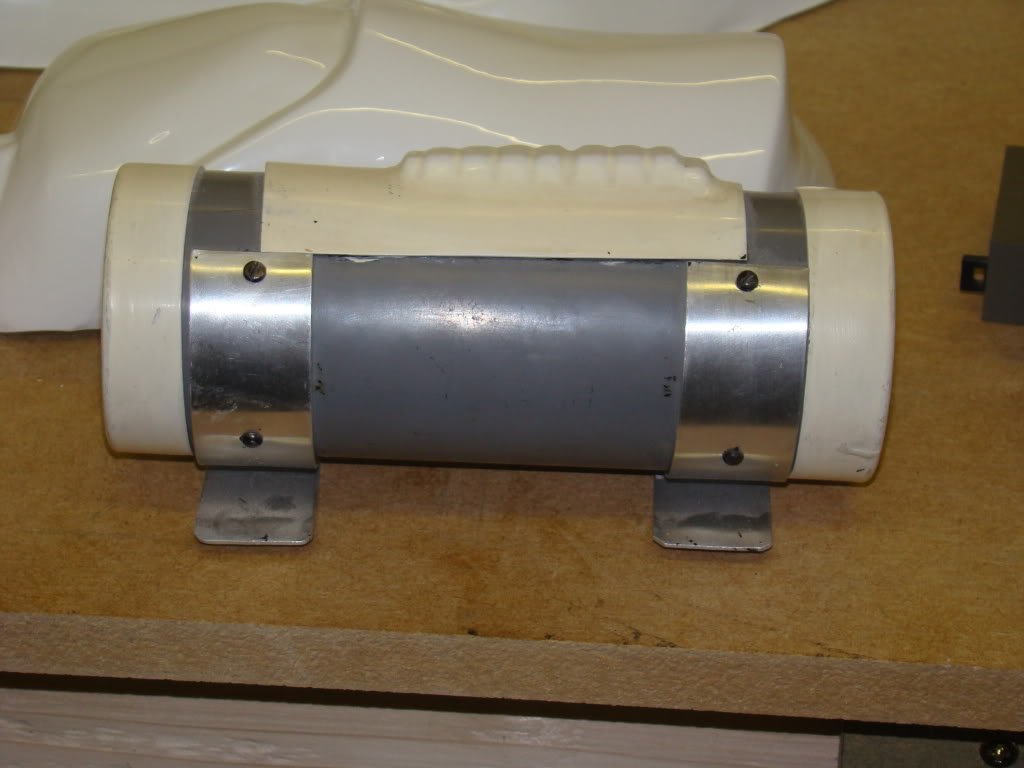
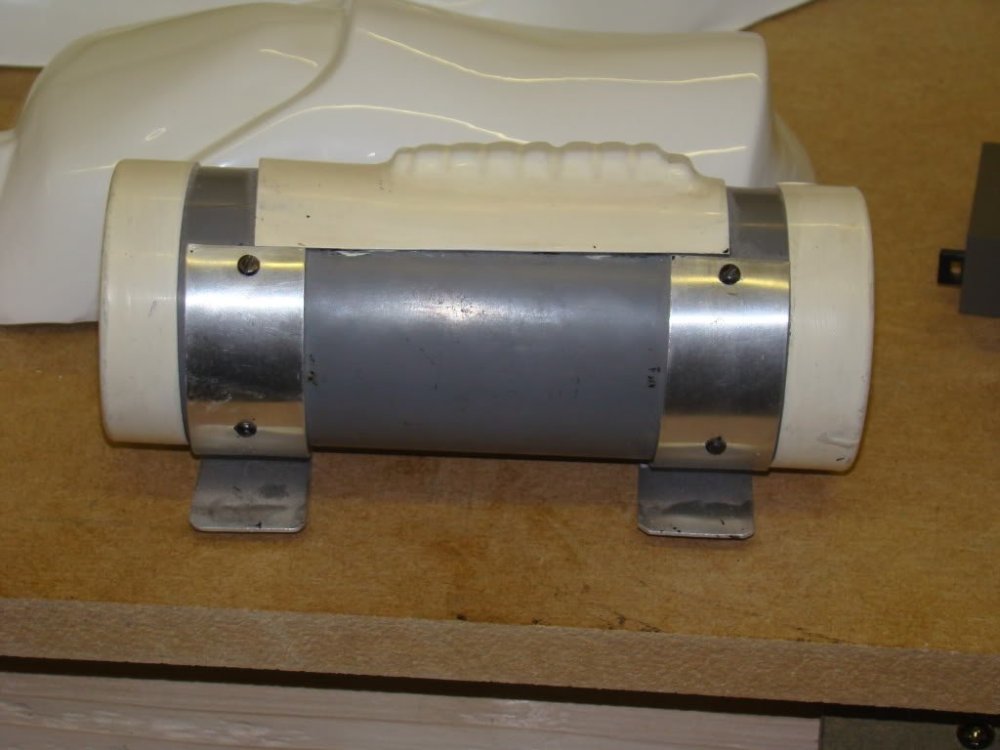
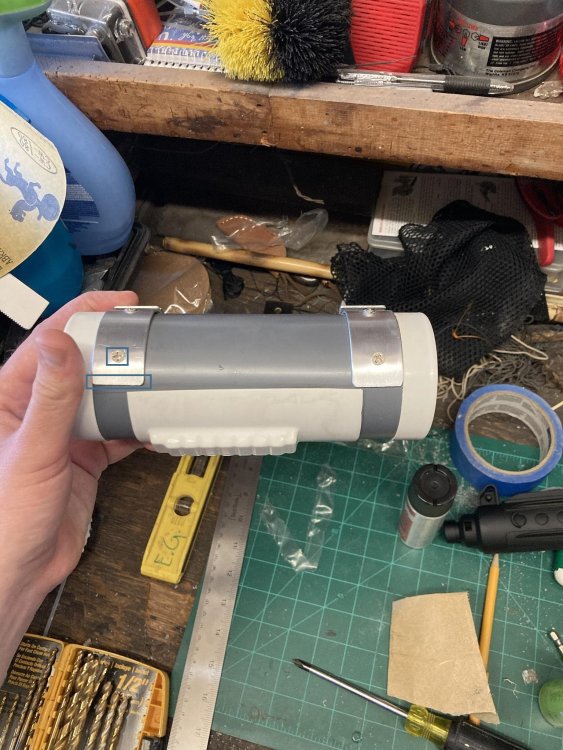
You could always reach out to AP (Mark) and ask what glue (if any) he used to keep the caps on, sometimes they are just tightly fit with no glue, this would make it easier to remove with a twist and trim. AP and ATA both use a narrower tube than many other makers or in fact the actual screen pipes, this can make gaps look even smaller. I have manage before to trim the end caps on a TD that was glued, I ran a blade around the inside of the cap and it help pry it loose, may be an option, make sure you put some tape on first so you are scratching the pipe.
-
I use blocks about 1" x 2"to 3", you don't need much to help lock them on.