Leaderboard


Popular Content
Showing content with the highest reputation on 02/29/2024 in all areas
-
#2. Event: Atlanta Brick Con Date: Sunday, 11 February, 2024 Host unit: Georgia Garrison Kit: ANH-Stunt (LEGO) I recently doubled my official troop count at a LEGO convention in Atlanta, and I'm finally recording it here on the last day of the month (thank you leap year for the bonus day). This was an exciting event for me not only because it was a crossover of two hobbies, but it also represented my first official troop with my own garrison. I live a couple hours away from the heart of our trooping action, so I began the morning with a two hour solo drive down to Atlanta. I had convinced my closest squad member (an hour from me) to join me on the troop and we met there. After months of anticipation, and assembly as I'll later explain, I was super excited to finally troop with my garrison and show off the AMAZING blaster that @revlimiter had printed. Needless to say I think it was quite a crowd-pleaser, though twice I got asked "Does that make your aim better?" Based on the comments, kids only recognized the blaster from recent Star Wars LEGO video games, not the original 20-year-old sets, but I'm sure the many adults present felt the nostalgia. It turns out that this troop was more of a photo op for us Legion members there, rather than a traditional con with a table and personal fan interactions. We were situated in a corner of the con floor dedicated to Star Wars MOCs (My Own Creation), and essentially had a line non-stop for the two hours I was there. When I first arrived we had a Vader and Jedi, but then us Devin and I took over with TK duty. Check us out! TK-47501 & TK-73692 | Photo by James Clarke @thereallucasmccoy Also, lefty grip. While at our post we came across two princesses, but unfortunately they were not the one we were looking for. Seems they were from a different star system. TK-73692 & TK-47501 with @thepartypalacealabama | Photo by @bricksnaps / @thebeautifulbrick If you hadn't already noticed, in addition to the LEGO style blaster I carried, I had made some modifications to my actual armor loadout. After all, when in LEGO Rome, you play the part! What started off as originally just constructing a LEGO thermal detonator morphed into a larger belt project. I was extremely happy with the final result, with a nearly 1:1 scale LEGO replica of the normal plastic belt parts! In fact, I daresay did such a good job at the reproduction that NOT A SINGLE PERSON mentioned the LEGO parts I was wearing for the entirety of the troop (other than my garrison mates who knew my plans in advance). They were booty blinded by the blaster I guess, and didn't even notice the RS style creamy white LEGO plastic against my cooler white ATA armor. Haha. In the future I'll post a separate thread to document the full extend of this LEGO belt build, but for now here is a peak. The TD has 20mm "end caps" (yay CRL) and proper dimensions over all, other than the fact that is the smaller 2" North American variant rather than the more screen accurate 68mm version. Don't worry, a larger version is in the works. At the conclusion of the photo session, I made a quick round on the con floor in civilian cloths (actually my HKG Star Destroyer racing shirt!), and snapped a few photos. This Death Star hanger was particularly impressive, and I'm bummed I didn't immediately notice all the intricate scenes shown on the outside due to my rush to get home. Otherwise I would have taken additional close-up images. My favorite is what appears to be a unit of TKs taking instructions with modeling of ANH TKs on the TV. Of course, there were many MANY other MOCs, and I recorded a few Disney ones to show my daughters. Star Wars > other IPs. Overall I think it was a successful troop, and I learned a lessons and have a few kit adjustments to make. I experienced some feedback with my voice system which I hadn't in the past, so I need to better dial in the volume, and perhaps add some insulation in my chest piece above my speaker (that I wear with a GoPro chest harness). I also had a shoulder bell-bicep snap failure, which is one of the only two places I have single snaps on my kit. Seems I'll be implementing at least some version of Adam's shoulder snaps solution. He goes hard with them! All-in-all, a fun troop, and one that I will plan to attend annually despite being posted at a photo booth the entire time. I'll likely modify my belt to have some exposed studs to make the LEGO fun more obvious, and perhaps even add some lettering. L E G O T K the cartridges? Who knows, perhaps I'll continue to add LEGO armor parts to my armor and become a true LEGO TK.7 points
-
3 points
-
All parts in white completed!3 points
-
I live a three hours away from my main garrison group as well so I know the feeling of having to travel for everything. There is one local event in my city and the rest are a minimum two hour drive. This past year I could carpool with the only other TK in my city but she is moving away this year so it's just going to be me here. Bart2 points
-
They are! I'm printing at 0.05 layer thickness with Anycubic ABS-like Resin Pro2 and they're really great. I'm seeing print times between 8-12hrs per batch and they only really need the marks from the supports sanded off, but not much more. Parts that can be are hollow/lattice inside to save weight and resin, but most are solid and have been able to be printed vertically or near it to minimize supports. I'm going to paint everything anyways so that it matches my suit more and isn't as affected by UV, but still nice to not need to post-process as much. I can't believe people did these in FDM and sanded smooth. And it's incredible that so far everything, even for the giant Heavy version of the blaster, has fit on my print bed. Black parts are up next!2 points
-
I've had some parts drip, drip, drippin' over the last couple weeks... more to come soon.1 point
-
I bought the first one I found at a local discount store, I think most are around the same size1 point
-
That’s a good tip for the Hovi, do you happen to have a link to a good strainer? I used a kitchen strainer for this one. Also I’ll work on sharpening up the voicecoder. Thank you for your reply!1 point
-
Hi Wil. you're doing a great job and glad to read your goal is Level 3. Looking at your photos I would suggest some fixes to the paint job of your vocoder and the hovi tips mesh . The paint on your vocoder looks pretty good, but it should be more symmetrical and with more definition on the tops of the raised ridges. You will need to round off a bit painting of the ridges as seen in the references. About the Hovi Tips: even though the mesh you used for is wide, the wire is thin and looks a little bent at the edges giving them a curved shape. If you look at the reference images, you will notice that it is firmer, without deforming. A method I have used to replace the Hovi tip's mesh is using a wide mesh strainer , a marker top and white paint. Reference Images Vocoder references Keep up the great work1 point
-
But now you have that glorious belt forever and can swap out bricks as needed. Exposed studs next time maybe? Followed by minifigs in a full on (vertical) battle! Maybe a nice vintage Lego Town scene with the old pine trees and rainbow colored bricks. The possibilities are endless. Congrats on troop 2!!! That Lego blaster really went to its best home.1 point
-
Miss you, mate. In addition to the wealth of TK knowledge you shared with the community, I also miss the musical numbers you shared on other social platforms.1 point
-
They look so smoooth1 point
-
A quick view let us say , and apart of the fit details noted by Glen, everything looks good for EIB, but consider that the EIB applications request for additional and more detailed photos . keep it up.1 point
-
Here's the pics of the finished blaster rifle! from 3D print, sanding/bondo/primer/black basecoat/dark aluminum airbrush / black airbrush and scratching/weathering. The few metallic parts are graphite finished. Only M38 scope is brass finished as original part wear out coloring. I also took a picture with my current Sith trooper armor, while the other one is far from finished to give a feel of the size and handling. [url=https://ibb.co/yBNHrSn][/url] [url=https://ibb.co/yBNHrSn][/url] [url=https://ibb.co/d6RGjjk][/url] [url=https://ibb.co/KN4ccGK][/url] [url=https://ibb.co/VHpMqZ5][/url]1 point
-
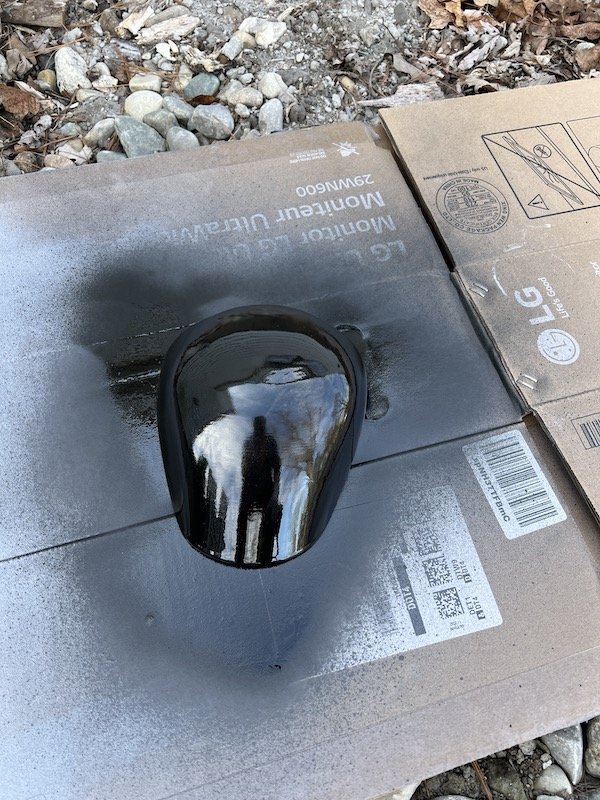
Pretty stoked about this first layer of gloss black! She's giving reflective!
 1 point
 -
@Nairy1 point
-
You did it!! Congratulations on your first troop, Caleb! That one looks fantastic I really hope I'll get to troop with you soon.1 point