Leaderboard

Popular Content
Showing content with the highest reputation on 01/12/2023 in all areas
-
4 points
-
Hi Nicholas. I did not have to heat / boil my sniper knee plate. Just glued it in place in stages. I used E6000 and glued and clamped one side with the other side taped in position. I let the glue set for a few days and then glued the other side. Just took some creative bending and gentle force.4 points
-
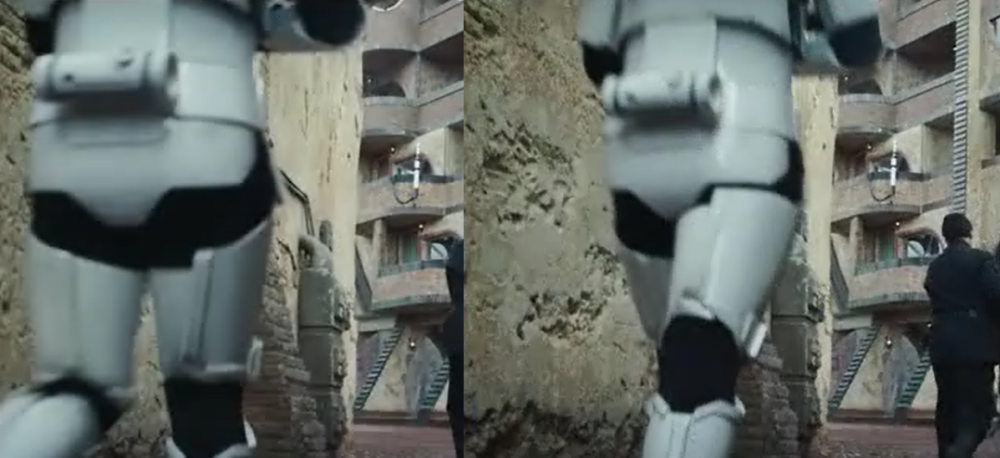
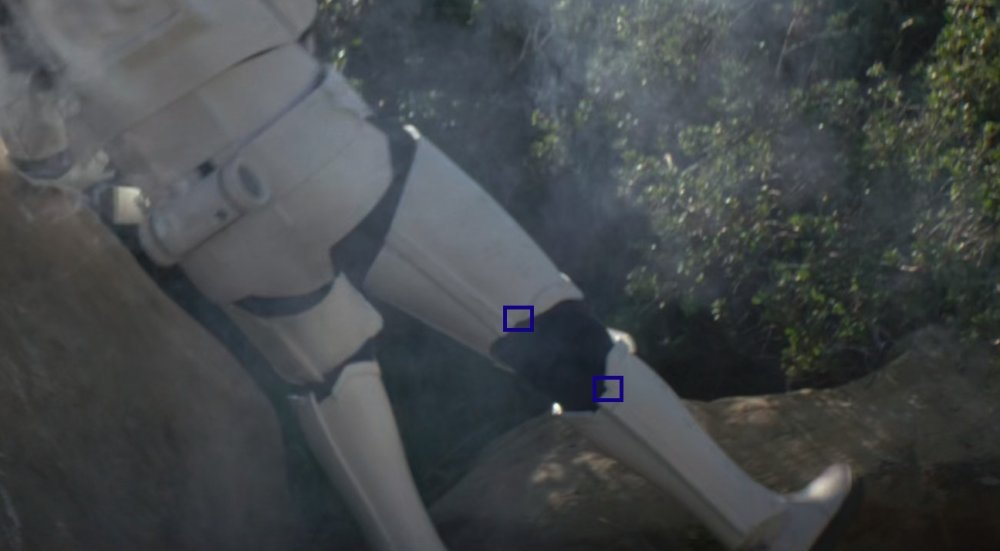
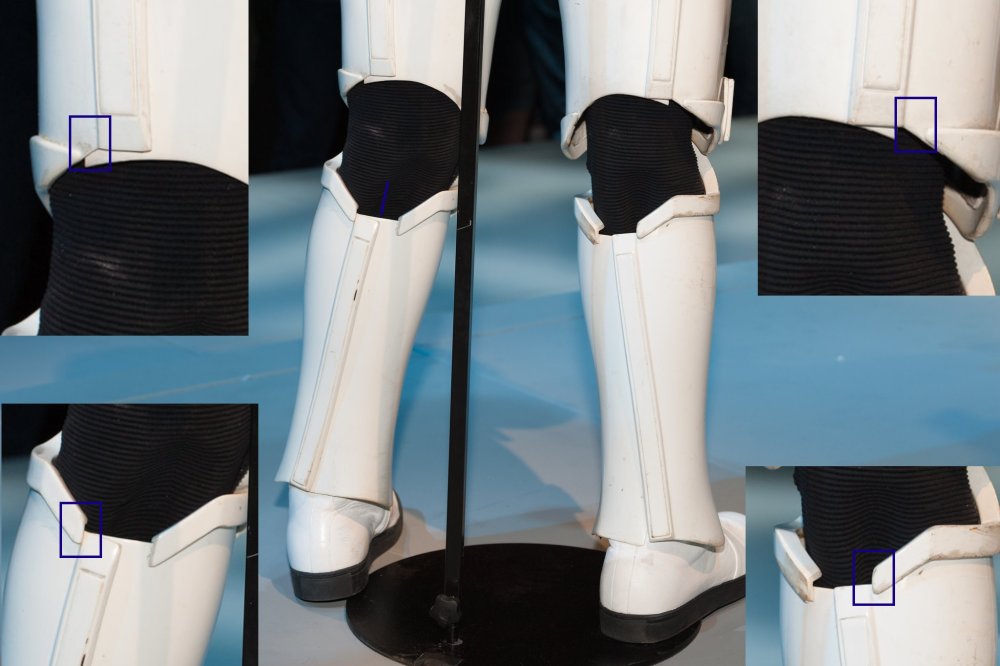
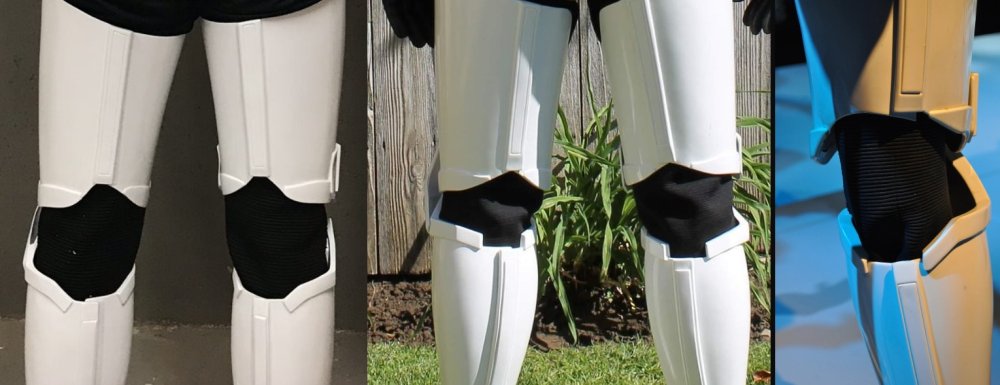
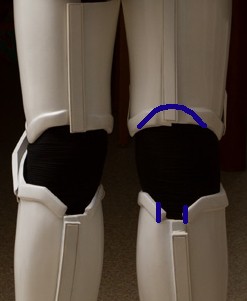
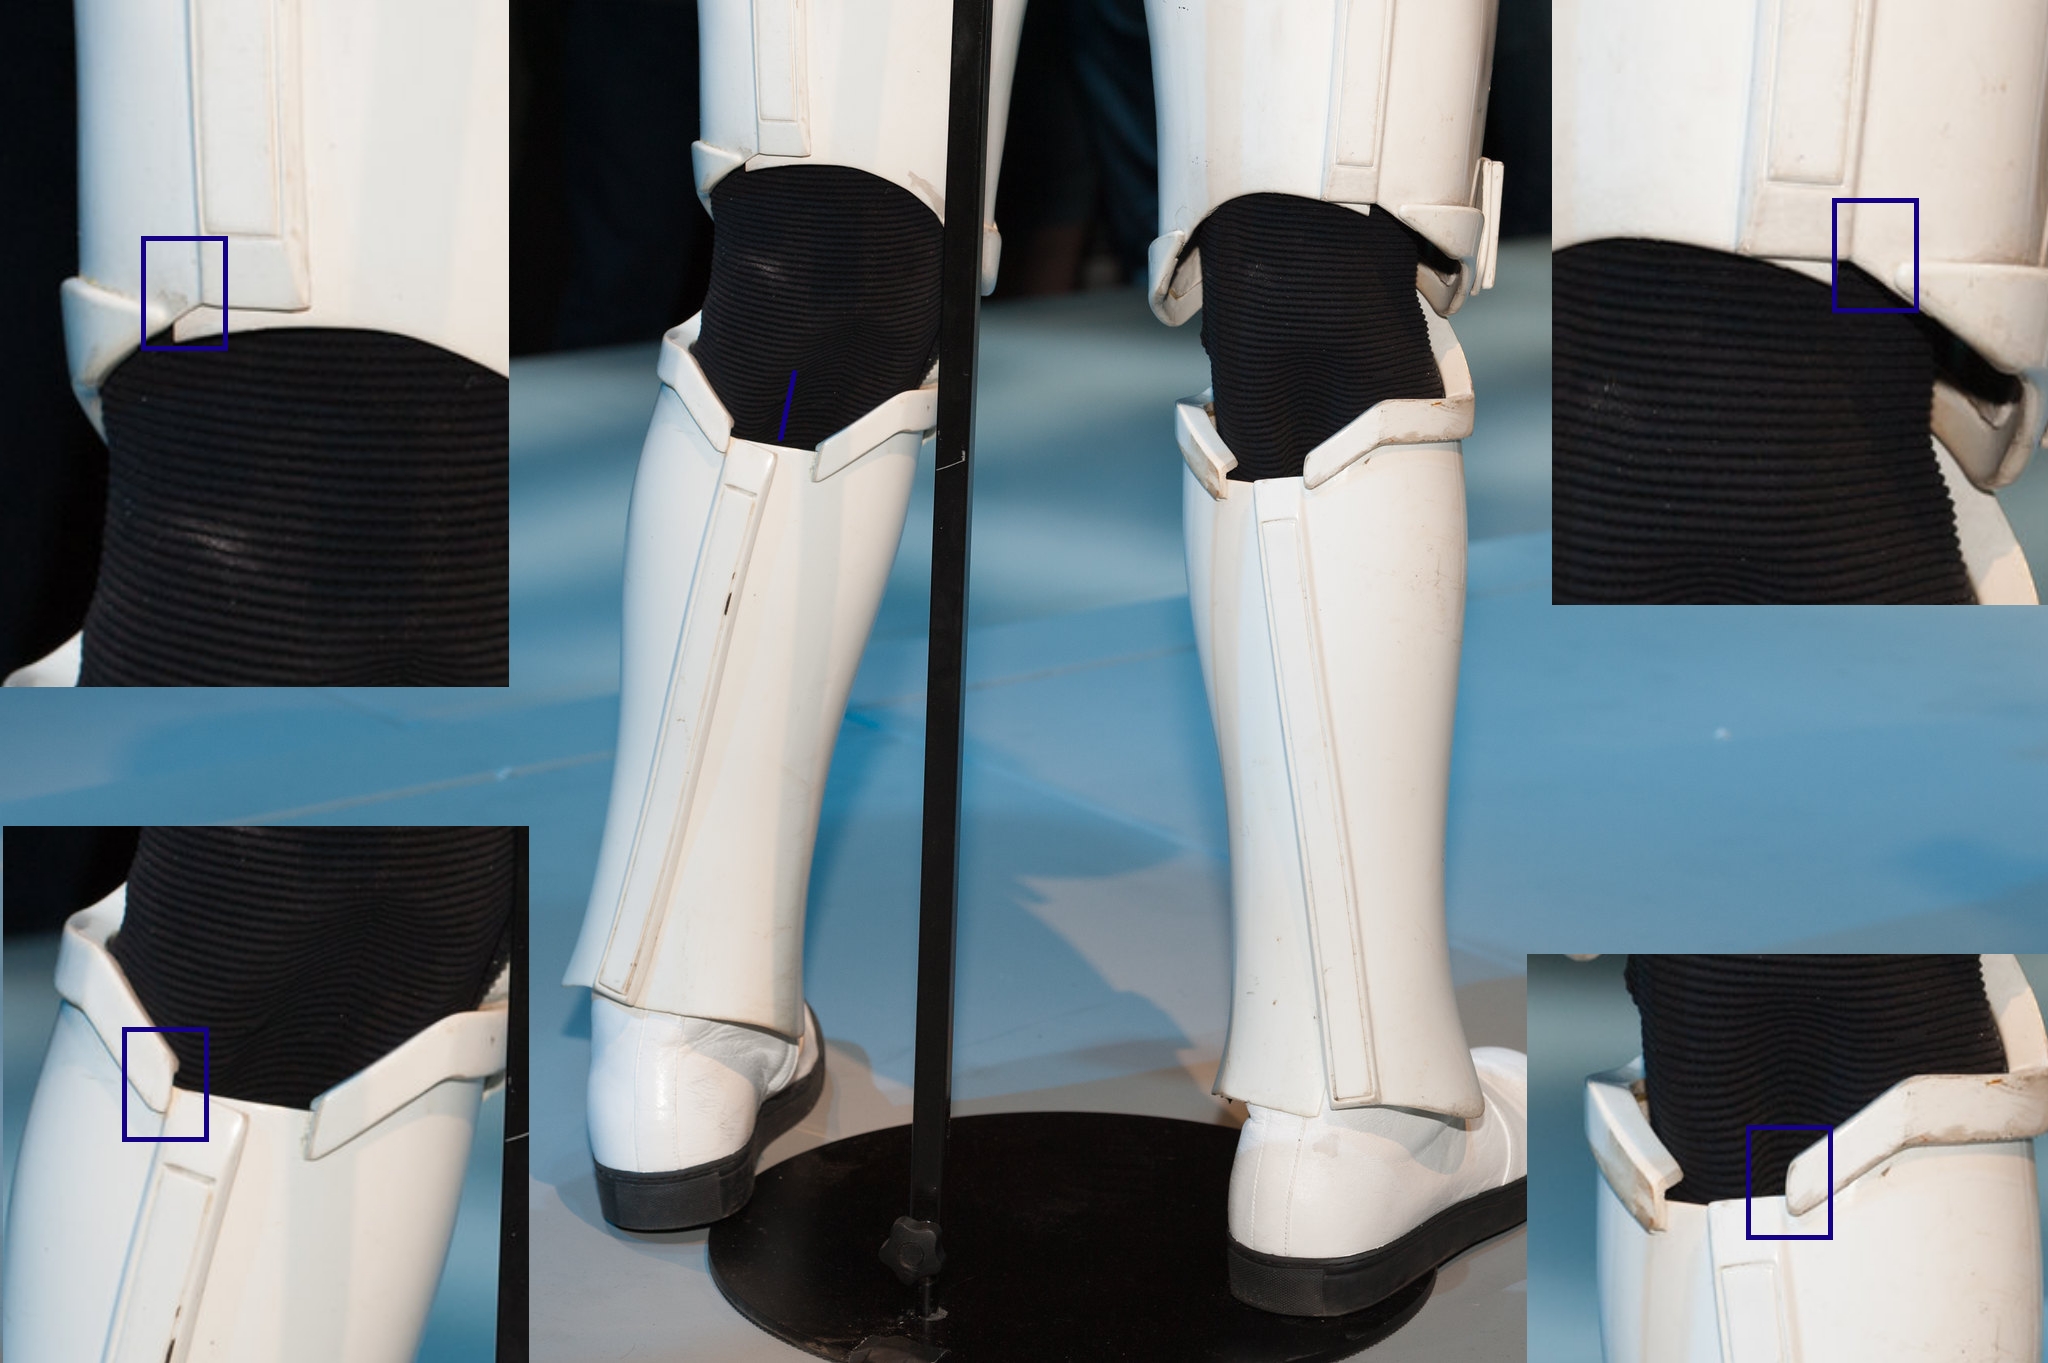
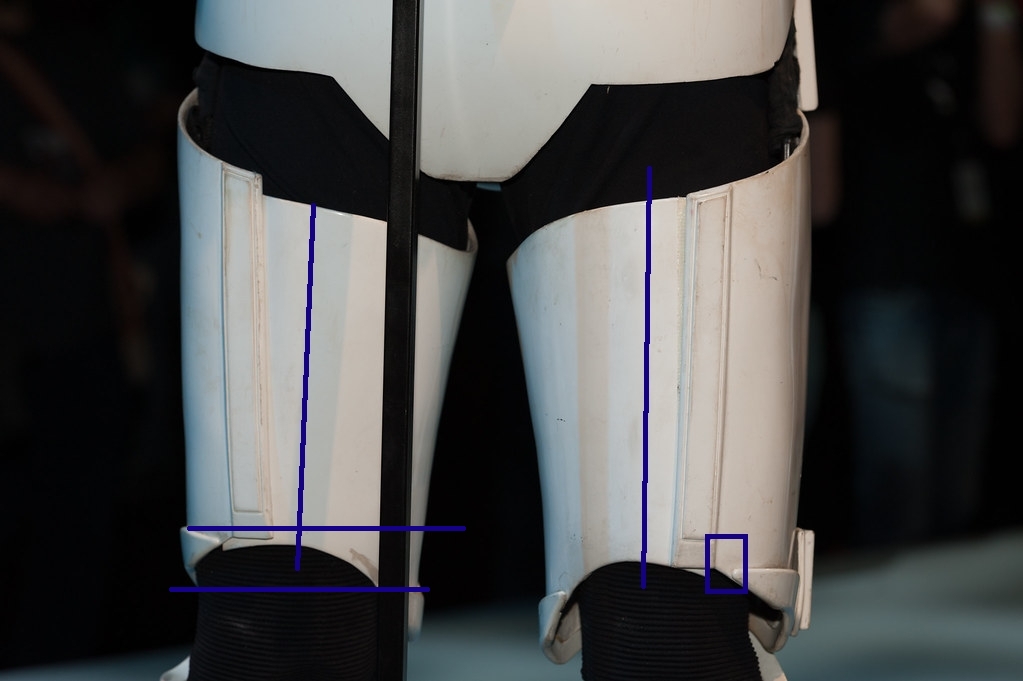
Adding this info here so I don't loose it. One thing I hadn't noticed previously is the position of the rear covers strips, they are not central to the thigh or shin as we have with OTTK's. You can see in the following images the shin coverstrip starts at the end of the ridge (outside). But the thigh has a gap from the thigh lower ridge end to the coverstrip (outside ). Also note the cut of the thigh bottom (mobility cut) is cured, while the shin is straight. Another detail was the outside lower ridge is not the same height as the inner lower thigh ridge. Also looking through the different series and versions they all appear to have these same placements, something which may need to be added to the CRL at least for one of the higher levels. Comparison with our 2 EIB approved ROTK's, built to have central coverstrips. 850 would need some adjustments to the lower thigh ridges as they are square and should be angled. Also square off the shin ridge ends Details our @Deployment Officer Team may want to keep an eye on for future applicants

 4 points
 -
The AP knee is a bear. I removed mine and boiled it to reshape. A little hard to tell, but the outside edge (closest to the pot) is bent waaay down from where it was. They came on the same plane from AP. Mine needed to be reshaped to have that outside edge angled down toward the boot by a lot. In doing so, I cracked the knee here. But it relieved some stress. I was then able to reclamp things and get the sides to line up correctly. Notice the gap at the bottom of my knee. It's not excessive, but was required to get everything to line up correctly. It's about a 5mm gap. I then drilled a hole at the end of the crack and backed it with a small piece of ABS scrap. Possibly some cover strip. Then I added ABS paste and let it fully cure for 24 hours. And then I sanded it flat and polished it back up with Meguiar's Ultimate Compound. This isn't photoshop trickery. It really came out this smooth. If yours doesn't crack, this is about 15 minutes of work. Maaaybe 20. It was quite easy to do, I just got over aggressive with the reshaping.4 points
-
I can relate, Glen. The question is, did I stay up until 3am, or wake up at 3am.3 points
-
3 points
-
3 points
-
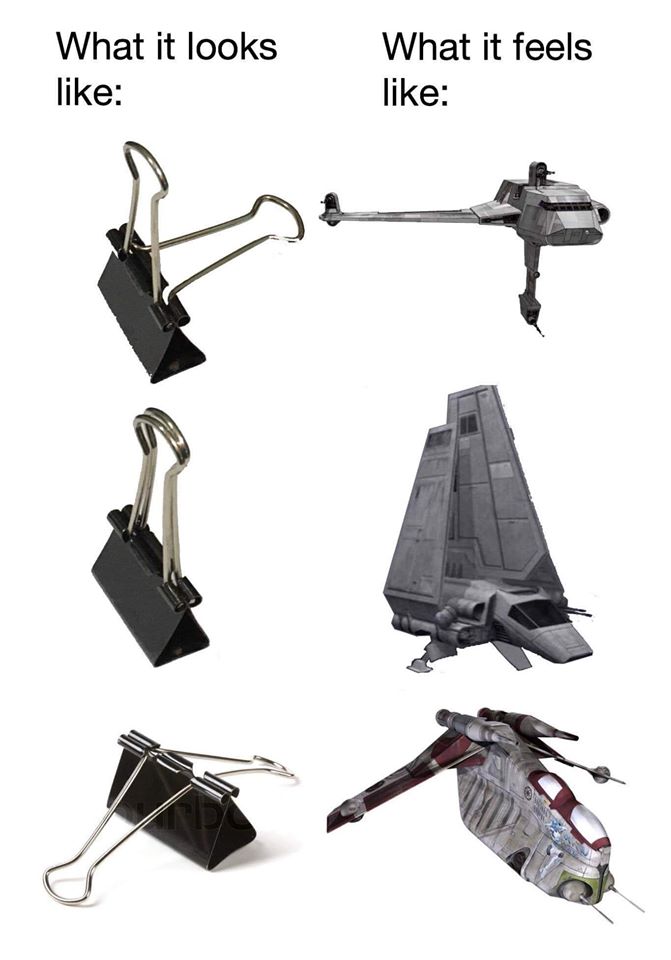
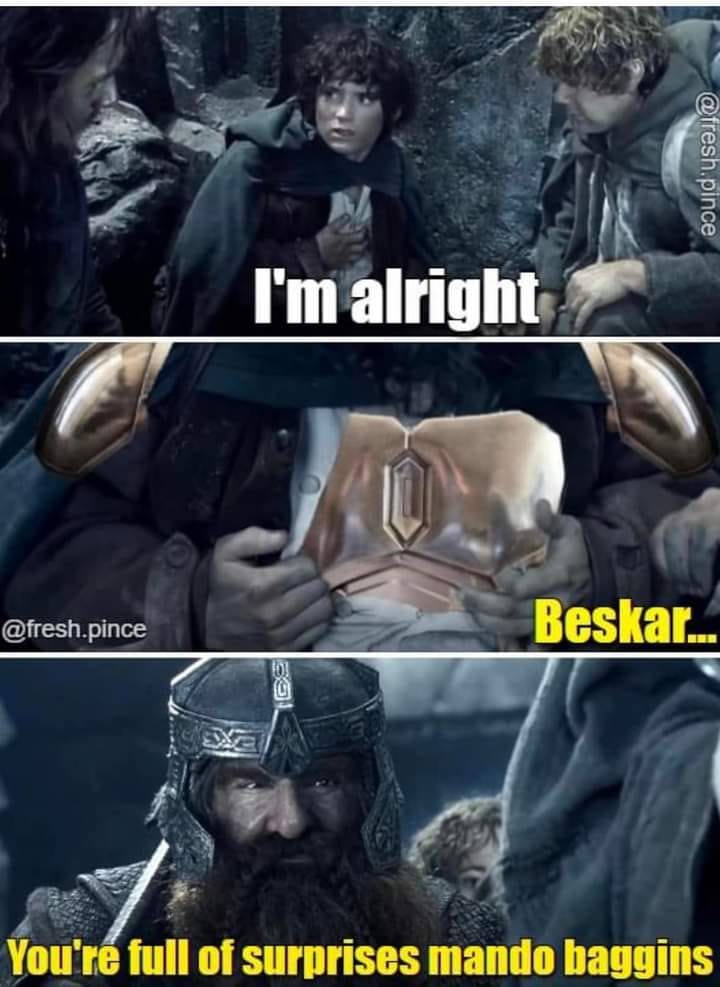
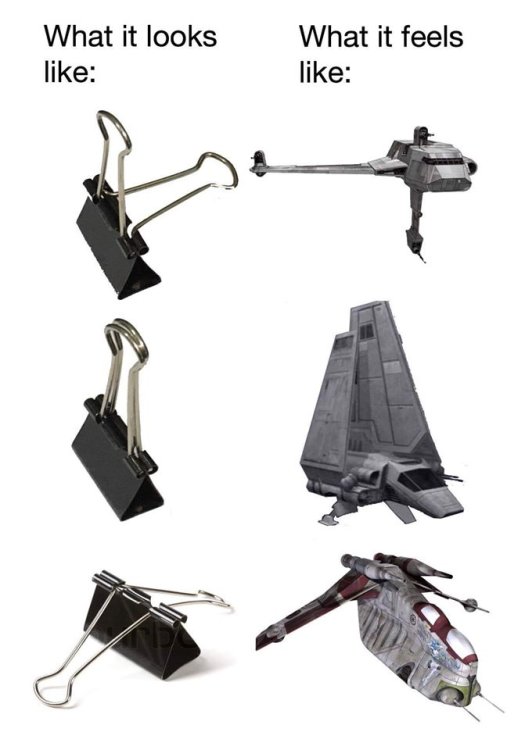
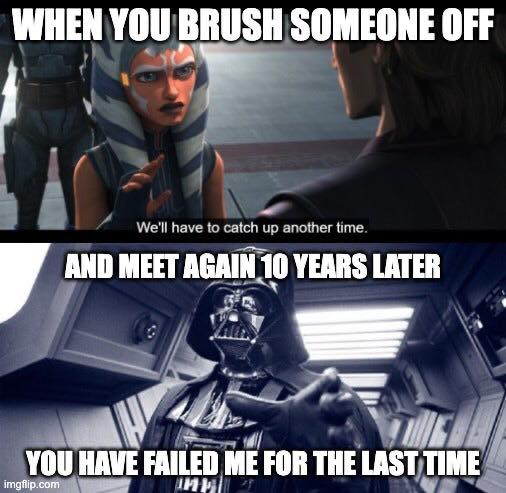
Since I recently shared this meme: Here's some appreciation for all the Memes everywhere3 points
-
Thank you all so much for reviewing my armor and providing such detailed and positive feedback! I have to say that the knee plate will take me a good bit of time and effort. I'm very thankful for your tutorial @revlimiter, it is greatly appreciated! Depending on the amount of time it takes me to make these changes, I may end up opting to re-submit in the near future. Regardless, it's fantastic to know what I need to do to improve my armor. This has been a personal goal of mine for years, so I'm thankful to be taking steps in the right direction in order to get this knocked out. @justjoseph63 thank you so much for your thorough review!3 points
-
This is so true, on so many levels. Why? Boss be like: First day on the job be like: Yeah, family...


 2 points
 -
2 points
-
 Hi Ardeshir, Sad to read your complaint and as a D.O. just can say on behalf of @justjoseph63 @Chemi and me that all the time we have try to do our work in the best, responsible, objective and professional manner possible according our knowledge and the main tool the Legion has gave as that is the CRL and the references we have. Our main goal has been "to serve not to judge " , "to encourage not to discourage" , "to help and not to block" . Every time we have to tell a Trooper to make a change in order to continue the review, we are not laughing at, on the contrary we discuss it and when there's no way to skip the issue ,we must go through the pain of communicating it and fearing that the applicant decides not to continue. Incredibly, we have seen how the majority of EIB and Centurion applicants have taken up the challenge (more than a D ring , brother ), and reached the high levels. I'm not fluent in English as I would like so I apologize if something I wrote make you feel disrespect . Hope you can find the correct way to suggest the CRL changes you consider and in a near future our work can be done easily. With much appreciation and respect Brother.2 points
 -
2 points
-
That's the spirit! You don't have to re-submit, btw. Just post up the new pics here and we can get started!2 points
-
Been waiting to see feedback on these. Rare I wear my Imperial Gaskets rubber ones, they are restrictive and build up a lot of heat, no air transfer, I now only wear them for LFL or high profile troops, fabric is way more comfortable in my opinion. Looking forward to see how much movement you have once you have the kit all fitted.2 points
-
Rubber gaskets arrived today from Thorsson and Associates Workshop. ‘They are well made and backed with neoprene, so they may not be too uncomfortable.2 points
-
I've almost completed my TK build (I hope) but had a few questions and am hoping for feedback about what I've done so far. Armor maker - MTK Armory Helmet maker - MTK Armory Cloth belt maker - TrooperBay Neck seal maker - OEM from Amazon Boot maker - Imperial Boots Blaster maker - Blaster-Master (Raymond Hebert) 3-D printed E-11 Uber TK type - ANH Stunt Parts Forearms Thigh Ab Plate Thermal Detonator Arms/Legs Full Armor - No helmet I'll post photos with areas I have questions about tomorrow.1 point
-
1 point
-
1 point
-
1 point
-
TK-91917 Requesting access https://www.501st.com/members/displaymember.php?userID=32397&costumeID=1241 point
-
A couple more from online
 1 point
 -
Hey Leif! Glad to see you on here as well! You can find all that level 2 stuff over here, so be sure to check that out Good luck with everything, I'm looking forward to our next shared troop (and maybe seeing some of the improvements you've made). LG, Luca1 point
-
A few from online

 1 point
 -
Some feedback for you. You will need to drop your forearms at the wrists as you have a big gap there, it will also give you a bit more room at the elbows. Also the drop boxes should align with the end of the plastic belt, looks like they may be a little inwards in this image. Looking forward to seeing any other images, or if you are finished and ready to seek GML approval you can post in our pre approval area, good way of getting feedback before contacting your GML1 point
-
You got this Nicholas , just a final effort !!! "Retreat? Hell, we just got here!"1 point
-
Hi Luca, I would love to get your help and of course all of the others. Yes the german forum is indeed very inactive as far as i can tell. Language is not a problem since i am an american living in germany for the last 43 years, so i am fluent in both. But of course my main language nowadays is german hahaha. I will let you all know as soon as my BBB has arrived and then will start to post some pictures and start the pre-approval. In the meanwhile i will have my blaster all black. At least something i can do right now. thank you all for your time Alan1 point
-
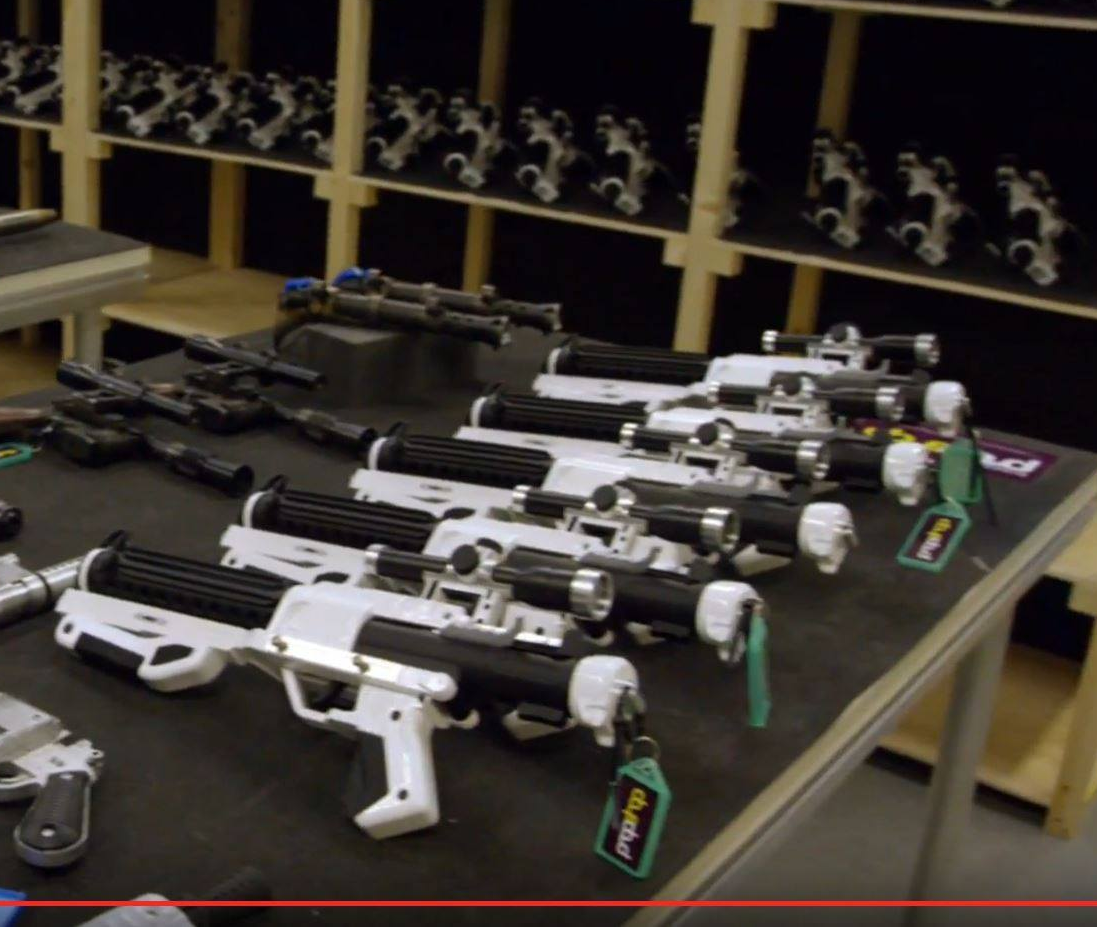
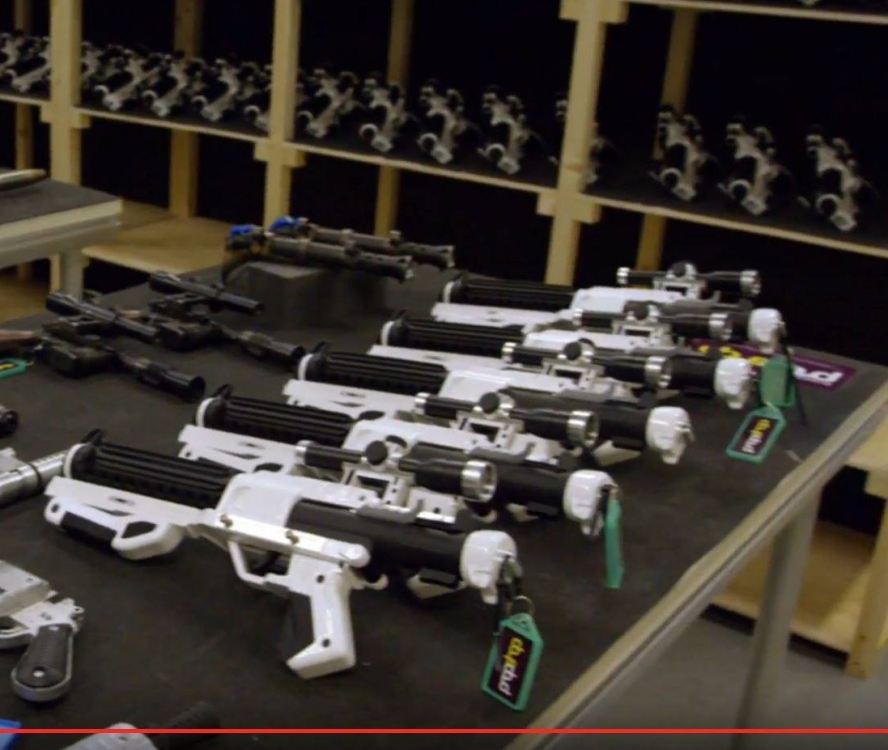
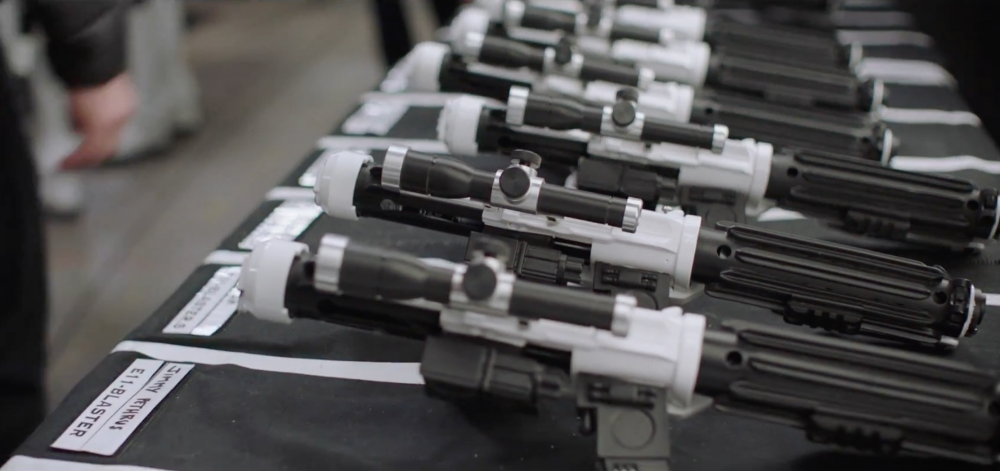
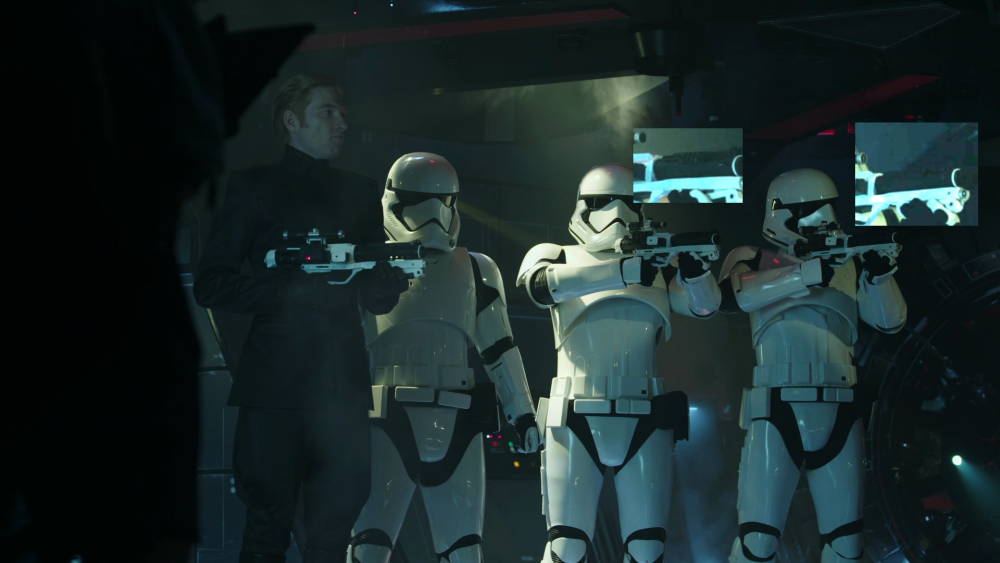
Actually they all have the picatinny rail in this scene, you can just make them out in the movie, I've lightened them below No disrespect to your knowledge and hands on perspective but most of the community we don't have this access so we have to take what we see from reference material, two of these references are images of production F-11's made for both TFA and TLJ which have some pretty big differences, outlined in previous posts. We do know several different versions of blaster had been used in TLJ/TROS many references had been posted in this thread and discussed, BUT what we know for certain is production made for TLJ show white mounts and white D rings, which is why that has been used as the base for the CRL, other blasters were carries over from TFA and Stunt/Promo versions, as I posted previously, there are TFA version with TLJ pieces added to them as well (promo standees TROS) TLJ Production TFA Production Just want to make sure everyone knows the reasoning behind only allowing certain items used as base for CRL's even though other variants had been seen and used, they weren't specially made for that particular movie. I can't however speak on behalf of other GML's or the DO's as to whether variants could be allowed.
 1 point
 -
Looking forward to seeing more photos so we can advise on how you are traveling. If ever in doubt we have an excellent gallery section full of references1 point
-
Welcome Chris. Looking forward to seeing your build. Ask lots of questions as you go. There are many very helpful and knowledgeable people here.1 point
-
Hi Ardeshir, as Glen pointed the blaster for high levels is not optional. Thank you.1 point
-
Hello David! Welcome and congratulations on your kit! I live in North East Phoenix and just started my penultimate semester for my Electrical Engineering degree so I may not have time to help one-on-one right now but I a happy to help as much as I can. Like Glen mentioned, go sign up on our local forum at https://commlink.duneseagarrison.com/ We do have quite a few members who live in the east valley so there may be someone there who can help who is a bit closer to you. We also have armor parties, which are usually hosted by a member of the garrison at their home, where you can go to get help with the build. You can find those sort of events once you sign up on the local forum. We also have a meet and greet about once every couple months where members and prospective members meet for some food, to hang out, and to have any questions you may have answered. Our last one was in December and I don't believe the next one is scheduled yet. Let me know if you have any questions!1 point
-
 Just some info, blasters are only optional accessories for basic legion approval. For L2 and L3 blasters are required, more info in this thread. Current CRL: OPTIONAL Accessories Items below are optional costume accessories. These items are not required for approval, but if present appear as described below: F-11D Blaster OPTIONAL Level two certification (if applicable): Rear sight is painted black. D-Ring shall be present on the rear end cap, rectangular in shape and painted white.1 point
 -
 Did you see my above post regarding the ring? Also it’s an optional accessory1 point
 -
1 point
-
1 point
-
Hi Alan! A belated Welcome to the FISD from my side as well! We've got a ton of TKs in Germany, several Attachés, so I can assure you, you're in good hands if you ever want some local help. Since Caleb went ahead and tagged me, I want to offer you my help as well, if that's something you're interested in -- if that's because I might know some local help, sources or simply because of the language barrier. As we say over here in the FISD: Troopers helping Troopers. So feel free to reach out at any time! Of course you can also stick to all the help and feedback you're getting on here, I can assure you that these people will help you make the most of your armor Sadly the German forum is a bit inactive, but as you're seeing there's tons of other resources waiting for you. Good luck with everything and I can't wait to see your final armor1 point
-
Congrats on your delayed Christmas present! We wanna see photos of you kitted up, Alan! And once you're ready to submit your 501st application, you can create a pre-approval thread to gain initial feedback prior to submitting your GML (Garrison Member Liaison). Were you ever able to connect with fellow German guilders? In case not, I'm paging @Morgi. p.s. Luca (Morgi) likes memes.1 point


.jpg.486b9d353be7881a86b70313afb0f6c9.jpg)


.jpg.d66f90877d6c50e0cdd22992df2f35b2.jpg)