Leaderboard


Popular Content
Showing content with the highest reputation on 09/20/2022 in all areas
-
Quick back-story- I saw Kevin's @kmwilson343 3D E-11 sales thread a while back, and having some down time thought it was time for another project. Since I already own an E-11, I figured I could build it and after completion offer it up for auction here** with the proceeds donated to the JDRF (the FISD official charity) on behalf of the FISD. I got in touch and asked if he had a B-grade for sale (I like a challenge) and he said that he had one that was partially built and would be happy to donate it for the cause and send it my way... and he did! (THANKS)! As mentioned, keep in mind that it was partially built and was a work in progress that was interrupted by me, lol, so I am only carrying it forward. I will be adding a few of my own touches, of course. I will not be posting a ton of photos as there are already many great build threads here, but I will be touching on a few areas that can be a pain when working on a 3D build so please feel free to ask any questions or add any comments. ** Once complete, I have Andrew's permission to do this and will be starting a separate thread for the auction. Unfortunately, due to postal regulations I will not be able to send it outside the U.S. All that being said, time to get started! Looking things over As seen in the pic below Kevin has done a lot of the work ahead of time, and since it was designed by Bryan @trooper96 the details and accuracy are phenomenal! It begins I removed the front sight guard, folding stock and end cap/clip and selector switch for better access to the main body. After some extensive sanding, I thought it best to hit it with a coat of fillable primer. Looks pretty good, right? Well, this is why using the primer helps. Although areas can look and even feel smooth, having everything all one color brings out all those little details that may not be visible otherwise. Time for more Bondo spot glazing. To be continued!4 points
-
You can normally find Star Wars themed inflatables https://www.amazon.com/star-wars-holiday-inflatable/s?k=star+wars+holiday+inflatable Star Wars silhouettes may work well if using a projector. If you wanted to get really creative you could add servos to the arm sections and rivet those so they move. There is someone who does custom backdrops, out of vinyl or fabric but unfortunately he is on the 501st members forum. A lot of the panels members make to emulate the death star walls are mostly cut out of MDF either by hand or by CNC, it's a lot work but done right can look awesome. You could also buy some of the cheap costumes and make scarecrows Or go MEGA BIG Or if you have access to a 3D printer make some droids, include motion sensor and mp3 player and amp so they talk when people approach. People do like interactive lights and sound You can find holo projectors online, can add your own images It all comes down to price and time and how creative your mind can be2 points
-
Hello. My Name is Ross Walmsley and i am from the Isle of Wight in England. Christopher Pearson is an active member on this forum and suggested i pop up a post to see if i can become an approved supplier by your selves . I will start from the beginning.. I joined the UK Garrison in 2009 trooping with a FX TK kit and SDS bucket. Our squad (The Vectis Remnant Squad) were given an old X-34 land speeder that the UKG had owned for several years. We restored this and i got my first taste of prop building. This has become more and more of an obsession over the years and we have built a pod racer, Tatooine Backdrop and a brand new X-34 landspeeder for Celebration last year and various other items. About 5 years ago i started experimenting with vac forming in an old oven and made my son a mini biker scout kit. This is when we decided to make a few Sandtroopers to go along with our speeder. Me and a friend bought a second hand home built vac former and started to experiment and modify the machine. This is when the TK/ TD started.. We had an old overcast ROTJ TK kit that was in a pretty bad way. very soft pulls and mould lines on the shin rear, thigh rears, biceps and forearm rear. We used a heat gun to try and get a bit of shape back into the kit and held some parts in wooden frames to support it. coating several times in gel coat we build up a workable layer that we could later grind back and shape. we continued with fibreglass and then backfilled with bonding to stabilise the bucks. When this was dry we broke of the outer plastic and were left with our rough copies. we then attacked with grinders, dremels etc to rework the lost details and remove the mould lines etc. I am a few years into this now and still have plenty of mods to do on the kit as i want to get it to the best i can. This only started out to supply a few members of the Vectis Remnant squad but soon started to spread. I began selling to UKG members and word of mouth took over. I set up a Facebook page "RWA Creations" at the start of this year as i decided to start sculpting various other armour etc. there are plenty of pics in my albums to take a look at. I seem to have built up a good reputation as being self employed for over 20 years i know how to run a business well. Below i will pop up some photos and annotate with my adjustments.. Helmet, originally re shaped, re defined frown, deepened tears traps etc. recently completely reworked as this photo. more depth to traps and tears etc, sharper back cap base, more height to back cap. eye bump. sharpen vocoder and surrounding areas.. Ab. Sharpened all details. added return edges. letter box to centre section. created line to belt zone. WIP... re shaped by pulling sides in, moving lower line below the belt off centre and tidying up more.. Belt, knee ammo, drop boxes, buttons etc. All made from wood. Forearms. Originally had one left one with mould lines on rear. copied split and reversed to get a pair. these were still a bit small and awkward so i made a longer set as seen below. I need to remake these again as they require more shape. Here is my 1mm kit i made last year. this allows me to get in vehicles and on the floor etc. proper stunt suit I have also made bucks for Shadow Guard, Tie Pilot Armour and working on various other items cheers for now1 point
-
Jealous that Christoph got to meet Morgi1 point
-
Not mine but made me giggle
 1 point
 -
Again, thank you everybody for your replies and well wishes! I didn't expect to see this many more comments. It has made me smile and feel better upon seeing them, and I appreciate you all for your comments. I'm almost done running my helmet electronics. I have to make some adjustments to install the Hearing Assist mics and speakers, but the fans, my ICOMM, Hovi-tip speakers, and amplifier are all working perfectly fine! I was gonna post photos but the file sizes are way bigger than the 512kb allowed.1 point
-
Cheers. Even if it does show up I need to have my folks ship it to me in Japan. Just might have to wait until I visit home next year. I guess another year to have it in hands won't kill me at this point. LOL.1 point
-
Fitted up on the mannequin. Weathered the Paldron1 point
-
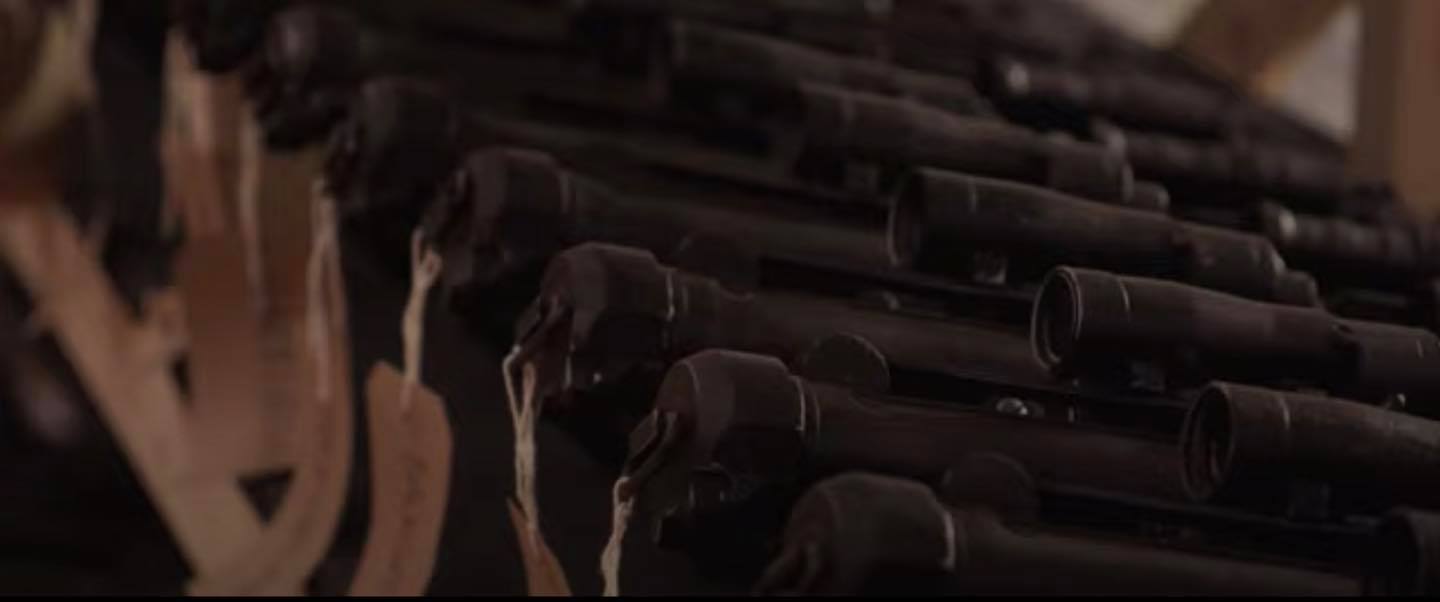
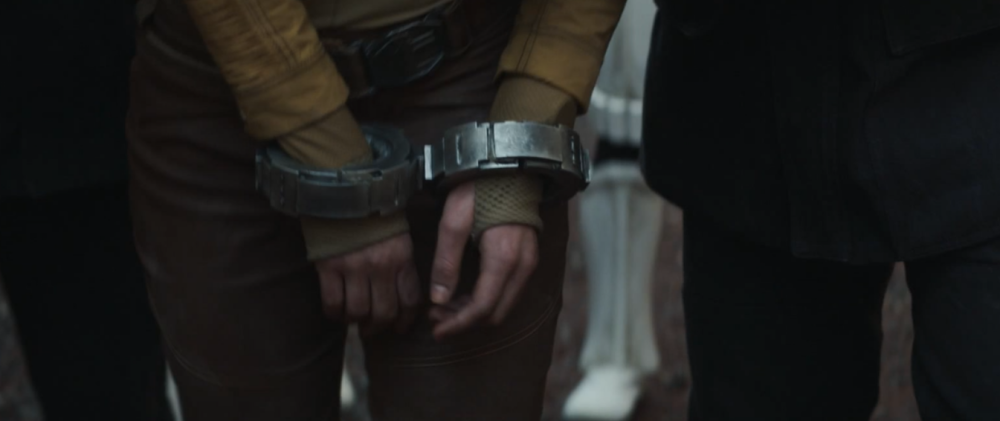
Back to no holsters A bit of weathering on some This series may also see the change over from clone to stormtrooper Blaster scope details Binders

.thumb.jpg.5906daa4e0b004dba6cc342966c76e85.jpg)

 1 point
 -
Hope it's not too far away Brian!1 point
-
Fingers crossed for you, hope you see something soon1 point
-
Correct. Recasting is very much frowned upon, and we don't recommend giving business to recasters, on moral grounds if nothing else. But as long as the armor is accurate (whether that's true depends on the individual recaster), it's assembled correctly, and fits you correctly, there's no reason why any given armor would not be approved just because of who made it.1 point


.jpg.6464a1585409bfb36445fd349ab947f6.jpg)