Leaderboard


Popular Content
Showing content with the highest reputation on 01/14/2022 in all areas
-
Maybe that helps. And here is an idea, how you can easily build a front sight pin, that will most likely never break.2 points
-
Greetings! In this thread, I am going to try and document my journey from Expert Infantry to Centurion. Any tips, tricks and general pointers welcome I'll start by going through the improvements I plan to make before submitting for Centurion: Part 1 - E11 Upgrades - Completed! 1a) Upgrade Hengster Counter to have an actual "counter number" and plastic face. Ideally to have my own TK number as the number on the counter Completed 1b) Upgrade the scope so that it has real lens and a proper "scope decal" Completed 1c) Fill in as many gaps / bubbles in the moulding as much as possible (probably using green stuff or liquid green stuff) Completed 1d) Cut out the trigger area so that it isn't one huge piece and looks more realistic Completed 1e) Repaint the whole blaster so that it has a more "factory finished" look to it with light weather (following guide Here) Completed Part 2 - Helmet Upgrades - Completed! 2a) Move s-band so that the connect sits under the vocoder for better concealment Completed 2b) Improve the internal helmet padding so that i don't have to totally rely on the chin strap to hold the helmet in place Completed 2c) purchase and install a fan system (Troopacoola) Completed 2d) cut down and install the eye lens individually using sugru for a better internal look Completed 2e) Countersink ear screws Completed 2f) Trim screws internally so they don't stick out as much Completed 2g) touch up vocoder to make more symetrical Completed 2h) paint the internals of the helmet black once all of the above has finished Completed 2i) black duct piping to cover the electronics at the back of the helmet and to further reduce visability into the helmet from a low angle Completed Part 3 - Armour Upgrades Completed! 3a) Ab plate buttons - get the corners as close to 90 degress as possible Completed 3b) shorten the smaller ab-plate button Completed 3c) New thigh armour strapping system so that it sits better when moving around Completed 3d) Replace existing slightly warped hand guards - silicone or latex? Order in progress 3e) Reduce gap between shoulder armour and chest armour - return edge/strapping/larger shoulder armour? Completed 3f) reduce gap between abdomen and kidney plates - diet/going for a run! Completed 3g) voice amplifier system (Aker MR1505) Completed Part 4 - Carry Case Upgrades Completed! 4a) E11 holster Completed 4b) Handle for carry case Completed 4c) TK number and Imperial cog stencil on sides of case Completed 4d) Painting pattern on lid Completed 4e) Repair kit? Completed 4f) Long shoe horn Completed Aaaaand i think that is pretty much everything. I've started this a little late as I've already started the work on a few of the above and have got parts/bits on order already. Will try and update as often as I can with how things are going but the biggest one for me is going to be losing the weight i need to fit into the armour so i can meet "3f"! I'm currently doing Dry Jan and I'm going to try and start going for a run once a week. Looking forward to the "March to Centurion" and thank you to all who have helped me get this far and have continue to provide support and advice. All the best, Ben1 point
-
Looking forward to seeing your progress, good luck1 point
-
Ah, alright. Well perhaps more glue will keep them down. Otherwise I'm not sure. Hopefully you can reshape them if you try again. Perhaps this video has some tips https://www.youtube.com/watch?v=Q4WKYsX6yak1 point
-
Hi, I already started on my build a few months ago, but someone reached out and suggested I make a WIP thread here. Makes sense... As White Armour has been my go-to for trying to work out how to put this all together. My WIP is slightly different as I'm also documenting in detail a video log on my channel. (CLICK HERE TO CHECK OUT GEEKY GOODNESS) Wondering why the following posts are the same date?! It's just to catch everyone up what I've done so far So we start with what and were I purchased everything so far. I've been soooo LUCKY that someone abandoned his attempt to make his armour, and sold all his 'soft' items for half the price he bought it for. Being in the UK as me, this was AMAZABALLS, as I didn't have to also pay for the HUGE import taxes and delivery charges from the US, Germany, Canada and Oz. First I downloaded The5thHorseman 3D file I found on this site. But I also added my bespoke light & sound effects using my girlfriends voice. Yep it's not cannon (pun intended), but I can turn it off at an official event. Here's the full video and some pics... (CLICK HERE TO SEE THE VIDEO) And here's the 'beauty' video of the final result. (CLICK HERE TO SEE A BEAUTIFUL BLASTER VIDEO)1 point
-
Thighs done! Click link below to see video build. https://youtu.be/XMZYaHh-J_U1 point
-
Okay, there's no way I'm living with the tiny sight. Thank you Tino and Joseph!!! I think I can certainly make something that's an improvement on what is there now.1 point
-
Beautiful job on your build and congratulations1 point
-
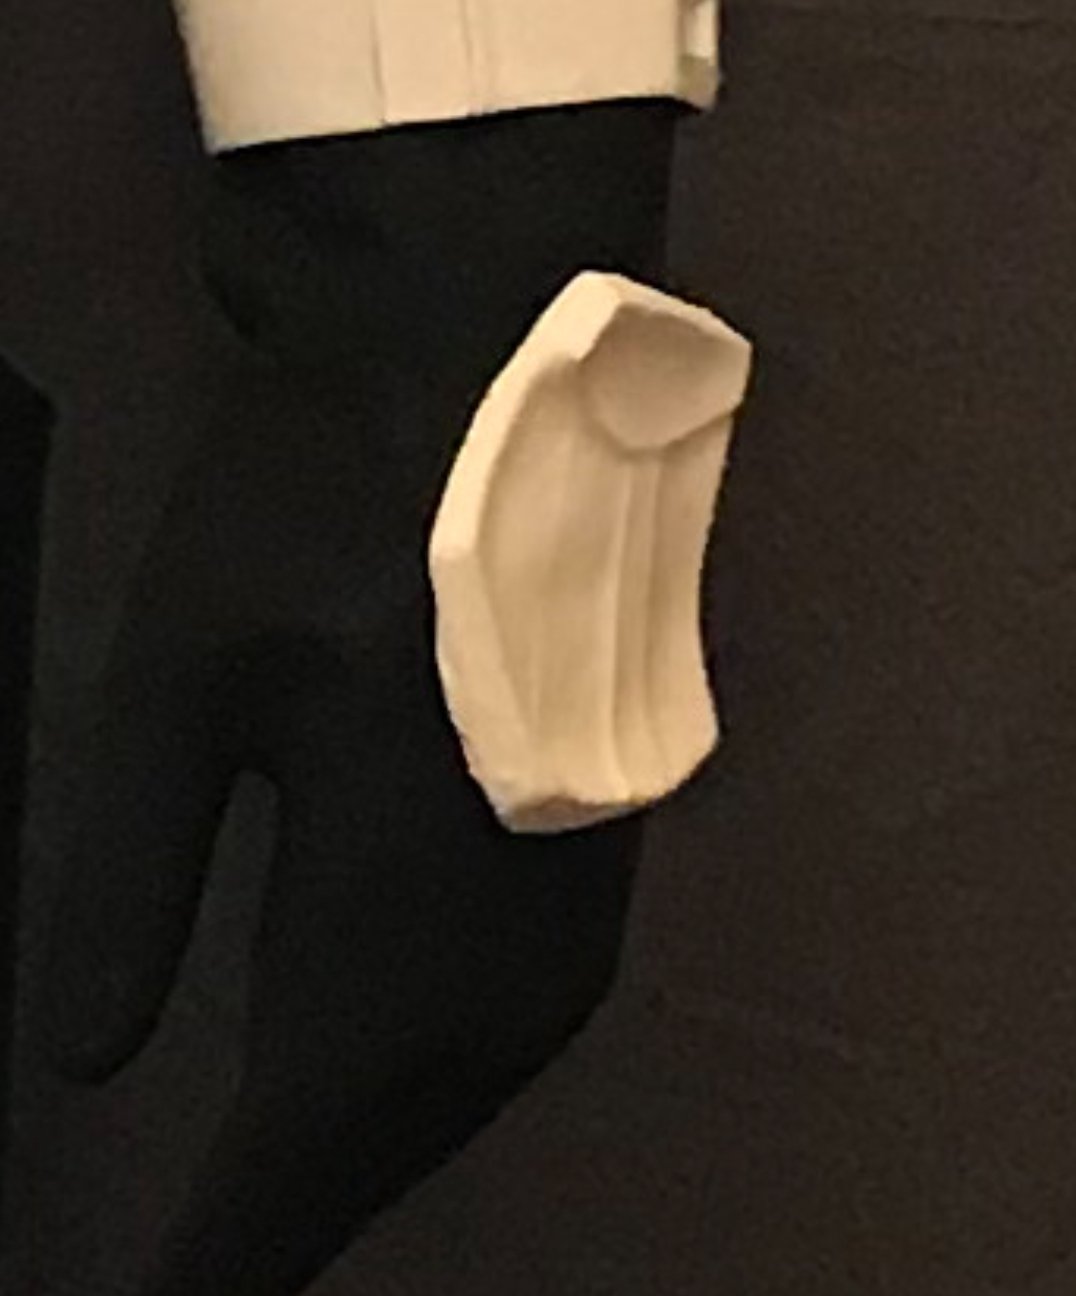
I did the exact same thing with the aluminum "moon" and it has worked out great. I like the heft that the metal stock gives as well. "Note that tiny little sight. I'm trying to decide if I need to make a better one or if I can just overlook that itty bitty thing". Yeah, I would. I have always made my own by cutting the head off of a machine screw and then grinding down the end (you could use a metal file, though). Just Dremel off the old one, drill a hole and screw it in.. done deal. Crappy illustration, but you get the point, lol.1 point
-
The good thing about silicone is that it is almost indestructible, stays flexible and will never turn yellow. I sell these (link) but postage is high to the UK (like £17). I believe Chris from the UKG may be your best bet, though and his run about £25 (shipped). link here1 point
-
Way to go Garrett! Looking forward to seeing your Expert Infantry submission!1 point
-
From Ben's EIB app

 1 point
 -
Awesome! Thank you so much! I appreciate your time.1 point
-
Very nice1 point
-
I got brave. And just like that the stock stock is off. OEM stock? Quest stock? The included one. It's outta there. The razor saw made quick work of it. The stock was glued in place in the two spots in the back and these two spots in the front. There's even hole details underneath. Here's the two stocks together. The Quest is on top and seems to be rubber. It's quite flexible. It's also about 10% the weight of the real one. Holes drilled and some chips patched with glazing putty. The resin really enjoyed chipping under here. I also only drilled these holes at 3/8" instead of the full with the idea of keeping a bit more meat at the bottom of the barrel to support the metal stock. To grind out what I needed to grind, the nose needed to be cut free. Inside I was amazed to discover some PVC! The Quest blaster has a tube of PVC running the full length for strengthening. Look at that wall thickness. Then I drilled out the pivot. I tried to leave as much meat here as possible also. I opened the hole up a bit more than the metal pins required as I didn't want to pressure fit anything and weaken the surrounding resin. Gluing in place would be just fine. Some cut down clevis pins in 5/16" to fit the stock. I considered doing the same tube mount that the real Sterlings used, but couldn't find a full width 5/16" tube. If these pins don't hold I'll figure out a new mounting method. There's a lot of work cut out for me here. Pun sorta intended. The clip on the metal stock has a wide base... which means... Yeah. That's a big wedge needed to be cut out. I cut little by little test fitting and cutting. Took most of an hour. But... BAM!! It latches on perfectly. I added a small moon of aluminum for the clip to grab onto and to spread the force out. I then epoxied the aluminum reinforcement in place and let cure 24 hours. I also applied some green stuff to the nose and did a knurl... which I later learned doesn't extend down that far. And that's okay, I can sand it back to the correct level. Note that tiny little sight. I'm trying to decide if I need to make a better one or if I can just overlook that itty bitty thing. After getting the stock in place, I had to put things back together to see how it felt. IT FEELS GOOD. The folding stock really works, folds, and extends. And it actually locks in place on the end.1 point
-
Hello Shayan, welcome to FISD As Mario said, the best way is to see a lot of videos and read a lot of posts... You can also ask for help from members of your Garrison who will be happy to help you with your armor (although with the covid, this may be more complicated). And you can also open your own WIP, where we can help you on your way to Centurion level !!! ESB WIP THREADS. Remember that you can contact the entire DO Team whenever you want @Deployment Officer Team...We never sleep (sometimes we close our eyes, but we are listening!!!). Good luck!!!1 point
-
Congratulations Be sure to request Trooper status https://www.whitearmor.net/forum/topic/16-501st-trooper-status-requests-include-link-to-your-501st-profile-in-your-request/1 point
-
Progress report: After a few attempts now, I’ve still been unhappy with the patching I’ve done. Color never matched quite well enough, and the patching looked pretty obvious, even from a distance, so I decided to leave it be for now, and finish up the build for at basic approval. Because I decided to do strapping on both sides of the abdomen/kidney, I figured I would just e6000 the rivets in for now so I can remove them later if I want to have another go at patching the holes and moving the rivet placement. I still needed to sort out the thigh ammo pack though, and get the replacement matching the color of the rest of my armor. I found that a light coat of Rustoleum Gloss White got it to just about match (I know, Rustoleum has its issues… I’ve actually been using it a lot this year and had good results). In hindsight I should have done a clear coat over top, but that can always come later. Before: After: Finishing up, I made a little pouch for my phone (voice changer) out of some scrap canvas and glued it to my chest plate: Finally: added a little extra padding in the abdominal, butt, and thighs to get it sitting better, and took my submission pics. I think it looks pretty good. Abdominal plate could definitely be trimmed down a bit in the future - I’ve lost more weight this year from health issues so it’s even bigger on me than it was last year - but I’m pretty happy with it, and it got basic approval a couple of weeks ago!1 point
-
Very nice, love the labels, I only hand wrote mine, I may need an upgrade In case you haven't tried/tested just be careful using black material, sometimes it can bleed into the paint,, I found this with my first set of armor protectors, luckily it polished out with some auto compound polish, could have been humidity or slightly sweaty armor.1 point
-
Episode 4 of my Storm Trooper armour build now available to stream. One of the larger parts that took up a lot of space. One day I’ll look back at this from my huge fully equipped Tony Stark Iron Man style workshop and be amazed how I did it... Where there’s a will, there’s a way. VIDEO AVAILABLE HERE: https://youtu.be/yKlwKIu-TPs My special addition to the armour with breathable mesh interior.1 point
-
Now that the blaster gave me a taste of this elegant design, I had to carry on with this journey. After waiting 2 years for armour that was never delivered from another vendor - still waiting for a refund. I used Imperial Surplus. (CLICK HERE TO SEE THE VIDEO OF CARDBOARD DREAMS)1 point

.thumb.jpg.6d328112c293e966a129e9e62a88b910.jpg)