Leaderboard


Popular Content
Showing content with the highest reputation on 03/05/2021 in Posts
-
Yup, me again. See? You can do it too4 points
-
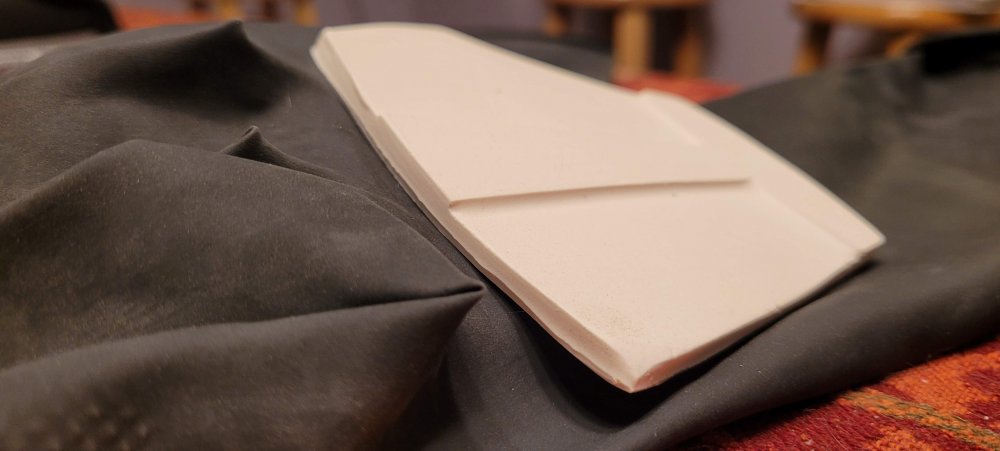
I know it's been a while since my last post on this thread but here I am again and ready to pull the trigger on Centurion! I was so excited to be part of the EIB 1000, so I had to throw my hat in the ring for Centurion. I just received the last piece of the puzzle for my Centurion build. The hand guards. I'm currently printing out the requirements check list for Centurion and the checklist for the photos I'll need to take. I'm so excited and maybe I'll be approved for the 500!!! Here we go kids!!!!

 3 points
 -
Good luck troopers!2 points
-
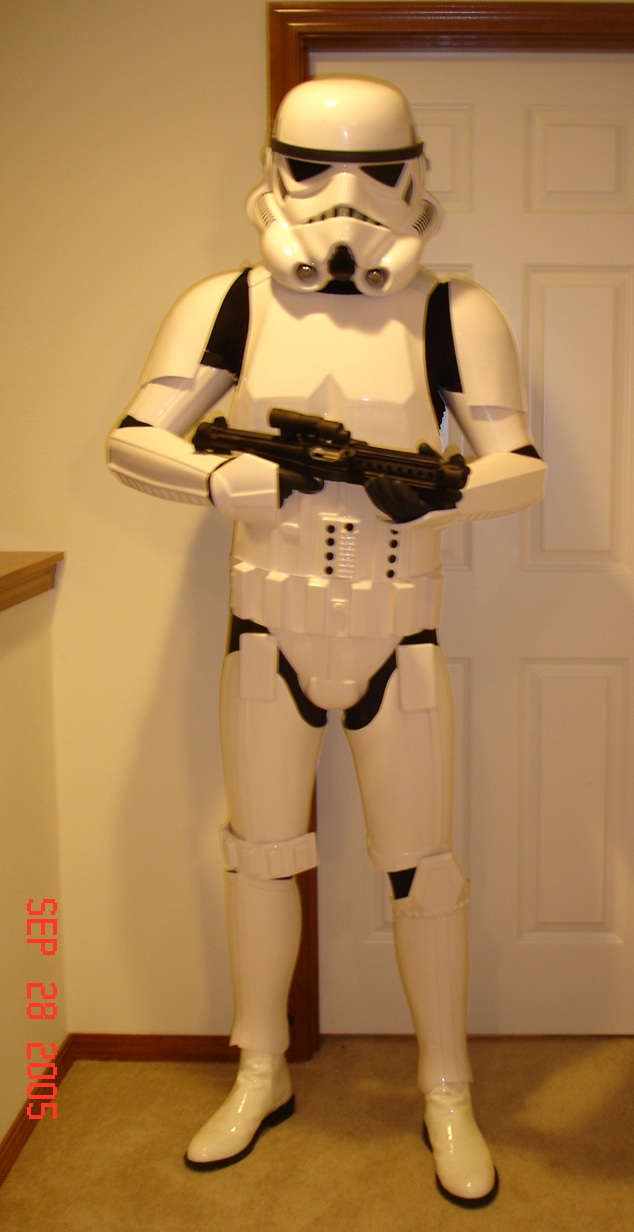
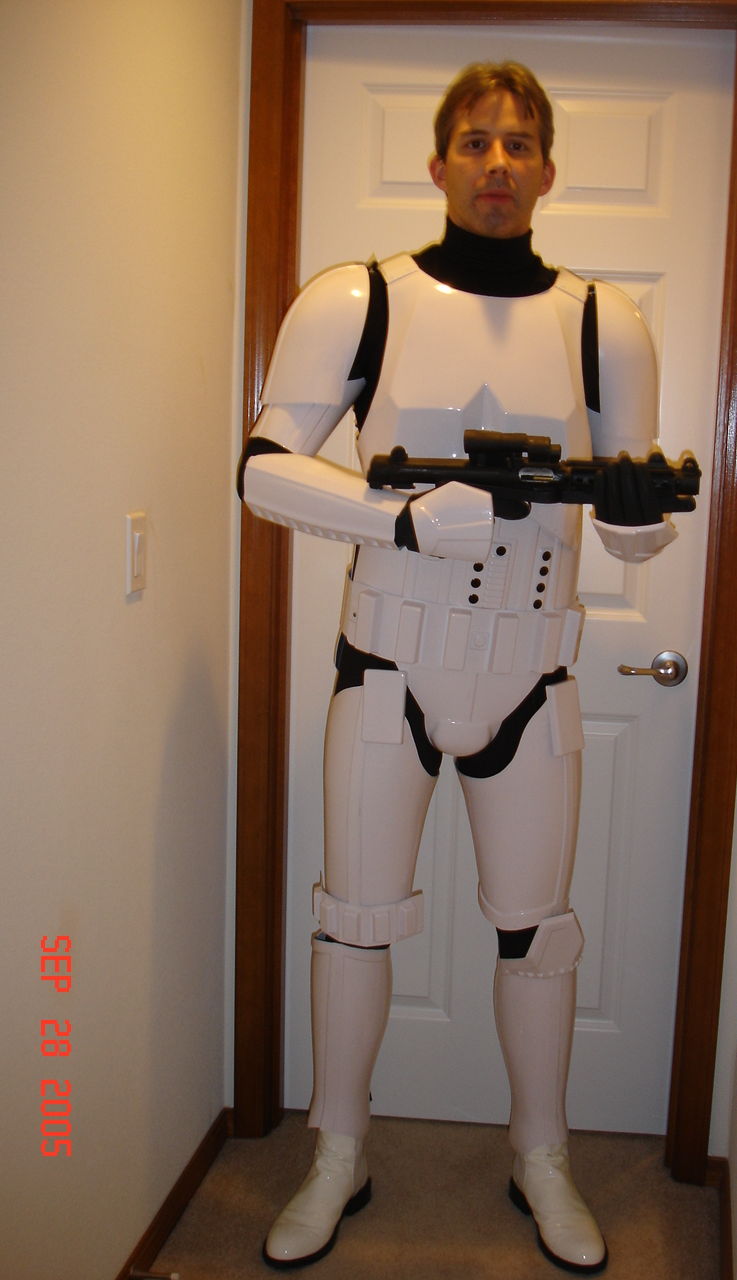
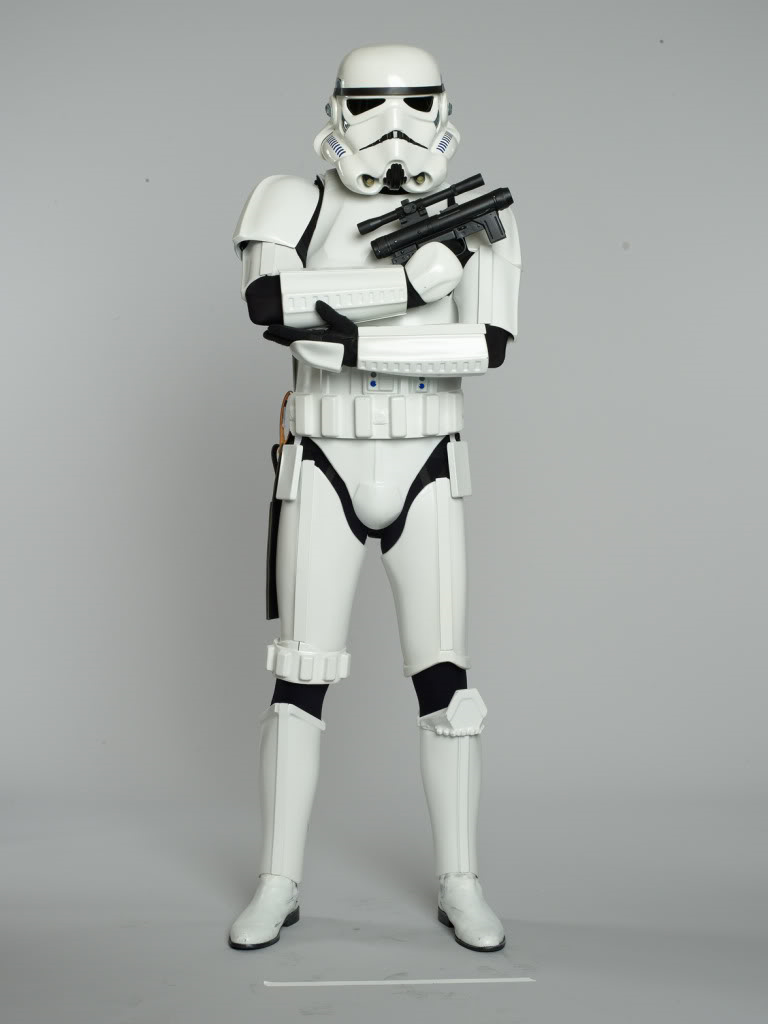
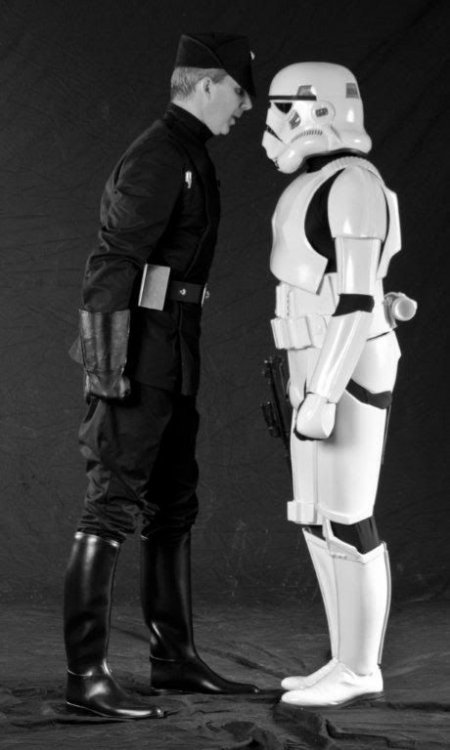
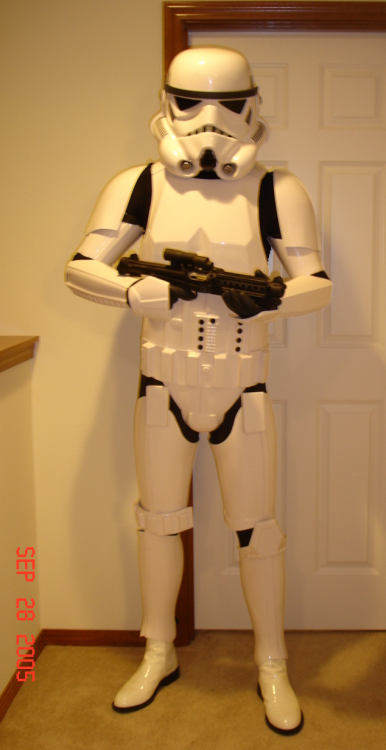
No worries. I was partly referring to my armor as well. The first one in 2005 was FX armor I put together myself and these were my 501st submission pictures. The second set was a TE2 suit I helped pull while visiting Guns in Hawai'i and was built by Wyatt and painted by Mike Appling. I was trying to make a joke that how our armor starts is now how it may end up, e.g. "how it started" meme. As for photos, yes these were taken by a professional for a book promotion and it was just luck that the shoot was held here in Seattle and I was the only EI trooper in my garrison at the time. That said, I found it best to get someone who you know through your garrison or other affinity group who is a professional photographer, or at least a very good one, to take the photos for you. Spouses sometimes are not the best as they don't think that a rotated shoulder is a big deal, etc. Below is one that a Masonic brother of mine took for us. He had a studio and let my garrison drop by for some photo shoots (that is me as the officer). The advantage of a professional is that they are masters of lighting, etc. No way you could get this type of shot at your house.
 2 points
 -
Greg Schlueter 25034 EIB Letter Size Joseph P https://www.whitearmor.net/eib/certificates/25034-eib.png2 points
-
Oh awesome thanks guys. I have already adjusted a couple of those items like the forearms and ammo belt position. I will definitely lower the thigh that is riding high it’s just my strapping. I will trim the shoulder bells and adjust the gap. The gap in the kidney and right ab has been resolved by shorting the straps. As for the TD I will see what I can do about that. I may have to get new clips or try to re bend them. Again thanks I am excited to get the adjustments done and submit for Centurion.2 points
-
The aurebesh came out great! If you are looking for a more worn look I guess you could do a little chipping to the letters, but I like it as it is. The hose idea is another cool mod for this helmet. I think this helmet needs a full set or armor and backpack to go with it.2 points
-
Thank you very much Glen @gmrhodes13 and Mario @TKSpartan Before continuing with today‘s update I just have to mention three minor corrections to this build. Daniel @CableGuy has collected some very good information about ANH helmet building and painting in some of his YouTube videos. Watched these just recently and then found flaws on the eyes and the paint job on vocoder and the HOVIs. See the following photos for the corrective actions: Okay, now to the update. Looking at the helmets from TIE-pilots and Magma Troopers, I found tubes or hoses to somehow look pretty cool. But adding them means they have to end somewhere. On a full costume you can run them to a chest box or a back pack. In this case it is just a helmet – with a classic RS Prop Masters helmet stand. So I started figuring, if just one tube could be fitted somehow… In this place it looks like supplying the flashlights or some other hidden electronics. By the way, that painfully reminds me of an aiming device I had planned for the right eye, just below the blast shield. Would be nice but unfortunately I did not manage to find anything suitable for this. Okay back to topic. It was time to run the other ends of tube and cable somewhere. The cable was easy, I just tape-glued it to the inside of the helmet. But that tube, oh boy … The diameters of tube and that chromish metal piece exactly matched. Would have been nicer to see one fitting into the other. However, I am pretty glad it still looks good this way. The next topic is ‚helmet personalization‘. Seems like there is a long tradition of individual drawings on various military vehicles and equipment. Even customized helmets seem common and can be spotted in the Star Wars Universe, too. Found different colors and sloppy lines to look more real than having everything perfectly lined up with just one color. While doing this, I thought about something like a slogan or motto from that trooper, hand-paint onto the helmet. But not with the letters of our alphabet, with letters in Aurebesh… Thought an officially looking military marking (white on NATO green) would be a good addition to this. Instead of sloppy lines, I now needed something that looked like being made with a stencil or template – in Aurebesh of course… The last photo shows the TK-ID is a bit crooked and the black slogan has an offset. First I was a little frustrated, then found it to look more real because such inaccuracies can happen with hand-made things. Anyway, it‘s the rear side which soon can‘t be seen in the display case. List of modifications so far: 1 - Blast Shield 2 - Black Interior 3 - Two-tone paint job 4 - Antenna and radio 5 - Utility belt 6 - Universal supply box 7 - Bacta canister 8 - Helmet flashlights 9 - Breathing tube 10 - Kill marks 11 - Aurebesh letterings Two updates to come - next one in a week.2 points
-
Don't feel bad. How it was - 2005 Later, for a book photo shoot. This one has been used for FISD merch. Should look very familiar. So, it gets better

 2 points
 -
Keep those Centurion applications coming in folks, we are getting close now, so if you are currently ranked Expert Infantry, here is your chance to step up and make the 500. In case some were wondering, we have had a few recently achieve Centurion but these members have already reached Centurion rank with other armour so although approved for their latest costume, they dont add to this tally, hence why the number doesn't drop. First time centurions are what bring the number down, so get involved and step up today2 points
-
Nicely done brother. Welcome to EIB. On to Centurion. Your changes are easy and I know you will knock it out of the park. Call me if you have any questions.1 point
-
Truly, I do suggest a good photographer, even freelance. It will cost some $$, but if you get some buddies to be part of the shoot you can decrease the cost. I'm really glad I had them taken when I did. The ones with the book though I didn't pay for. I was the "model" for that photo shoot and they were nice enough to give me copies of the test shots. So I have a bunch of me in different poses, but the one for the advertisement is me simply holding up that huge book, which was so heavy I could only keep it at that angle for a short while.1 point
-
I think I may have finished the helmet! (unless someone sees something I need to correct). Here are some pics below. I tried some padding off of Amazon, but none of it worked well. So I ended up making my own which did work. And of course on my head. Next step I think will be to start on the torso. One of the parts I still need to order is the belt. So getting that squared away would allow me to get an accurate measurement for that order. Again, thanks for everyone's input! It is always appreciated!1 point
-
great photos !!1 point
-
Thank you. And yes, I have been looking at the armored cavalry.1 point
-
Ok just ordered @ukswrath TD clips for the fix on the TD1 point
-
I will be making the adjustments this week. Also new photos as well. Thanks.1 point
-
Hi to Everybody , am huge fan , but a beginner on build an armor, and have working on this project for the Movie premier. i hope you like it , and really want to ear you Pro opinions , thanks and sorry for my english .1 point
-
Changed my Profile pic. Probably looks pretty novice.1 point
-
You don't need to use rivets, using bolts is fine and good if you ever need to make any adjustments and yes just cut the excess off, I normally use side snippers. Nice work, you have survived ear trimming, the rest should be a breeze1 point
-
Looking great Justin1 point
-
awesome ! Well done1 point
-
Loving the canister, nice work1 point
-
No, industrial strength velcro, here's a photo. Disregard where my finger is pointing and look at the insert mounting tabs.1 point
-
Don't need rivets for basic approval or EI , BUT yes as you have added them you would need to add another 3 to add to your shim and replace the elastic, and yes shims would go on both sides. Was just an option to give you basic 501st approval, but carry on with the weight loss1 point
-
Well, it finally happened! I got a break in the side of the chest piece. I think it's because I've been reaching into the side of the chest piece to adjust the volume of the amp I have mounted behind the chest. I'm using a leftover piece of plastic from the build to reinforce the side. This is why you keep the spoils. BTW, I made EIB!!! Keep trooping troopers! Sent from my Pixel 3 XL using Tapatalk1 point
-
Still tweaking things. Added a wireless mic and sewed on my new garrison patch! Sent from my Pixel 3 XL using Tapatalk1 point
-
Almost done jejejeje i hope you like it. I hope you like it1 point
-
The three pictures from the Celebration in the newsletter were pretty telling. "Here's ALL the Stormtroopers who made it!" "Here's the smaller but still decent amount of EI Troopers" "and here's what's left when we only see Centurions". The average person (and I count myself as that still, really) couldn't tell the difference between the costumes of the three sets without being pointed right to them... I'm going to go for Centurion on my build just for the fancy ribbon and knowing I'm as screen-accurate as possible, but I'm still gonna be really happy just to get a TK number from the 501st!1 point