Leaderboard


Popular Content
Showing content with the highest reputation on 10/29/2020 in Posts
-
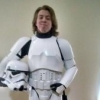
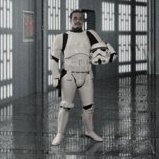
A recent Amazon purchase arrived today, so now I have something to read while I wait for the ABS paste to melt. Sent from my Imperial Communicator3 points
-
Belt does stand out a lot more. ATA is generally a little creamer than Anovos, yet put ATA next to RS and it's the RS that's even creamer. It's the reason we try to advise people not to mix replacement parts can look great with some mixes but can stand out with others. I'd say if you were going to mix anything you could get away with a helmet mix to armor but I wouldn't mix a prominent piece that's right in your face like a belt2 points
-
Might be a few years before we are allowed to fly anywhere at the current rate2 points
-
CHALLENGE ACCEPTED! Sent from my Imperial Communicator2 points
-
Too far, or not far enough? The serious costumer flies to Tunisia and rolls around in the dirt (in armour of course). [emoji2957]2 points
-
Indeed, just focus on getting your basic approval then all guns blazing for EI, and Centurion.2 points
-
Is it going too far to import dust from Tunisia for that "authentic" look? Sent from my Imperial Communicator2 points
-
Not that hard just fall over into a muddy puddle2 points
-
If it’s just the hand guards holding up your submission, then defo! You can always come back to the silicone later.2 points
-
Awesome book! Does that mean you’re planning for your next costume? [emoji12] Sent from my iPhone using Tapatalk2 points
-
No embedded canvas in the AP hand guards I have. I'll try the black silicone whist sourcing another version. Might be the abs hand guards just for my basic approval photos. Sent from my SM-A520F using Tapatalk2 points
-
Some great references in that book, you will enjoy2 points
-
It's worth a try, it's the only thing that would work on one pair of handguards I tried to glue, nothing else would work.2 points
-
Yeah it may be time to break down and get Joseph’s hand guard and glove combo, which is what I have. Although I’m sure somebody will have a good solution for using your current materials. Sent via Imperial Tapatalk Comms2 points
-
Paint is stripped and used painters tape to get better lines. The gray was too dark, likely from mixing with the black that I put down first. I used Castrol Super Clean to take off the paint. Each section soaked for about an hour, then used a toothbrush and running water to remove the paint. Sent from my iPhone using Tapatalk2 points
-
Hi, I have a full set of Anovos armor that I built up and used for 501st application submittal a few years ago. This is what i've been trooping in thus far. However, back before the Anovos kit was available I put myself on the ATA wait list. So, while I waited for the Anovos and ATA armor to arrive, i built up the ATA helmet kit. When the ATA armor arrived, I'd already started on the Anovos kit, so the ATA still remains in the box, untouched. (sadly) I recently upgraded to a Kittel belt, and when i did that, I decided to use the ATA version of the ammo pack since it's much thicker and sturdy. Will this mixing of Anovos/ATA have any impact to EIB or Centurion status? (I'm very nearly ready to submit for that). I'll also want to use my ATA helmet for those submittals since I like my self-built bucket over the Anovos version, and I put great care into making it 100% accurate. thanks!1 point
-
great point. i would likely troop in the sandie more once i have both to choose from. (if only because it will be the second - well, third, if you count my wife's, kit that i'll have built) so, my hope is i'll have more experience to fit it as well as possible for maximized comfort. Also, like you mentioned, i've already had to repair a bunch of cracks in the Anovos, so i'm concerned about its long term reliability. ABS paste to the rescue!1 point
-
Just one thing before deciding which armor you will use for a Sandie, a question, which one do you think you will troop in more, I ask as my first ATA lasted 7 years and @200 troops, ATA is pretty thick and doesn't seem to crack like other armor (RS is the worst), I've seen quite a few threads on Anovos armor and cracks appearing, so perhaps have a think about that. Incidentally my old ATA was turned into a Sandie only because of a build up of scratches over the years, it's still going strong1 point
-
thanks so much. i really appreciate the feedback y'all! i'll keep it all one make. Upon further reflection, i do intend on building up the ATA as a sandie so with that in mind i don't want to go pulling parts out of that kit, so you saved me from myself. haha1 point
-
OK, it just may be me but I can see a difference.. The ATA bucket on the left (first pic) has a different hue than the brighter white Anovos one on the right. BUT, the photo on the right shows the Anovos bucket to have a slightly more yellow tinge. At this point, I would suggest donning your entire armor and let's see what matches and what doesn't. I think you will be good to go, though as camera angles and lighting can be deceiving!1 point
-
Hello and welcome aboard, AM would be a better bet for a larger stomach, you may still need to add some shims to the sides but there are lots of great build threads on how to do that. Good luck with the research and look forwards to seeing some BBB images soon (big brown box)1 point
-
While we appreciate the photos, James, we need ones that show more of the close-up details. I would try to have your photographer get in much closer, and make the photos at least 300 x 700 to get a better idea of how we can help you! Like this, but clearer..1 point
-
hi James, the photos you summitted looks a bit short to see details, you may want to use some photos host like imgur (most used here in FISD) so you can insert bigger images. This thread about Posting Photos can be helpful. Cheers1 point
-
FANTASTIC work on this! I like your weathering level on this as well. And I think as already stated, excellent documentation, especially with the listed mods there at the end. This is making me want to print and build my own E-11 even though I already have my own rubber one. Congrats as well on your approval! Sent via Imperial Tapatalk Comms1 point
-
Thanks for the screens!!! They came today. You’re the best. Thanks MV Sent from my iPhone using Tapatalk1 point
-
Looking great! Follow the suggestions of the Andrew and Joseph and you’ll be all set! If helmet stability on your head without padding is a concern, you could try removing it and instead add padding around the sides NEAR the top of your head. That way you can get a snug fit on your head without adding the extra height. If your existing padding is of the foam star shape basically you’d want to pad around where the tips of the star points are. Sent via Imperial Tapatalk Comms1 point
-
Let’s get Walter armored up! Looking forward to seeing your BB days! Sent via Imperial Tapatalk Comms1 point
-
first try on1 point
-
Thank you Imperial Attache, I have submitted to Garrison's Puerto Rico waiting for the answer1 point
-
Surprisingly, moving the ear was an easy fix! Next, painting the rivets on the thigh. My dremel is charging for removing the return edge on the shoulder bells. I considered removing the original padding from the bucket, however I found that it caused it to rattle around my head even when using the strap inside. Guess we can’t all have perfectly shaped heads. [emoji23] Any recommendations for internal padding that has worked for others?1 point
-
Update: RSP have the armor complete. Waiting on neck seal and boots to clear customs. Meanwhile.. Walter has arrived. Sent from my iPhone using Tapatalk1 point
-
You're right, since it'll be covered by the strip, it isn't as important to get perfectly flush with each other. It's more of personal preference for how much time you want to put into those pieces, but a little gap is fine as long as it still looks the part once done. At that point, only you will know how it looks underneath. As said, you can sand both sides flat so they line up. Or, another way it to leave about an extra mm on each side of the join, and after trimming, slightly overlap one side over the other and trace the profile of it's trim, then follow that on the other side. This'll get them up closer together with less of a gap, and can be done carefully with your cutting tool, because you're basically copying the unstraight line and making the other side match it, like a puzzle piece. Either way, as long as it looks good with a coverstrip and looks good on you, you should be golden. Or rather, shiny white1 point
-
Not wanting to cause any panic now, but there is something wrong with the photos in the upper and lower right corner. That 'keyhole' slot at the flash guard is actually supposed to be on the bottom of the receiver tube (for the locking mechanism of the folding stock). Not sure if that is a mistake in the print-file or by joining two parts the wrong way. I am very sorry for being so late with this comment and hope this is something you might still be able to fix. Maybe by adding a piece of plastic?!1 point
-
Good luck Dan, dont forget, if your GML is comparing to the latest CRL you can direct him to our post regarding the grace period for any that has started building based on the previous version. https://www.whitearmor.net/forum/topic/50062-rogue-one-tk-crl-update-2020/1 point
-
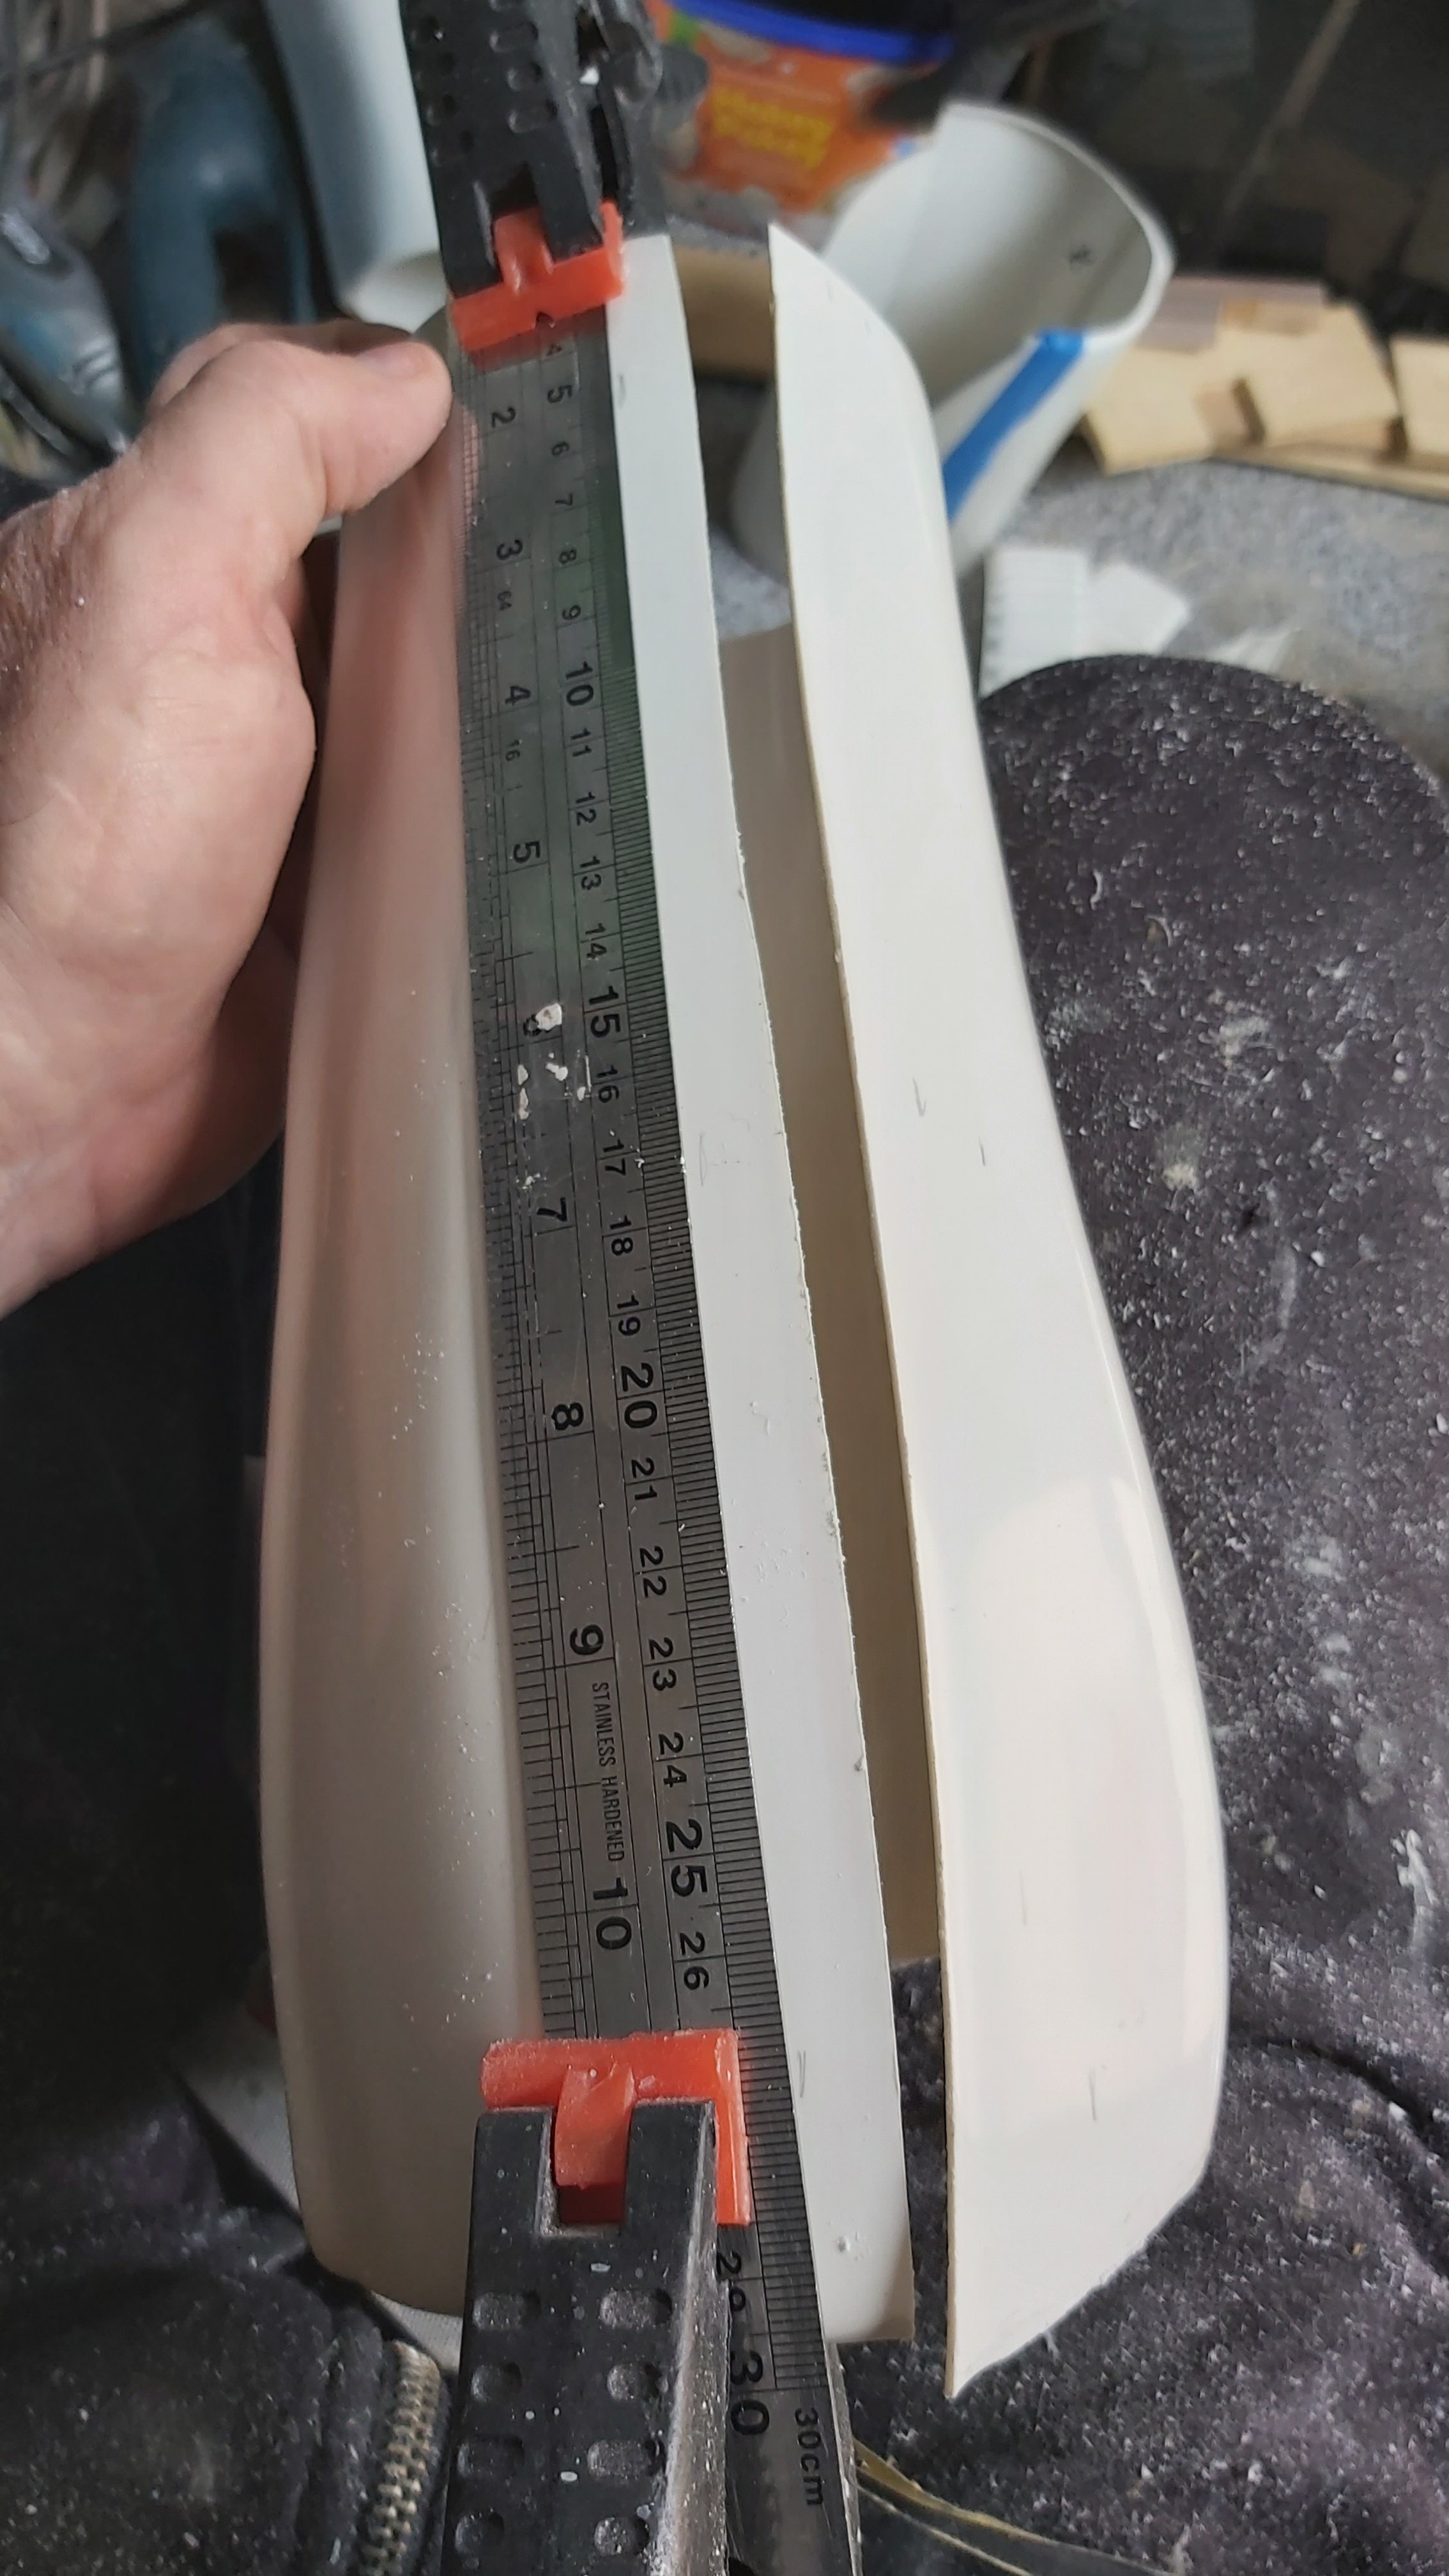
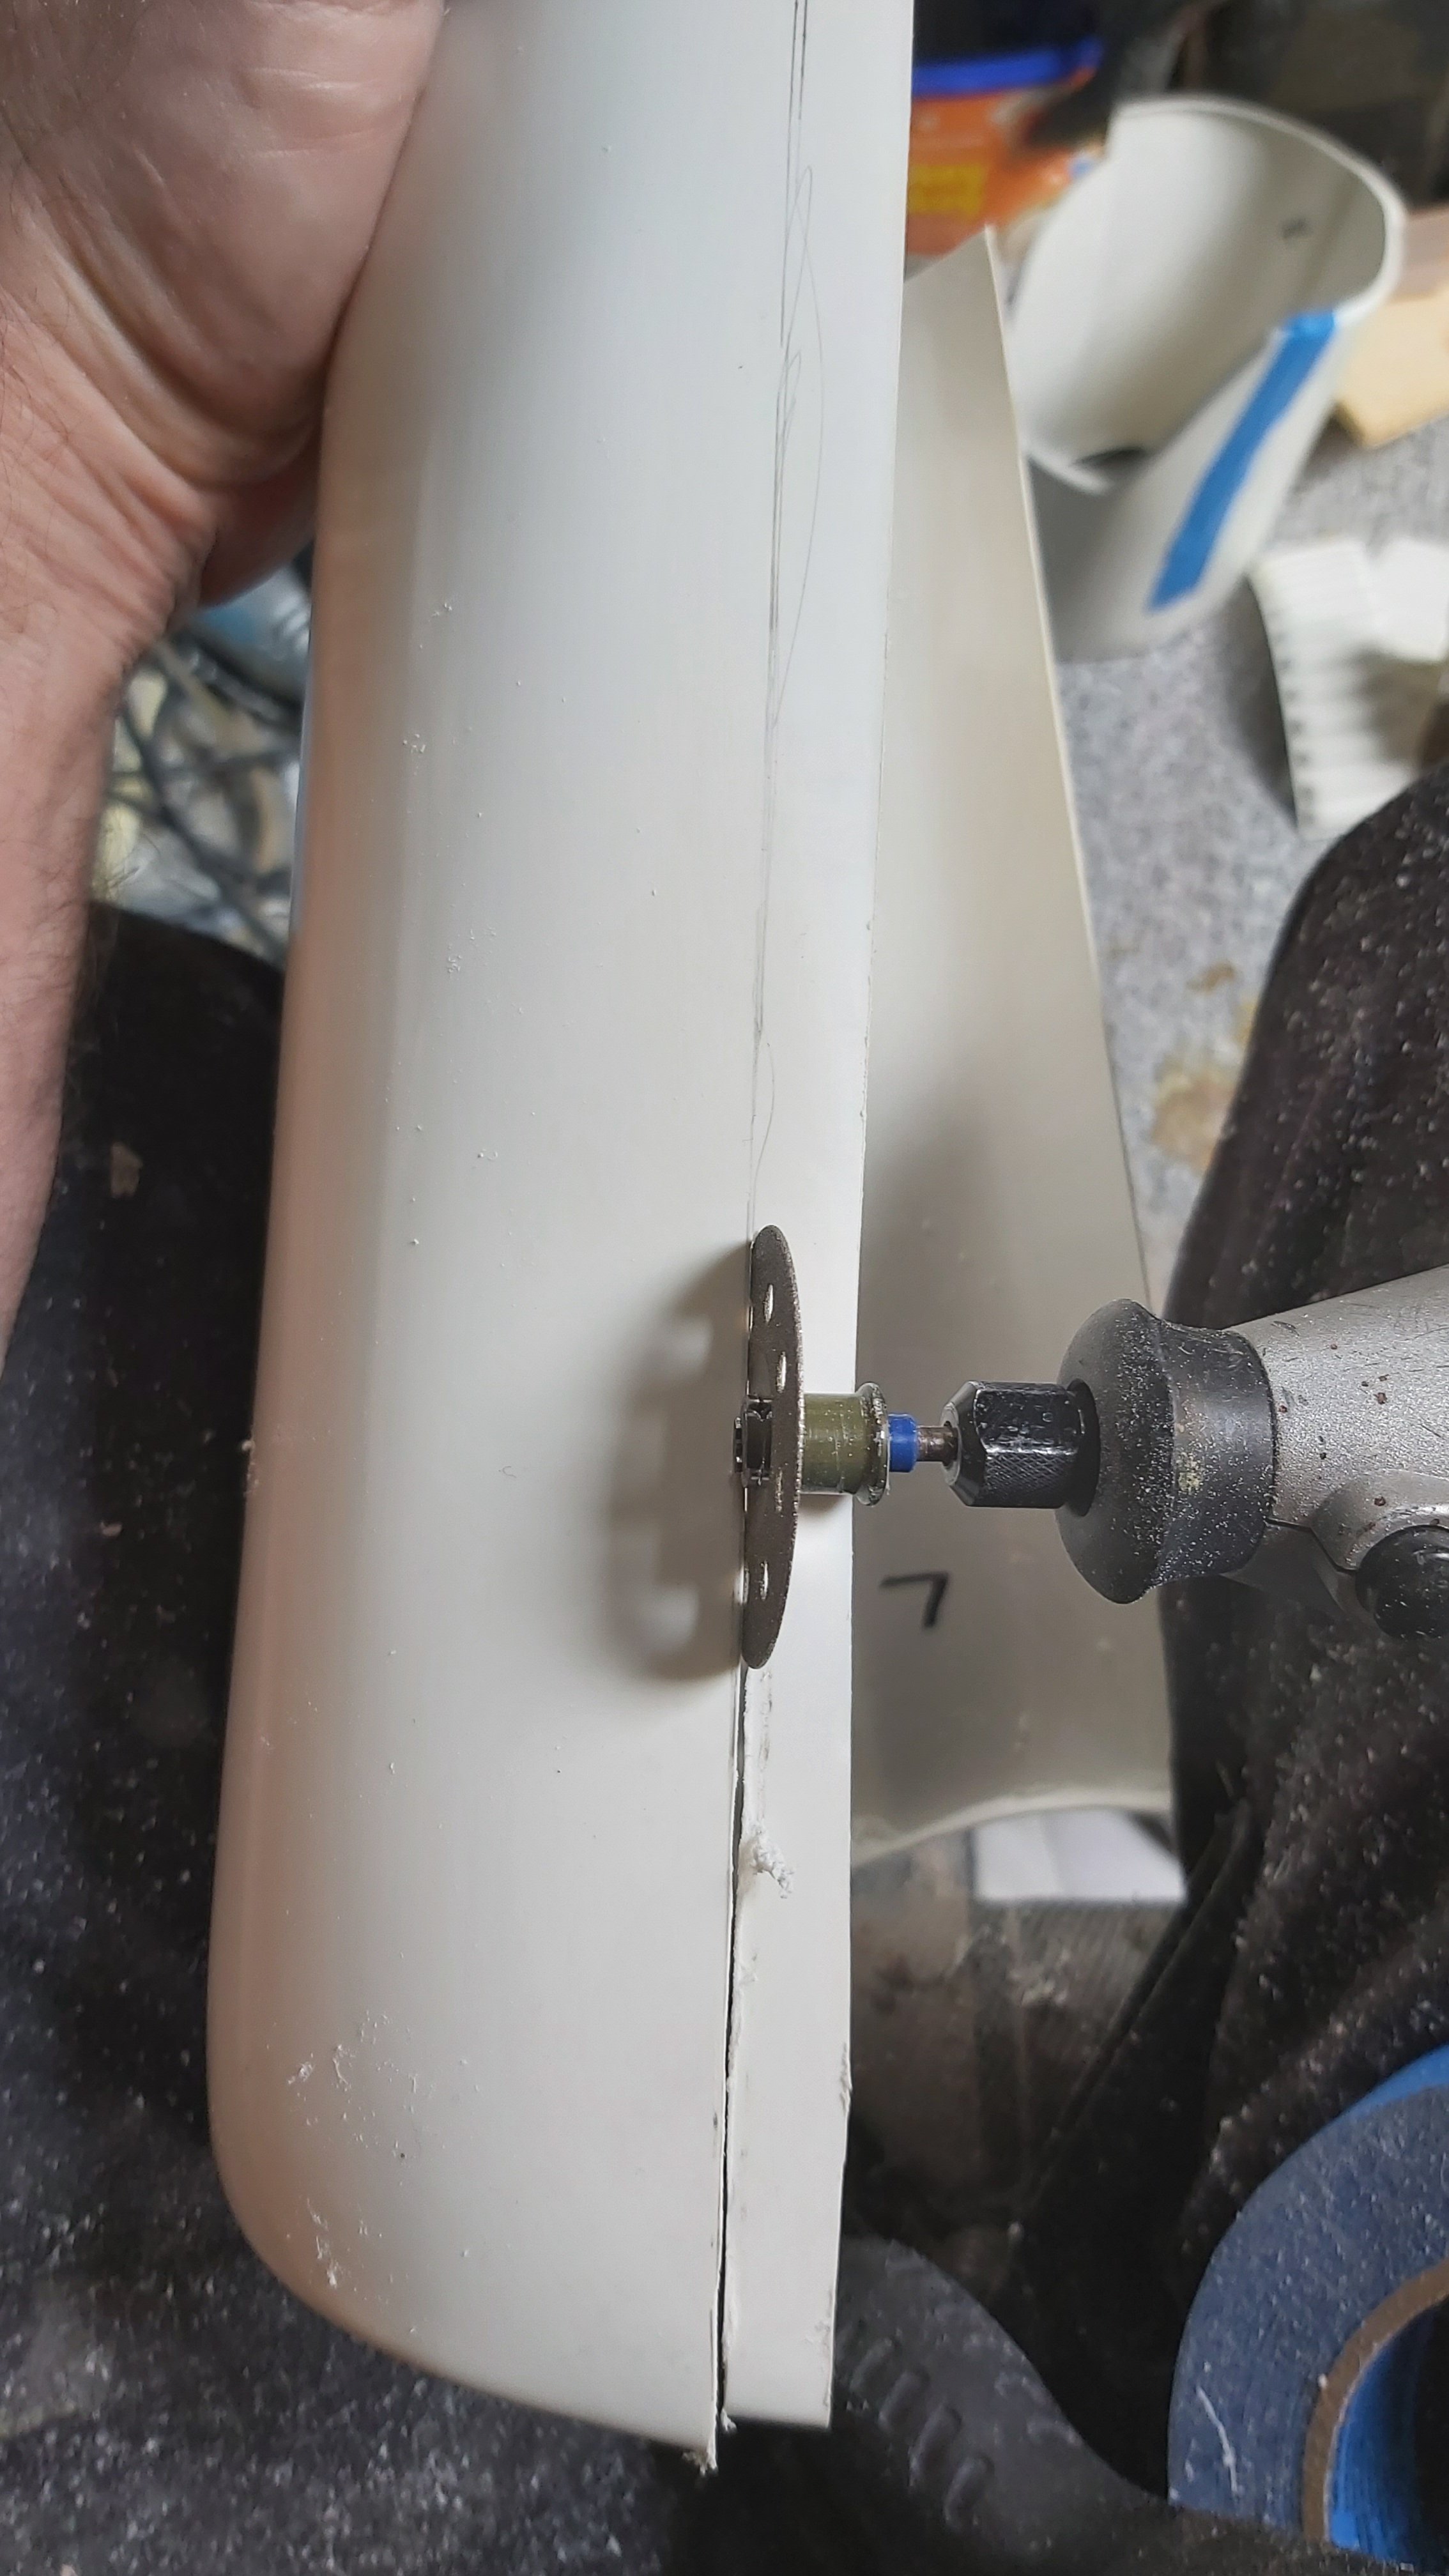
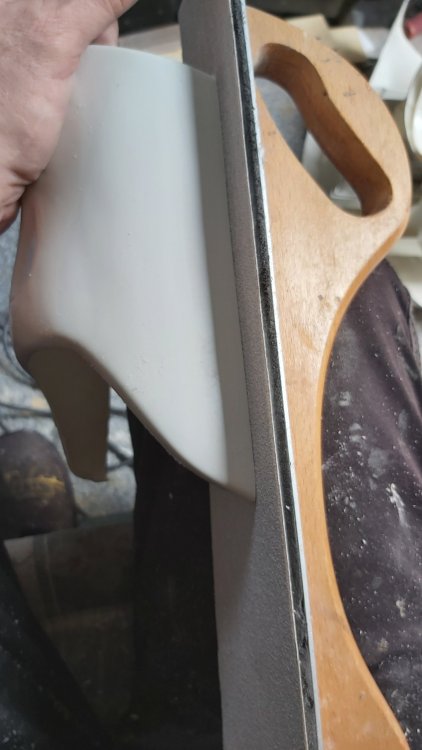
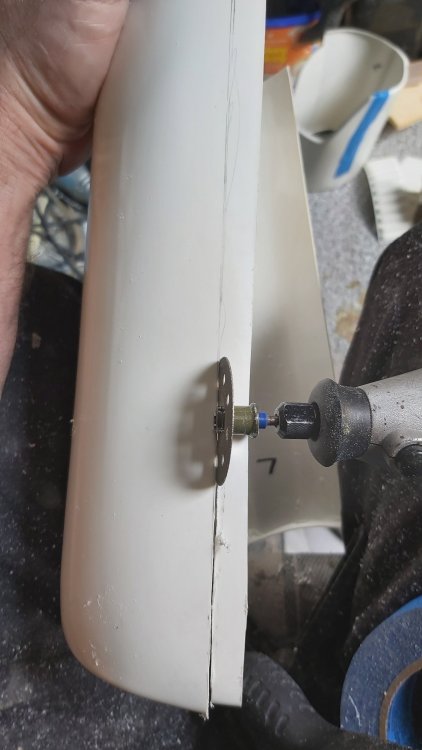
A long block of wood with sandpaper wrapped around can help to sand areas straight. Here's how I trim mine Clamp a metal rule on the piece Mark, trim Sand if needed Done

 1 point
 -
So on to the helmet (proper) build. I modified the aspect of where the rubber U-trim piece interacts with the rear part of the helmet. I had to drill a small hole just down the line angle from where the trap ends towards the back. Then, I took my small perma-grit files and reshaped the "V" to come back to and include the hole. The hole is recommended as a stop in this area so as not to create a stress area and induce a crack in the ABS material here. This allowed me to fully slip my U-trim rubber piece fully back to the rear edge of the trap. I then trimmed the rubber piece at a slight angle to match the rear line angle of the molded trap. I know the screen used helmets were all over the place in this detail, but this is most pleasing to my eye and probably how it was most intended. Of course that point is arguable. Right side Left side These next images show my helmet face and back bolted together. I used the supplied bolts that Dave Conklin provided in his AM kit. I knw some of you like "pop" rivets, but I didn't have any and thought I'd just stick to the recipe. I liked using them. I've ready were some have commented (A.J.) on how this helmet fits together kind of "wonky". Man, you ain't kidding! It takes some real patience in getting this just like you want before you drill your holes. I just tried to keep the tears and traps lined up properly and used those as a guide for where everything should go. This photo is the best one I have on hand to evaluate my interproximal tooth trimming. You would think I would have this part nailed down being a dental professional. Post your comments, none the less.1 point
-
Appreciate the input. This takes quite a while, but to me is worth the effort.1 point
-
Good idea, no issues with those for basic approval1 point
-
Hi JC, I had the same problem. Ended up trimming off the top of the thighs and reducing all around the bottom and sides of the butt piece. Check out my thread, I have a whole section dedicated to this issue. Also, if you can, I suggest slightly reducing the diameter of your thighs, they look a little big, not huge, just a little. I'm 5'-5" about 140 lbs. so a similar size.1 point
-
Do the handguards a have canvas embedded in the latex? Are they the AP latex handguards or Joseph's? The ones (Joseph's) I glued last week with Zap-RT have canvas stuck to the latex and adhered to my gloves ok (see pics), but I don't know if RT will adhere directly to latex (I got both ABS and latex handguards with the AP kit). I also did a repair job with a little white silicon glue on another set of gloves where the handguard (Joseph's) had lifted from the canvas, but the canvas was still stuck to the glove (with RT), which worked well. Not sure if any of this helps, but it seems to be a matter of using a 'middle-man' between the latex handguard and the glove, with potentially two different glues. Sent from my Imperial Communicator1 point
-
3rd different type of glue for the hand guards. Same result, adhered perfectly to the glove not to the latex. Guess I will try the black silicone suggestion. Sent from my SM-A520F using Tapatalk1 point
-
No worries! Just wanted to check in! Thank you for the update!1 point
-
Congrats! AP is great armor. Have you submitted to your Garrison's GML yet or need any help doing so? Post more pics and we'll give you some feedback on fit and finish!1 point
-
Quick update: My ANH Stunt Stormtrooper was just approved by my GML. Now to take photos for EIB and Centurion!1 point
-
Yup, heyhey! What part of CA are you from? We'd be happy to put you in touch with your local Garrison! Welcome to the FISD and let us know how we can help you!1 point
-
Welcome Ruben1 point
-
Hi Ruben, welcome to FISD. cool shot! Hola Ruben, bienvenido al FISD . Qué buena foto!!1 point
-
Hello and welcome to the forum, if you are an approved Stormtrooper you can request higher access here Hola y bienvenido al foro, si eres un Stormtrooper aprobado puedes solicitar un mayor acceso aquí1 point
-
Yep. Been a forum moderator for many years. I know the tediousness of what you and the others are working thru. I am following the top post, unfortunately, I’m not an all access member yet. So I’m limited to some of the “lighter” forums. I like to read and lurk a little. I’ll keep an eye out. (Raises glass) -Cheers Sent from my iPhone using Tapatalk1 point
-
Many thanks Craig, it's not too bad, unfortunately the editing side of things have to be staff as we have access to the threads but if you do find any threads which have watermarked images please post a link in this thread. We are trying to go through section by section so it doesn't get confusing to keep track, I would say we have taken a big piece out of the pie so all being well it won't be too much longer.1 point