Leaderboard


Popular Content
Showing content with the highest reputation on 12/12/2018 in all areas
-
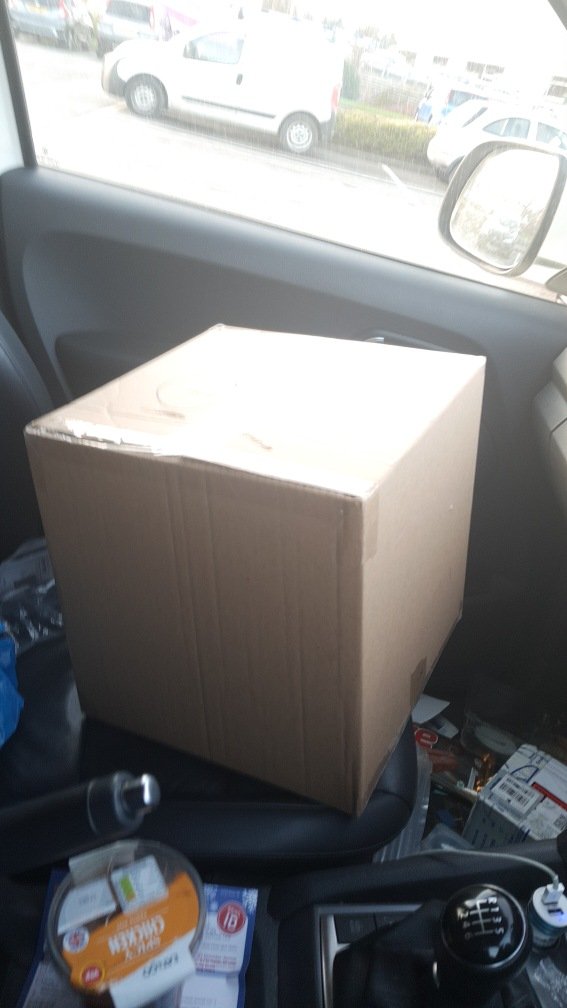
What could be in a box like this..... just got to wait til 5pm til I get home!!!!
 3 points
 -
Warping can occur if you put too much glue on the snap tabs or apply pressure to the snaps tabs whilst the glue cures. I find the best way to fit the snap tabs is to run a thin bead of E6000 around the edge of the webbing tabs and simply tape them in place until the glue has dried. Clamping the tabs in place usually results in warping. This can happen with ABS snap tabs too, because they are too rigid. Webbing is the best material to use because it conforms to the shape of the armour effortlessly.3 points
-
Sent from my iPhone using Tapatalk2 points
-
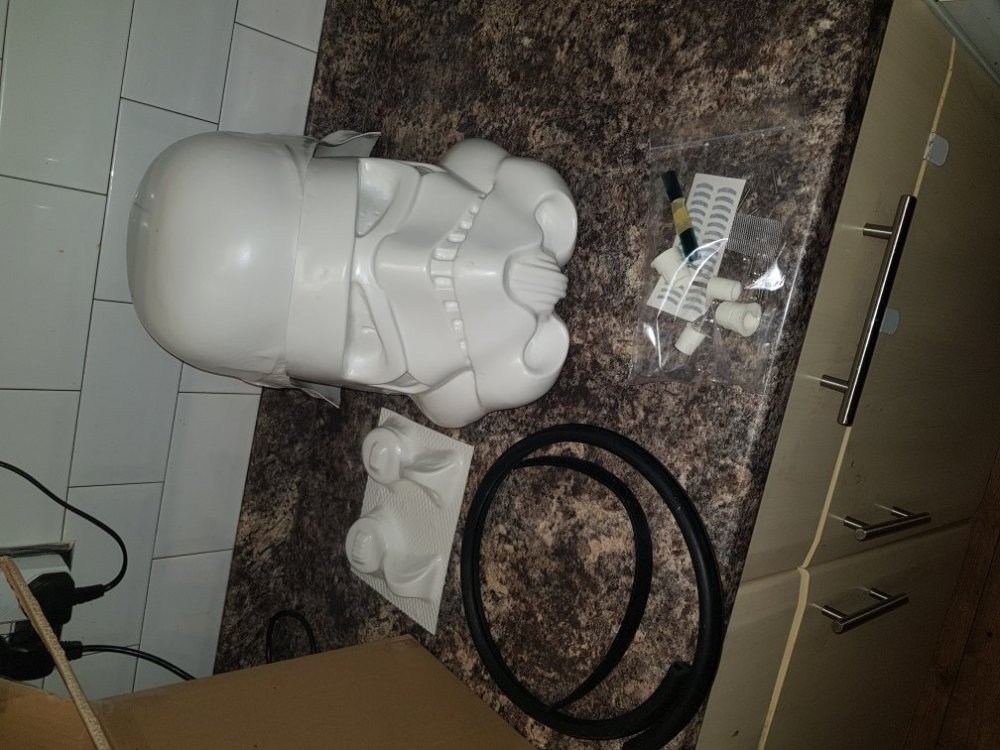
So I took advantage of an offer and decided to start with a ANH TK helmet, this will be a test of my building skills, have built other stuff in the past ranging from tamya model kits, to a custom starlord walkman...... but this is the first time building something that will be "judged" by other professional people..... my BBBox day is expected to be Wednesday 12 December....... photos to follow Wish me luck troopers!!!!1 point
-
I just picked up on of @fieldmarshall's new all aluminum blaster kits. This is a thing of beauty. Since I'm building my new Bapty out of this kit I have some (a lot) of parts left over. Luckily I just so happen to have an unfinished Doopy kit so I will be using my unused parts from the FM kit on the DD kit. First up, the Tunisian "Bapty" E-11 (Sandtrooper Blaster) I got these wonderful cast aluminum parts from @bigwam. The grip and rear end of the blaster will be solid aluminum. Need to do some finishing work on these but I am so excited to have a Bapty made with real cast metal parts. To go along with it I have a real magazine. A great replica Hengstler (courtesy of Field Marshal again). A real Sterling folding stock. and a real 1942 M38 scope. Got a lot of mods ahead of me on this one. But I'm excited to have a fully metal Bapty build. Hard to get in the states without re assembling a cut up Sterling. Next up, the standard E-11 This is a blend of the rest of the Fieldmarshall parts and the Doopy kit. As much as I would like to, I doubt ill be able to get the bolt to fit in this thing sadly, same with the barrel, so I will probably be selling those parts off. Keep an eye out if interested. I am super impressed by the kit. It is super fun to put these parts together, the folding stock and grip/trigger were so much fun to build. The grip details are insane. And it came with switches and whatnot to put electronics in it. This second kit should pull together much faster than the Bapty. But this will probably be my new main trooping blaster. The Bapty will be on display in my Sandy shrine lol. I'm excited to start these builds fast so I can get to my favorite part, the weathering. Thanks to Fieldmarshall for such a cool kit, sorry I'm splitting it up, I know some are probably thinking I'm crazy of doing it this way, but Sandy's are my first love and I'm going to uber accurate on that blaster.1 point
-
1 point
-
Unboxed, I know the two halves look odd the way I have stacked them......... gonna start the build at the weekend....... if I can wait that long
 1 point
 -
I would tape up the bicep as well and strap them together to see how it works before making any Cuts1 point
-
It's been awhile Since he's posted Something on this thread And it's been awhile Since he's updated His armor build process And it's been awhile...1 point
-
It'll get worse before it gets ... worse. The majority of the boxes were mounted last night. Wow, screwing things from inside the box is a PITA!!! Thank goodness I have a tiny ratchet tool that has screwdriver tips. Not much difference from the Monday photo, but this time, every box in the photo is securely mounted. Those suckers are on SOLID. Very pleased with this! Last step will obviously be to mount the cup assembly, and glue the bumps onto the tube. Then it's just the shoulder straps and the pack is DONE! (except for some weathering, don't worry Tony! LOL) Next steps: I need to: Sand and paint the radio box faceplate Cut the picture box shorter (or make a box!), paint it, glue on the faceplate Repaint the cup assembly Clean off the labels/logos and paint the baby wipes canister Paint and glue the rubber bumpers Predrill and rivet the gray cup to the black faceted cup Add top screws to baby wipe tube black rectangle Add the top screws to the three faceplates where needed: Radio Faceplate, Button Box, Arch Box Cut out the oil pan opening Scuff up the bare black plastic of the oil pan Cut the ends off the tube end caps and get that all glued together. Paint the tube (too glossy!) with flat black. Attach all the various boxes and cylinders to the oil pan Attach the final cup assembly to the oil pan Glue the TK shoulder strap bumps to the tube (after pre-painting) Attach shoulder straps Attach the shoulder ammo pouch to the pack strap Convert regular TK belt drop boxes to be removable for use as HWT. And at some point I'll want to line the back panel a bit to help prevent scratches...1 point
-
How's it going, Craig?1 point
-
Yeah that's the same tutorial I used for my mounts! That's where I got the idea for the threaded spacers. Yeah I hope to see you around too. I was gonna try and go to some events as a handler before I finish my armor, to try to get to know people in the community1 point
-
Hey folks, what do you all use for weathering? I want to easily go back and forth from HWT to shiny white TK if/when I want to. Therefore, I want my weathering to be easily cleaned, hopefully with not much more than rag and soapy water. Any ideas? Charcoal powder maybe? Also, I was hoping to make blast marks, as if the my armor had taken a few hits. Any methods you guys use to bmake a sort of crater/impact mark on the armor? Thanks in advance.1 point
-
The SLA master is done. Now it just needs to get shipped to me :-)1 point
-
Thank you very much Dan, I will do all the suggested changes in preparation for Centurion review. The warping was something I didn't expected. I thought I took the necessary precautions to prevent this (by pressing the metal snap with a solder iron into the plastic tab) but obviously it was not working. I don't think there is anything I can do about it at this time, or maybe I will order a replacement plate from TM in the not so near future. A hard lesson learned here.1 point
-
Odds 'n' Ends -- Part I I ran out of snaps and couldn't finish all my straps, so while I wait for Mr. Amazon to get them to me I thought it'd be a good idea to play catch-up on a number of unrelated odds 'n' ends that have needed done for some time now. Most of these are one-off tasks, the kind that usually get put off to the end of a project, but with a bit of time while waiting for my snaps I started taking care of them. First on the list, although it has nothing to do with Basic approval of the armor itself, was to add a D-ring to my Hyperfirm E-11 blaster since I'm doing my build with the intent of attaining the higher levels. (Note here that I didn't say "try" for the higher levels. Confidence!) So take a look and tell me that's not the most authentic-looking D-ring you've seen this side of Hoth. Man, that looks like the real thing. That's because it is the real thing. In fact, the entire end cap is vintage, from a real British Sterling. I bought it on eBay from forum member Fieldmarshall who, as many here know from following his build in the Blastech E-11 section, managed to pick up about a zillion vintage Sterlings. He's listed a number of original parts on his eBay page and I snapped up one of those babies. To mount it I cut off the original rubber Hyperfirm end cap and replaced it with the real one, epoxying it into place. Next up, a couple of painting chores. The first thing I made for my build more than 1-1/2 years (!) ago was the Thermal Detonator. I finished it, but still hadn't gotten around to painting the pan head screws Ukswrath includes with his excellent brackets. The only thing left to do on the TD is to bend those brackets out a bit to match the contour of the Kidney and adhere some fuzzy-side Velcro on the back to prevent scratching. The painting continued with the eight visible rivets that have to be white. I did the AB/Kidney rivets first --- Followed by the ones on each side of the Knee Belt. Came out pretty good, but I think I may need to hit those with a second coat once this initial coat is dry. And finally for today's work, I did the "Han hooks" for each of the Biceps. This is the first time I've used anything other than the boiling-water method to bend ABS, and I didn't like that much. I thought my results, while perfectly serviceable, could have been a bit better. I think I'll stick to boiling water if I need to bend anything else. That's it for now. Still a lot of these little odds 'n' ends to do, but if my snaps come tomorrow -- and the package tracking that Mr. Amazon provides says they will -- I want to get back to strapping my armor.1 point
-
Congratulations once again1 point
-
Congratulations Arthur1 point
-
Congratulations! Well done Trooper.1 point
-
Now that's a Stormtrooper. Great looking build brother1 point
-
Snaps 'n' Straps -- Part II OK, back to work. All the snap plates are done, so let's start gluing them into the armor. For reversibility I'm going with E6000 all the way here. Yeah, it's slow to cure but I definitely want to be able to rework and relocate the snaps for whatever reason may arise. Like putting them in the wrong frakkin' place... which I did with one pair. Duh. No problem; just tugged them free, cleaned the plastic, and reset them with fresh glue where they belonged. I took a careful look inside the armor and did some measuring and marking in pencil to be sure that everything would go in evenly and symmetrically. (Symmetrically?!! Yeah, anti-canon, I know. But there you have it.) To make the snap plates easier to handle and to avoid getting E6000 all over my fingers, I used an extension magnet to hold them while I slathered on the glue. This is just one of those telescoping pick-up tools I use in my shop, but it works quite nicely to hold the plates while working and placing them. Yes, I'm still using the white E6000. I found that its holding power is no different than the clear version, and I've also come to like it better -- it's easier to see when applying to be sure you get it right where you want it in the right amounts. With the underside of the snap plate fully slathered, it was a simple matter to use the magnet to place it where I wanted it inside the armor, in this case at the top/center of the Kidney. I decided I wanted the snaps uniformly at 1" from any joining edges, so in the photo above you can see that I used a ruler to slide the plate around as needed to get it into position. (The sticker on the back of the ruler is 1" from the end, and it was easier to just use this side for placement rather than looking at tiny numbers with Old Fart eyes.) Once positioned and held in place with the ruler, I just pulled the magnet free, then used a small wooden stick to press the snap plate down securely and allowed the glue to set. Some thoughts on E6000 --- I think I noted before that even though you want to allow a minimum of a full 24 hours for it to be fully cured, the glue doesn't really take all that long to set. It's all slippery-slidey when you first put things in place, but they'll typically set in 15-20 minutes when gluing webbing. The fabric webbing allows some air movement right through it and unlike, say, gluing plastic-to-plastic, these webbing snap plates were fairly solid in short order. Still, take care not to push on them or they might still slide, but you can safely work with the armor in far less than the full 24-hour curing time. At this point, I just worked my way around the Kidney until all the snaps were in place and the glue set. Next up were the mating snap plates in the Butt. First, line everything up the way it'll be when worn, and slap some masking tape on the outside to keep it lined up. On the inside, I used a pair of small clamps to pinch the return edges between Kidney and Butt together, and glued the mating snap plates in place as before. While the glue is still slippery-slidey, use a straightedge to be sure the new snaps are in-line vertically with those glued in earlier, and adjust as needed. If the snaps aren't aligned vertically, the straps will want to pull the armor pieces out-of-line when snapped on. That would be a Bad Thing, so check that alignment now and be sure nothing moves until the glue has set (again, in about 20 minutes or so). Once all the snap plates were in place in the Butt, I put it aside and glued in the three snap plates at the bottom of the Back piece, and then put it, the Butt and the Kidney aside for a while to allow the glue some more setting-up time while I started with the connections for the left side of the armor between the Ab and the Kidney. If you've looked at the many builds here, you know that there are half a dozen ways of doing this. The one and only thing that has to be consistent is the fact that there must be rivets on the outside of these two pieces of armor, three evenly space in each. But what you do on the inside is up to you -- snaps and straps, glued straps, use the rivets through straps, etc. One of the things I liked that a number of folks here have done is to use a single wide piece of strapping that bridges the edge of that joint between the Ab and Kidney. This keeps things lined up nicely and prevents one piece or the other from shifting up and down, and I liked that idea. So I stole it. I also saw how several folks reinforced this strapping with strips of ABS, so I stole that, too. I combined both ideas to create a strapping "hinge" for that side of the armor. I used a piece of 2" black webbing, to which I glued 3/4" wide strips of ABS using Duco cement for a permanent, fast-curing bond. Next, I secured the left edge of the Ab to my worktable with some clamps, then measured out the locations for the rivets. If you haven't done this yet, it's pretty basic. Measure in 10mm from the edge and pencil in a line. Then, measure down about 20mm from the top edge of the Ab and mark, and 20mm up from the bottom edge of the Ab where the Cod starts, and mark again. Then, just split the difference between your marks and pencil in the center rivet location. Clamp the Ab side of the hinge in place securely with clamps, making sure everything is centered top-to-bottom and that the center of the hinge is right on the edge of the Ab. Now, using a 5/32" bit, just drill through the Ab on your marks and on through the hinge. You can't see it in the photo, but I also have a thin scrap of wood clamped with the hinge on the underside for support. This keeps everything pressed against the inside of the Ab for efficient drilling. With all three holes drilled, I removed the clamped hinge and used the tip of a soldering iron to seal the edges of the holes in the webbing. Now, it's just a matter of slipping in the rivets from the outside, putting the drilled side of the hinge in place, slipping on some washers and bending over the wings of the split rivets. I started this process on my worktable by using a large screwdriver to open the wings of the rivets just enough to hold everything in place, and then moved to the concrete floor. I placed a scrap of ABS underneath, then simply hammered the wings flat and flush with the washers. Keep in mind that even though the rivet wings are flush, they can (and will) snag and catch on your undersuit, so once I have everything done with the armor I'll put a dollop of silicone caulk on those wings, essentially creating a rubbery cap on top -- no snagging and catching. With the Ab side done, now on to the Kidney side. The glue on all the snap plates has set nicely, so I taped the Ab/Kidney assembly together, and then marked matching hole locations on the Kidney side. With the hole locations marked, I repeated the drilling steps as before by clamping the hinge and the wood scrap in place, and drilled right through to make the matching holes. Then just slip in the rivets, position the hinge, add the washers, bend open the rivet wings with my screwdriver, and then move to the concrete floor to hammer the rivets flat. At this point, there's just one more step to do and that's add the "Han snap" to the top right corner of the Ab. Like those rivets, this must be visible from the outside but it's not necessary for this snap to be functional. However, I decided to make it functional and use it as part of the closing straps on the inside (like they did originally). For this, I measured in 20mm from the top and 20mm from the edge, drilled a 5/32" hole, countersunk the hole from the outside to accommodate the male snap post, and then set the snap. OK, let's take a look. Not bad at all, if I do say so myself. (Spoiler alert: I just did.) I'm considering the lower half of the body armor done, ta-da! The Ab, Kidney and Butt are all trimmed and sized, and all snaps are in place. You'll notice in the above photo that I haven't yet done the snap plates at the shoulder extensions or on the lower inside of the Chest piece. There's a reason. When I start making the straps I'll need to make them in sets that match the fit of the lower half of the armor -- in fact, I'll be doing that in the next installment. From there, I'll work up across my back, and it's at that point that I'll decide how those shoulder extensions need to be trimmed to match my height and body shape. Not much you can do with the lower armor since it has to fit snug in the Nether Regions and around your abdomen; can't trim for height down there. You have to trim for height at the top. Wearing the abdomen assembly (Ab, Butt and Kidney), I'll hold the Back and Chest pieces in place, then mark and trim those shoulder extensions to size. That's when I'll add those snaps and straps at the shoulders. With that done, I'll see where the Chest piece falls in relation to the top of the Ab, then mark and add those final snap plates.1 point
-
Why did you post the same picture twice?1 point