Leaderboard


Popular Content
Showing content with the highest reputation on 05/01/2018 in all areas
-
One more piece to the E11 puzzle.. the trigger guard.. stamping look great now i can move forward completing the frame.3 points
-
ITS HERE!!!!!!!!!! its here, its here, its here!!!!!!!!!!!!! photos to come tonight. Im super excited and want to leave work now!!!!3 points
-
Hi Rat there doesn't seem to be a sure answer on the T tracks with the research I did , some say they where wiper blades and some say glass runners from a kitchen cupboard , but size seems to be a standard of 11mm wide x 7mm height . As for splitting down the weapon there are lots of ideas out there some use a thread .ie nut and bolt ,when I did it I found a standard 1"1/4 solvent waste pipe fits perfect inside a Brett Martin 1"1/2 push fit pipe which made my connection , but it took a lot of trial and error to get it right , if your interested take a look at my build , look up Castable Dlt As for stock colour it seems what ever is fine ,but you see mainly TD's with wood and TK's with black or bakerlite .1 point
-
I don't see any reason why a correctly assembled SDS E-11 wouldn't be okay, I can't see if the D ring is there and there's a few bits that aren't quite right but nothing deal breaking as far as I am aware. @ukswrath or @Sly11 will be able to state conclusively as they are the DO's who would pass it. In the UK we have Sheartech and Imperial Warfighters who both make resin and rubber E-11s cast from sterlings. These are both good options and popular with UKG troopers. Doopy Doo is also a popular kit, cheap but requires assembly and paint which adds a little to the price. As for scratch building, you can also do that. Some parts are available online reasonably easily, but try not to use too many as if it's some cons may not allow it through weapons check. If you look in the blaster section there's a decent amount of diagrams that will help with sizing and design. Just as a reminder, any new blaster will need to be cleared by the UKG Armourer team before trooping with it.1 point
-
Hi Jim. Looking at the CRL, it is likely that it would be okay. However, you could do do better for that money, depending on how screen accurate you wanted to be. The SDS is missing the cocking handle, has an odd two-piece front end (near muzzle), two-piece folding stock, counter is further back than screen used etc. Even in that picture from SDS themselves, the magazine is mounted the wrong way round As you’re in the UK, you could either build a more accurate one, such as the Doopydoos, or check out the likes of Sheartech. Best wishes, Dan1 point
-
looks great!1 point
-
As Jordan mentioned, I recommend getting all of your build supplies in place before you actually start your build, Alex. There's nothing more frustrating than to be in the middle of a build and need a particular tool or supply, only to have to run out and buy it or order it. Under my signature below, you will find a link to my thread (Supply List for your TK Build) , and I also have a few tutorials that may help. When BBB day arrives, don't get spooked when you tear into that box like a kid at Christmas and see all the different parts that have to be put together. Taking your time and staying organized will help you keep your sanity, lol. Know that we are here for ya', and post lots of photos! Speaking of which, I would definitely check out this thread if you don't have imgur: https://www.whitearmor.net/forum/topic/42381-howto-post-images-in-threads-using-imgur-easy/ You can edit, resize, enhance and post pics using it, and it's not only easy, it's free!1 point
-
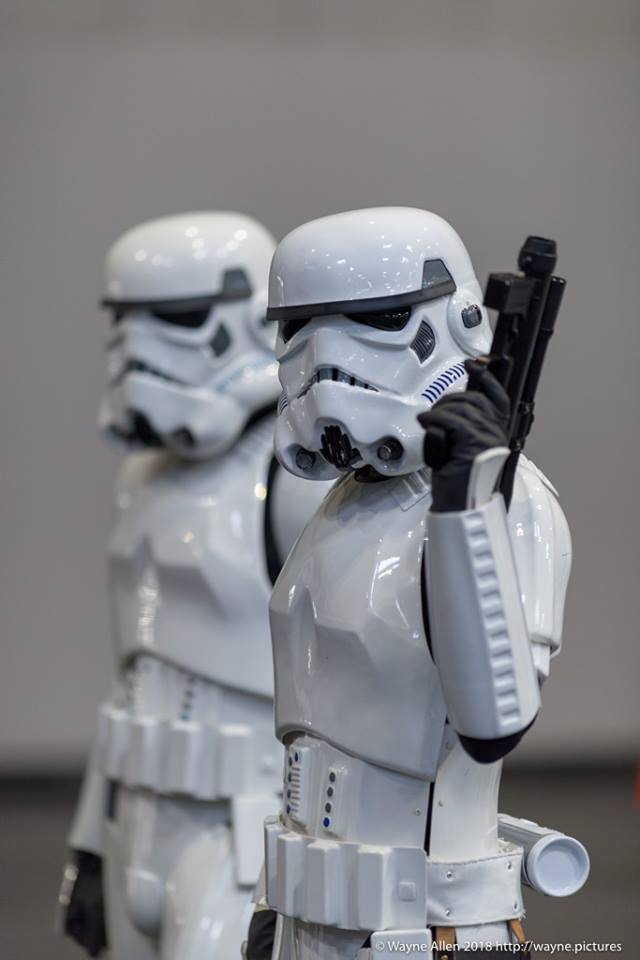
Looking Good Trooper!1 point
-
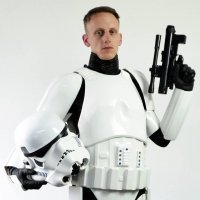
Incredible attention to detail there, Kenny. A weapon anyone would be proud to troop with!1 point
-
Beautiful blaster. I hope to finish one like it soon.1 point
-
Submitted for approval last night. The GML is on vacation for two weeks, though. It's going to be a long two weeks! Here's some of the pics I sent.1 point
-
Hello everyone, I got some work done this weekend on the helmet. After I had rough cut all the holes in the helmet, I used the dremel and some mini files to finish out the holes. Here is a shot of the back vents after they have been cleaned up. Next, I took some think HIPS and cut it to fit then heated it with a heat gun and fit the parts inside the helmet. This is how it looks from the outside. Next, I sanded the whole helmet with 250 grit and primed it. This made an impression of the vents on the vent covers. I then removed the vent covers and traced outside the vent area with a sharpie. I will be cutting out the traced area then gluing in breathable color matched fabric. I took a trip to JoAnn’s fabrics and found this polyester/ spandex that is a very close match to the painters tape blue. I will be using some black polyester fabric for the other vents. I have not decied if I will make the vent covers removable or not. I am concerned that the fabric will become soiled after some time and need to be replaced. Next, I started sanding with 320 grit to determine what needed to be filled and cleaned up. Unfortunately, I realized that the glazing putty I had was three years old and dried up and there are no auto body paint supply stores open on Sunday so I will need to wait till this week to continue to work on the helmet. And that is the update so far. Thanks for the interest.1 point
-
Great conversion! Did you find this airsoft Sterling in EU?1 point
-
On a sidenote: my team won 2-0 woop woop Anyways.....finished the shins and here is were I deviate from RS as I´m not a fan of the two "outer" pairs (2 outer right and 2 outer left) one gets with the kit, so I bought some TM Shins. Sniperplate is RS though so one can safely say the plastics match1 point
-
Just a small update while I wait for the strap buckles to arrive. The gloves are done, made a few snap plates for the modified chest/ab connection and waiting for the paint to dry on the TD.1 point
-
Again, I fell off the face of the planet for three months... But I'm back! Pretty much everything is done at this point, I just have to fasten the shoulder bells to the shoulder straps and make some final fitment adjustments. And here I am standing awkwardly trying to keep the arms from falling off. I will be putting Velcro at the front of my boot and under the front of the calf to keep my shins straight. I also dressed myself here so the back of the calf is a little open, but not too bad for a first full dress. I feel like the thighs need to come down just a bit, but I don't know. Also, I might slightly reshape the edges of the butt plate for better contour to my body. Everything is double snapped strapping, which I found tedious. I don't know if I suck at installing snaps or what, but this took me forever. It's super secure, though. Here are some interior helmet shots. I used Sugru glue to stick the lenses in securely. It's basically a superglue that's in a Play-Doh type putty. It seems to work really well, but sticks under your nails forever. I also did around 5 or 6 coats of Plastidip and inserted military style pads that can be removed for cleaning. Lastly, I popped in some of UKSWRATH's fans in a Echo bracket system. I had to trim and modify the bracket to put the fans a little further away from my face as they were uncomfortably close to my Grizzly Adams beard . I will eventually install the self contained iComm system with speakers. too.1 point
-
Good to see that you have embarked on this journey.....so did you go with trimmed or untrimmed? As a noob, I would recommend Mark to trim it. Once you get comfortable with cutting ABS, then perhaps you can venture off with an untrimmed kit. (as for me, I would much rather have Mark do it no matter I good I get at it ). e-6000 is your friend....give each piece a good amount of time to cure. Your pace is at the mercy of how many clamps and magnets you own....LOL1 point
-
Hi guys, just gauging info of how many troopers have a cleared TK with armour from Andy Rodgers (DA Props / BFA / Shed Of Glittering Delights)? I'll kick off with myself who has a Centurion level cleared Stunt TK and also a Hero Promo Trooper.
 1 point
 -
Centurion class Hero from DA Props1 point
-
Keeping tabs, like to know how many (DA props) BFA armor troopers there are out there1 point
-
I was the first Bfa/DA Props Centurion TK number 54 and still wear the armour today
 1 point