

MaskedVengeance
-
Posts
2,148 -
Joined
-
Last visited
-
Days Won
47
Content Type
Profiles
Forums
Gallery
Articles
Everything posted by MaskedVengeance
-

DannyBamBam's first build thread!
MaskedVengeance replied to Dannybambam's topic in ANH (Stunt and Hero)
If your build ends up getting delayed, and Justin gets back into making his strapping kits after his recovery, I would highly recommend it. Quality product and great guy to work with! Sent from my iPhone using Tapatalk -
Merkava74's TFA FOTK Build Thread (Anovos)
MaskedVengeance replied to merkava74's topic in TFA Build Threads
Haha, I realized that shortly after posting and adjusted my phrasing to "completion." I initially saw your 501st badge under your avatar, but then later realized that you must have already been a member of the Legion with another kit. Nice to hear you were able to use studio paper and keep it blemish free. I may need to go that route for my full body images (when I get to that point), since vinyl drops are so expensive. -
Merkava74's TFA FOTK Build Thread (Anovos)
MaskedVengeance replied to merkava74's topic in TFA Build Threads
Congrats on your completion! Fantastic job overall, and those suited-up photos are excellent! If I might ask, what kind of photo backdrop are you using? -
I've loved following along on this build. Your progress speed is putting my TK build to shame, haha. I do have a couple questions about your paint: What made you choose the truck bed-liner spray over plasti-dip for the interior of your bucket? Perhaps they're actually the same thing, but since you phrased them differently in your description of the bucket interior and vocoder, I thought maybe you had two different products. I'm curious because I would also like to have a black interior on my bucket. Have you found that velcro for padding adheres to the rubberized surface ok? Do you purchase your rattle cans at a specific store in person, or can you order them online or for curbside pickup? I'm currently avoiding entering any businesses and am wondering what my options are. Glad to hear you're through this stage of your medical treatments, and I hope you continue to recover quickly!
-
OP (MV) Post #19 40 years ago today was the premiere of my favorite Star Wars film, so I guess I know what I'll be watching during my build session(s) today. Thus far I've had How I Met Your Mother on in the background while I work, but once I finish ESB tonight or tomorrow I may need to transition to my collection of Star Wars soundtracks, as @Blast 'Em! has been doing during his build. That or just play the films themselves. Harmy or Adywan, anybody? =) Do or do not. There is no try. Today is arm day: Haha, jk. To continue my up-tempo progress, I've removed even more of the returns on the bottom of my forearms as well as continued trimming the forming excess on various pieces. I've been taking lots of photos for documentation purposes, but I'm starting to wonder if I should continue posting all of them, or simply keep them archived for future review if necessary. My recent posts have been quite photo heavy, and I don't want to overload any of those of you following along; your continued insight is invaluable, and I don't want to burn anybody out. Here are some samples of my progress on all the arm pieces; first up, the forearm bottoms. With my trimming I continued to remove return edges, but haven't gone all the way yet. I figured I'll have more to take off once I get to the fitting process; I just didn't want to hastily shave off too much. Best to leave a margin for error or adjustment in the future. While revisiting saved forum threads and various resources I came across this nugget below, from @pandatrooper on MEPD. This screenshot from his ATA TD build thread confirms that my identification of the forearms was correct, and at least tells me how the biceps were intended to be worn. Since both biceps have a thumbprint, per Joseph, I could decide to interchange them depending on how I elect to carry my blaster (and bend my elbows). I'm including my own armor parts in the second photo below for comparison. I've also begun the holster stretching process, per the guidance of Christine (Cricket). Here are the steps I'm taking: Remove the blaster strap secured by a Chicago screw Fill a 5-gallon or similar bucket (or your sink) with hot water Place the holster in the water allowing the water level to reach all the areas which need to be stretched Let the holster soak for 10-15 minutes, or however long it takes for the leather to be soaked through. I have Darman's 8oz version. Remove the holster and set aside and empty the bucket Wrap blaster, in my case a Hellhounds E-11, in two grocery bags and two large ziplock bags Squeeze the blaster into the soaked holster to stretch it out while drying. I'm leaving mine in the bucket and expect it to take a couple days. Repeat the process, adding more bags for extra stretching if necessary, until the blaster is easily removable Once a properly-stretched fit has been achieved, consider adding holster lubricant to the leather Quote Responses: Joseph - Hopefully I took enough off on my second go, with images shown above. I still have sanding to do, so that will likely shave a tiny bit more too. I'm definitely going to make sure everything fits well with the appropriate returns (or lack thereof) prior to gluing, since I want to minimize deconstructing pieces. I always assumed the reason for southpaw TKs was due to the E-11 protruding magazines on the left side, as you state, so I figured I'd avoid the rubbing myself and carry left handed. This will also leave my dominant right hand free to wave passers by [move] along and cuff rebel scum. Andrew - I'm so glad you mentioned the forearm dimple counts, as I had saved that distinction in my research notes from 4-6 months ago, but had forgotten about it while trimming this past week. As is seen in Terry's arm piece photos above, and mine below, my bicep outers have 11 dimples each, which I take it is common in some derivations of TE armor. To close, today my wife, who is a kindergarten teacher, received a shipment of books she bought her students, and Scholastic gifted a sheet of these cards as well. Baby "Leia," meet Baby Yoda.
-
OP (MV) Post #18 "The first cut is the deepest" Maybe not the deepest, Cheryl, but definitely the scariest, at least thus far. That status may soon be supplanted when I start on my bucket and work on the ears, frown, and eyes. Armed with Joseph's Return Edges 101 thread, at the crack of dawn this morning I began on my forearms, and some of you L3 folks will be excited to hear that my very first cuts were to remove the return edge on the wrist-side (bottom?) inner forearms. I figured there would be plenty of room for error in that area and I played it conservatively and didn't go all the way to a complete flat surface. In the photos below, do you guys think I took off enough, keeping in mind that I still have sanding to do? I suspect more needs to be shaved. Bottom Inner Forearms Here are some before and after shots of the arm pieces I hit today. In my eagerness panic to make my first cut I failed to photograph the front edges of half the forearm pieces (shown above), so I set the cutouts in their respective spaces for reference. I tried to capture it all for all the following cuts. Does it look like I'm near where I'll need to be for Centurion status, or must a lot more plastic be removed? Bottom Outer Forearms Top Inner Forearms Top Outer Forearms Top Inner Biceps Just a couple more observations and pre-cut questions. In general, it seems that ATA designs their arm return edges pretty minimal, as shown in the photos below. I guess that doesn't leave me much choice with the forearms and the shoulder bells, does it? Can't argue with strong-arming (haha) builders into higher levels of accuracy. Any reason I shouldn't cut all the way to the main surface edge and remove the returns completely on these next pieces, or should just a tiny bit be left? Also interesting that one of the raw ATA shoulder bells has much more excess than the other. Chop chop. Shoulder Bells & Bottom Biceps Trimming will continue for days, if not weeks, as I squeeze in time after putting my 13-month old to bed and spending some evening time with my wife. Basically my window for building is after 11:00pm, and before 7:00am, and any late-night work tends to limit me the next evening due to needing rest. It's a good thing I'm still working from home (started March 23, nearly two months ago) so at least I don't need to account for commute time (or dressing time, haha) into my daily schedule. For those of you who remember, when I officially began this journey my daughter was only seven months old, and I estimated the long road to the Death Star would take me 6-9 months to negotiate. Yeah, my hyperdrive motivator is faulty. That means I have three months left to meet my estimate, and roughly seven months for my stretch goal for EIB (1,000) and Centurion (500), based on roughly five approvals per month. Time to bypass the compressor and make the jump. Quote Response: Joseph - That's an excellent point about bent arms while trooping with an E-11. Question though, would using the more squared-off G piece on the left side be assuming a right-handed or left-handed carrying of the blaster? I am personally right handed, but had planned on carrying my E-11 left handed, with the magazine pointed forward away from my torso, as is most common in ANH. To me, it would seem this would result in more bend in my left elbow, but I'm not sure how my left shoulder would be impacted. Would you still suggest the squared-off G piece be on my left bicep with that carry orientation?
-
I think we all want to see the inside of that hauler. Sent from my iPhone using Tapatalk
-
OP (MV) Post #17 Here I am with my second post in three days with more images for community consideration, as well as the flexible hand guards and gloves I received from Joseph. As with my previous post, below are some labeled armor part photos which I could use help properly identifying. As a reminder, clicking on the images, which may appear blurred in the shrunken/compressed versions below, will open full-sized high-resolution copies. And any thoughts on the A, B, C, and D forearms? Do I appear to have them labeled for the correct arm? E & F = Which bicep? Larger thumbprint and curved top edge. G & H = Which bicep? Smaller thumbprint and flat top edge. Moving onto shoulder bells, my understanding is that the sweep on the ridge should bend to the front, so in that case "I" should be on my left shoulder, and "J" should be on the right. Am I correct on all those accounts? As for the thighs and calves, I already have those sorted out after corresponding with Terrell, but I'm posting the images below for the sake of documentation. For the purpose of what I'm assuming is to account for the sniper plate, the ATA left thigh is around an inch shorter than the right thigh. My calf pieces also arrived labeled and the right and left pairing are shown below. Now on to the excellent pre-attached latex gloves and flexible hand guards I received from Joseph. I had already purchased some guards from Joseph months ago, but I've been considering using them on nomex gloves, so getting these ready-made ones from Joseph (screen used from his demo) will provide me with Centurion necessities, and then I can decide what to actually troop in. And finally, today we had take-out from Panda Express, and I'm going to assume my fortune cookie message is reference to my Stormtrooper armor. Seems logical, right? Search your feelings, you know it to be true. Thanks for following along on my journey and gifting me with your feedback! It's 3:18am now. Bedtime. MV Quote Responses: Robert - Thanks for this tip; I'll definitely be trying out multiple techniques, including that one. I'm going to be obsessed with getting perfectly straight cut lines, so wish me the best! That's also a good idea about leaving extra material to account for sanding. Joseph - Your visual reference guide is GOLD, and has already been printed and filed in one of my reference folders. Christine - I'm glad to hear that about the mask I got, as well as the filters. I know the cartridges I got are intended for fumes, so one they become more available I will likely drop down to the round particle filters you're using. Thanks so much for also describing your holster-stretching technique. On my first read-through I was confused why the blaster would need so many layers for "moisture protection," and then I realized it was enlarging the blaster profile to stretch the leather. Looks like I will soon be trying this in a 5-gallon bucket, and I'll also snag some holster lubricant on Amazon. Paul - Wow, I'm honored that you've enjoyed my thread that much. To even be mentioned in the conversation about a "Threads of Fame" is incredible, and hopefully I my final armor product will be worthy. Your insights and tips are very helpful and always welcome! I hadn't considered how filling my bucket with various items could possibly be a bit stifling, and I'm with you on the current expectation and necessity for voice amplification. You also make an excellent point about at-home fittings providing a false sense of movement and fitting needs; I will definitely be sure to do ample testing before setting on something permanent. Perhaps Justin's (@TheRascalKing) sourced ultra-thin velcro will be something worth trying out. I suppose I will find out if my 8oz holster from Darman marks my thigh armor; do you add a layer of protection on the back (unseen) side of the holster, or simply wipe/buff the armor on a regular basis?
-
Custom T-21
MaskedVengeance replied to Jdurb75's topic in MiniMag PTL Missile Launcher, T-21, RT-97C (MG-15)
Very cool! I’m hoping to be able to print a T-21 someday as well. Will yours be complimenting a TD, ROTK, or HWT? Sent from my iPhone using Tapatalk -
OP (MV) Post #16 Nearly two months of COVID-19 later, and I'm finally trying to get back into my TK build. With only 35 spots left to be in the first 1,000 EIB troopers, and pretty much that same number to be one of the first 500 Centurions (per May newsletter), it's time to pick up my game. Before I start trimming and fitting my forearms I'm hoping to get some guidance to ensure I piece them together properly. Here is what I'm thinking, and a reminder that I have ATA armor. A & B = Left forearm C & D = Right forearm Thanks to the advice of many troopers I've continued my search for proper PPE for ABS sanding. I managed to snag a 3M respirator from eBay, but I'm aware that there are counterfeit items floating around, so I'm wondering if any of you with the same half face mask (6100, 6200, 6300 models) can confirm that this visually appears to be legitimate. See photos below. In all reality, perhaps the most critical components I'd be concerned about are actually the filters, and I may still need to source some extras plus other dust/debris versions. Hopefully what I purchased is genuine and that I can manage with the filters I have, since I know that first responders have a greater need for this equipment right now. Another question - Do any of you have any recommended tutorials for cutting cover strips? I thought I'd previously seen some threads but am unable to locate them at this time? I like the idea of score-and-snap, but what methods have you all used successfully? To keep them straight when sanding, do you use a belt sander, or perhaps rub them onto sandpaper laid on a table? Since this build thread is intended to serve as a resource for future builders, I also wanted to point out Wingnut65's recent visual checklist revisions which were mentioned in this month's Detachment newsletter. These will be great alongside Joseph's Quick Reference Guide (printable PDF), and I'll also be utilizing Jeff's HWT sheets as well. Quote Responses: Christine - What product have you used to soak and break in your holster for ease of blaster access? Do you literally soak it in a solution prior to the periodic lubrication? I'll also be sure to use respiratory PPE when sanding my ABS, and I don't intend to use any of the magnet rings for your shin design. They'll simply be used for template designing, possibly for armor gluing clamping, and also around the house. Tony - Thanks for those tips regarding the vocoder color options and sanding PPE. Very helpful!
-
One of my goals has been to be one of the first 1,000 EIB and 500 Centurion, so I really need to get working. Baby care has occupied more time than binge-watching during this pandemic. Perhaps I need to start pulling some overnight armor working sessions. Haha. Sent from my iPhone using Tapatalk
-
MaskedVengeance's HWT Build Thread TK Tangent
MaskedVengeance replied to MaskedVengeance's topic in HWT Build Threads
OP Post #4 Progress continues slowly, and since my last post has consisted primarily of the acquisition of components for my HWT build. BBB day came a couple weeks ago, and you can see my full post with armor unboxing photos on my ANH Stunt thread. Here is a preview! I also had a medium brown box day with the delivery of my orange pauldron from Trooper1 (Jay), and it is gorgeous! Seems a bit of a shame to have to dirty it up a bit for my heavy. Pics incoming. I also completed inking all the white threading on my MP40 pouches black with a Pilot G2 1.0-size black pen, which I already had at the house. It was very tedious, and for some reason I found it appropriate to have some WWII TV documentaries playing in the background. It was cool to see some MG-34s in action! The photos below don't do my thread paint job justice, as some of the lighting and texture differences with the leather make the threads still appear to be white. I also want on a paint binge and purchased many shades of black and gray to use on my T-21 and DLT-19 builds, when that time comes. Social distancing may make supply runs difficult, and potential shelter-in-place orders could even make it impossible. I've also acquired gloss white (for TK rivet heads), Model Master 1923 Gunship Gray, and some Rust-oluem gray primer and black. I'm not really sure why I got the Testors thinner, since I already have Gamblin Gamsol mineral spirits, but I suppose I could use it on non-ABS areas. At some point I suspect I will create dedicated threads for my T-21 and DLT-19 builds, but for now I'll leave that related content on this thread, since I haven't made much progress yet. I do have a couple questions for those of you with blaster build experience: Does the ACT cap (shown below) appear to be the correct proportion for the PVC bunting I purchased? I opted for the "smaller" sized bottle since I saw that mentioned on another thread, but it wasn't clear what the exact bottle oz size was, or the dimensions of the flash suppressor itself. Is there a way to coat a thick paper/cardboard tube to provide it with moisture protection? The tub itself is already very strong, but I would worry about it losing form if rained on. I'm asking because the outer diameter of the tube more closely matches the the size of the reduced T-21 barrel than standard 2.5" conduit or the vacuum tube extension wand. See the comparison below. Finally, just another T-21 component I acquired--the phone line cable. I still need to find some blue wire, so any suggestions for the proper gauge would be helpful. Thanks, Joseph, for your automotive windshield washer tubing suggestion in your post above. Hopefully I'll have more updates soon, especially if I'm kept home from work during these uncertain times. Stay safe, heavies. -
Shaky, cracked, duct taped, misaligned. It’s true. All of it. [emoji12] Sent from my iPhone using Tapatalk
-
OP (MV) Post #15 Another update folks, with some questions and photos. First some questions, so they don't get buried later in this post. TK frown mesh/screen. Is there a particular mesh pattern or size which is most appropriate for Centurion approval? Must it only be a single layer, or can it be doubled, and if so, would there be any benefit? If there's aren't any restrictions I'll likely just pick some up at a hardware or home improvement store, rather than at Trooperbay (product). What black paint finish should be used for the mic tips? Should it be a gloss, semi gloss, or matte? The same as the vocoder? In regards to the vocoder, I've seen that it should be a semi gloss black, but my local craft stores only have Testors in gloss (not semi). Does semi actually exist, and if so, must I use that instead of gloss? Finally, respiration PPE (personal protective equipment). When sanding ABS is it important to wear a respirator or mask of some sort? I had planned on purchasing a 3M respirator but alas those are now hard to come by. Would a simple shop/mowing mask suffice? I have a stockpile of these Walmart "Hyper Tough" masks from lawn mowing. Now finally on to the photos. As previously mentioned, I received my holster and neck seal from Darman this week. I got the heavier 8oz holster which is quite firm, and will require some breaking in for use with my Hellhounds rubber blaster. If I end up trooping with a DLT-19 instead I may just use a modified rubies blaster in the holster and semi dual-wield like the Death Star scene (I forget if it was Han or Luke when they were approaching the detention block elevator). The neck seal also seems very nice, and I opted for the larger bib for ease of tucking into my undersuit. I simply noted my neck circumference (15.5") and Darman size it to fit me comfortably! I'm sure I'll eventually get the hang of setting and pulling the zipper, but for now my strategy has been to put in on backwards so I can see the zipper, then swivel it around once zipped. Are wearing it some more I'm sure the neck area will adopt a more rounded shape, after having been flattened inside the holster in the shipping package. Finally, on to the 120 magnets I purchased. Per Joseph's Magnet 101 recommendation, I purchased 20 of the N40 7/8" x 1/8" disc magnets for general armor application. I also purchased 50 of the N52 12mm x 3mm disc and 50 of the ring magnets which Christine recommends for her magnetic shin closure design. I figure I can use the extra ring magnets for thinner and tighter areas of the armor some as arm pieces, and the cost difference between purchasing 25 and 50 was insignificant. I plan on making sachets for the magnets to protect them and the armor, and for ease of use. Thanks for these tips, Justin! Your cutting and sanding strategy is pretty similar to what I'm planning on, although I don't have any tin snips or a belt sander, although I have considered purchasing the latter to use on some woodworking projects. I figure I could probably just clamp a sheet of sandpaper to a flat table surface and rub the straight armor piece on top of it, similar to this shoulder bridge strategy. As for some metal rulers... I'm all over that. As an art/engineering student in College I wanted nothing to do with plastic or wooden rulers, so I have an entire metal collection ranging from six inches to a yard, some cork-backed and others not. I'm definitely going to try out the magnet/ruler technique!
-
OP (MV) Post #14 Well, it's been a crazy two weeks since my last post, to say the least. Local schools have closed and the College (University) I work at has transitioned to distance online learning for the remainder of the term. It's hard to know if these changes to life due to COVID-19 will result in me having more time to work on my build, or less, but either way I've been attempting to collect the last couple of supplies needed for the project so I can minimize shopping in the near future. Social distancing. Weird times. With both my builds (my HWT being the other), I've been posting photos of my collected supplies for two reasons. One, to enable experienced builders to provide feedback on the items, and two, so that future buildings can have a visual representation (along with purchase links) of the exact items they may need to purchase themselves. First up, gloves and lexan scissors. The 3M chemical gloves came from Lowes, while the straight and curved scissors were from Amazon. Has anybody had any experience with the MPI Maxx Products curved scissors? They were supposed to be the Excel brand, but the seller shipped me these instead, so I'm wondering if I should give them a go or return them. I've also just received my 8oz E-11 holster and neck seal from Darman today, and will have photos of those up by the weekend. 120 magnets, yes you heard that right, are also in-hand. Joseph recommended at least ten (10) large discs on his supply list and Magnets 101 thread, so I got 20 of them plus 50-packs of the smaller ones recommended by Christine (Cricket) for her shin closure design. I also have needle files, mineral spirits, and acetone in the mail. @justjoseph63 - Can you send me a purchase link to the "Sandblaster Pro Flexible silicone sanding sheets from 3M" which you recommend on your Supply List? I'm not sure if what I'm finding is correct; perhaps it's no longer sold any more. Stay safe and healthy, friends.
-
This is why, in the photography industry, zoom lenses (or high mm primes) are used for portraits. To minimize distortion. Luckily many smartphones now have multiple camera lenses to capture different focal lengths. Use the zoom one. Another pro-tip: Do NOT use any portrait-type mode on smartphones when taking photos of builds. The false bokeh (blur) can be applied incorrectly, and in general will hide details which we might want to see. Sent from my iPhone using Tapatalk
-
Rivet Setting/Removal 101
MaskedVengeance replied to justjoseph63's topic in Tutorials, Tips and HOWTOs
This is definitely going to be printed and put in my resource folder! As are many of Joseph’s tutorials! Thanks for your awesome work! Sent from my iPhone using Tapatalk -
Back in 2009 or 2010 I got into playing the Battlefield series games online, and wanted a new screen name which wasn’t related to my previous Lord of the Rings obsession. At that time my go-to name had been “darkelf,” but I wanted something less fantasy-like for my WWII and modern warfare gaming. I decided on a variation of my last name (Mask), and thus became known as “MaskedVengeance.” Fast forward to a decade later in 2019 and I figured the same name, though a bit lengthy, would work for Legion purposes. From time to time I may also refer to myself as “MV” for short. Or you can call me Caleb. =)
-
ANH Stunt - belt attachment suggestion
MaskedVengeance replied to CableGuy's topic in Build Threads Requireing Maintenance
Oh man this makes me nervous since my BBB Day was last week and I have all the Billgrams printed and ready to be used as references. I had planned to post photos with questions on my build thread before making unrecoverable cuts or hole snap/rivet holes, so maybe I’ll still be ok. Sent from my iPhone using Tapatalk -
Your quick work on this continues to impress me, and makes me think my 9-month TK build is as slow as your extra 100ml of cured resin. Looking forward to seeing the progress, but more importantly, I wish you the best this week with your treatment. Sent from my iPhone using Tapatalk
-
Sounds about right to me. The guest bedroom and living room get overrun with WIP props... Sent from my iPhone using Tapatalk
-
StarTrooper’s ATA ANH Stunt Build (Aiming for Centurion)
MaskedVengeance replied to StarTrooper's topic in ANH Build Threads
I was actually just checking our your thread earlier today before your update and was wondering what your recent progress had been! I just received my ATA armor and will be making my first cuts soon. Your probably already had plans to do this, but be sure to scuff up the cap rivets on your knee with sandpaper to give the paint some texture to hold to. Keep up the great work! Sent from my iPhone using Tapatalk -
iEmpire916 Requesting Pre Approval Review (AP)
MaskedVengeance replied to iEmpire916's topic in Request TK Pre-Approval
You can also give the shoulder bridges a boiling water bath. Just be careful not to burn yourself. Sent from my iPhone using Tapatalk -
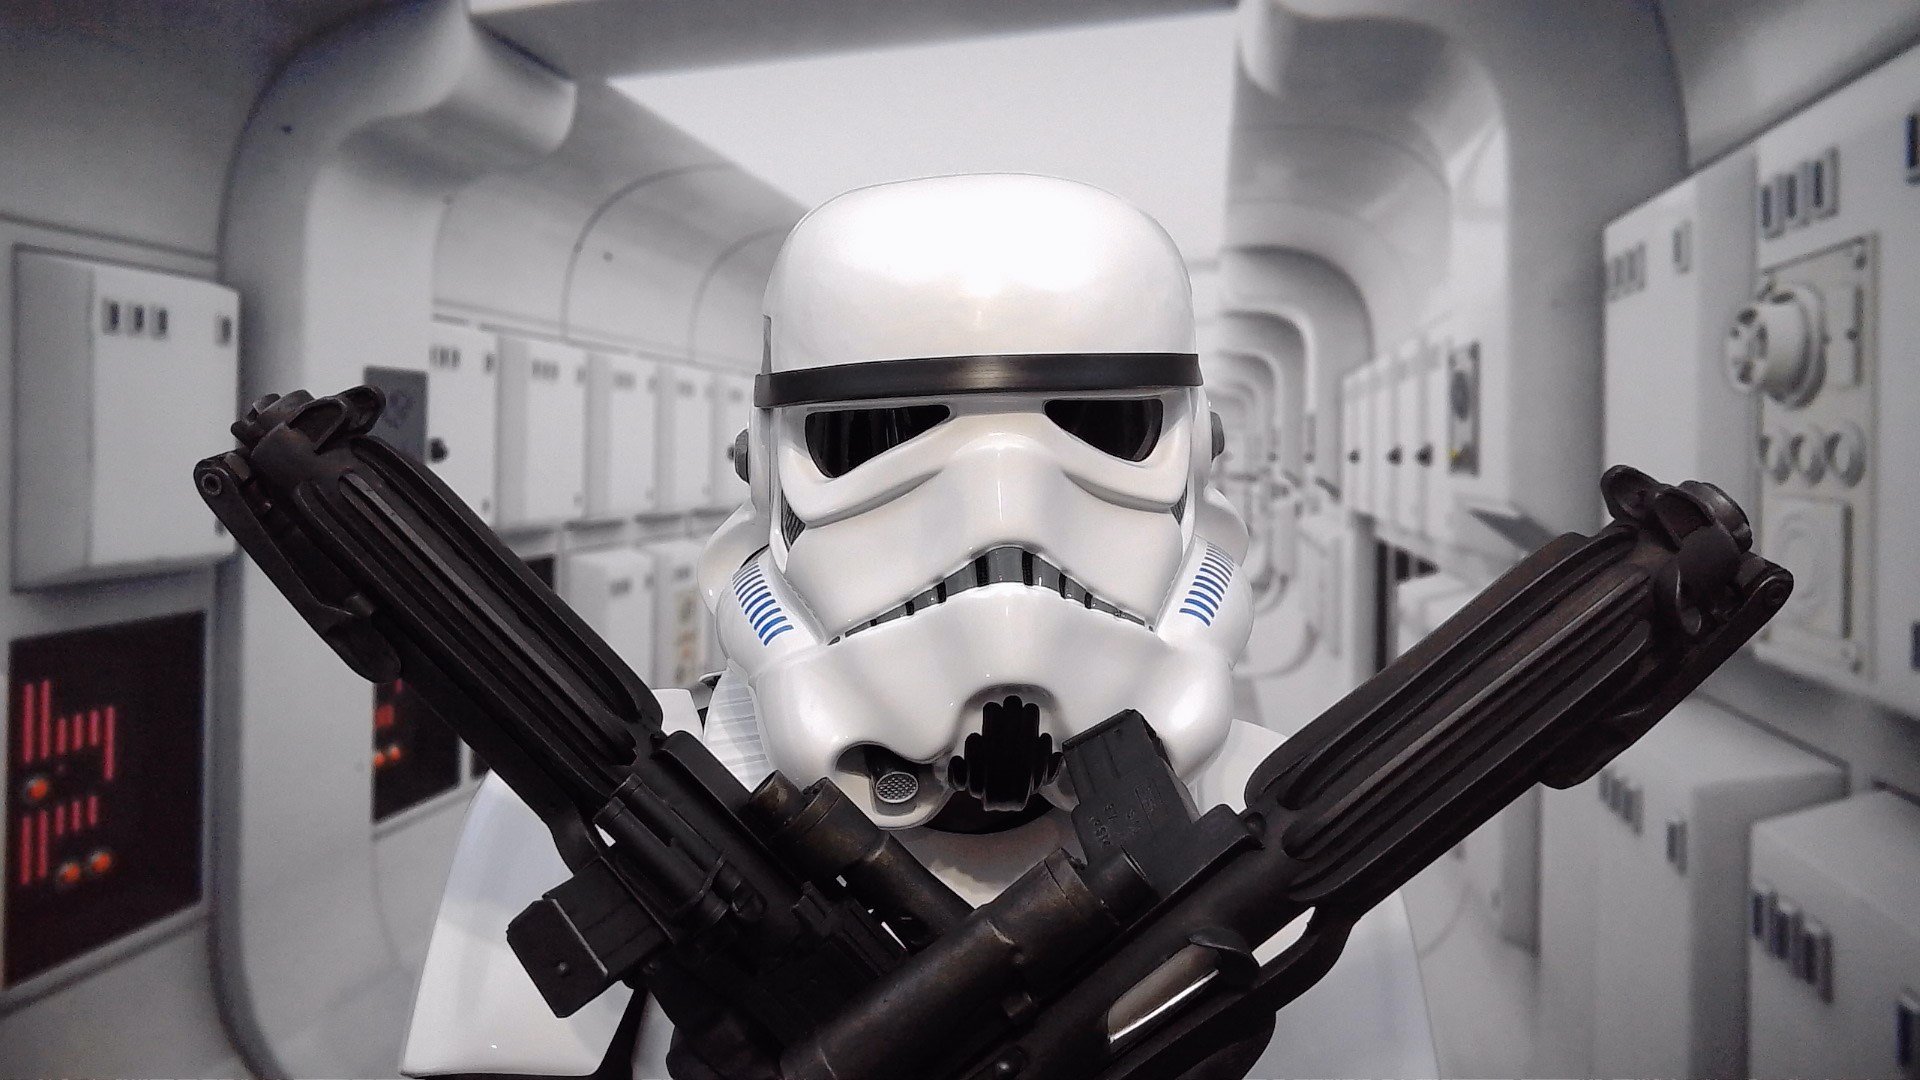
OP (MV) Post #13: BBB DAY ARRIVED YESTERDAY! Unboxing and obligatory laid out photos incoming. Yes, I'm wearing rebel scum "It's a trap" socks. Note that, as is the case with all my photos posted on FISD, they may appear a bit fuzzy embedded in posts due to poor web and forum compression. Clicking on each image will open them in a high resolution format for maximum clarity. Initial thoughts. These pieces are larger and more firm than I was expecting. Of course that will change a bit once I trim them and remove many of the return edges. Now where to start. I'm not sure I want to tackle the helmet first since that's such a prominent piece with tiny details. Perhaps I will go with taking off the return edges on the wrist side of the forearms, since that will be a requirement for level three. Are there any other suggestions for starting points? Perhaps the chest, back, or ab pieces? I tried to lay the pieces out in the fashion I expect them to be upon assembly, but the shins were the only ones labeled, so I may have gotten some of it wrong. Am I correct in understanding that the biceps (both with thumbprints) and forearms are interchangeable? If I recall correctly, the shoulder bells are to have the swoosh facing forward, correct? I believe the left side thighs are also intended to be a little shorter than the right, to accommodate the sniper plate, but please correct me if that's not the case. That's all for now. The journey is finally getting real!
-
Congrats Robert! I look forward to following in your footsteps, and using your submission as a reference! As Joseph pointed out, your paint job is AMAZING! Sent from my iPhone using Tapatalk
