

msouza
-
Posts
761 -
Joined
-
Last visited
Content Type
Profiles
Forums
Gallery
Articles
Everything posted by msouza
-
Sorry for your loss and what a great way to memorialize your nephew.
-
 Welcome to the FISD Trooper! Us Florida guys have the luxury of having 5 Garrisons and some great troops in the area, see you around!
 -
Olaf's ANH Stunt TK build (AM 2.0) - aiming for Centurion
msouza replied to Olaf's topic in ANH Build Threads
Looking good! -
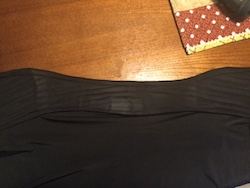
Just make sure its all black and the seams are black as well, some of the new ones have gray seams, I use this one https://www.underarmour.com/en-us/cg-armour-jacquard-crew/pid1301581-001
-
Olaf's ANH Stunt TK build (AM 2.0) - aiming for Centurion
msouza replied to Olaf's topic in ANH Build Threads
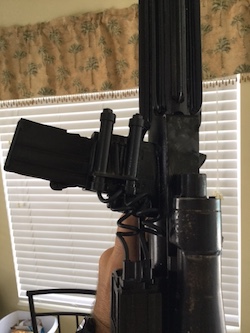
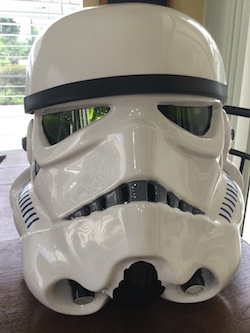
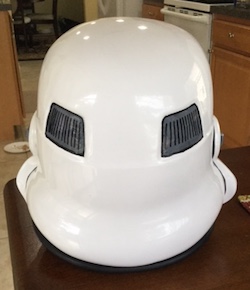
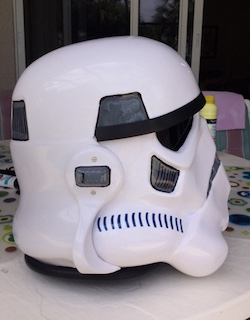
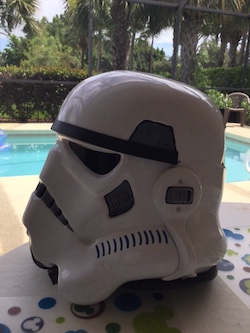
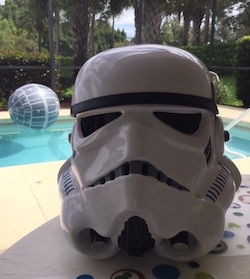
Like gmrhodes said the "bump" is screen accurate so no worries & good to see you aiming for Centurion from the start. Keep posting photos along the way, we're here to help if needed! My bucket (WTF) for reference, it has the bump as well. Sent from my iPad using Tapatalk -
OK now that was an EPIC introduction! Welcome aboard trooper!
-
TK-61276 Better late than never
msouza replied to T-Jay's topic in Newly Approved Members - Sound Off!
Welcome aboard Tino!! Doesn't matter what path you took to get here we're just glad that you did! And if you put half as much attention to detail in your armor as you do with your E-11 builds then I see a Centurion badge in your future. -
Great job so far, the only thing I see is the bottom looks like it was overlapped. I'm not sure with ROTJ but a butt connection is the preferred method for EIB and Centurion
-
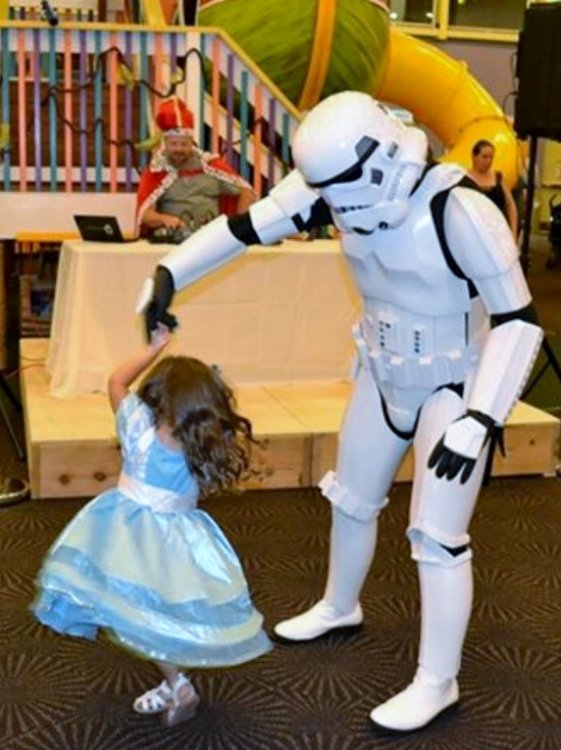
Someone asked me this question at a convention recently because the wanted to get involved with the 501st and I'll answer it the same. Other then our love for Star Wars, We get to dress up as our favorite character to help people. Sometimes its to raise money but mostly we get to lift someones spirit.
-
TK12638 On Deck!
msouza replied to Engineering trooper's topic in Newly Approved Members - Sound Off!
Congrats & Welcome to the ranks Trooper! -
As Humperdingle said Run away!! For the money you can get a great kit that you'll know will get approved. Take a look at this page and it'll put you in contact with a reputable builder https://www.whitearmor.net/forum/topic/11538-the-various-types-of-armor-and-where-to-find-them/ Good luck on your journet
-
Request your EIB Certificate here:
msouza replied to justjoseph63's topic in Request Expert Infantry Status
Mike Souza 11463 EIB Letter Size Andrew http://www.whitearmor.net/eib/certificates/11463-eib.png -
TK-11463 Requesting ANH Stunt EIB Status [737]
msouza replied to msouza's topic in Request Expert Infantry Status
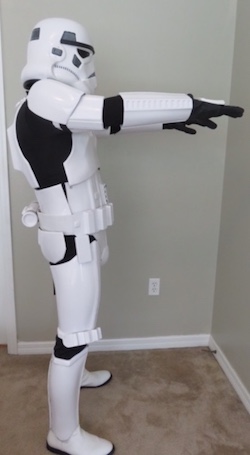
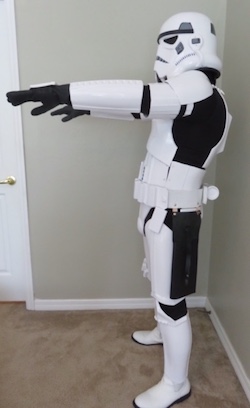
Thanks Sly I appreciate your help on this, time to get to work on the modifications above. A couple of them are easy adjustments and I've lost 65lbs to wear this armor and i'm about 5 more from removing the shims altogether. And as far as removing model paint on the VoCoder turpentine wont harm the abs? -
TK-11463 Requesting ANH Stunt EIB Status [737]
msouza replied to msouza's topic in Request Expert Infantry Status
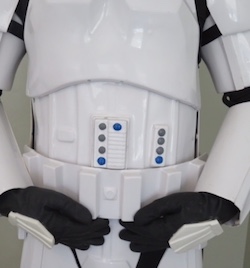
Hopefully this helps Sly, I have a shim on the left side only. and I'm borderline in the position to remove that one. Let me know if you need anything else. -
TK-72179 Requesting ANH Stunt EIB Status [ATA] [738]
msouza replied to jamihal's topic in Request Expert Infantry Status
Try resizing the photos and making them a bit smaller. Clean looking build good luck! -
TK98311 Requesting ANH stunt EIB status (AP) [735]
msouza replied to Heinous's topic in Request Expert Infantry Status
Clean looking build, good luck! -
TK-11463 Requesting ANH Stunt EIB Status [737]
msouza replied to msouza's topic in Request Expert Infantry Status
Thanks for the foam tip!! I was having problems uploading photos and wasn't sure if it was me or the new site, warning / notice would keep popping up warning me about a 1.2mb max upload when I would add a photo so I keep reducing the size until it didn't pop up lol. I have them all and can try upload them larger if needed. -
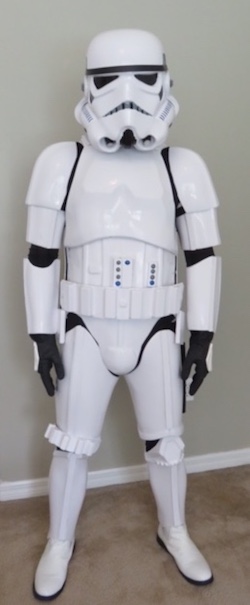
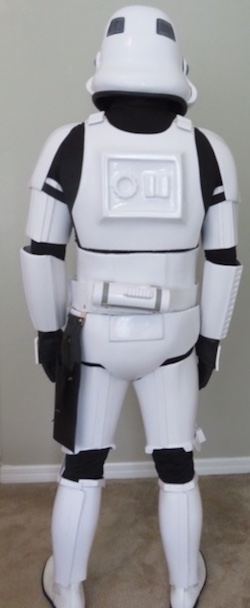
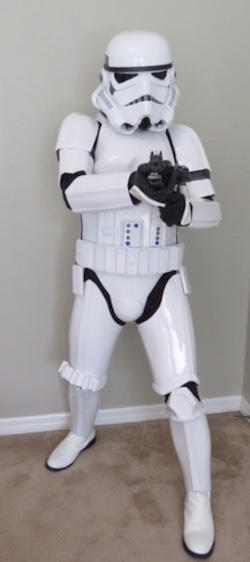
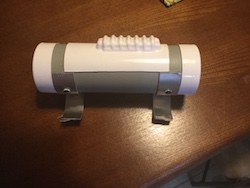
Name: Mike Souza Forum Name: msouza Florida Garrison Armor and Helmet: Walt's Trooper Factory Boots: TK Boots Canvas Belt: msouza Hand Guards: Justjoseph63 Neck Seal: Darman Holster: Darman Blaster: Doopydoos


-
Sean's WTF ANH stunt build (first time builder!)
msouza replied to Seansull's topic in ANH Build Threads
Walts Trooper Factory Great start Sean, Just finished one of Walt's kits not to long ago myself. -
Also take a look at UKSWRATH thread on support pads for the bracket system your using. here http://www.whitearmor.net/forum/topic/36372-how-to-support-pads-for-mr-nostripes-bracket-system/?hl=%2Bbracket+%2Bpads And like others have said take your time and enjoy, the only deadline you have is the one you put on yourself. Any questions post pictures & ask!!
-
TK 1636 does a great video series on a complete build you can see him size up for shims in this video https://youtu.be/y-ED5qf51-U or I would go through UKSWRATH build here a follow how he creates the joints on all of the limbs with cover strips on the inside first to give it a solid butt jounint. http://www.whitearmor.net/forum/topic/31920-ukswraths-am-10-build/
-
Always a great read! Fantastic job as always crew!!
-
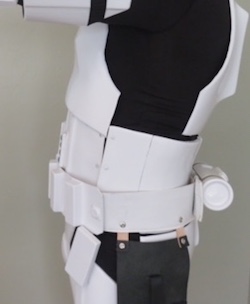
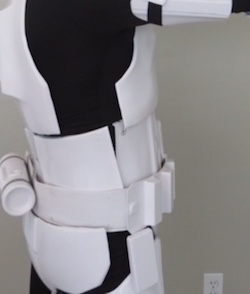
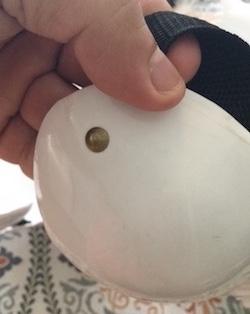
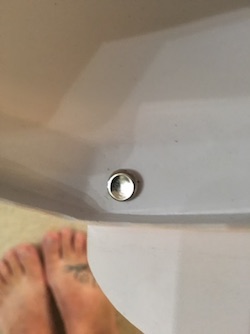
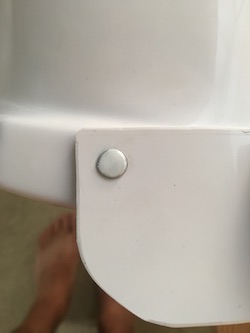
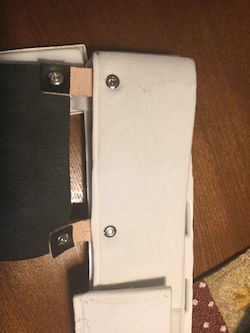
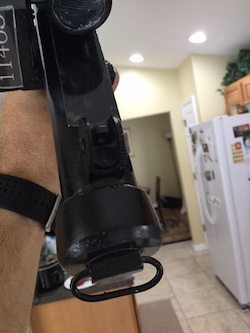
Thigh ammo belt rivet question
msouza replied to msouza's topic in Build Threads Requireing Maintenance
Thanks Robert! I have a few split rivets left over from my build so I'll give that a shot! Thanks Joseph, I have some split rivets left over from my build & wanted to be sure (kicking myself for missing this during my initial build) -
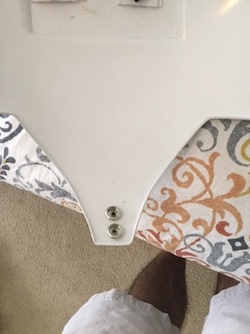
For level two certification (if applicable): Thigh ammo belt is attached to thigh with a solid head rivet or fastener in the upper corner and fastened to the lower thigh ridge. The solid head rivet attachment is painted white. Standard pop rivets are not allowed The bottom corners of the thigh ammo belt are rounded off My question is are the split rivets used to attach the kidneys to the ab approvable/acceptable to attach the thigh ammo or do I need to use a different rivet? Thanks
-
Congrats!!

