Sly11
-
Posts
13,367 -
Joined
-
Last visited
-
Days Won
278
Content Type
Profiles
Forums
Gallery
Articles
Everything posted by Sly11
-

Vendors list for your FOTK build Updated 2026
Sly11 replied to ukswrath's topic in Quick find resources
Ahh Kevin Weir yes have added him to the list. -
TK 84098 Reporting for Duty
Sly11 replied to Bullseye's topic in Newly Approved Members - Sound Off!
Congratulations Bullseye Dave -
Awesome photo KC, you all look great!
-
Greetings from the Pott - Germany
Sly11 replied to ThanathanEinar's topic in New Member Introductions
Welcome to FISD Sven! -
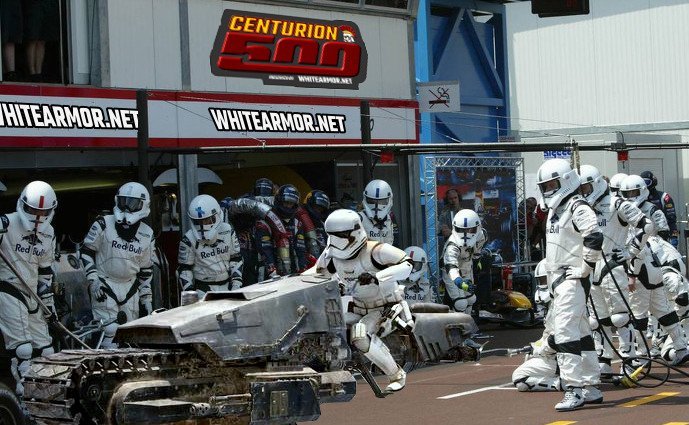
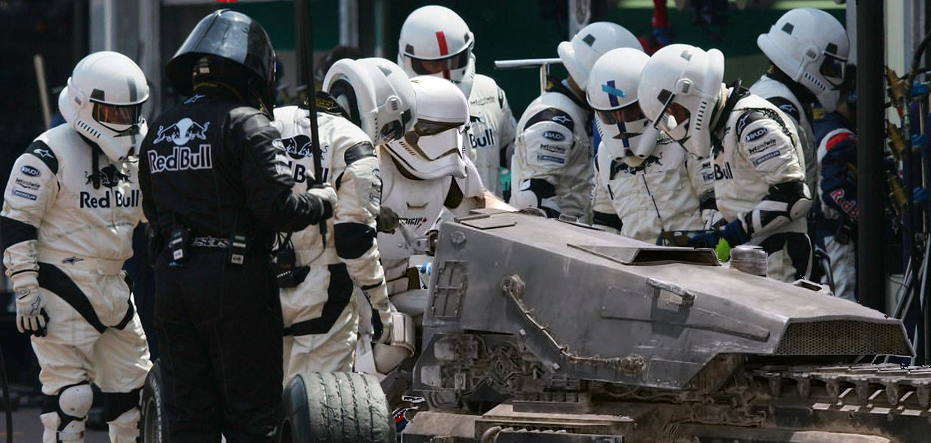
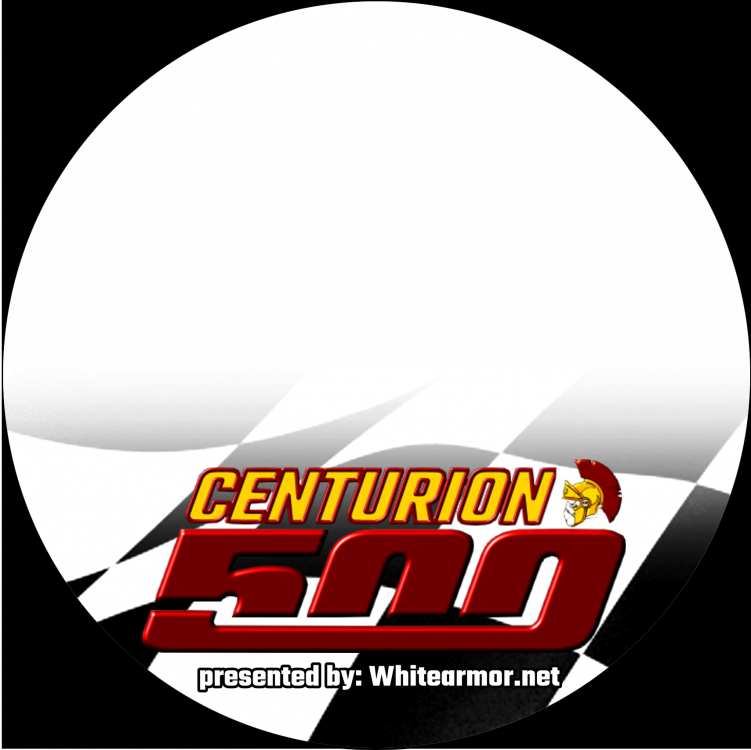
Hot off the heals of our Victory1000 celebrations, FISD are proud to bring you our next target event. We are fast approaching another milestone and another chance to celebrate victory as we hit 500 Centurions approved. This miles stone will also come with another special Centurion only piece of merch for the first 500, in the form of a pin to match the Expert Infantry exclusive. Our very own gmrhodes13 (Glen) has outdone himself yet again and put together the perfect introduction for this milestone event so without further adieu, FISD brings you. THERE ARE ONLY 7 POSITIONS ON THE GRID, SO IT'S TIME TO HIT THE ACCELERATOR, SHIFT INTO HYPER-DRIVE AND HELP US BLAST ACROSS THE LINE! Now that we have reached 1000 Expert Infantry, It's time to once again become part of FISD history and enter the "Centurion 500" We are aiming to have 500 approved Centurions by the end of the year. We only have 7 to go, so in order to reach that goal we are asking that you read over the CRLs for your particular armor, (this thread will help) make any necessary adjustments and post up your submission! Photo Checklists - Link here Apply here Questions: 1. Not sure if I have what it takes to reach Centurion- You don't know until you try, and you have not only the D.O. staff but an entire Detachment to help! 2. I need some repairs/fixes first- This is why we are here! We honestly want you to succeed and are here to help in any way we can. 3. I am happy with the way my armor looks, so why bother?- It not only makes you look more screen accurate, it instills a sense of pride and "esprit de corps"! 4. What if I don't make it? No worries, we will provide detailed suggestions on how to reach your goal! Benefits: 1 Bragging rights for being one of the "Original 500" 2. You get a cool badge under your name here on the FISD (full forum version) 3. Access to Exclusive Centurion500 pin for those in the original 500. 4. Certificate for your accomplishment. 5. You will have a more screen accurate looking set of armor. Now that the entire Staff and those who have reached Levels 2 and 3 are here to help in any way we can, you are more than welcome (and encouraged) to ask any and all questions you may have here on this thread, or contact Joseph, Sha Sha or Mario. Let's get up to speed, push that throttle and prepare for lightspeed, you can do it troopers Your Deployment Officers, Staff and the whole detachment crew are standing by ready to assist If you'd like to show your support on FB here is the link to the Centurion500 profile frame www.facebook.com/profilepicframes/?selected_overlay_id=331320651285964
- 186 replies
-
- 12
-

-
Basically the award goes to the member for the work they put in to bring their costume up to that level. If they retire they still hold the accolade as they did the work and they simply become part of FISD history. If a person was to buy the armour they would then need to make sure it met the current CRL criteria (anything grandfathered would no longer be acceptable) and the new owner would need to apply for EI and Centurion again. It would go through the standard protocols and needs to fit the trooper appropriately to pass. So in a nut shell, award goes to the member and it is theirs forever in FISD history. You can do multiple costumes and receive EI and Centurion approval on all, but you can only effectively be awarded the status once. This is why on second. third and fourth etc applications they simply state (Approved) and do not get another number allocation, but we do recognize it through stars above the EI side bar banner awards.
-
Teresa and I have been speaking and she has a few Phasma's lined up to help us out with the CRL work. This CRL needs much consideration and re writing in a few areas as will the TLJ version. I'd just like to add, we are not in a hurry to pump this out as it has needed work since it's inception and the aim of this thread is to pool our ideas before buckling down and making Phasma CRL's the best they can be for our members. As they currently stand, they aren't really fit for purpose when it comes to Expert Infantry ( no level 3 currently) and they are not clear in definition separating TFA from TLJ with several elements. As well as the written components, new imagery may also need to be used as our CRL's are a combination of the two mediums. We also have the ability to add an extended gallery to these CRL's which will also make a difference to GML's and members alike. This will take as long as it takes and neither Teresa or I intend to rush this process. All staff and attache's are welcome to input for these costumes, as I would like to make sure we have good discussion points to create a full brief before we move to the next stage of allowing membership feedback. I envisage this overhaul will indeed effect basic and EI approvals so all care must be taken to get them as fair and accurate as we can. All input will be under consideration.
-
Very nice, look forward to seeing your progress. Sent from my iPhone using Tapatalk
-
AP armour left and right fore arm are identical, as are their bicep and shoulder bell. It should not be an issue as that has not stopped anyone from hitting lvl 3. Sent from my iPhone using Tapatalk
-
Some things that stood out to me on first glance but i call on the true experts to give some definitive feedback and suggestions. TFA Phasma CRL modification Shoulder Gaskets Gaskets are rubber or a shiny black material with ridges. Suggest fabric gaskets approval at basic, make rubber gaskets mandatory Lvl 2 The shoulder gaskets must cover all exposed areas under the shoulder bell, between the bicep and chest, and between bicep and back. Elbow gaskets Gaskets are rubber or a shiny black material with ridges make rubber gaskets mandatory lvl 2 The elbow gaskets must cover all exposed areas between the bicep and forearm. Forearms Reflective metallic silver in color Forearms have have ridged rail, similar to a picatinny, embedded on the inside of the forearm. Forearms have a box on the bottom the wrist end, roughly covering 1/3rd of the embedded rail. Each forearm has two 'clasp greeblies' on the outward facing surface, near the wrist. Detail box includes black rectangle on small edge perpendicular and closest to wrist. Possible shape description of elbow end TLJ forearms are not acceptable Gloves/fingers Hand armor is metallic silver or chrome in color. Gloves are black. Gloves extend underneath the forearm. Hand plates are rigid square boxes and the hand plates are mounted securely over the back of the glove. A wrist plate is mounted securely between the handplate and the forearm, contouredcountoured (contoured)to match the hand plate. The black oval detail is aligned with the index finger of each hand. Finger armor is two rigid pieces per finger, proportionate in size to the fingers, containing rounded bumps on top as shown in the photo. improve shape description If different TLJ hand plate and finger amour not acceptable Boots Boots are black suede, leather, or leather-like, absent of laces, with no pronounced heel. Shin and foot armor is reflective metallic silver in color Lower shin armor is contoured upward in the center, with a square-beveled ridge visible along the top, right, and left sides. The bottom is rounded over the top of the boot, extending to points on either side. The lower shin is worn over the lower half of the main shin armor. Lower calf armor is rigid, curved at the bottom over the heel plate, and extending to points to match the lower shin armor The calf and lower shin armor are flush and may be connected on the sides by a mylar (Mylar)or silver tape. The heel armor is semi-circular, rigid, and affixed to the heel of the boot. The instep armor is rounded or oval and curves with the contour of the boot and sits above the toe and lower shin at an angle. The toe armor is rigid and has a shallow curve contoured to the front of the boot. that does not extend to the top of the sole Thermal Detonator The thermal detonator mounting plate is silver and sits under the back plate and rests above the belt. The control panel is black. The righthand (right hand) recessed end cape is black. The lefthand (left hand) end cap extends from the detonator assembly and is black all around the cylinder as well as the end surface. A silver stripe is present around the end of the cylinder that extends slightly onto the circular surface. There should be no visible seams. Make this a mandatory part of the costume and not an optional accessory
-
With your assistance Teresa, I would like to get this underway at your earliest convenience. It is obvious both these CRL's require some updates and refined explanations to help both those who wish to build the costume and GML's who approve then at basic level. We must make sure that those parts that can be shared between TFA and TLJ are clearly defined, and those that can not due to significant shape and design are also outlined. I've made a start on TFA Phasma in the below post, with just a few minor suggestions and grammatical correction.
-
I mentioned on one of the other post, that I added white gaffer tape on the inside of the center box across into the inside front of the thigh. I did this as an homage to the costume crew from the original movies who’s go to was white gaff tape to fix everything. It has been there on my thigh for 6 years and worked without fail. It allows a tiny amount of movement but stops the ammo belt from raising or dropping past a few mm. Sent from my iPhone using Tapatalk
-
Toothdoc's Armor Master v4.5 Helmet Build (Rookie Trooper))
Sly11 replied to Toothdoc's topic in ESB Build Threads
Excellent work Bryan. -
No we currently dont run on Discord. We use FB for announcements, a monthly mass mail out news letter but the forum is our primary place of business.
-
TK-18767 requesting ESB Stunt review
Sly11 replied to AlpineCorpus's topic in Request TK Pre-Approval
Hey man, you are looking pretty awesome. Only things that stand out but will depend on your GML for basic are the shoulder bells. They have quite a gap at the top between the shoulder bridges. i can also see they are pulling the elastic out from under the bridges. In reality there should be little to no gap, so you can try a few things. Remove all the return edge at the base of the bells to get them flexible and sitting as close as possible the the biceps. Then shorten the top elastic straps to bring the tops in closer to the bridges. This is a higher level requirement so if you can make those adjustments it will put you in good stead for higher approvals. Also make sure the outer edge of your drop boxes are aligned with the ends of the plastic ammo belt, another requirement for higher levels and more screen accurate
-
Might be a few years before we are allowed to fly anywhere at the current rate
-
Dead Post Links & Broken Photos, How You Can Help
Sly11 replied to Sly11's topic in Forum Help & Support
Restored by Sly11https://www.whitearmor.net/forum/topic/28708-tk-11469-requesting-anh-stunt-centurion-status-ap140/ Restored by Sly11https://www.whitearmor.net/forum/topic/28679-tk-11469-requesting-anh-stunt-eib-status-ap412/ -
Dead Post Links & Broken Photos, How You Can Help
Sly11 replied to Sly11's topic in Forum Help & Support
OK I discovered that even my own build threads for my E11 and AP armour were victims of ye ole PhotoBucket water mars. Now fixed. https://www.whitearmor.net/forum/topic/28366-slys-ap-anh-stunt-tk-build/page/8/ https://www.whitearmor.net/forum/topic/28297-slys-first-build-e-11-doppy-full-resin/ Restored by Me lol -
Indeed, just focus on getting your basic approval then all guns blazing for EI, and Centurion.
-
DarthBiscuit's R1TK Build (Jimmiroquai kit)
Sly11 replied to DarthBiscuit's topic in Rogue One Build Threads
Good luck Dan, dont forget, if your GML is comparing to the latest CRL you can direct him to our post regarding the grace period for any that has started building based on the previous version. https://www.whitearmor.net/forum/topic/50062-rogue-one-tk-crl-update-2020/ -
That's pretty cool Jessy Sorry i have no lead for you on the dog costume as yet.
-
Welcome Ruben
-
Awesome sauce, not long now and you will be finished basic approved and applying for higher levels, I have foreseen it
-
Thanks Glen. I have started to build the CRL using your work Glen. Once complete it will go under LMO review Thanks for the effort you put in and those that started the original work last year. Sent from my iPhone using Tapatalk
-
Polishing armor that won't damage ABS???
Sly11 replied to TK71169's topic in Tutorials, Tips and HOWTOs
Personally, I use the Novus plastic polish system. there are 3 grades available depending on the extent of the scratches, in a simple 1,2 ,3 system. The 1 is a high gloss spray on wipe and buff off to shine up your kit. 2 is for minor scratches and the 3 for heavier scratching and crazes. Mine has lasted me years and still going. No reason a reasonable car polish cant do the same, I just went with the specialty recommended for plastic.