gmrhodes13
-
Posts
31,219 -
Joined
-
Last visited
-
Days Won
1,070
Content Type
Profiles
Forums
Gallery
Articles
Everything posted by gmrhodes13
-
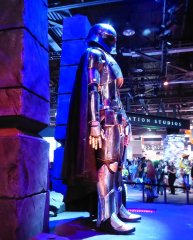
From the album: Captain Phasma TFA References
-
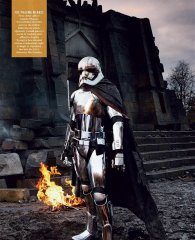
From the album: Captain Phasma TFA References
-
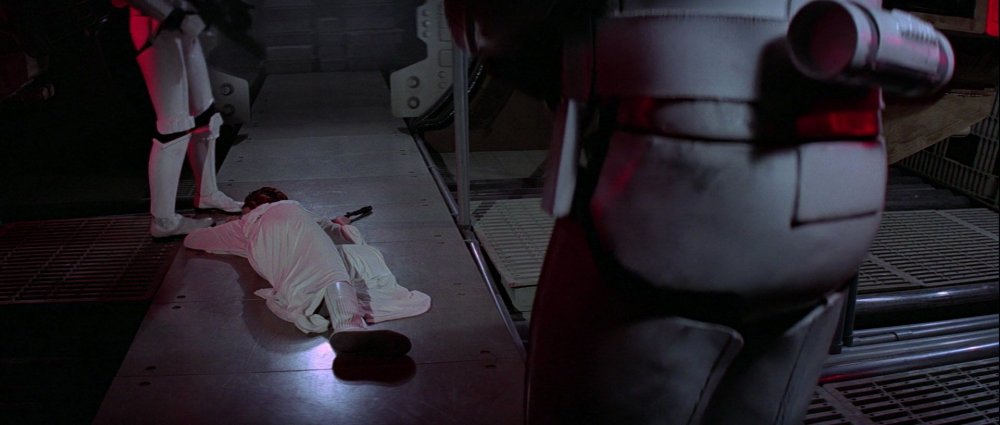
From the album: Captain Phasma TFA References
-
Nice start. Here is a TFA Phasma build which is also KB f
-
 You have to post a link to your 501st profile, have a look at other requests
 -
Dead Post Links & Broken Photos, How You Can Help
gmrhodes13 replied to Sly11's topic in Forum Help & Support
TKC lightsabre sources, restored by gmrhodes13 TK concept lightsaber sources, restored by gmrhodes13 Custom build working laser lighsaber, restored by gmrhodes13 INC lightsaber hilt, restored by gmrhodes13 TKC lightsaber, restored by gmrhodes13 https://www.whitearmor.net/forum/topic/16043-tkc-lightsabre-sources/ https://www.whitearmor.net/forum/topic/20607-tk-concept-lightsaber/ https://www.whitearmor.net/forum/topic/28500-custom-build-working-laser-lightsaber/ https://www.whitearmor.net/forum/topic/17387-inc-lightsaber-hilt-question/ https://www.whitearmor.net/forum/topic/18390-tkc-lightsaber/ -
DarthBiscuit's R1TK Build (Jimmiroquai kit)
gmrhodes13 replied to DarthBiscuit's topic in Rogue One Build Threads
Looking good, shame about those pinholes but at least you are tackling it head on and know what's involved to move on -
WOW I'm surprised he didn't take all three and run, glad to see there is some kindness left in the world
-
Nice work, just don't indulge in those tasting treats, or you won't fit into that torso
-
So sorry to hear about your cat, hope it is on the mend. Hope to see you back soon
-
ANOVOS TK in progress
gmrhodes13 replied to Hesikaya's topic in Build Threads Requireing Maintenance
Depending on the plastic and acetone the ABS paste can get air bubbles inside while drying, while the outside looks fine, I have found this a few times, sometimes a little filling and paint is needed. -
Updates are looking great, nice work
-
Work in Progress: Adding a kidney armor shim
gmrhodes13 replied to TK22020's topic in Tutorials, Tips and HOWTOs
Looking good -
Nice shopping trip
-
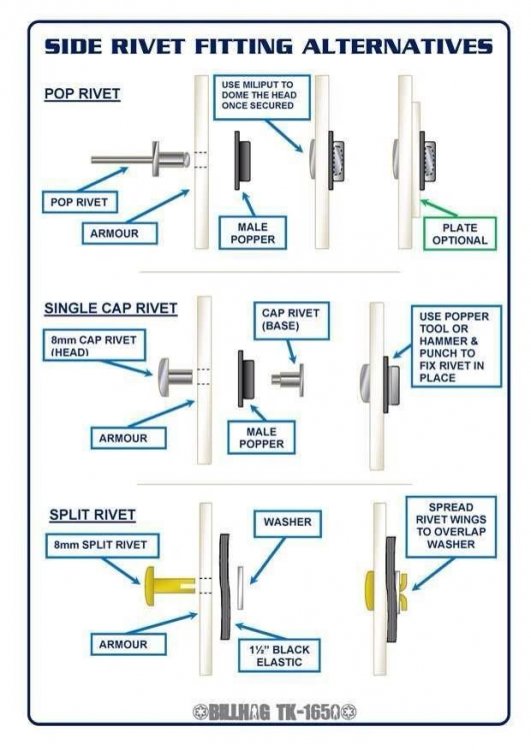
Sorry to hear it didn't work. Just note you don't need an exact seal on the lenses, having a small gap does allow air to flow and can help with fogging. I found once you are happy with the fitment just to tape in place and add some silicon in a few areas to keep the lens in place, easy to remove an has some flex, just an idea.
-
Nothing like a nice BBB of armor to start trimming. Although there isn't my h in the way of Phasma references you will find a lot of items are similar between Phasma and FOTK's, some great reference material can be found in the gallery sections https://www.whitearmor.net/forum/gallery/category/20-fotk-reference/ Tony has a great FOTK build showing step by step assembly, although his AB boxes were numbered you should still be able to tell what goes were by sizes
-
The DO's try to use consistent clear images when possible although there's always the odd trooper that can be different. It will really be up to the DO's to call on so don't stress for the time being. Even the "Han" snap is a little far away from the edge but as you say it is a commission so again it's up to the DO's That's a much better gap from handplate to forearm
-
The BigJasoni's ROTK 3D Print Build Thread
gmrhodes13 replied to BigJasoni's topic in Rogue One Build Threads
Here are some references, you will notice that the sides do have a slight curve from about 1/2 way upwards curving out. Also the sides meet with the cod bulge sides Your butt plate is very rounded, again compare with some references and you will notice they are quite angular and straight lined You can find more images in the gallery sections for reference https://www.whitearmor.net/forum/gallery/category/28-r1-tk-reference/ -
It's very hard to get scratches off lens material, you could use some ultrafine sandpaper @2000 grit, or even some cutting polish, may be a little more forgiving
-
Sea_Marshall: Captain Phasma TFA
gmrhodes13 replied to Sea_Marshall's topic in Captain Phasma Build Threads
Nice fixt on those thighs, coming along nicely -
Nice work trooper, a couple of suggestions you may want to take on board before the DO's get to work Your thigh ammo strip rivets are very close the the edge You may want to move your handguards further forward they appear to be hitting your forearms. Also add some foam behind your sniper plate to help hold it away from your thigh or it may get caught when walking and bending You may want to trim the curve from the sides of your sniper plate example Just watch your sides too as in one of your images the AB and Kidney are misaligned at the top on your side image Can you also post an image of your right side top ab snap Good luck with approval
-
Congratulations Basti and thank you for sharing
-
ANH Holster, although we see Stunt holsters on most Stormtroopers, strap size and color varies from trooper to trooper as well as position on belt. Majority having long straps Approximate guide Hero Holsters, the following are what are seen on Han and Luke, E-11 style with the 4 rivet attachment, although slightly different Approximate guide A nice shot of Han and Luke both with E-11's holstered and Han carrying the DLT19. Note the droop on Han's belt from the weight Incidentally how many of you noticed when TK421 (Luke) comes out of the falcon wearing the comlink and grappling box he is also sporting a detonator? RS Holster worn by Hero helmet trooper below, mid attachment, believed to be a rebel DH-17 holster put on a TK belt (incorrectly). Also note the stitching is on the left (front) of the holster and the standard E-11 is on the right (back), it is shorter than the E-11 and also angled on the bottom. At first only believed to be worn by 1 trooper we have the image below showing 2 troopers sporting this style of holster Very easy to spot as the holster is a lot shorter than an E-11 holster and slightly angled on the bottom Hero Promo, short like the RS holster also stitching on the left (front) BUT with a cut-out section and SE-14R in the holster, once again you can see it is a lot shorter than an E-11 holster as it is high on the thigh. This could very well be one of the RS style holsters modified with the cut out seen below. 4 rivet attachment as you can see the two rivets on the one strap below No Holster and of course there has to be someone who's been in a rush to dress and forgotten his holster (note not approvable) For anyone wishing to make their holster removeable IMAGES RS Props belt comparison Luke belt references
-
Congratulations trooper and welcome to the EI ranks