gmrhodes13
-
Posts
31,208 -
Joined
-
Last visited
-
Days Won
1,070
Content Type
Profiles
Forums
Gallery
Articles
Everything posted by gmrhodes13
-
Here he is in front

-
Can't really speak about it as there are NDA restrictions, information will be coming in due course
-
When in doubt head to the Gallery Sections, you'll find a lot of references there This thread is full of tips and how to's A great helmet tutorial, even thought not WTF helmet builds are similar, take note of the step in the ears for better fitting
-

CountCunning's ROTK Build Thread (Jimmiroquai Kit)
gmrhodes13 replied to CountCunning's topic in Rogue One Build Threads
Smaller pieces would no doubt be easier to transport but things like arm and leg pieces you will need your undersuit for fitting and sizing, a relatively easy one would be the detonator, perhaps also cod, butt plate, abdomen. -
Hello and welcome aboard, looking forward to seeing some photos soon
-
Another find job Dan
-
New recruit from NY, preparing for BBBD!
gmrhodes13 replied to Zsleagth's topic in New Member Introductions
Hand painting is more screen accurate for sure, I have unsteady hands so I went with the Dave M decals from trooperbay which give the appearance of hand painted. If using templates if you paint white first it will fill any areas which may bleed then apply color coats after completely dry. -
I see you are sorted, minimum of 5 posts to set up a sales thread which you have now achieved
-
Yes it is, unless you have a gap between the front and back cap, in that case it would be loose and you could add some fillers of some type to add a little more pressure
-
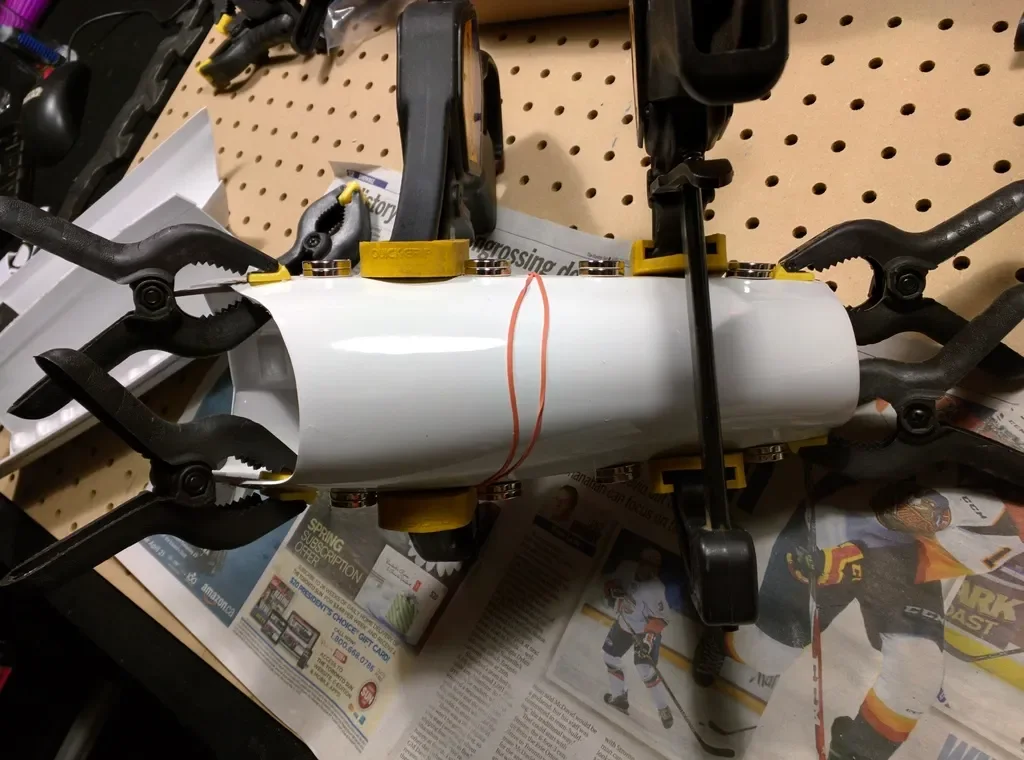
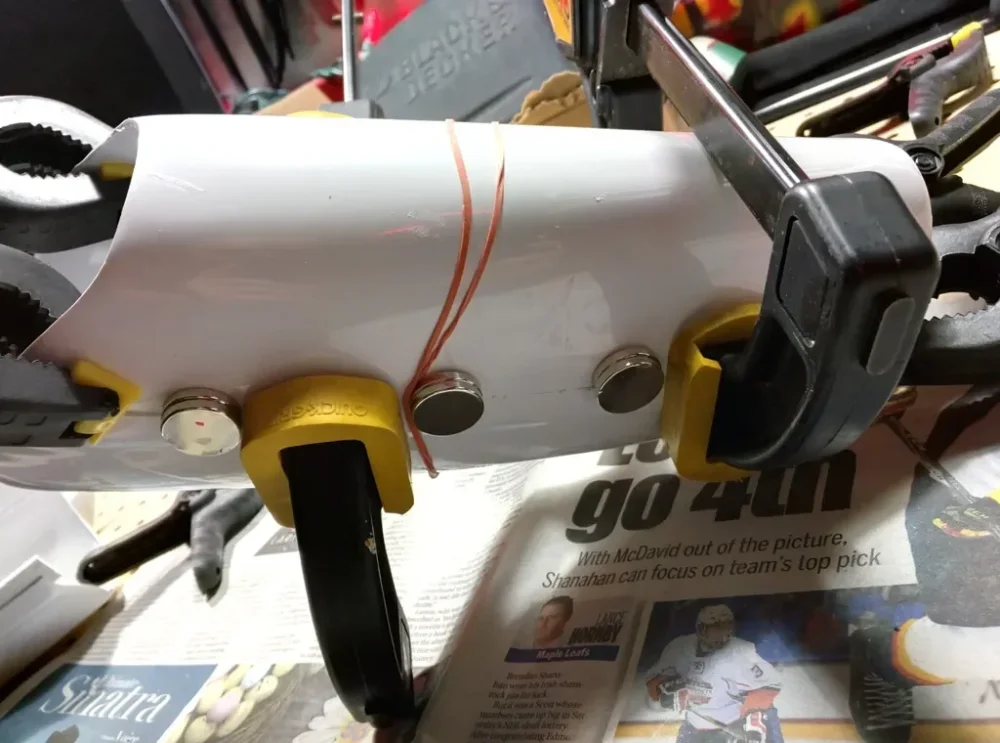
I have a big gap in mine also, I have skinny arms and added two pieces of foam to the insides, you will also note when your have your gloves on the area will appear filled. I used some heat to make the round one a little more oval, I use a heat gun but you need practice, many use a hot water bath. Normally you wouldn't want to take all of the gap out, if so you could end up with the forearms not matching the size of the biceps and they will look a little weird. BUT in saying that I'd leave any final trimming until you have your armor and arms on so you can get an overall look. In the event you still think they are too big you can remove the bottom ridges and then glue back on the coverstrip. Cricket's modification here Although there are watermarked images in this thread he used some clamps to help pull down the ridge areas to help to keep the coverstrips flat on the raised areas while glue was drying Here's a couple of the unwatermarked images

-
Congratulations and welcome to the EI ranks trooper
-
If you had wanted too you could have trimmed some excess material from the top of the backplate to allow the step to work better BUT you have done a nice job and I've leave it as you are. You have achieved a nice angle on the ears too, well done. Just one thing, the bottom screws will need to be replaced Just make sure you trim the inner corners too on the front of the forearms, looks like you have some areas which could be removed, although that may be the angle of the image
-
DLT19 Extending folding stock E11 Lighter shot of packs
-
-
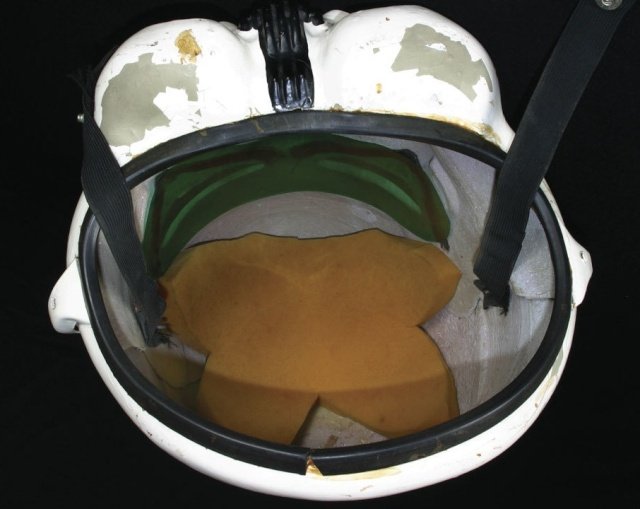
What they look like on the inside For anyone looking for more information on this version Purge Trooper head to FB Purge Trooper 2.0 Builders

-
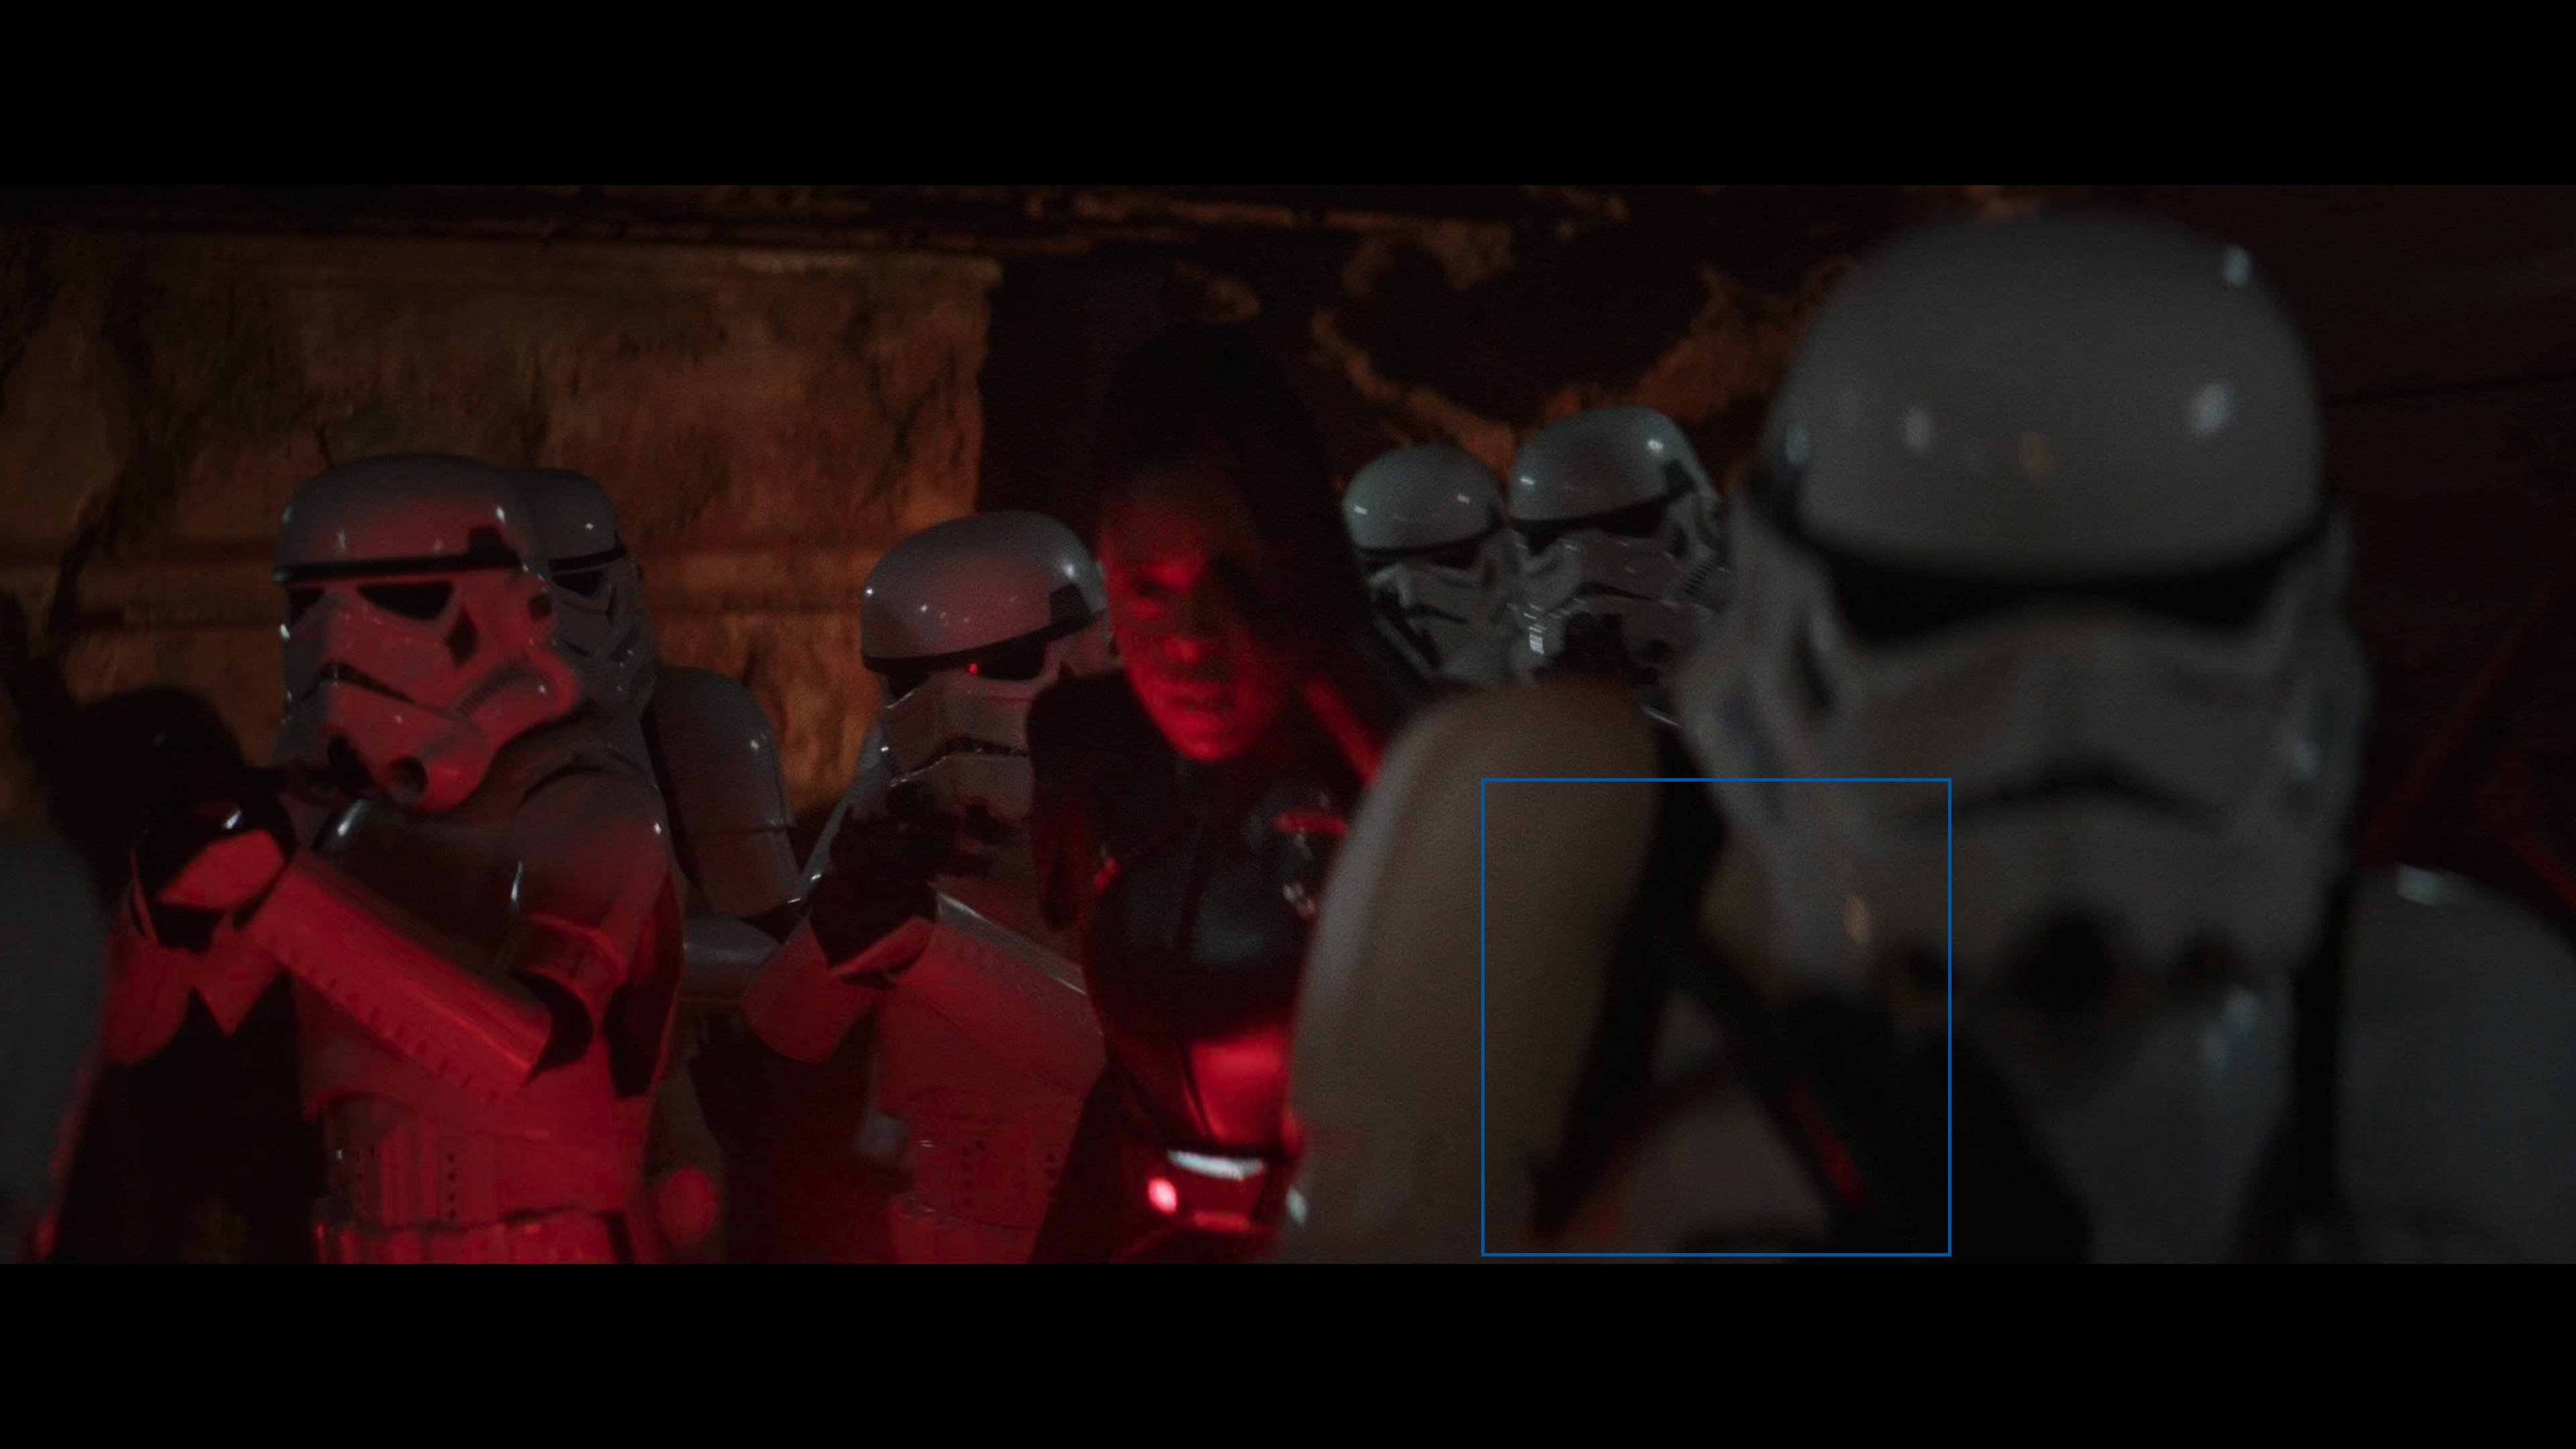
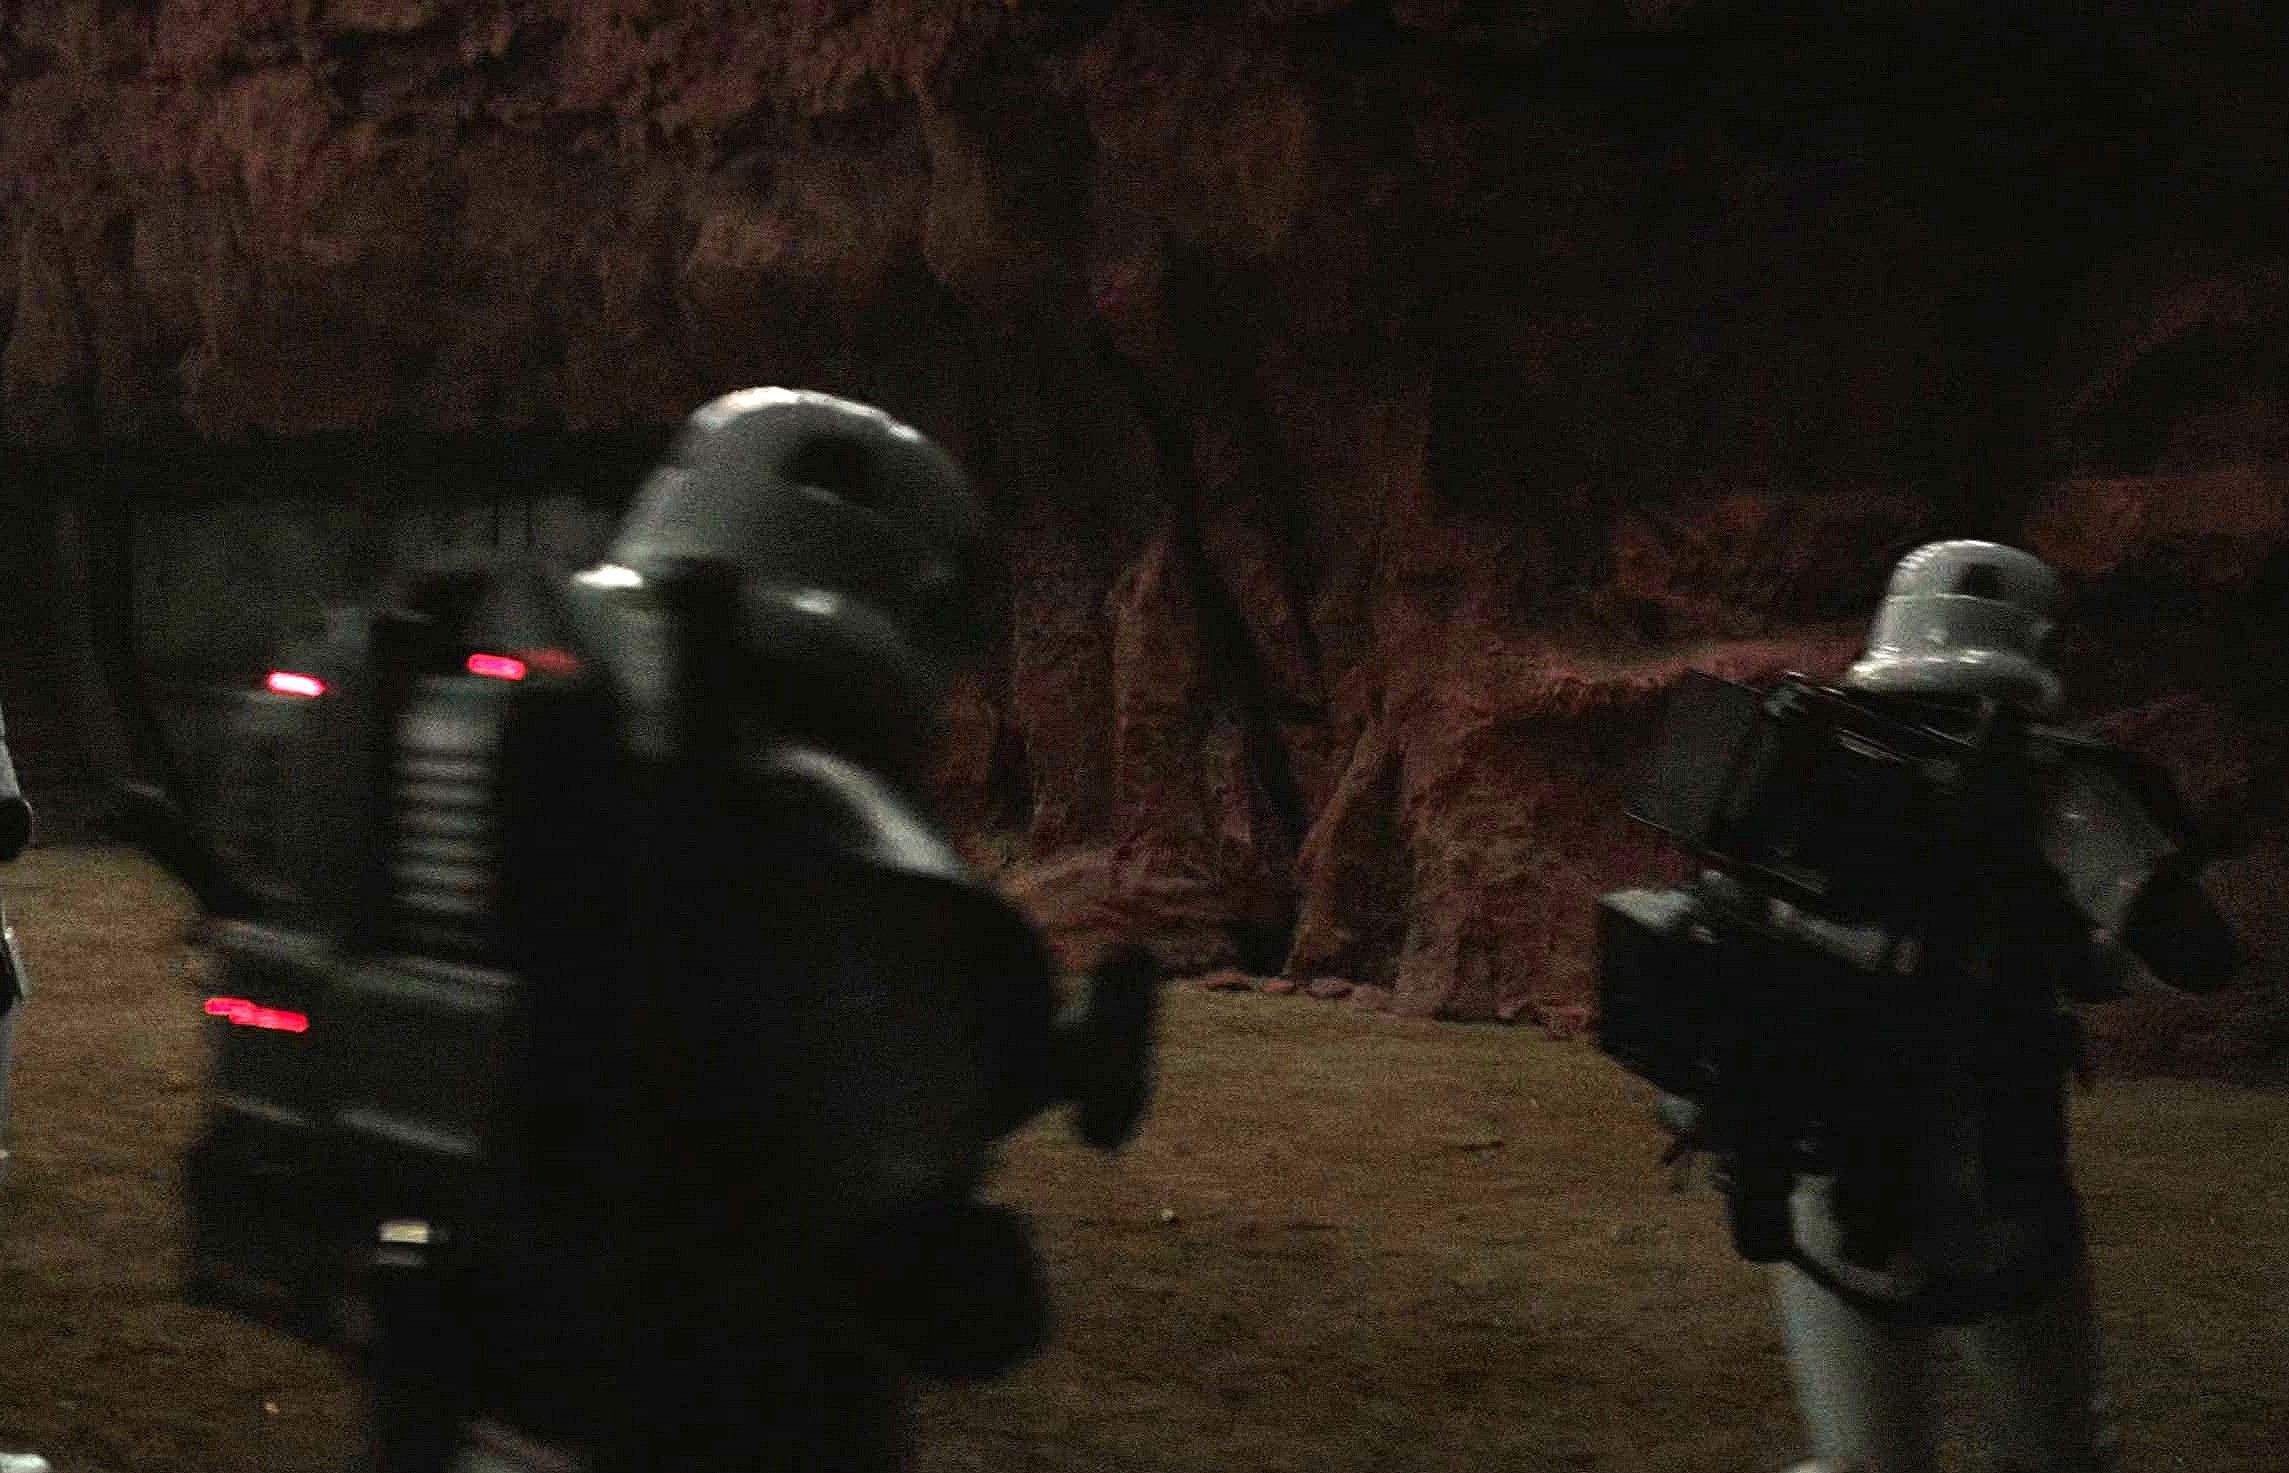
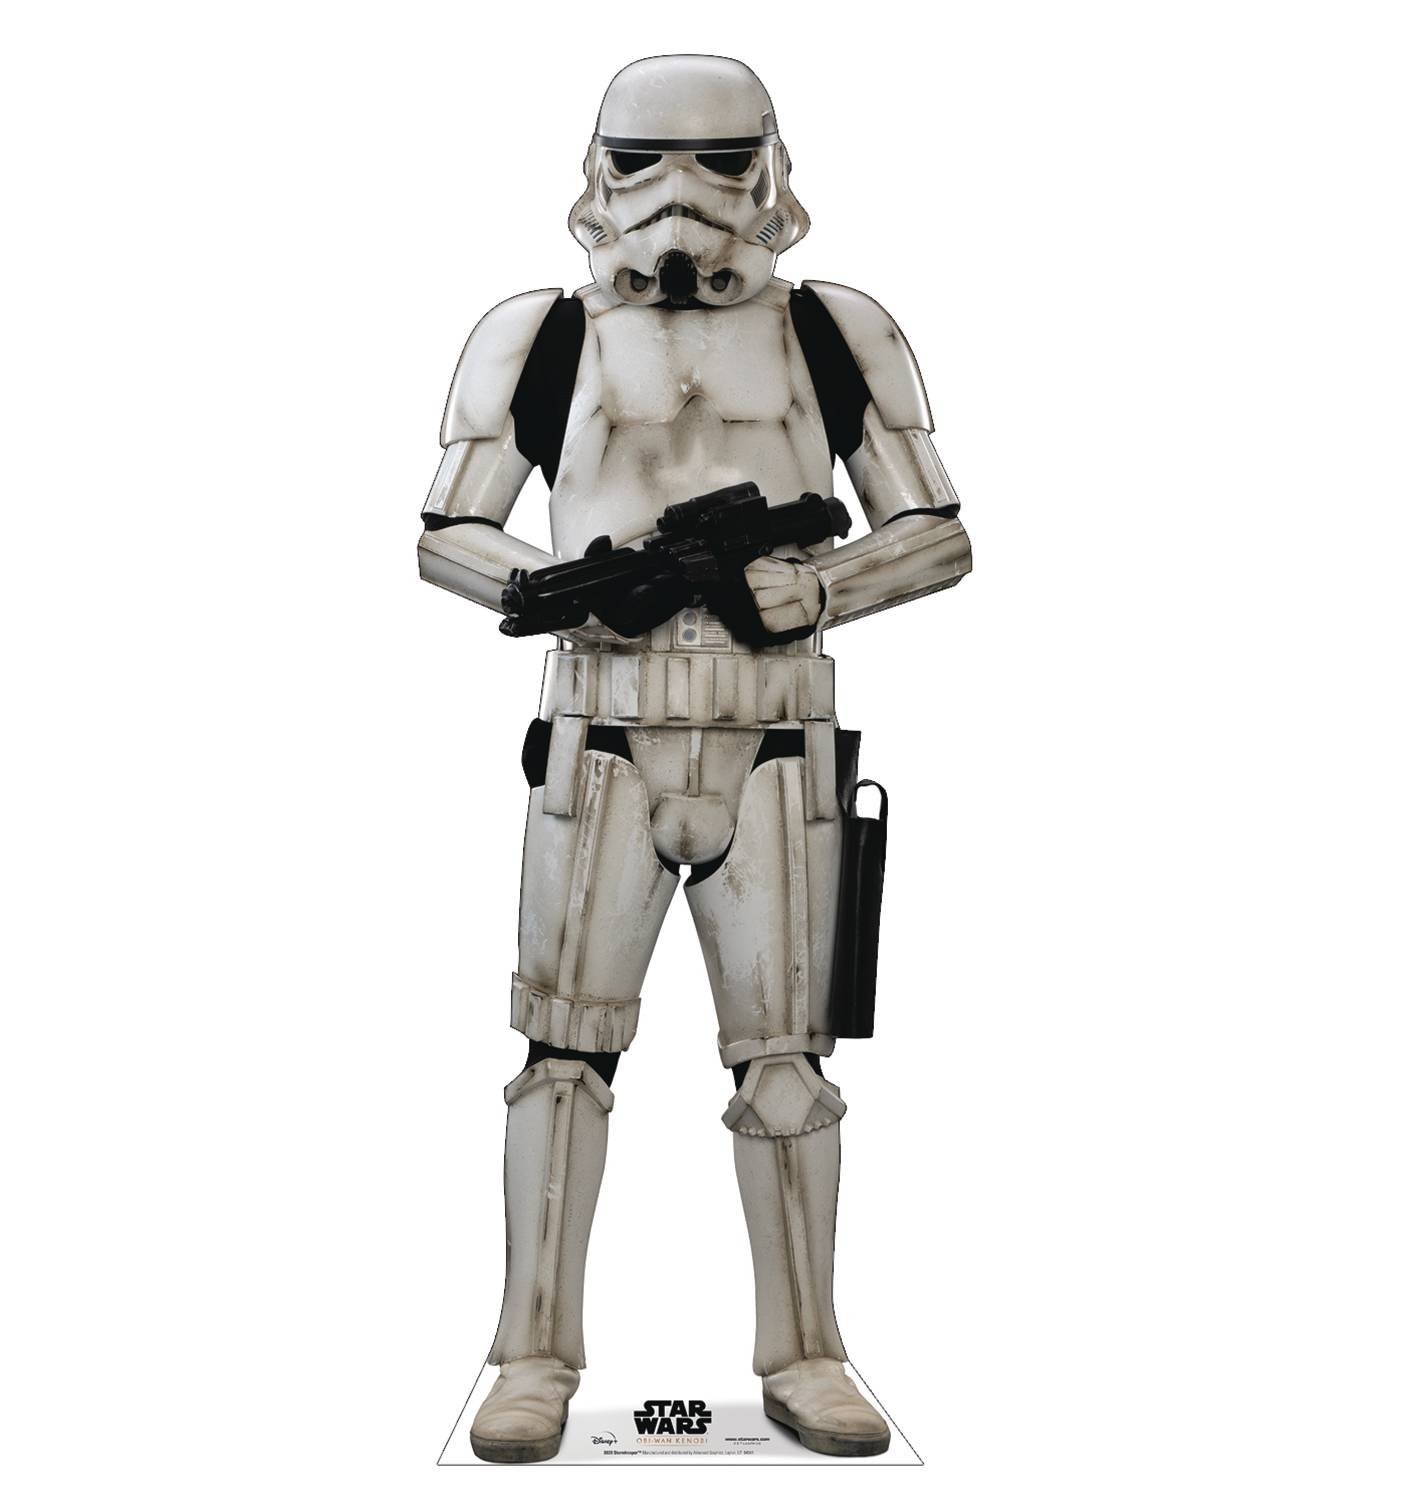
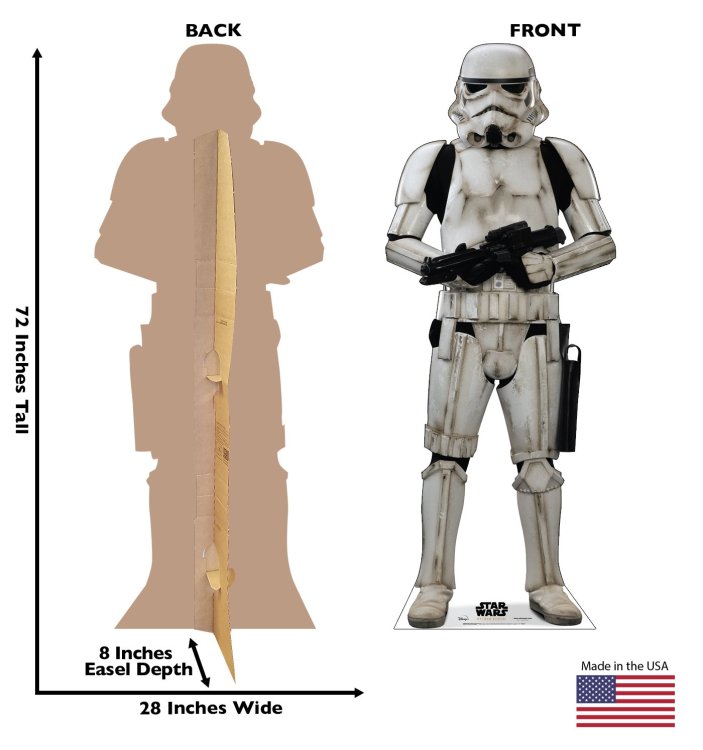
Obi-Wan Stormtrooper standee

-
ANH TK torso question
gmrhodes13 replied to TK 17654's topic in TK Pre-Approval Questions & Discussion
A couple more threads on the subject -
As with any costume we need to see more screen references, there could be more to go in the last episode being over 90 minutes, who knows, but it's hard to make a CRL or adjustments with only partial images. Even having someone who has worked or supplied props on set doesn't give us the screen references like we normally would need in the past, sure at times Hot Toys and Black Series figures have also been used but these are a secondary reference.
-
Looking for the Helmet Requirements
gmrhodes13 replied to Dubfunkstar's topic in ANH (Stunt and Hero)
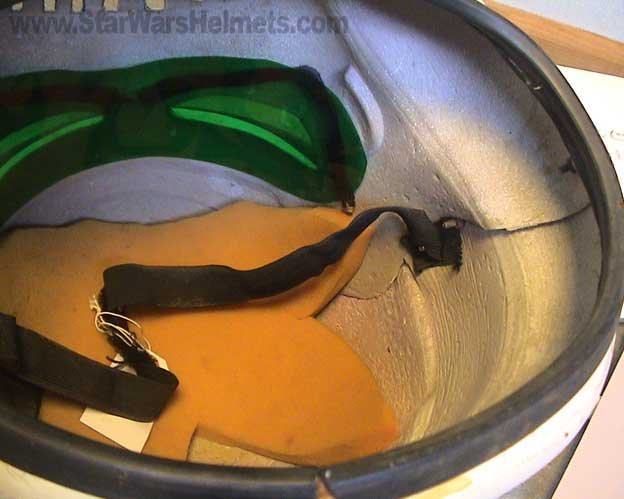
You can pretty much do what ever you want on the inside. I have two fans on separate switches, thin foam on the inside top and 2" blocks either side which sit just in front of the ears, keeps the helmet from wobbling around. Here's just a few threads When in doubt you can also use the references in the Gallery Sections https://www.whitearmor.net/forum/gallery/category/24-anh-tk-reference/ Some great outside references from starwarshelmets.com http://www.starwarshelmets.com/original-ANH-Stunt-Stormtrooper-armor-helmets.htm -
You can also post a sales thread here (after you have reached minimum of 5 posts, you are on 4 posts now. https://www.whitearmor.net/forum/forum/11-for-saletrade-personal-items-only/
-
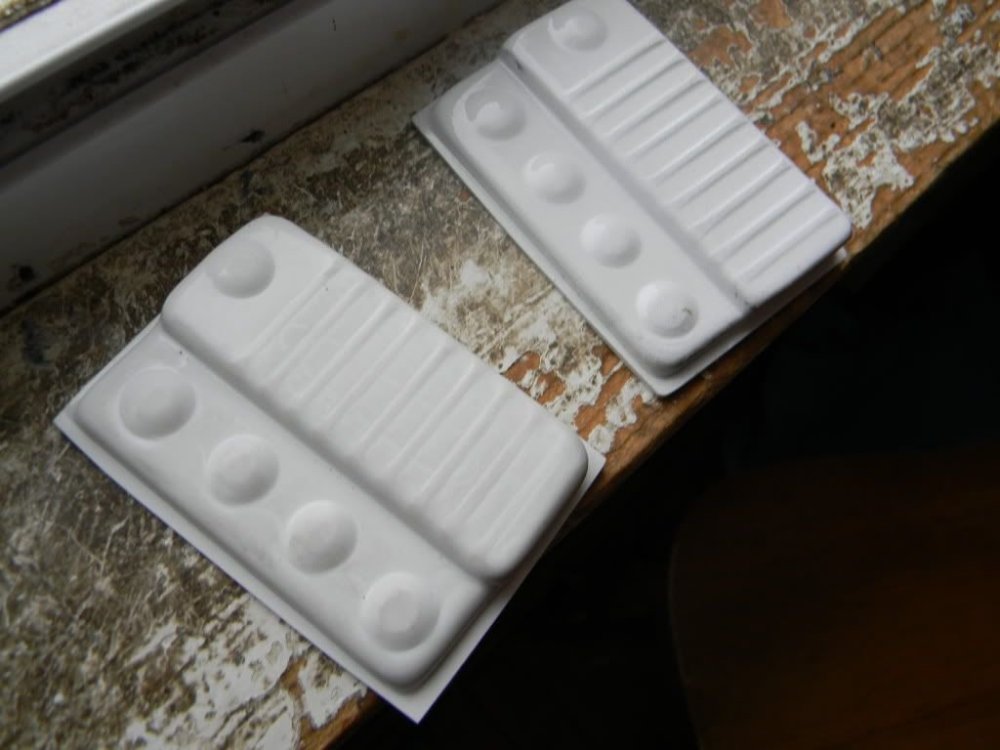
Below are two which have been glued to a piece of ABS and the seam filled with ABS paste, the second with blade putty, I presume painted afterwards.
-
New recruit from NY, preparing for BBBD!
gmrhodes13 replied to Zsleagth's topic in New Member Introductions
Enamel is what is believed to have been used so it's the more screen accurate. -
Hello and welcome aboard, sounds like you have been researching, here is an info thread which help you on the way. Looking forward to seeing your BBB photos when your armor arrives
-
New recruit from NY, preparing for BBBD!
gmrhodes13 replied to Zsleagth's topic in New Member Introductions
Yes the enamel gives you a more full gloss finish, the acrylic paint dries dry/matt in appearance. With the enamel you will need to apply a couple of thin coats as if you go to heavy it can wrinkle when drying, also give a day between coats just to make sure the first coat is fully dry. -
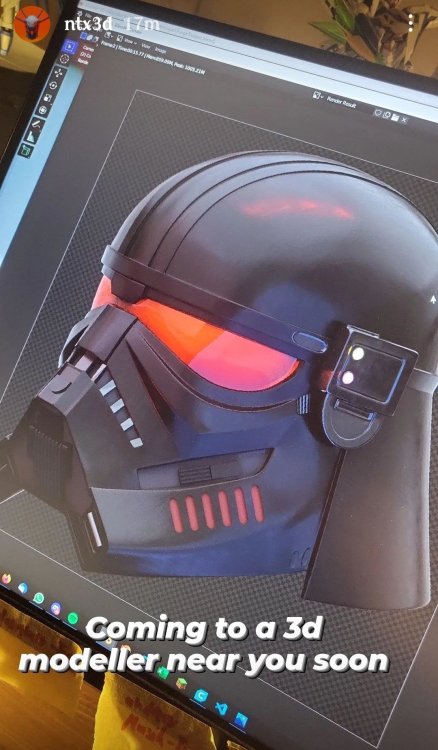
We are in the era of 3D printing and a welcome addition to our CRL's. What does it really mean, well a little more prep work to eliminate print lines, it's not unachievable it's just a little more time and care in preparation. Long gone for me at least are the days of sitting in my hovel making blasters and weapon from wood, pvc, and anything else I could requisition and repurpose from my mates 45 year old mechanical workshop, apart from the prep work and occasion snap of a thin piece 3D printing has allowed my love of prop making to explode, if only there was a 500x500 resin printer at a reasonable price, oh the joy of that. Who knows it's taken nearly 10 years for me to get to this stage of prop making, I wonder what we will all be using in another 10 years.