gmrhodes13
-
Posts
31,338 -
Joined
-
Last visited
-
Days Won
1,081
Content Type
Profiles
Forums
Gallery
Articles
Everything posted by gmrhodes13
-
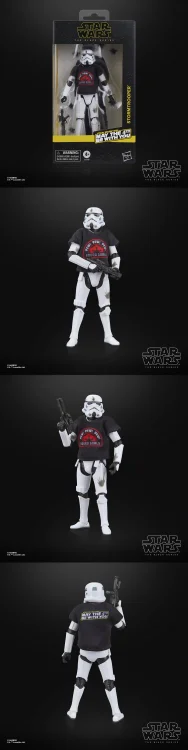
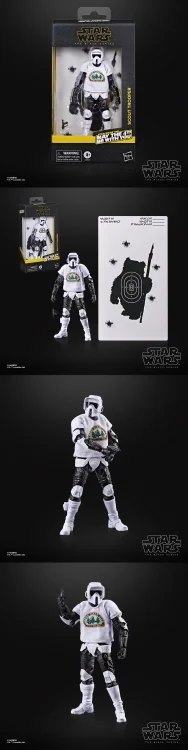
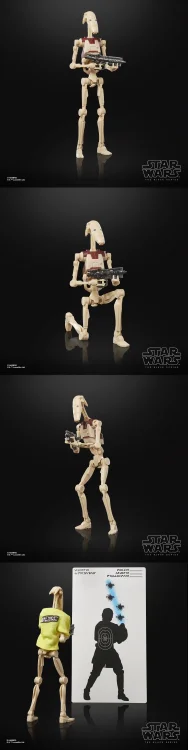
May 4th Black Series (New TK CRL LOL) Scout Trooper Battle Droid
-
File Name: Imperial (Death Star) Lamp Designer: user_2326983067 Last Update: 03/04/2026 File: https://makerworld.com/en/models/2613777-star-wars-imperial-death-star-lamp-for-mote?from=search Description: Remix of Death Start lamp. Resized to print on an anycubic mega S - work in progress for lighting see https://shop.pimoroni.com/products/mote?variant=26218196871 Watch me as I assemble the lamp during a light test: https://www.youtube.com/watch?v=DoRykKlD7Ns *****UPDATE***** Added simple box for mote host Category: 3D Printing Images:
-
- 2
-

-
File Name: Imperial ISB Sign Designer: TIE Kai Last Update: 03/04/2026 File: https://makerworld.com/en/models/2611466-imperial-isb-sign?from=search#profileId-2882018 Description: A nice addition to your prop room. I printed the backing using glow-in-the-dark PLA. That way, it glows even when the LEDs are turned off. Images:
-
- 3
-
-

-
Have you tried the archived link https://web.archive.org/web/20250126122726/http://www.starwarshelmets.com/stormtrooper_helmets_armor_and_costumes.htm
-

Themaninthesuitcase Denuo Novo TLJ Build
gmrhodes13 replied to themaninthesuitcase's topic in TLJ Build Threads
The following may be of help Also Attached a scan of the Anovos decals TFA Decals.PDF Trooperbay's ANOVOS-the-force-awakens-TFA decal-set.pdf -
I have received a few DM's in regards to how long requests take, A.C. is not on the forum everyday, it can take up to a week, please standby he will be along in due course
-
Good luck with the build
-
TK13160 reporting in, with delay
gmrhodes13 replied to BallpointZen's topic in Newly Approved Members - Sound Off!
Welcome to the ranks trooper -
A.C. will be along in due course, hang in there trooper, he's not on the forum every day
-
Sayless's 3D Printed R1TK Build Thread
gmrhodes13 replied to Sayless's topic in Rogue One Build Threads
Great to see you have had a win with the helmet, nice work I have a few Anycubic printers, the last was the Kobra 3 Max, great build area and prints are coming out quicker with less issues. However Anycubic did not supply any print presets until halfway through last year and they had been on the market since Dec 2024, with promise after promise and delays. I was almost ready to pull the trigger with another 3 Max with the multicolor print but I've decided I'll wait to see how the S1 Max preforms. Anyway upwards and onwards, back to sanding
-
Schweppes Mandalorian Pop Not often we get Star Wars branded products here but these were found at a local supermarket. I'm yet to give them a try Schweppes are releasing the new Limited-Edition Galactic Dark Lemonade Mystery Flavour – a mystery-themed lemonade in collaboration with ‘Star Wars the Mandalorian’ TV series... what’s the flavour?! Unleash a burst of galactic energy with Schweppes x Star Wars: The Mandalorian Zero Sugar Bounty Blast Raspberry & Blood Orange Flavour, limited edition creation from Schweppes' collaboration with Star Wars: The Mandalorian. This powerful flavour fuses raspberry flavour with the vibrant punch of blood orange flavour. With zero sugar and maximum cosmic refreshment, Bounty Blast is built for explorers who crave intensity in every sip. Whether you're navigating distant systems or just fuelling your day, this is the flavour that hits with out of this world impact. Catch it before it vanishes into the galaxy! Raspberry & Blood Orange Flavour

.jpg.9140be925592cb4c36ee2375fd50789d.jpg)
- 1 reply
-
- 3
-
-
A great read for the new to trooping https://drive.google.com/file/d/1upUlVGpzNtiPiklLV27-dMHezbFIXA-s/view?usp=sharing
-
Assembling the shins (Youtube Videos) I made
gmrhodes13 replied to JBar's topic in Tutorials, Tips and HOWTOs
Very nice work. A good tip to get those cut lines nice and straight is to use a sanding block or just sandpaper either wrapped or stappled to a piece of wood, it's ideal for getting your ridges to align with little to no gap.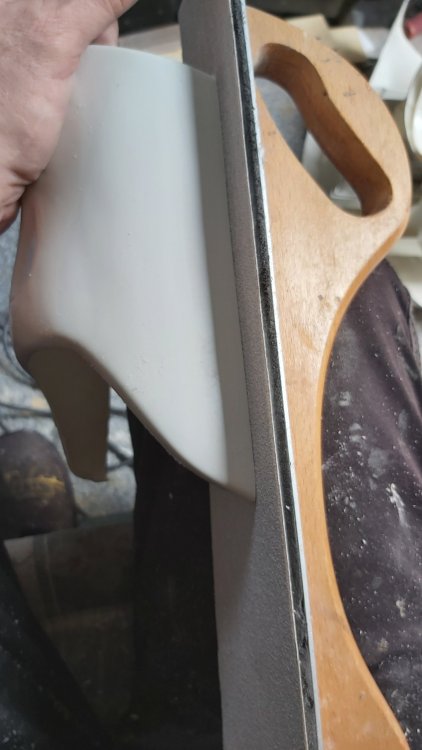
-
Database may have not been updated as yet. What is your TKID and I'll check?
-
Looking forward to seeing your progress. There have been a few people sharing some updated files like belt boxes, detonator plate and others, may save you some time, you can find them here https://www.thingiverse.com/thing:3973969 https://www.thingiverse.com/thing:3910278 Greg also made a lot of adjustments for the helmet fies, you can reach out to him, provide a receipt of purchase and he will gladly share them
-
From RS website: Optional Accessories List The following accessories can be supplied to complete your Stormtrooper if required. Black faux leather neck seal White leather boots supplied by Keeptrooping.com https://keeptrooping.com/product/421-classic-white/ (formerly Imperial Boots) Keeptrooping sizing guide info: https://keeptrooping.com/sizing/ https://keeptrooping.com/product/421-classic-white/ Choosing Shoes When selecting shoes, remember that the same size can vary widely in fit among sports, casual, and dress shoes—dress shoes are often tighter or narrower. Our footwear may also feel more narrow, especially if you’re used to sneakers (Nike, Vans, Converse) or work boots (Timberland, CAT). Consider your usual walking and standing habits. Many people only stand or walk continuously for short periods. In contrast, trooping sessions involve hours of being on your feet with little to no chance to rest, which significantly affects foot comfort. Leather shoes will stretch somewhat, but we recommend choosing one size larger and adding a gel insole if needed. This also allows for thicker socks and greater comfort during long trooping hours.
-
Must have saved in my cache, just checked again and FOTK is default, I'll delete that step. No real issue just means A.C. will have to check the costume list of members which he would already been doing
-
Hello and welcome to the forum trooper, please standby and A.C. will be along in due course to update your access We have a trooping award system that may interest you, awards are issues at certain totals, information here Once you reach a total copy and paste a link to your troop log here Looking forward to seeing you trooping
-
Hopefully someone wiser than I will be able to answer
-
Yes you did but No upgrade yet, A.C. @NoVATie updates TK/501st access so please standby, note he is not on the forum every minute of every day
-
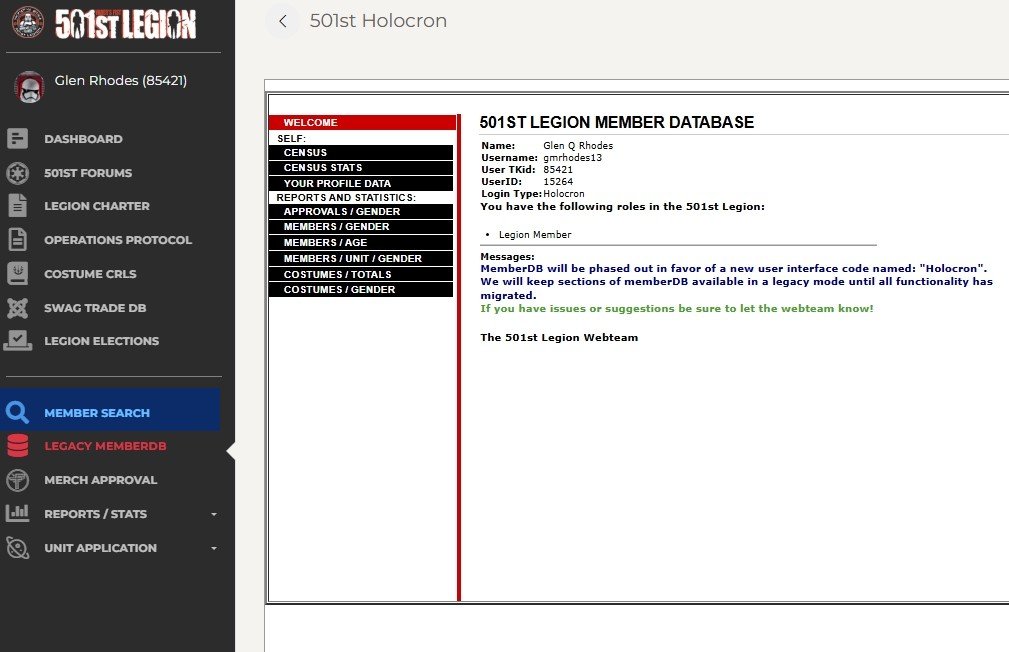
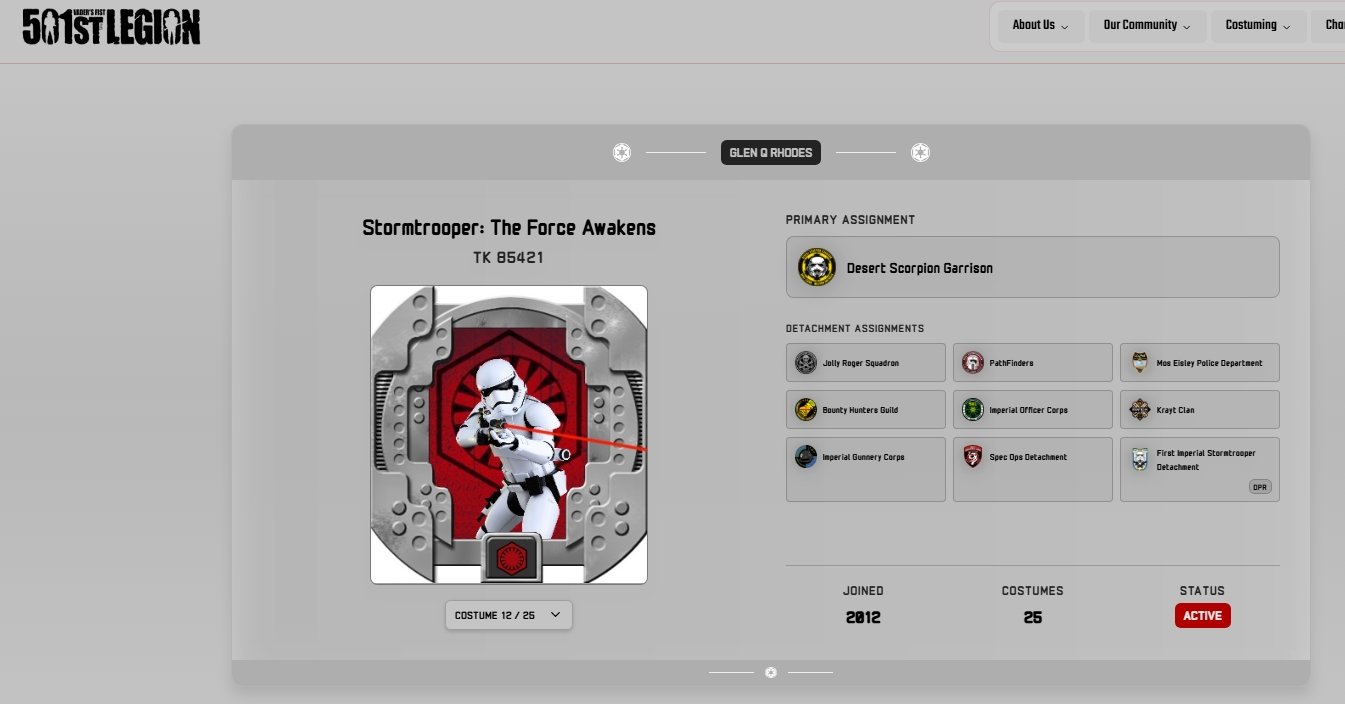
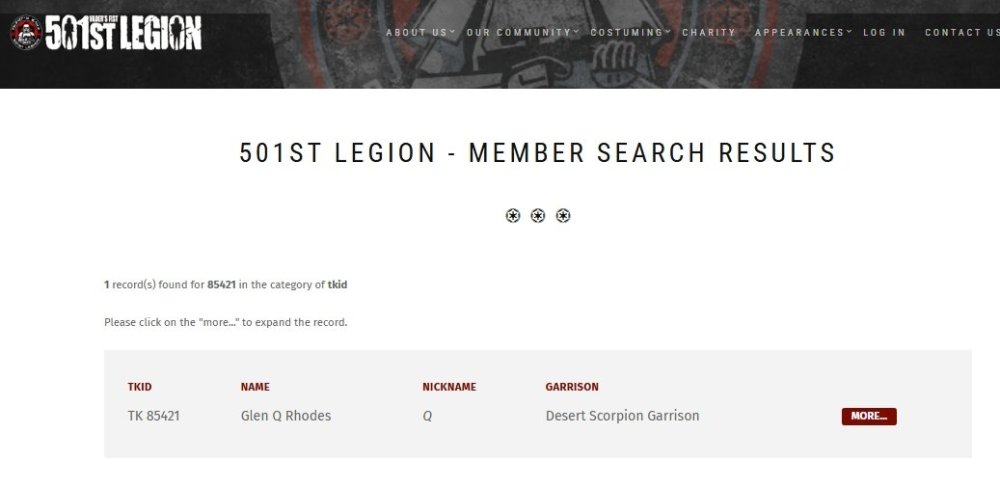
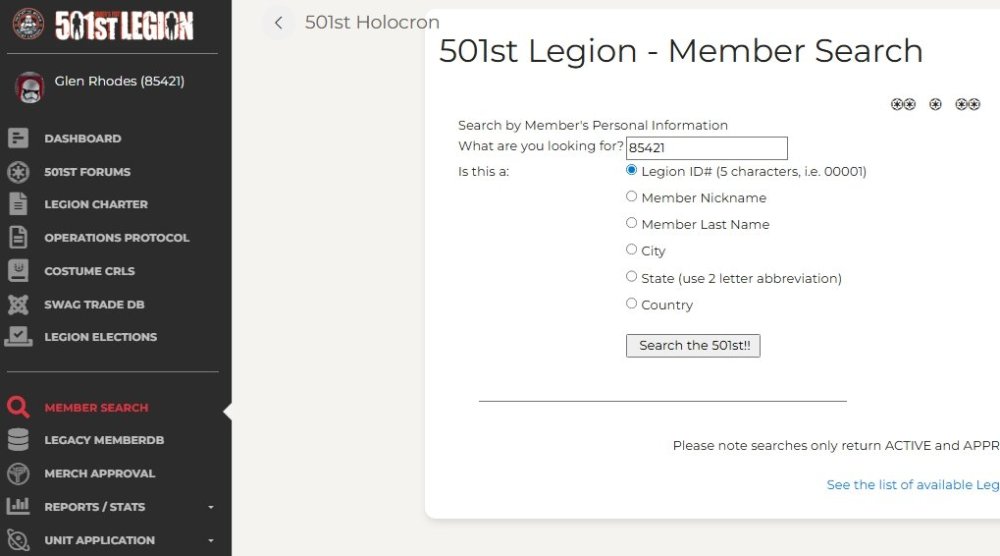
UPDATE 19/03/2026 NOTE: You must include a link to your 501st record as per below, else your request will be ignored: NEW INSTRUCTIONS There are 2 ways to find your membership profile: In the navigation bar post this link https://www.501st.com/member/85421/ and replace 85421 with your TKID then click enter OR Go to the Legion Forum https://www.501st.com/forum/index.php Then Holocron, (enter your legion forum username and password) https://www.501st.com/holocron/login?returnUrl=%2Fmember%2Flegacy MEMBER SEARCH on left side menu Enter your TKID (in this case 85421) CLICK MORE Copy the link in the navigation bar and paste into your request https://www.501st.com/member/85421/ (this will show your primary 501st costume) A.C. @NoVATie will then check the members costume list for TK costumes and update access accordingly **Please test your link when you post your request to make sure it goes to your legion profile page. We cannot use links for the Legion forum or Garrison pages.**


-
I've used similar but only 3000mAh, Andrew mentioned he was using 900mAh. According to Google: mAh (milliampere-hour) measures a battery's total capacity, indicating how much charge it holds and how long it can power a device. A higher mAh generally means longer battery life (e.g., a 5,000mAh phone battery lasts longer than 3,000mAh). It's crucial for comparing portable device runtime, such as smartphones and power banks
-
Recent discussion here
-
Incorrect link that's your legion forum profile, not membership profile, have a read of the instructions in first post of this thread