Leaderboard

.thumb.png.69856e02550a2e6d07e44a2b1bda020c.png)


Popular Content
Showing content with the highest reputation on 08/13/2022 in all areas
-
Thickness is MINT, I used to have issues with ABS in the past but this new plastic is great and I will be switching to this one. ABS is 2mm but its sharp enough and the resulting pulls are super thick. The line is a seam I havent sanded out enough, its hard to see on the mould how well its come out, some imperfection dont show up on the final pulls so I dont go overboard polishing, the first pulls usually indicate where I need to do some more work. SHould have a finished kit maybe end of next week, the last moulds are being printed now.3 points
-
2 points
-
Nice work there is a lot of prep work goes into 3D prints just to get them looking as good as they can. Recent addition to the CRL's L2 and above 3-D printed blasters can not contain visible print lines, and must be sanded smooth for a more realistic appearance. You may want to check in with your GML (garrison membership liaison) some are a little more picky on printed weapons than others and may request no lines be present for base approval (although you don't need a weapon to gain base clearance ) Ok so to be a little picky, looks like your scope will need some prep to remove the lines, this may have been a late addition and you've not tackled it as yet. Can also see a few other areas, right side front folding stock (actually both sides front). Inner silver bolt as well. Scope rail is bent, an aluminium rail would be better for strength. Also note the height at the front and rear of the scope rail are different. Can see some lines in the T tracks as well. There are a few others very faint, magazine end cap and henglster. Also appears some lines on your handle, just visible I like to sand (ok I don't like to sand) every piece before adding any spray putty (other parts of the world call it primer/filler) we have that too but it's just not as thick as spray putty. I put on 3 to 4 coats depending on how deep lines/scratches are. I know many use the blade putty but it's a lot harder to sand in comparison with spray putty. I sand wet with 240 grit wet/dry sandpaper and also add some dish washing liquid to the water, helps to stop clogging and makes the sandpaper last a little longer. Blade putty is for anything else left behind, and a good way to check this is give it a guide coat of black, a very light mist coat, once you start sanding you can see if any black remains that's were you need to fill. Coat of primer and a hand sand with 600 grit and it's pretty much ready for paint.2 points
-
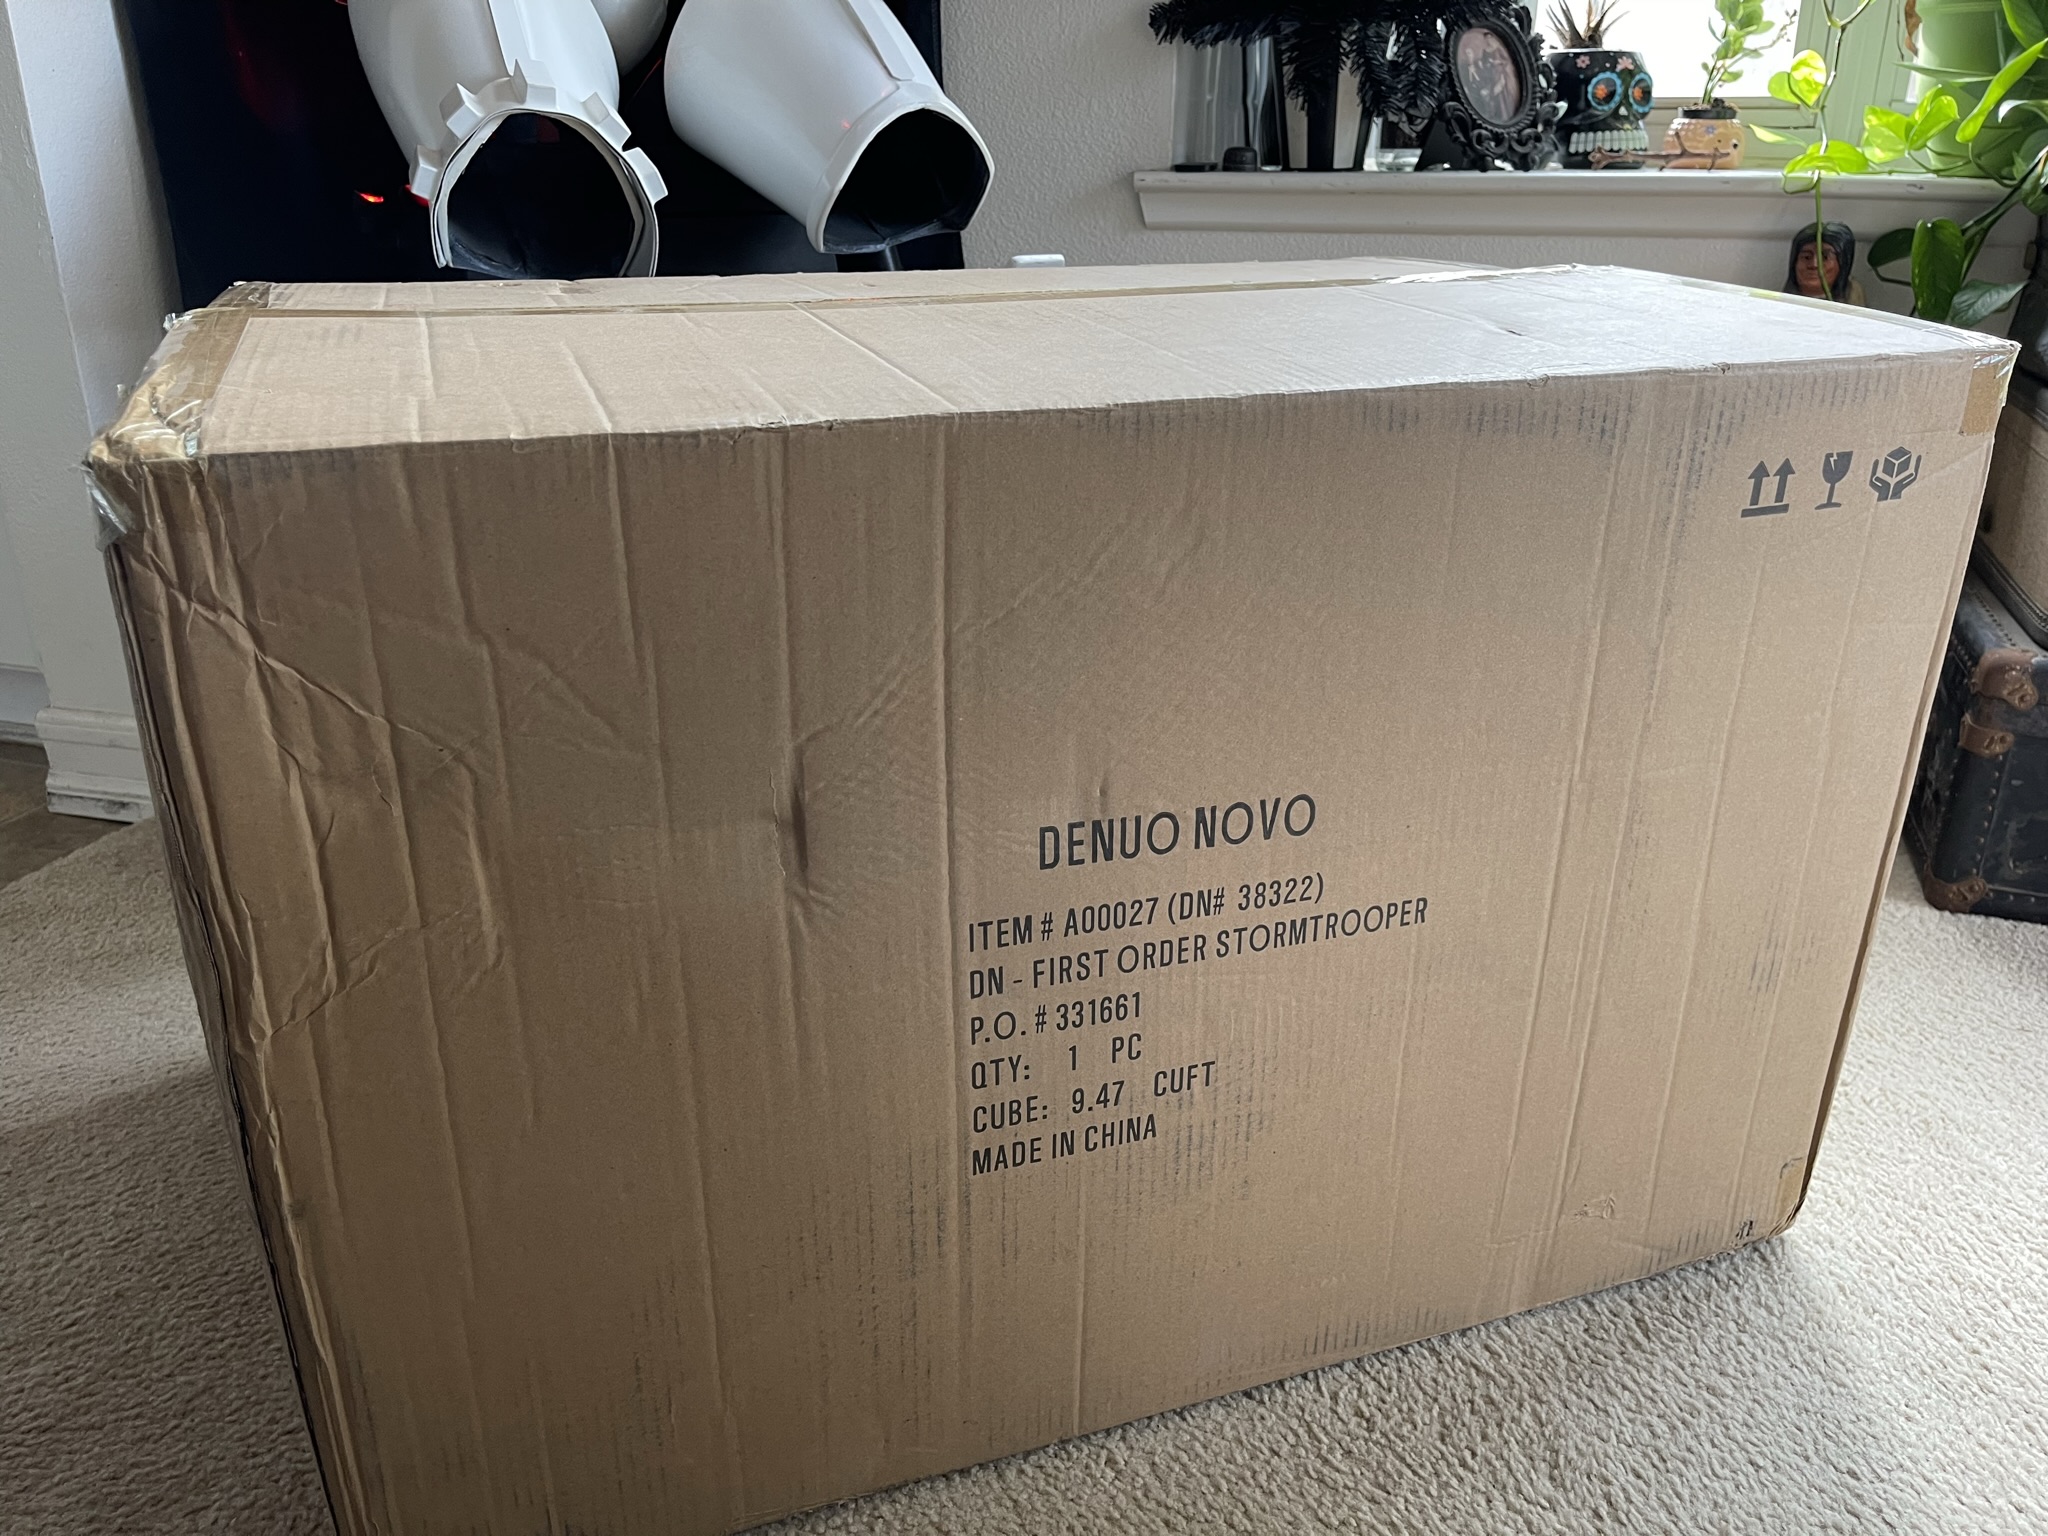
Got the hard parts! Just waiting on the undersuit, gloves, boots and helmet now.
 1 point
 -
T-shirt & CA is most likely to succeed. However after careful consideration on how early this was caught and the visibility of the area I opted to trim out the troubled area. Taking into consideration Cableguys comments that it is not a repair of the split, but a reinforcement. I didn't want it creeping back on me in a few troops worth much later. Trimmed to zero or nearly zero return edge. Essentially removing the split entirely. In doing so, hoping to relieve a stress point.1 point
-
Joseph, thank you, I am working on it. I have never used Imgur so it is taking a minute or so. I thought the download time was odd also. I loaded full size images into Imgur, would using small or medium jpeg files help? Thanks again for the help, it is appreciated.1 point
-
I think I may have figured out the issue, Will. It seems your pics are enormous (3024 x 4032)! I just tried to do some editing on the front view, and it was taking imgur over 5 minutes to download this one photo. Yikes... I've never seen this happen. I suggest not only reducing the size, but cropping them as you go (as seen in the second image). 4042 is way too large, so I would reduce the height to about 1200 or so after cropping. As seen in the first image, just left click on the right side of the number, back it out and then type in 1200. If this doesn't work, we will figure something else out, so not to worry. Suggested1 point
-
All sorted for you Will.1 point
-
There's a few different ways to tackle cracks, with any I have found I rough up the area, trim a piece of plastic to go over the crack, apply 2 pack 5 minute glue as I find that grips well then let dry. On my FOTK I use JB weld as it is sandable and can not only support but also fill the crack, and paint is going over so doesn't matter about color difference. Some other threads on the subject1 point
-
I was pleased for my first foray into this arena1 point
-
Hello and welcome aboard. Coverstrips on arms are normally @15mm and sit just inside the ridges, you shouldn't need that much room for your biceps. Some kits have raised edges only on one side, some both sides and some no raised ridges at all, you size to your arms. Some references Cover strip threads Also a great thread on return edges1 point
-
TFA Finn/Stunt I think a couple of triangle pieces of ABS should take care of those, could easily convert to either TFA or TLJ/TROS.
 1 point
 -
The day everyone's been waiting for. Feast your thighs on these bad boys. I got no complaints with definition or detail atm. Need to drill a couple more holes in the forearms but nothing major. Legs are getting pepped atm so should have those and the abs done soon. Sent from my SM-G991B using Tapatalk1 point
-
1 point
-
Did a little this early morning. Waiting for the left shin to completely dry and reglued the Velcro on the shoulder straps and finished the elastic closures on the right shin armor. When I got the Armor from Mark @ AP, I had to do a little tweaking. The Velcro on the shoulder straps, the glue backing on the Velcro really does not do well in this El Paso heat so I kind of reinforced it a bit.1 point
-
Glad to see you back at it, Jason! Just a quick note since some HWT standards have changed since 2018/2019... I think you'll need to remove the antenna from your pack for approval, as the CRL currently states "No video monitors, extra greeblies. lights of any sort or attachments not seen in photos can be visible."1 point