Leaderboard


Popular Content
Showing content with the highest reputation on 06/07/2022 in Posts
-
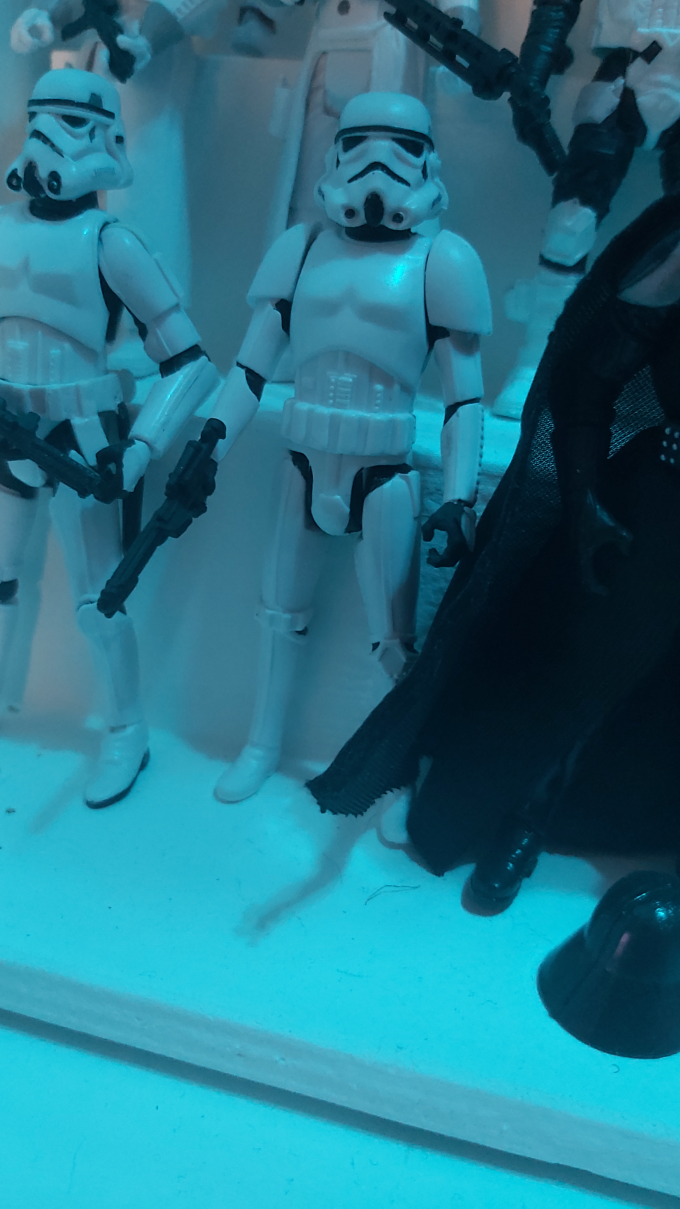
Hey Guys, Well I did my first "troop" at Celebration and it was a blast!! I had such an amazing time and met many great people from the 501st. It was awesome to walk around in my armor, but it also helped me find a few other issues that need to be addressed. With Celebration behind us I now want to get my EIB application in, but I have a couple things to fix first. See below some cool shots from the weekend, but they also highlight the issues I am having. First issue is my backplate. I normally had it tucked "inside" the kidney but was told it looked better out, as well as it didn't make noise like it does when tucked in from scraping. After looking through pictures I see that when it is outside the kidney there is a huge gap that you can see through and does not look good at all. This was one reason I initially had it tucked in, but I think it is an issue that just needs addressing. I think this should sit almost flush against my back? Question: Can I trim the bottom of my backplate or is there a better solution? It is really the corners, but it could all probably come up a little bit. Second issue is my sides. Both sides of my ab and kidney still are not lining up. I cinched the belt fairly tight and that helped a little, but they still sit unevenly. I am not sure what the issue is. We thought maybe the thighs (when they were butting into the buttplate) may have been a cause, but those have been trimmed and there is still a mismatch. Question: Maybe I need additional strapping on the inside to hold these level on both sides? If you need any other pictures just ask and I can try and find some, or just suit up and take more. Thanks, M3 points
-
Thanks Buddy! Last time I did this I made some friends who started at the same time and we all supported each other in our builds. Im really hoping 6 years later that this forum is still the same as it used to be.2 points
-
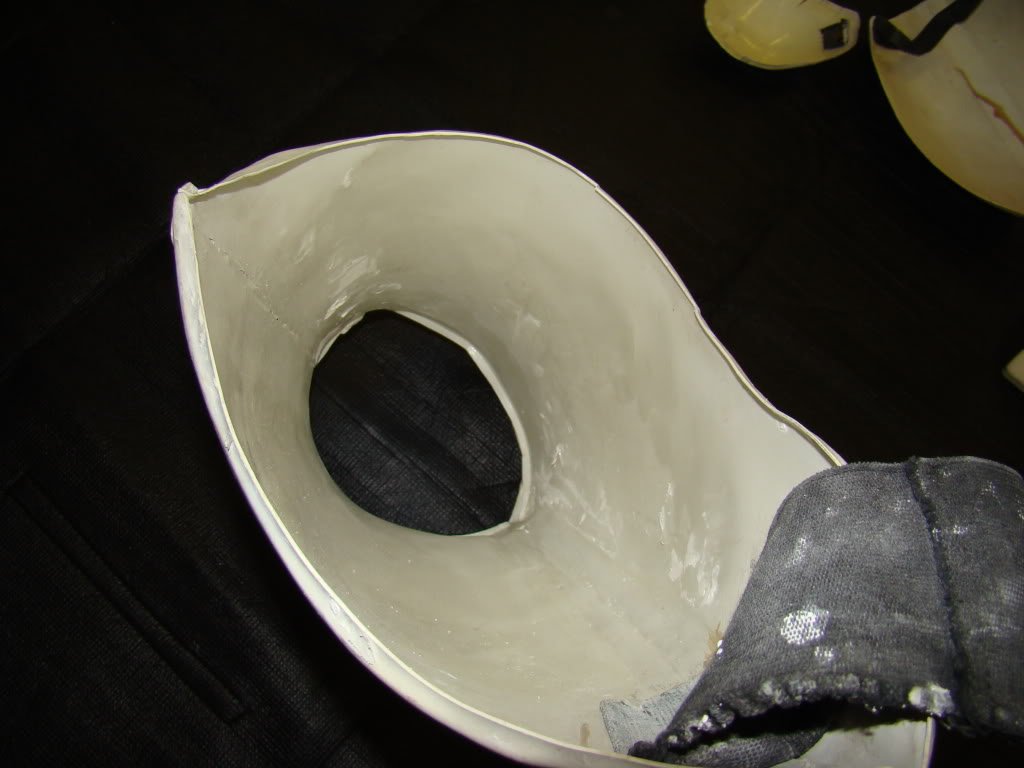
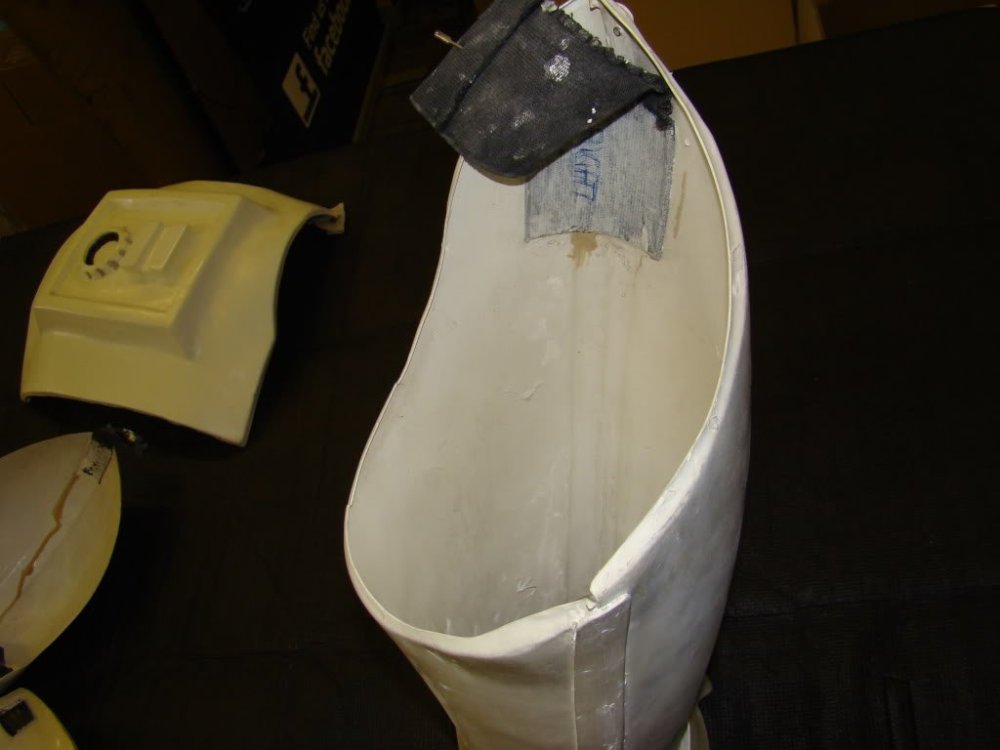
It is definitely exciting seeing it come together! Here I rough trimmed the arm pieces at the mold lines. I know the ends of the forearms should have no return edges, but the rest should be pretty close. Time to start test fitting...2 points
-
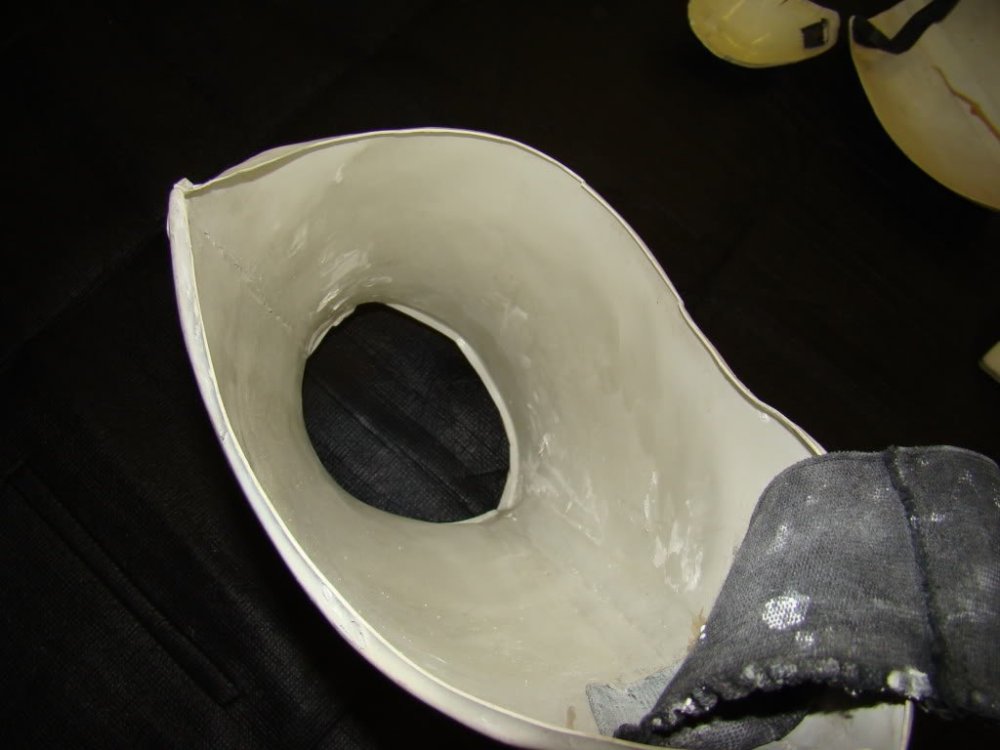
Correct you can remove the return edge although some is seen in references, it's a case of comfort rather than screen accuracy
 2 points
 -
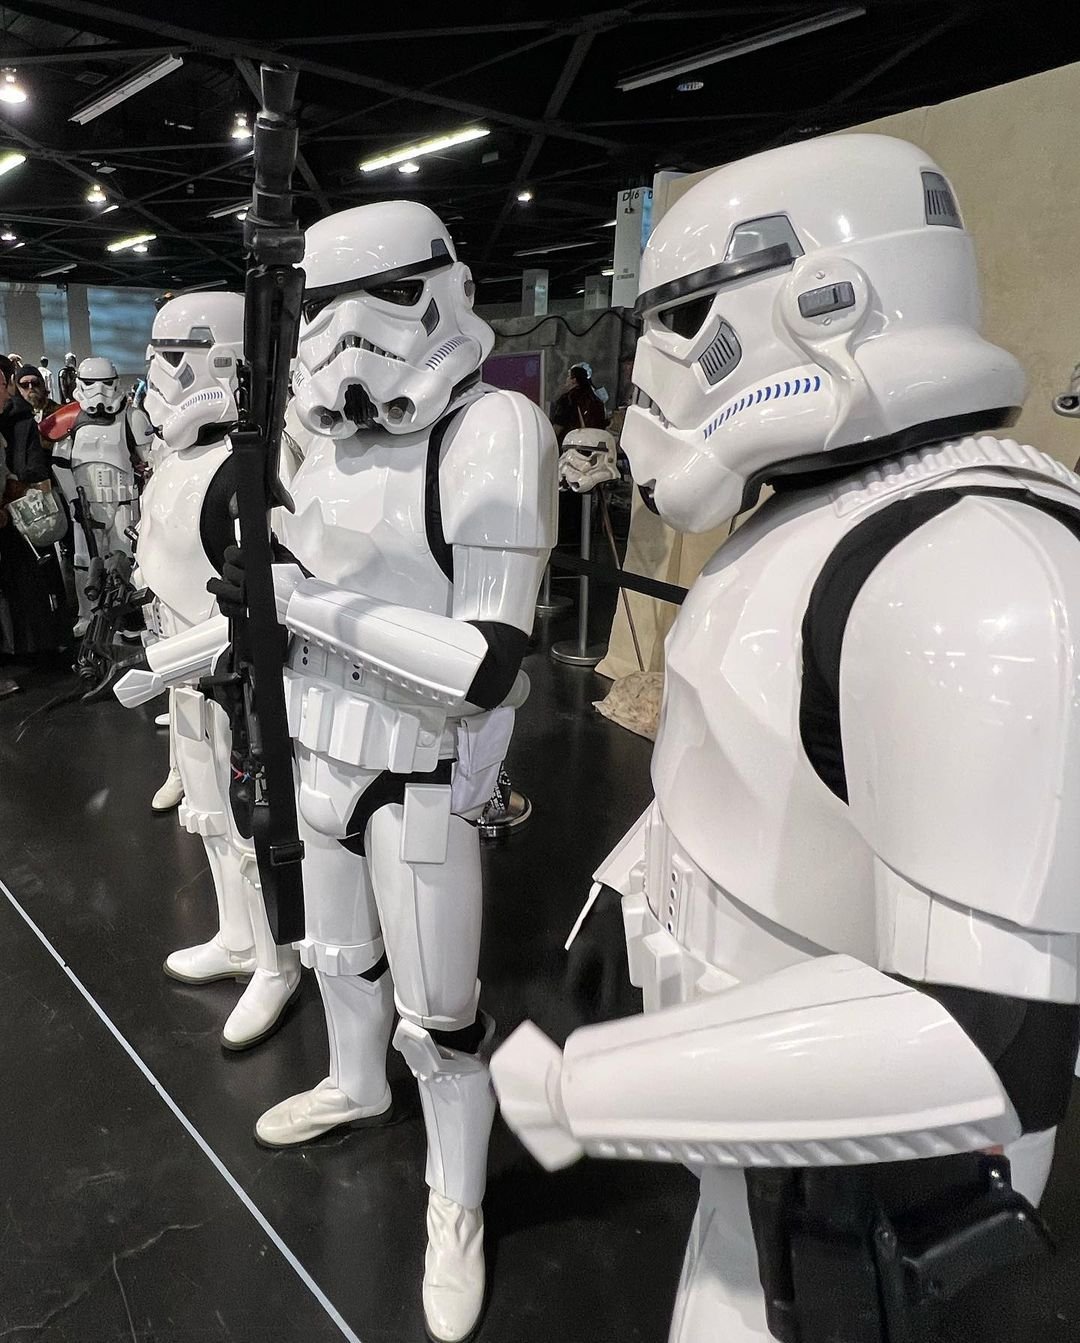
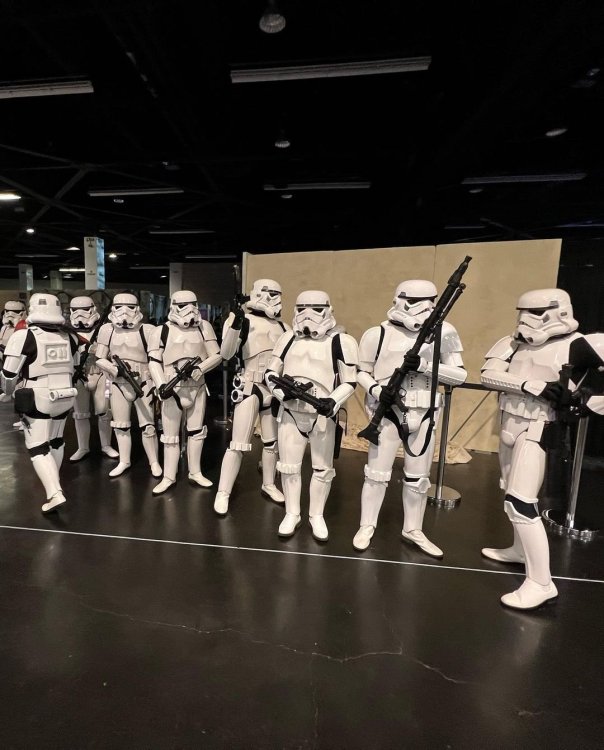
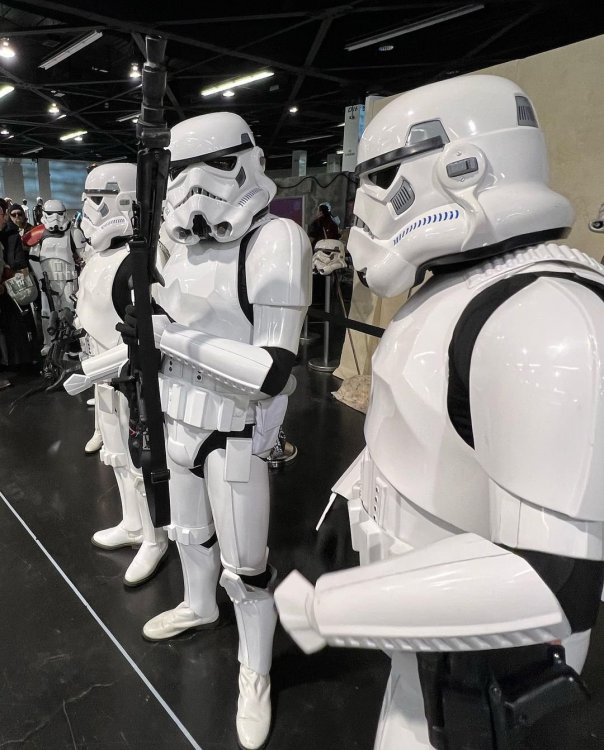
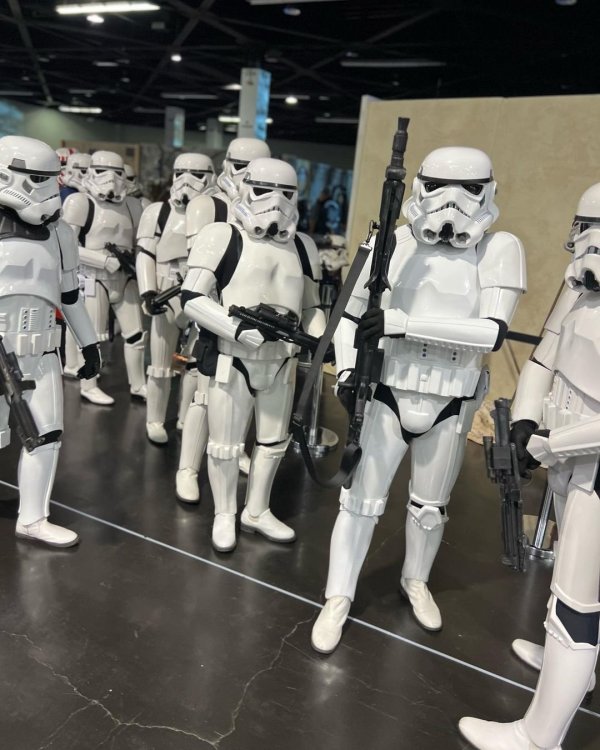
Celebration 2022 Photos / Video Post them if you have them Legion group
 2 points
 -
I would also love to have the one taken by the photographer if anyone can find it. That being said I had a friend take one from my phone. See below M2 points
-
So I kitted up and boy do I still have some work to do. I posted in the pre approval forum to see what needs to be done and if I can pass at least for basic Thanks, M2 points
-
Welcome Aboard Chris, looking forward for your BBB day !1 point
-
Looks like you have things well in hand, looking forward to seeing the progress1 point
-
Hello and welcome, many use others build threads to reference for their own builds, here are a couple of good ones you may wish to have a look through. When in doubt we do have a gallery section full of reference photos. Good luck with the build and don't be afraid to ask questions1 point
-
In my case I use fans inside my helmet and this allow me to troop for more time, but generally avoiding the direct sunlight . The heat haven't afecte the shape or melted the plastic , but continuous sunlight expose would affect the color (yellowing the armor)1 point
-
It's come out really well Tim, very nice.1 point
-
Another legion photo Photo by: Steve Lam, TKID878 "TK878" Download higher res here1 point
-
Here's a render based off of the variant cover of Darth Vader and the Lost Command.1 point
-
You can have them straight cut or angled or even stepped, just be aware that any piece sticking out can catch when you move your arms so angled is better. Some references1 point
-
Ehmn….not if done correctly, I use it on all my TKs1 point
-
Static shot of fitting progress.1 point
-
Taking a break from the intricacies of the finer details and had a test fit instead.1 point
-
So I’m at the end of the helmet build road (I think). This has been a lot more difficult than anticipated but enjoyed the challenge. I certainly don’t think this is perfect (but then again where they in the film?) and there are a 101 things I’d change if/when I do this again but I’m pretty pleased with the end result considering I’ve never done anything like this before. FYI, I’ve ordered a spare set of decals as I’m not happy with the left tear. Because of the contours it kept creasing. After multiple attempts the decal started to get more creased so I’ll be replacing that. I welcome your feedback…be gentle [emoji846]1 point
-
I was able to get some pics with the armor on (forgot the thermal detonator). I feel it's coming together. I still have some issues to fix, like the left side of the kidney still wanting to pop out a little. Back came out a little dark for some reason I also taped on the rough trimmed shoulder bell. So far so good. But really need the bicep to see the fit. I'll use Glen's method above when adding the snaps.1 point
-
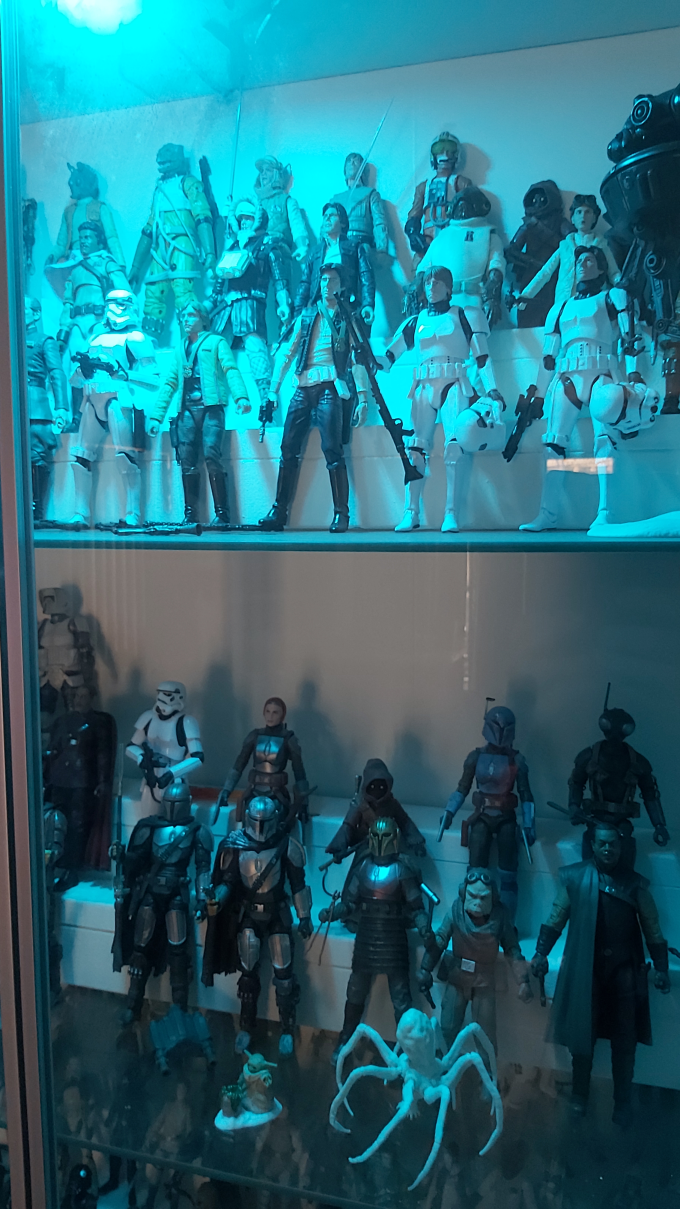
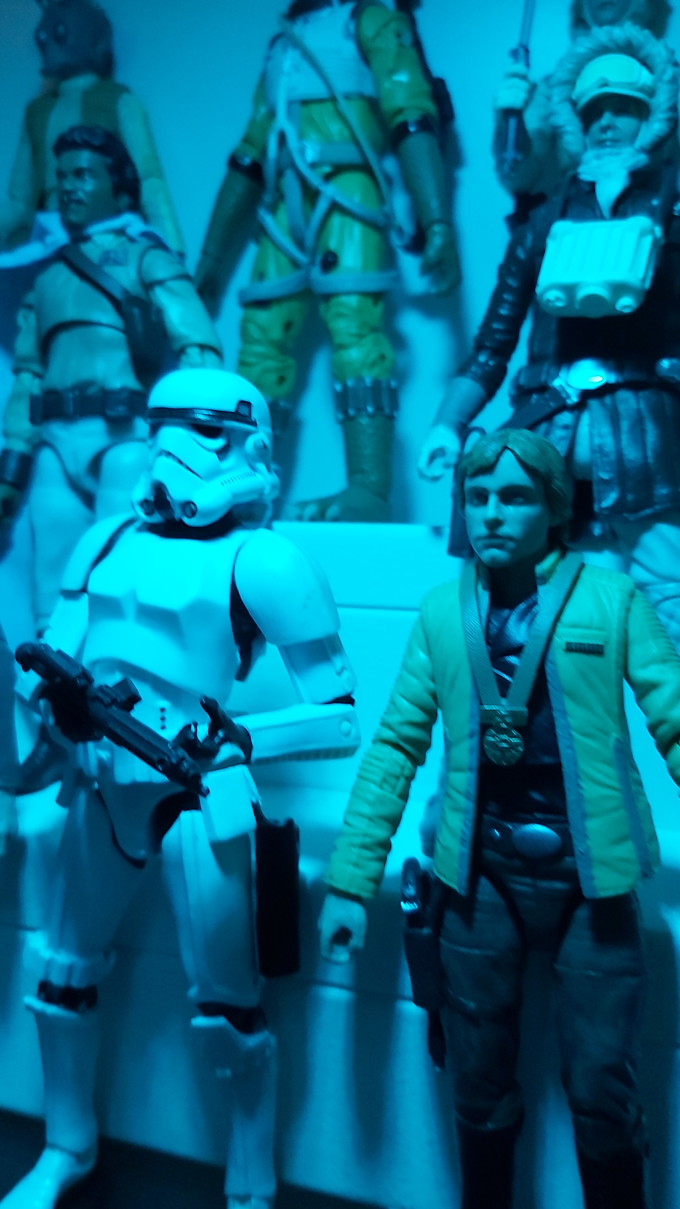
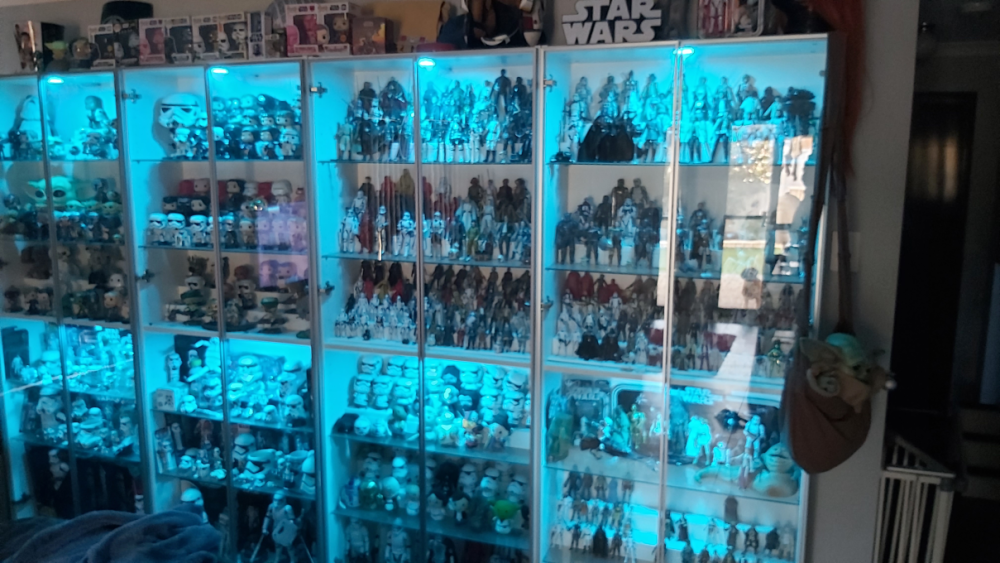
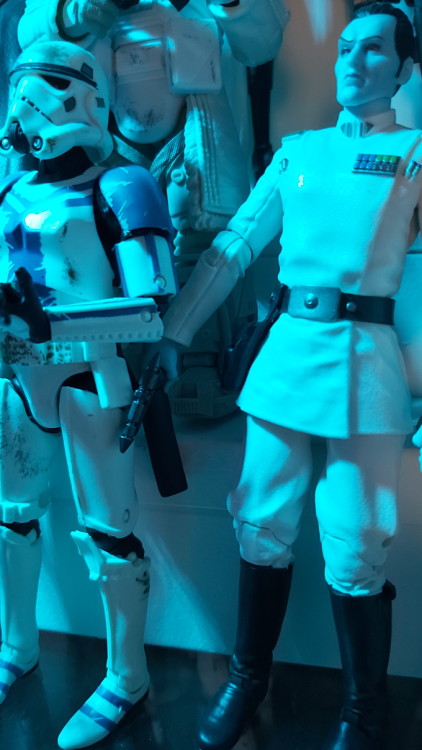
Very nice, I'm a little spread out through various rooms, I have to cull the collection at some stage Yes I've noticed the no holster a few times, but some still do, my older 6" Black Series had holsters but more recent ones don't well except TKC which does have a holster, I'm still awaiting a few other recent Black Series TK's to compare this with. It is also the same 3.75" figures, older had holsters, newer not so much


 1 point
 -
I put the second coat of blue on this morning and just pulled off the stencils. It looked almost perfect! There were a few spots where some of the blue came up with the stencil, but after minor touch ups I think it looks awesome! This means my bucket is now complete, which means my suit is now complete! I will let the touch ups dry a bit then do a full suit up for my 501st submission pics. Very exciting! This has been quite a journey. I know it is not done yet as I have some tweaks to make here and there and will tackle those, but it feels good to have a presentable suit in time for Celebration! (and hopefully by then those tweaks will have been made as well). Thank you to everyone who has helped along the way, especially @gmrhodes13 @TKSpartan and @justjoseph63 . I will post up pics once I do my suit up, but for the tweaks and fixes should I post those here or make a new thread? Thanks, M1 point
-
$14,000 for a 501st approved costume, if only we could all sell ours for this, I'd be pumping out a set of armor every week At first I was like ok but it's not Mandalorian specific era armor BUT the Propstore has mentioned several times it's a costume created by the 501st and appeared throughout the series so the buyer should know what they are getting. At the end of the day it's a nice payday for the member and it did appear on screen and I'm sure the purchaser is happy. The helmet, those ear screws, "he cringes"1 point