Leaderboard


Popular Content
Showing content with the highest reputation on 09/26/2021 in Posts
-
I FINALLY managed to get a decent listing up on Etsy for the files, if anyone is still waiting for this... Meanwhile, I'm printing this suit for myself as well. I would love to have this thread turned into a build thread. https://www.etsy.com/Die3DSchmiede/listing/1089257123/first-order-stormtrooper-3d-print-file?utm_source=Copy&utm_medium=ListingManager&utm_campaign=Share&utm_term=so.lmsm&share_time=16326739061842 points
-
Ayuda en Español This thread needs to be fixed----> Mejoras en Casco MR CE Stunt Stormtrooper. Missing photos and links that don't work(all the links go to the index page). In the rest of the threads, I have repaired broken links, and in some cases, I have also repaired images whose links did not work correctly (as in this thread where no image was visible LINK ). I have also repaired the texts in which strange characters appeared, due to the use of ñ, accents, etc... in the Spanish language.2 points
-
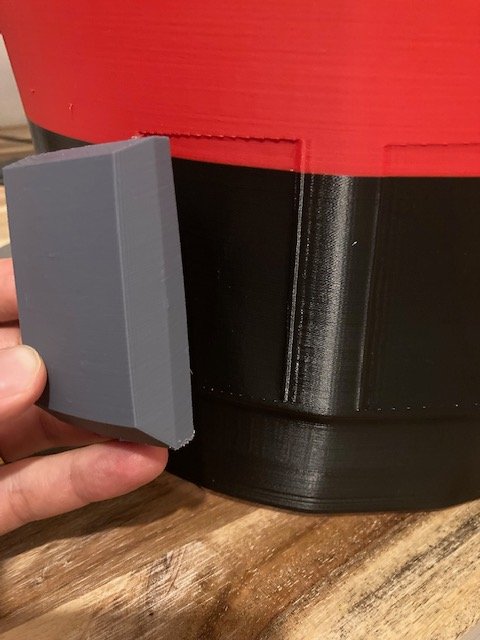
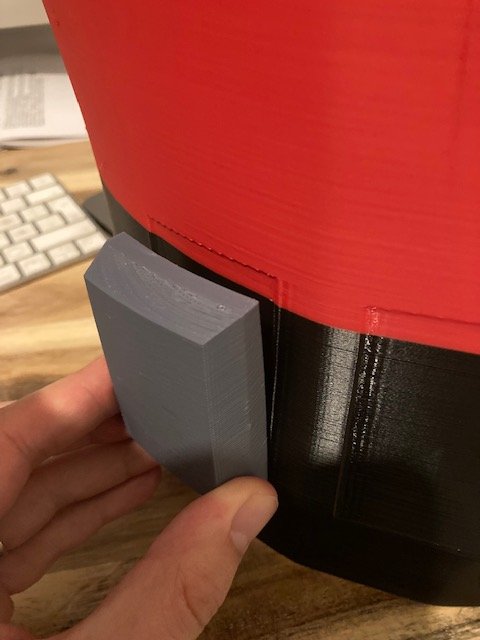
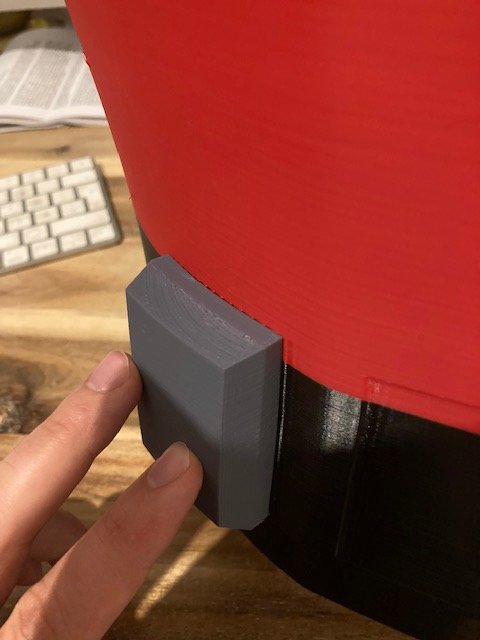
I'm prepping the files for printing right now and I have printed the Abdominal Section to test out how the boxes will fit... Looks good so far. The size of the individual parts is of course dependent on how you scale it. The Chestpiece won't fit on my Anycubic Predator and it has a 38cm Diameter Buildplate. But my Chiron will probably be able to handle it with 40cm rectangular buildplate...
 2 points
 -
Hi friends. I'm a life long Star Wars fan. Everything changed when I was 7 and saw Star Wars in the theatre for the first time. I've been collecting helmets, building models, lightsabers and recently my own floating Jedi Training Remote ever since. I finally made the decision recently to go full in and begin the journey to join the 501st as an Imperial Stormtrooper (ANH). Hello Mountain Garrison! I've been doing research for about a month now and am just about ready to pull the trigger on my armor. I've narrowed things down to RS Props which I've purchased a helmet from in the past and Dave's Darkside Depot. Still trying to make that decision. I'm 5'11 205lbs - 34 waist so I'm hoping those measurements would work for RS Props? I did read that I might want to look at Dave's? Curious if anyone had an opinion? Maybe a good kick in the butt to lose 10 lbs. lol Just purchased my E-11 (SDS) with BlasFX from TRamp - That thing is awesome! Went way down the rabbit hole today researching helmet customizations with iComm, Hovi Speaker system and Henry's helmet fan kit. Whew lots to figure out there. Will be a good project when I have my lid in hand. Whew... well looking forward to digging in and making this a reality. Any suggestions or areas to focus on would be greatly appreciated. Cheers, Bobby1 point
-
Costuming and Builds - EU (501st Approved) Legacy Stormtrooper (Joker Squad) - Glen Images replaced https://www.whitearmor.net/forum/topic/15279-jes-gistang-research-thread/ Page 2 complete - gmrhodes131 point
-
There's actually quite few thing which need to be updated between the CRL's, hopefully this one will be added to the list, there are a few other CRL's under review currently so not doubt it may not be address straight away.1 point
-
Since someone bring up the E-11 Blaster issue recently, should we revisit the CRL and bring the specs. in line with "The Force Unleashed" Stromtrooper? E-11 Blaster (ESB) Based on a real or replica Sterling submachine gun, scratch-built, or a modified commercial toy Stormtrooper blaster. OPTIONAL Level two certification (if applicable): Folding stock is placed in the closed position. No ammo counter shall be present. D-ring mounted on the rear. Sterling based blasters have the correct M-38 or M-19 style scope. The M-19 scope is preferred. No power cylinders on the magazine housing. Scratch-built, resin cast, Hyperfirm rubber cast blasters shall have a total of 6 T-tracks on blaster (leaving the lowest row on the magazine housing side uncovered). If using the Hasbro E-11 toy blaster, it is modified to have the correct number of T-tracks (6 total), with a lower row of open vent holes on the magazine housing side. This is accomplished by covering the pre-existing rows of holes with T-tracks, then grinding off the lower integrated T-track on the magazine housing side, and drilling a new row of holes in its place. OPTIONAL Level three certification (if applicable): Hasbro / Rubies blasters are not allowed, even conversions. The blaster may have minor weathering or base metal exposure, however, T-tracks and grips shall have the appearance of black plastic. Honestly I have been through the game several times on XBOX 360 and PC and I don't really remember seeing a stock extended E-11 inside the game, however I have distinct memory of seeing one on the back of the box from Gentle Giant's TKC bust model.1 point
-
I would recommend painting the bolt ahead of installation. However, masking it off once fitted is no biggie. Hot glue or resin putty can be used to hold the bolt in place whilst you apply adhesive. For the more adventurous I am sure that making this functional would be possible with some small mods! The charging handle will have a small post drilled into it and then fitted to the bolt with some adhesive Sent from my SM-G950F using Tapatalk1 point
-
Another little diagram... Sent from my SM-G950F using Tapatalk1 point
-
The mag was just a case of selecting the length I wanted and cutting. Once happy with the length the side clip was then installed into the correct position to stop the mag going any further into the housing. The end cap was fitted with the release button (5mm LED to you and me!) and then glued onto the magazine. The mag housing can be easily converted to have a working release. I would recommend that if this was a task others wanted to undertake that this be done after sanding to fit the receiver, but before fitting it to the main body. Here is a quick demo of the working release... Sent from my SM-G950F using Tapatalk1 point
-
Onto the cylinders. First off is to drill a small hole in each of the resistors. Crimping the end of the resistor wire and adding a dab of C/A glue will hold these in place. The length of the wire will be trimmed later. With the resistors glued in place the next port of call is the actual cylinders. Each cap had a hole drilled through and the respective nuts and bolts fitted. Again, C/A glue will hold these in position. With Three holes drilled in the plate for the resistor wire I began to fit the cylinders. Glue one end of the caps onto its cylinder and thread the Cylinder through the hole in the mounting plate. Fixed in place by adding a tad of adhesive to the mounting arm at the front and a dab underneath the cylinder where it meets the mounting plate. I fit the resistors and thread the wire through the 3 holes in the mounting plate. Once I was happy, I trimmed of the excess wire. At the rear, I shaped the 2 resistor wires and clipped off the third and then removed any excess. The red cord was then added. Another dab of C/A glue and some heat to seal the cord and we are done. Sent from my SM-G950F using Tapatalk1 point
-
All parts were glued in place and any gaps filled with.....Erm....Filler! Quick note: Ensure that the front sight guard, and rear sight are facing the correct direction! Sent from my SM-G950F using Tapatalk1 point
-
Regarding the resin components being fitted to the receiver, the easiest way to get a nice fit is to wrap some sand paper around the receiver and sand back the resin on these parts to make a nice contact with the camber of the blaster. I also drilled out the resin hex bolt in the front sight and replaced it with the metal one. Here is a list of all components that were sanded using this method: Front sight Front sight guard Bayonet lug Flash guards Mag housing Trigger assembly Rear sight Rear cap release housing Sent from my SM-G950F using Tapatalk1 point
-
As you can see the front muzzle does not have the resin hex bolts as a part of the cast. Once fitted to the barrel metal bolts will be added. Sent from my SM-G950F using Tapatalk1 point
-
Thanks! Danke! I'm sure the event will be amazing and I'm very much looking forward to it1 point
-
That’s impressive. A lot of work done . Well done. Sent from my iPhone using Tapatalk1 point
-
great progress Ian and yes it is awesome that you are modifying to make a more accurate TD. We are working on the TLJ CRL and looking to upgrade level 3 with this kind of modification.1 point
-
Update - While at first I said it was too snug, after a few more test prints, I determined that I could make it "larger" by simply taking out an inner layer. And it makes it much more flexible! So, here's the test with my armor and undershirt, fitting beautifully, and amazingly flexible YET DURABLE. We tried tearing it with our hands, and it wouldn't break apart. I'm planning on adding some length to each size, to make it easier to attach to armor. Not sure if i'm going to use something like E9000 or what, TPE is notoriously difficult to glue.1 point
-
Costuming and Builds - EU (501st Approved) Concept Armor - Glen Images replaced https://www.whitearmor.net/forum/topic/25899-ralph-mcquarries-concept-stormtrooper-helmets/ https://www.whitearmor.net/forum/topic/22683-ralph-mcquarries-concept-stormtrooper-armor/ Page 1 complete - gmrhodes13 SECTION COMPLETED Costuming and Builds - EU (501st Approved) MQ Build Threads - Glen Page 1 complete - gmrhodes13 SECTION COMPLETED1 point
-
You know I'm going to have to put one of these on my Santa wish list, there are some really nice details in this kit1 point
-
Very nice case. Glad to see you are making the TD mod for full pipe, looking good1 point
-
Thank you, that is helpful. I think I will just go the route of the double snap without adding the original strapping. If I need to in the future I can always go back and add what I need. Thanks, M1 point
-
I'm in contact with the local squad and have adjusted the thighs, the belt pouches and started working on the TD. ... and the "suitcase" for the blasters is ready. The gray pipe is a sewer pipe which I cut open to reduce the radius. The next step is to cut and bevel the gap1 point
-
Welcome to the forum Daniel, outstanding job.1 point
-
That is a lot of effort that will be well rewarded when complete. Looks like this isn't your first rodeo.1 point
-
That's really impressive work [emoji122]1 point
-
Me again! I have separated all the components into bags to save searching for specific parts when making up each individual assembly. (attach x1 pic of bagged up kit and x1 unbagged) Sent from my SM-G950F using Tapatalk1 point
-
Aaaaaand deposit paid for the armour still a few months away due to back log but still excited none the less.1 point
-
If you're open to ANH or ESB then you may have more options. I needed bigger armour and RWA has a XL options in all parts. If you look at their YouTube channel they have some videos showing sizes of some of the parts. https://www.youtube.com/channel/UCt_lWzaSmADNiCC8TkZyfwg There are other armour suppliers that can make different sizes, such as RS Propmasters, but I've not used those myself. Here's a thread that looks at some other suppliers https://www.whitearmor.net/forum/topic/12693-which-armor-is-better-for-a-bigger-trooper-read-here/1 point
-
thanks for the warm welcome everyone, have officially messaged cfo on Facebook and await a response1 point
-
Thanks for sharing1 point

.thumb.png.a6ed6181c5fa602617131001cb8f5718.png)