Leaderboard


Popular Content
Showing content with the highest reputation on 08/16/2021 in Posts
-
Could we be a step closer to knowing what these parts actually were used for? Thanks to Daniel O'Keeffe this looks to be the closest we have come in over 40 years. Here is the full story from the man himself Daniel O'Keeffe but first I'd like to take this opportunity to welcome Daniel to the FISD forums and thank him for allowing me to share the below information, taking us another step closer to solving the mysteries of this found part mystery. Following information and images property of Daniel O'Keeffe I have recently come into possession of a pair of genuine 1970's aerators. I'm posting this up here as I think it could be of interest to a lot of people and wish to gauge that interest for reasons I'll explain a little further down. Just to give a little background on this, back in 1977 as a young boy a friend of mine saw an afternoon matinee screening of ANH at the cinema and at the time recognised what the parts were on the helmet. After watching said matinee he then got his father to take him to a plumber's merchant where he was bought a set of these aerators and they just sat there in a tub for years. Sadly he passed away and whilst helping to clear out some rubbish from his house I clocked these parts in a pile earmarked for the bin. Now what is interesting is that it opened up a couple of previously unknown things about the tips, namely that there was a serated push fit tube on the back of these which fitted into a hose. What is now obvious is that these were cut off from the original backs for the threads to fit through and attach to the helmets. Another thing that stands out is the internal fitting, in the past I have seen the pictures Gino Sabatino shared of the hero helmet aerator and the insert appears to be a one piece. It isn't, the middle piece is actually a two piece moulding that fits together. Something else that doesn't seem present on the screen used tips is a black O ring seal. As you can see from the pictures the colour itself is actually off white, with a definite yellow tinge to the plastic as opposed to an all white moulding. When I first saw this part I actually thought it was a resin cast as the colour was very reminiscent of a polyurethane casting resin I use and to be honest I almost dismissed it! I think it's fairly obvious that these were moulded in different shades of plastic, and that the internal components were also moulded in different colours as Gino himself in the past has stated he had seen a mix of aqua and white. Another difference to the screen used tips and these is the filtration mesh, this is a different pattern. From what I can ascertain there is a moulded groove on the inside lip and you can see how the mesh was inserted from the inside before being fixed in with an adhesive. Another interesting thing about these was that he actually had what appears to be the connecting hose that they fit into. When I found the first one it was sitting in the wider end of the tube but I actually think it's supposed to fit in the narrower end and the wider end fitted onto a tap or a tap adapter. This would make sense of what my friend had told me a while back, that these aerators were tap mixers for hot and cold taps back in the 70's. The tube itself bears a very consistent appearance to how they appear today, they are called rubber swirl mixers and are still in manufacture although not to this exact design. Also the rubber on this is obviously aged and shows signs of perishing particularly at the base where the aerators would most likely connect. I think for this reason the aerator was stuck in the larger end to prevent the narrower part from further deterioration. So onto the great unanswered question... what I HOVI MIX pa2? Well, on that one I really have no answer I'm afraid. Like most people curious about these I've spent far more time than is healthy trying to track this info down. I've even tried thinking outside the box I case VI is actually roman numerals rather than text! I have asked around several old time plumbers and will continue to do so but for the time being all professional opinion seems to agree that this is actually the part code or name as opposed to a manufacturers name. One thing that does seem a lot simpler to clear up however is what pa2 means, this is simply the formulation of the aerators' operation. P= pressure, A = area and the 2 is the equal mix of water and air into the nozzle. So far all attempts to identify a manufacturer have proven fruitless. One thing that does seem conclusive is that this was a UK manufacturer rather than an imported product. My initial hope was that if somebody I talked to could have identified the part there may have been an outside chance of then finding the company that sold these and then the manufacturer and pursuing the chance the dies could have still been in existence with a view to recommencing manufacture. Sadly this seems to be impossible to bring to fruition. So, what I have done is what I hope will be the next best thing. I am currently part way through the process of having these parts reverse engineered. At the moment I'm still in the early stages but my plan is to have these parts remanufactured exactly as they would have been back in the 70's. This means having them produced as injection moulded pieces and making them available to the community. As of yet I'm afraid I can give no further details for the simple reason I don't have any myself at present, but as soon as I know I will be making it known! Below is the YouTube video that RS Propmaster posted on Daniels beautiful pieces.3 points
-
You absolutely 100% have my permission to use these pictures as you wish. I don't have much more to add at present, hopefully I'll be having a meeting with the scanners mid week so there may be a bit of movement but ideally I would like to have these out there before the end of the year.3 points
-
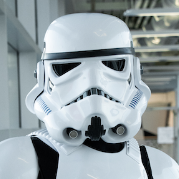
Movement is great but screen references didn't have big black spaces in the back, sure you loose some mobility but so did screen seen troopers at the end of the day it is a personal choice, I prefer to loose some movement at 5'11" I have enough of a black gap at the back For screen accuracy you really don't want anymore of a gap than seen below
 2 points
 -
The notch is fine as we see it in the movies, BUT not all on screen troopers had them, it was an adjustment for height, the taller troopers didn't need these mobility cuts as they had a bigger gap between the thighs and shins. We always recommend to finish off a build and try out the suit before making any mobility cuts2 points
-
Regarding the helmet padding issue: I guess that is because Luca was taking the photos while being in armor, without any other person. We will definitely take care of his padding (and other little things) when meeting for the approval photos at the end of this month.2 points
-
POST 63 5-4-17 Indianapolis Indiana unknown Bloodfin Garrison / Fire Team 500 1. 6-3-17 Joliet Ill unknown Various Garrisons and Fireteams 2. 5-25-18 Indianapolis Indiana unknown Bloodfin Garrison / Fire Team 500 3. 8-19-18 Indiana Dunes unknown Bloodfin Garrison/Northern Darkness Garrison / Fire Team 500 4. 4-13-19 Indianapolis Star Bloodfin Garrison / Fire Team 500 5. 8-29-19 Indianapolis Star Bloodfin Garrison / Fire Team 500 6. 5-8-21 Josh Jones Bloodfin Garrison / Fire Team 500 7. 8-29-19 Indianapolis Star Bloodfin Garrison / Fire Team 5002 points
-
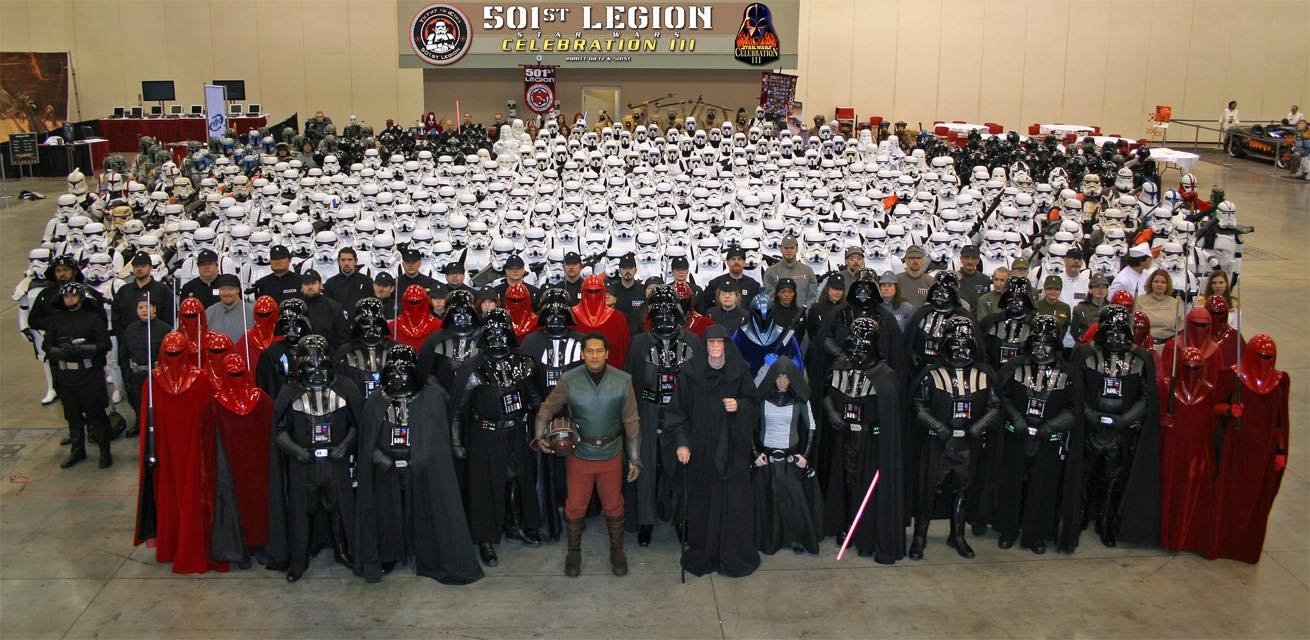
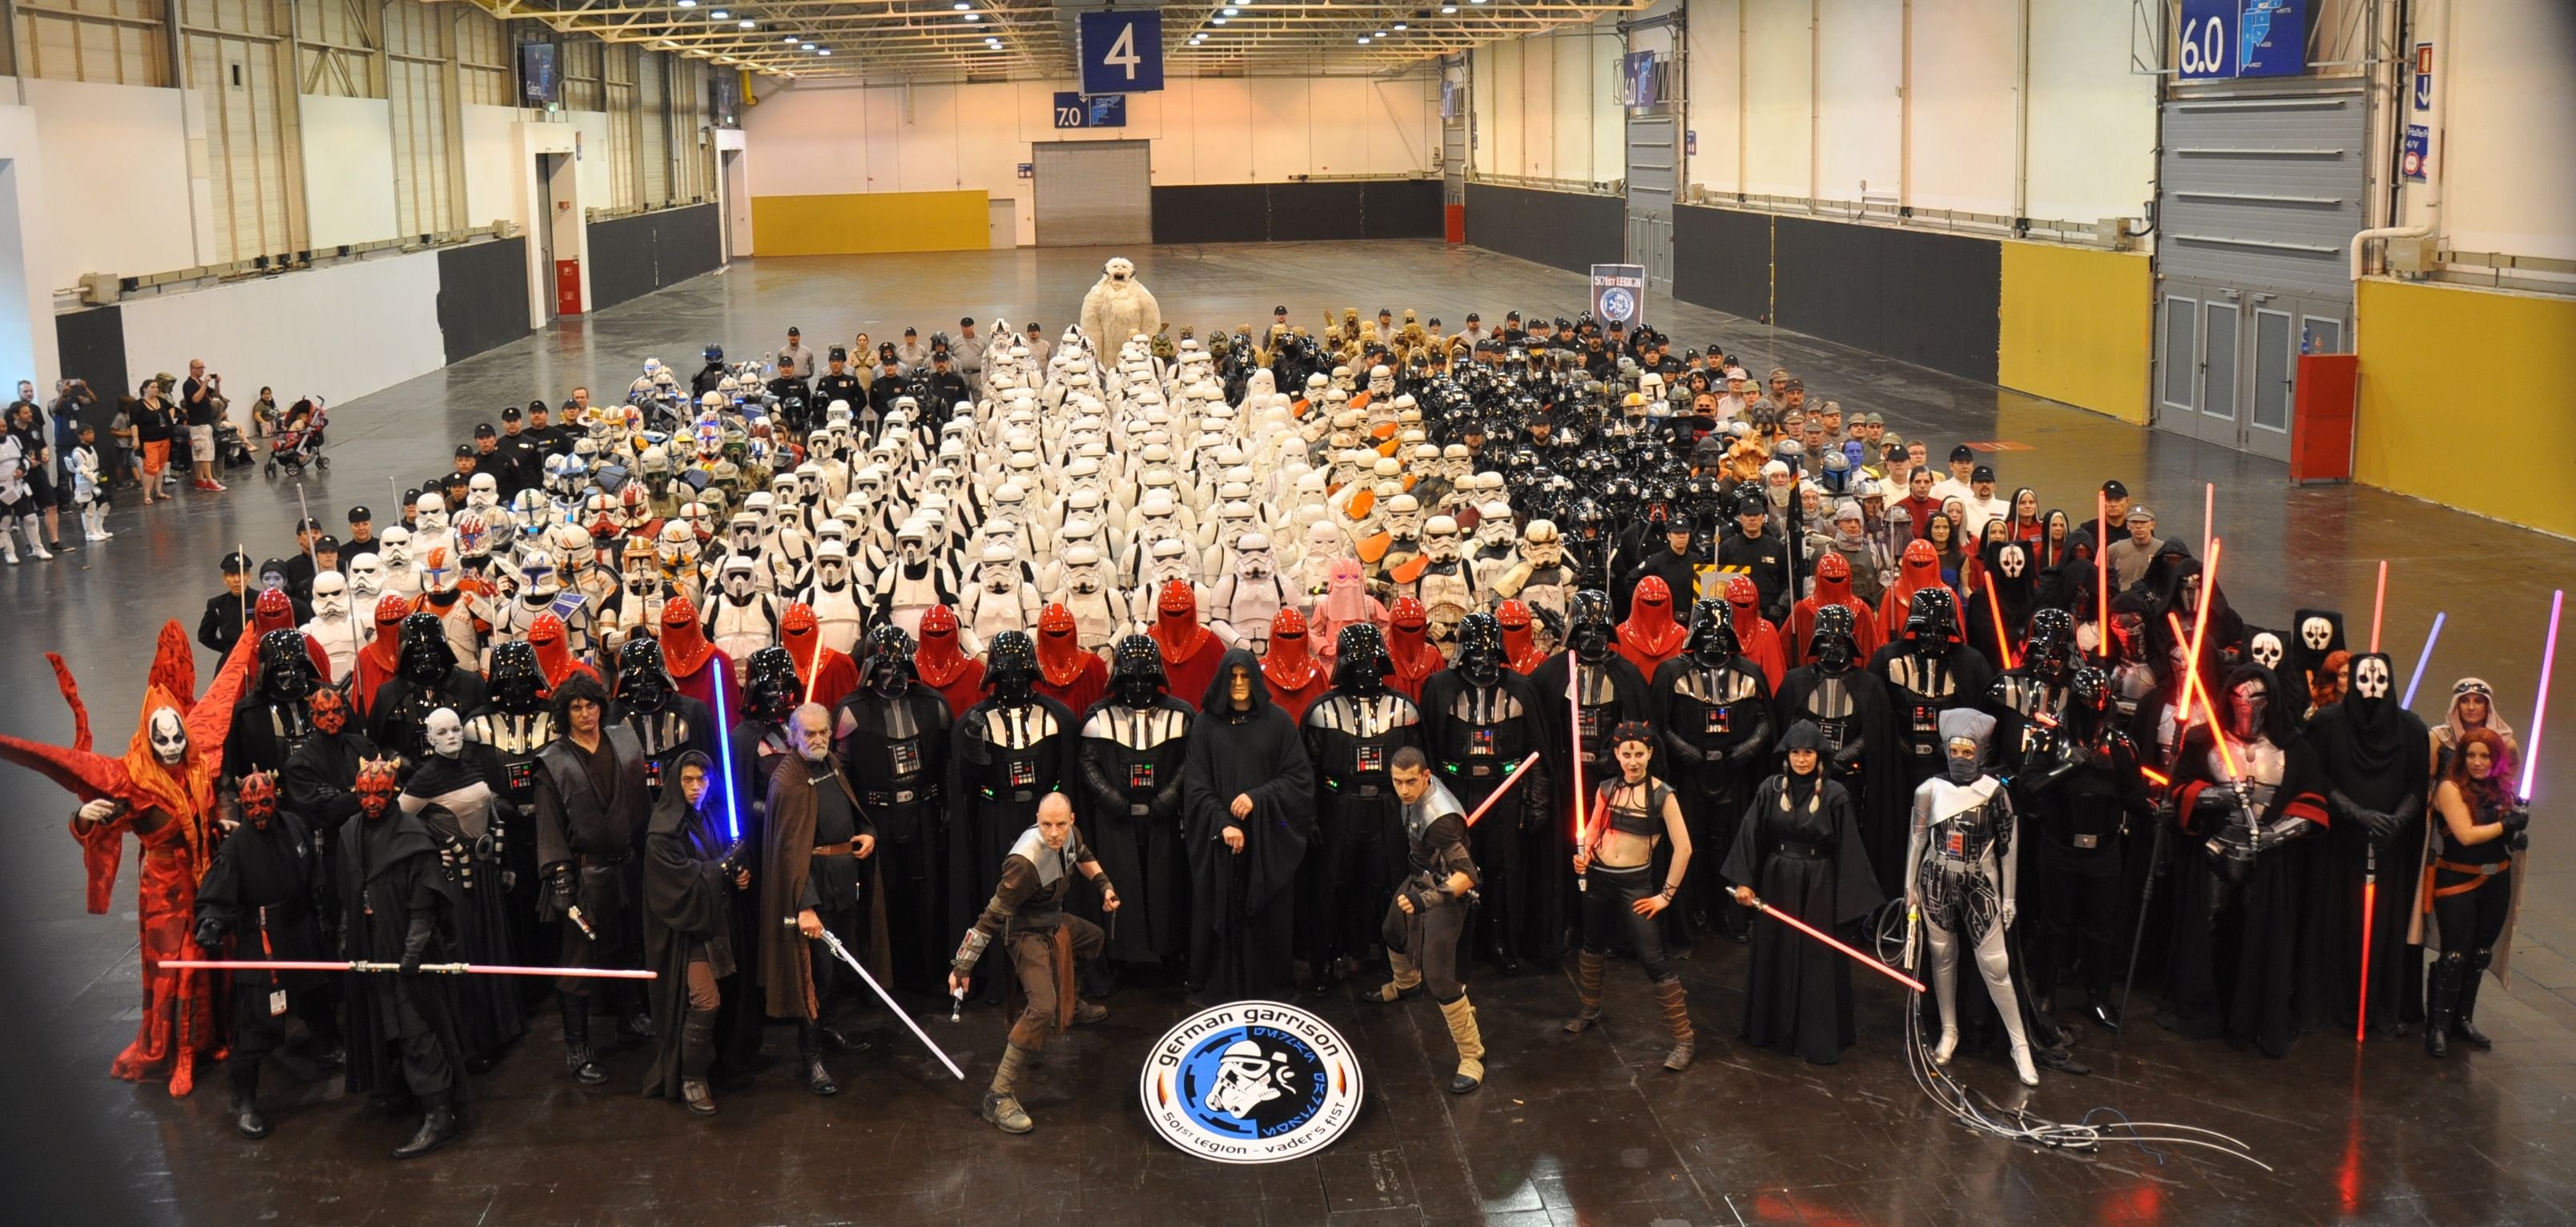
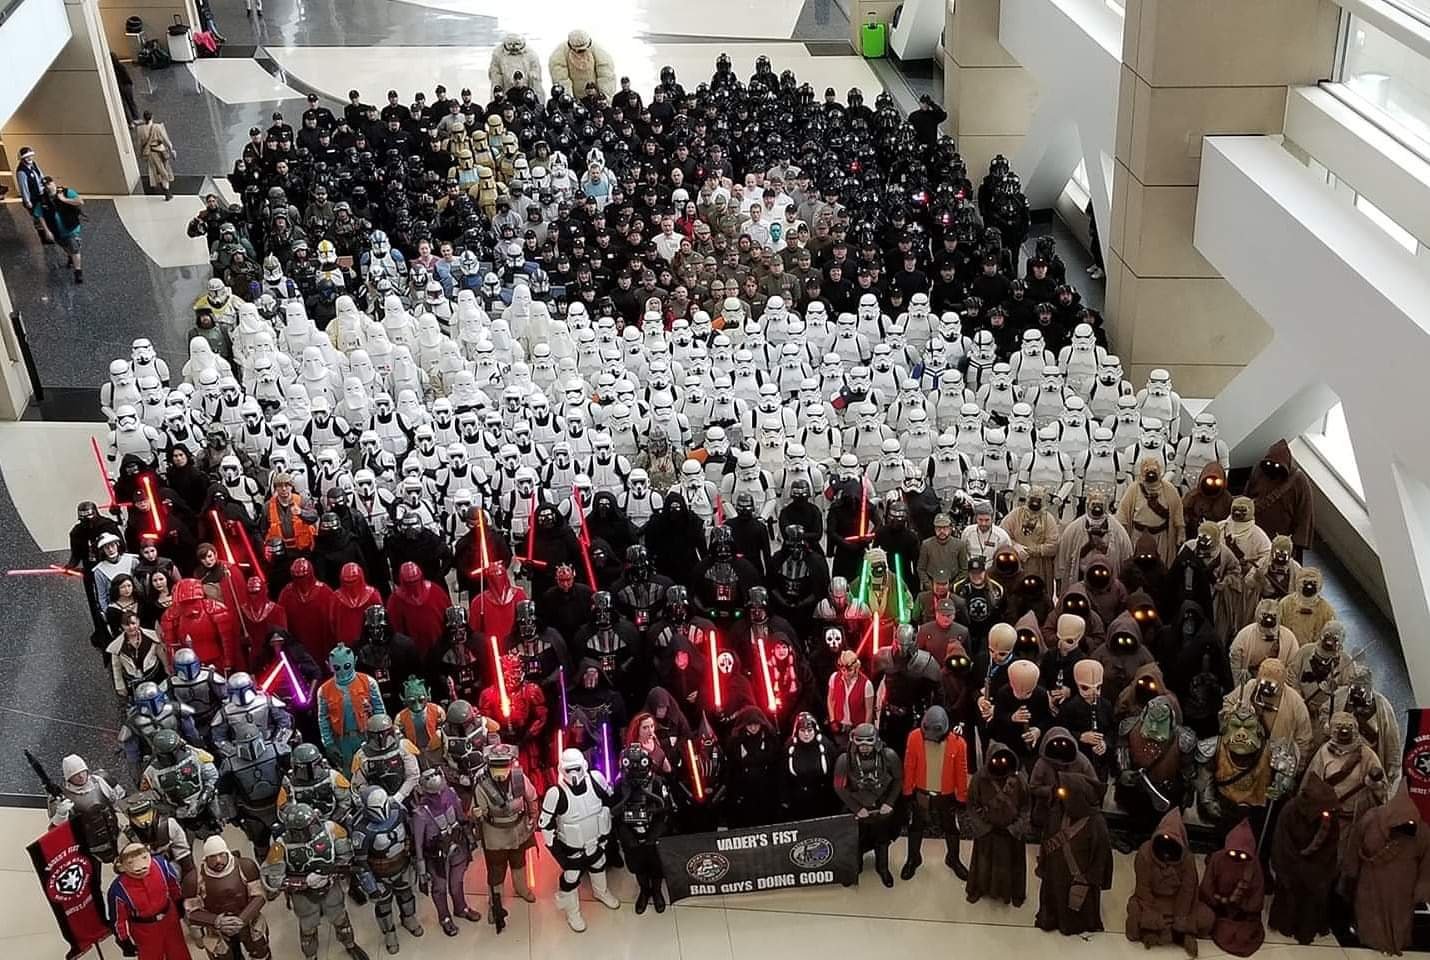
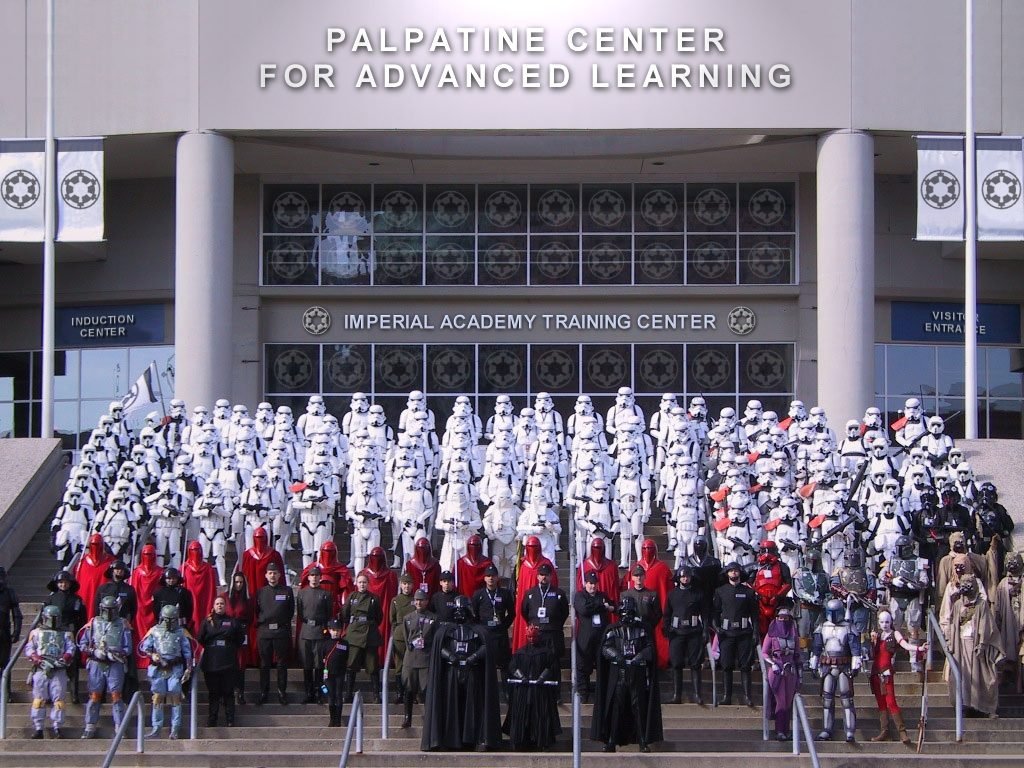
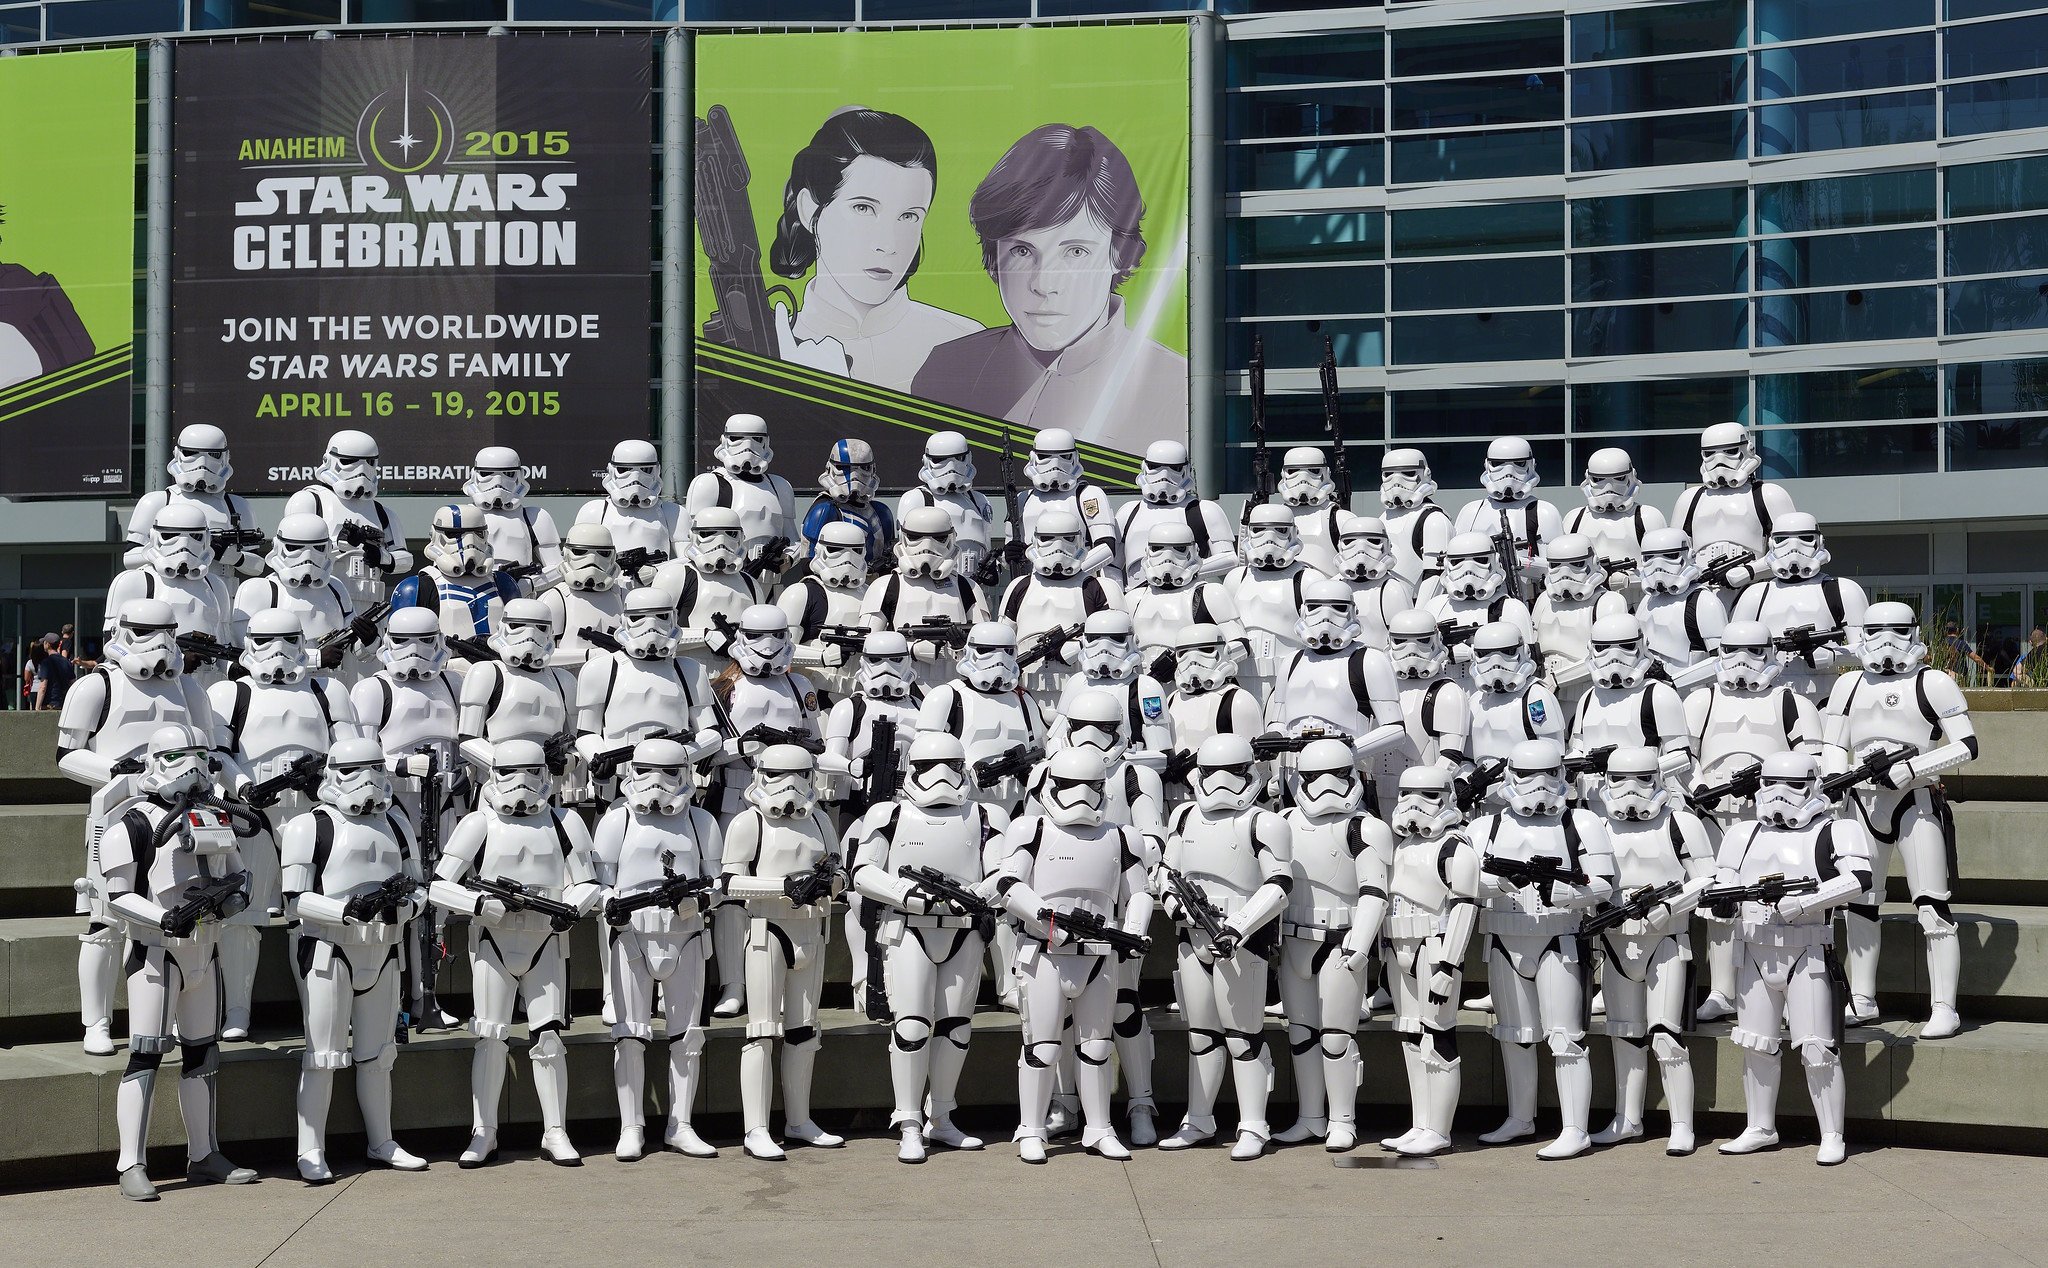
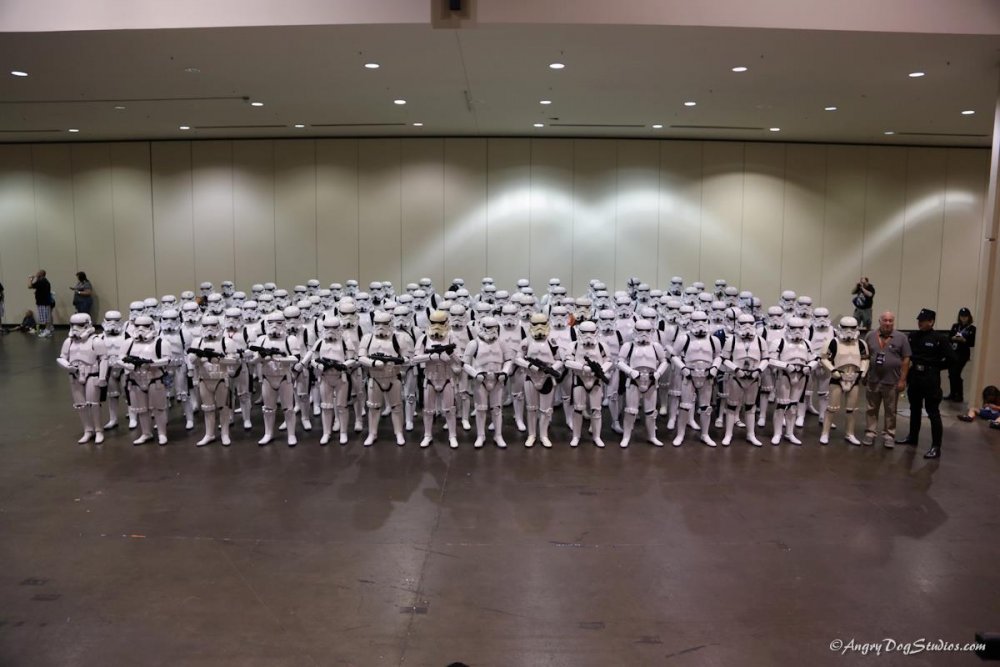
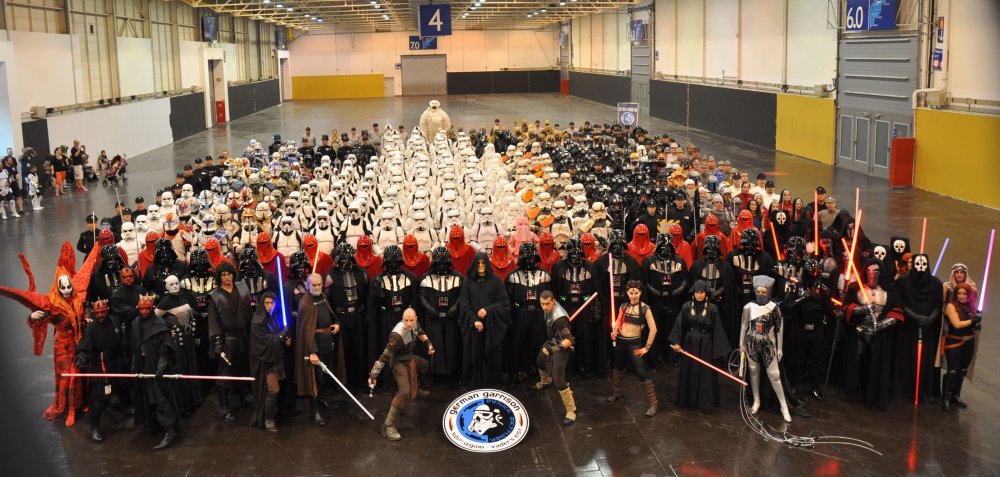
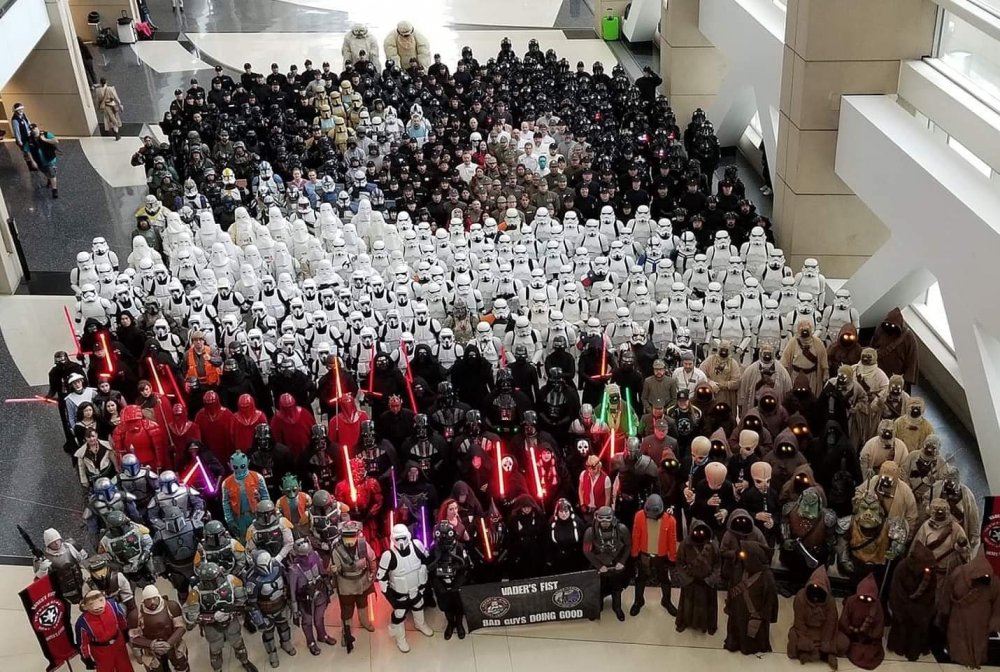
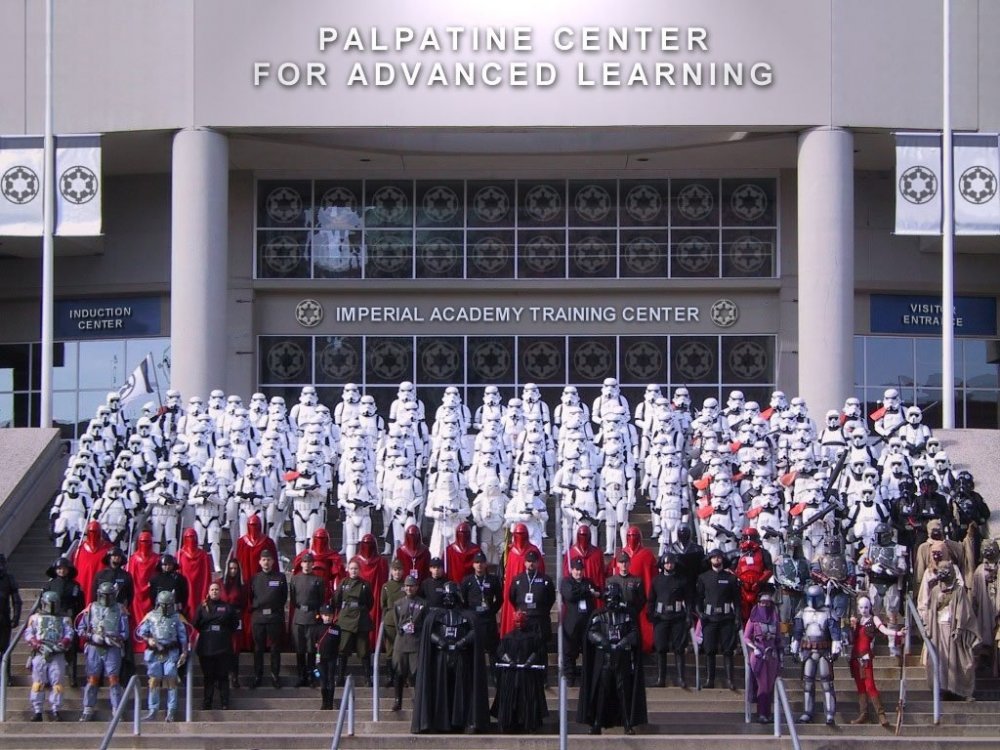
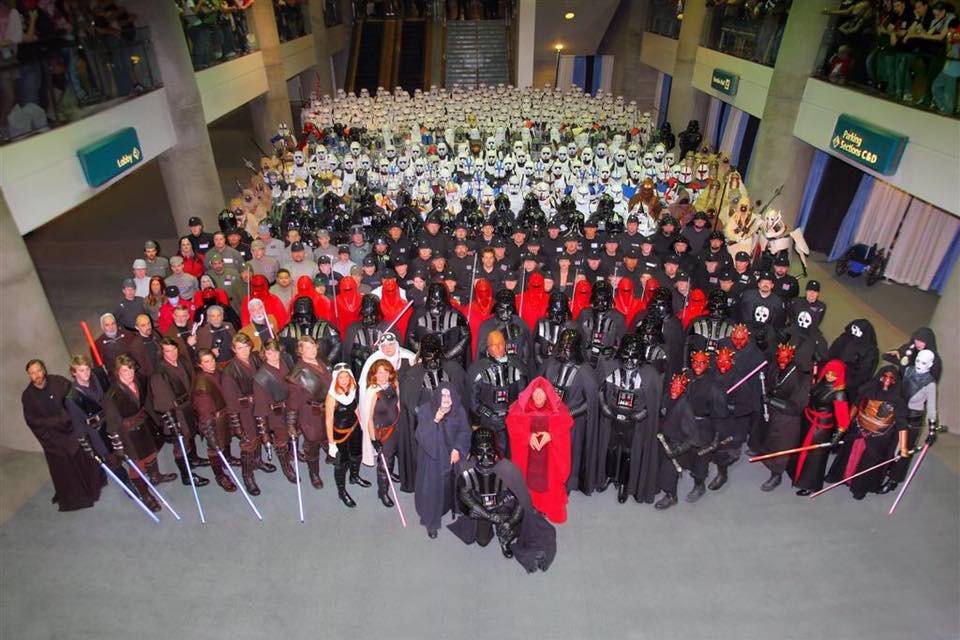
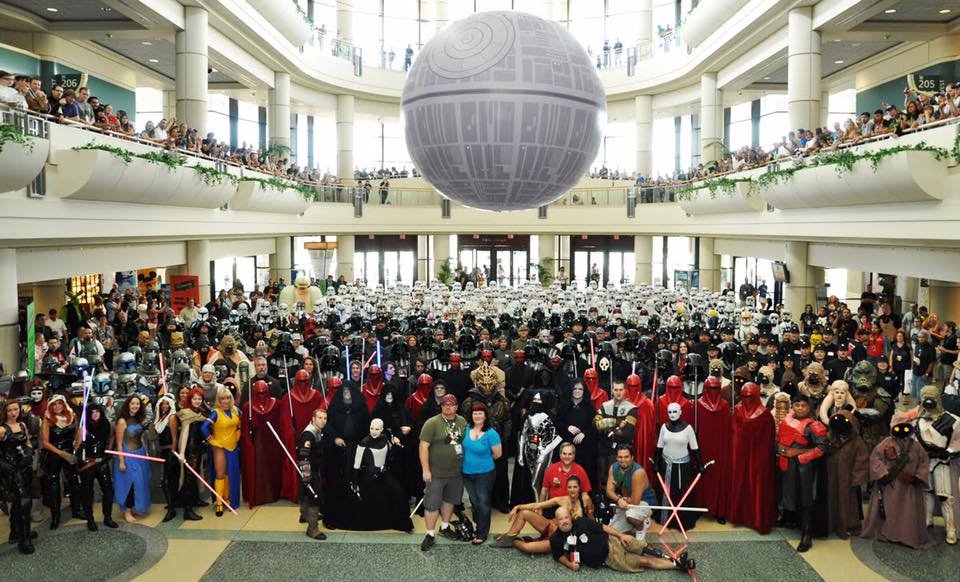
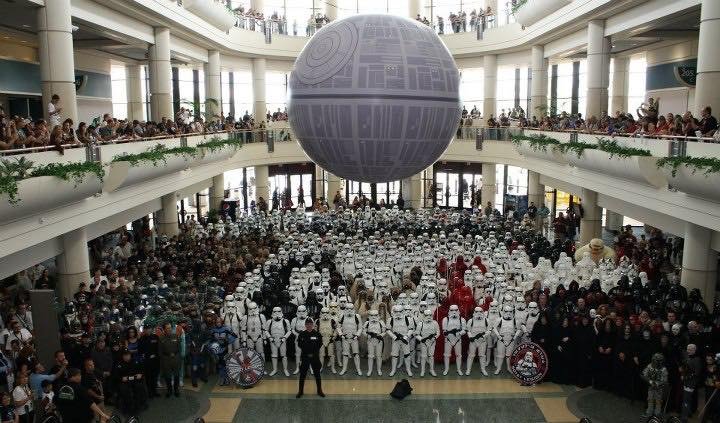
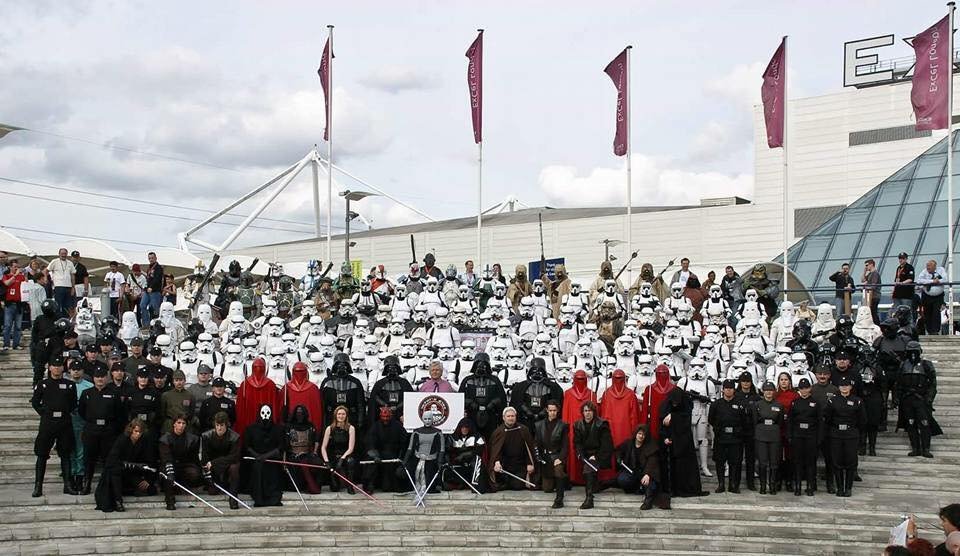
Attention all Imperial citizens of the FISD We have been working on a project which has been under discussion since the start of this term and are preparing to move forward with this initiative. It will form part of our 15th anniversary celebrations and part of detachment history. We can't announce exactly what it is as yet, but we are sure you will love it. We want your troop photos from around the world. Local troops, Cons, Celebration etc. If you are a TK and 501st approved, you can submit photos. Photos of TK's both OT and First Order, any of the costumes in our CRL to be honest. Can be a single trooper but group photos are very welcome. What you consider your best troop photos or most memorable can add more meaning to this project so select carefully. Ultimately we are after High quality or resolution photos, but for this thread, you need simply only add a lower res version using Imgur or other photo sharing 3d party services. Just make sure you have a good version to supply for the project if requested . Based on how many submission we receive, the final selection will be made by the staff. We are looking for the best and most varied photos old and new. If selected, you will receive a PM from myself or one of the staff requesting you email, share the high res version image (email will be supplied in the PM) Google doc or other sharing services can be used. What info do I need to supply with my image post? You may post as many photos as you like. Date or year the photo was taken and location. (state or country etc) Photographer name if known for each photo. Garrison/Squad/Fire team name. Photos must contain TK's predominantly, we are Stormtroopers after all. Both old and new photos are welcome, history is a great thing specially in our anniversary year and we can't wait to reveal what this is all about in the coming months. If you have any other questions, please ask in this thread to benefit others. Looking forward to seeing some awesome Troopers on assignment.1 point
-
Hello everbody, My name is Marco i am a part of this Community since 2007, my first ever 501st Costume was a Stormtropper :-) Unfortunately, I have put on too much weight in the past and at some point had to sell my armor and switched to a Tie-Pilot costume. But now I have to lose weight for health reasons and I want to get a Stormtrooper armor again in the near future. I have to have a weight of at least 95 kg. I wonder if it makes sense to put on armor given the weight?1 point
-
You can find some screen-references in the gallery section, so I'd check that out to make sure whatever you're cutting is actually accurate. Or you can use starwarsscreencaps.com to get some screencaptures of your own if those in the gallery aren't helpful enough.1 point
-
Having the notch (or mobility cut) is fine all the way up to level 3, Centurion. What you need to watch when having a mobility cut is that you don't go beyond the raised area of molding on the shin or thigh (yours is fine). It would benefit from being straighter / more even, and filling the gap below the coverstrip (either a scrap of ABS glued from behind, or filled with abs paste, to stop your black undersuit from showing through). Otherwise, no problem. I'm more concerned about what appears to be a crack in the coverstrip at the top!?1 point
-
POST 65 1. Boo at the Zoo October 2020 Elmwood Park Zoo, Norristown, Pennsylvania, USA. Garrison Carida Legion. Photographer Janna Koziel ID-12592. From left: David Gdula TK-15028, Andrew Andrijiwsky TK-18954, A.J. Hamler TK-51351, Sally Hamler ID-61950.1 point
-
Hello Ardeshir, thank you very much for your patience. Although your build is up to your usual outstanding quality, I'm afraid we have some bad news. Unfortunately your cod does not meet the requirements of L2, since has the distinct curves on the sides as seen in TFA (the image shown in the CRL is of the TFA version cod not the TLJ, something which will be changing with the current TLJ CRL review). We have multiple references of the TLJ type showing that those are not present and that the sides are more or less straight. Remember that "GML’s and costumers must consider both text and pictures (CRL and Reference) when reviewing the costume". If you have any questions, the entire D.Os. team is at your service. TFA Reference image TLJ Reference images1 point
-
I think we can as I asked Daniel directly for permission to post his story and images here. As long as we have his name attached to the images it should be fine. As you can imagine he is inundated with questions at present but he will be along on the forums to Q and A here as well.1 point
-
R2D2 Junior1 point
-
Thanks Team. I plan on building the armor as ROTK first then transforming into a remnant tk,1 point
-
Finished printing the files (thank you Germain!) found on FISD. Printed on PETG on a Prusa MK3S Goal is to get BlastFx installed1 point
-
POST 64 1. 2. 3. 4. 5. Sean “Buzz” Rankin TK-12682 Florida Garrison Tampa Bay Squad1 point
-
Hey John thanks for posting your build thread.1 point
-
Welcome John, great videos good luck on your progress.1 point
-
Hey hey mister! You found your way here! Exciting! Good to see you again! [emoji175] Sent from my iPhone using Tapatalk1 point
-
Looking forward to seeing the progress, good luck1 point
-
Nice work, more for higher level approval but you could remove a small amount of paint from the teeth, they do look to be touching the gums, from the CRL: Frown is painted gray and does not leave the teeth area. Not sure what padding you have in the helmet but isn't sitting in the center, perhaps a little foam either side of the your head will help keep it central Looking forward to seeing you approved soon, good luck1 point
-
Just to add, normally I'd suggest altering the length of the straps. I only suggest moving the poppers because it doesn't look like there's enough length in the strap to shorten it.1 point
-
A huge thank you to everybody that has already replied to my pre approval request with all the suggestions! This also means that I'm back on this thread with a few things to work on, the first of which was pointed out by Tino: It's awesome to see the armor coming together more and more, so I'm sure that with all the suggestions I'll be making a few more adjustments to various parts of the armor. Next up: making sure the ab plate sits straight. As always, any advice or suggestions are welcome!1 point
-
Hi Jhon, welcome to FISD. Nice work on those videos. looking forward for your advances and videos.1 point
-
This looks fantastic!! Always love seeing all the hard work you do! Sent from my iPhone using Tapatalk1 point
-
Andrew thank you for such an amazing compliment. Means a lot. I always try and do it in a way that it will help others.1 point
-
Ardeshir, you are a machine brother!! I really love going through your applications as they are a benchmark in how well they can be done. Beautiful photos, great detailed intro, well laid out, this is a Deployment officers dream come true. I totally understand why the deployment team enjoy reviewing every submission you lodge. Best of luck with your approval.1 point
-
POST 45 Event: Amman Jordan Visit Location: Wadi Rum, Jordan (site of TRoS filming location) Date: 12/19/19 Photo by: Muhnnad Abo Zir Members of Empire City Garrison/FireTeam Liberty & Florida Garrison/Everglades Squad/FireTeam Alpha 1.1 point
-
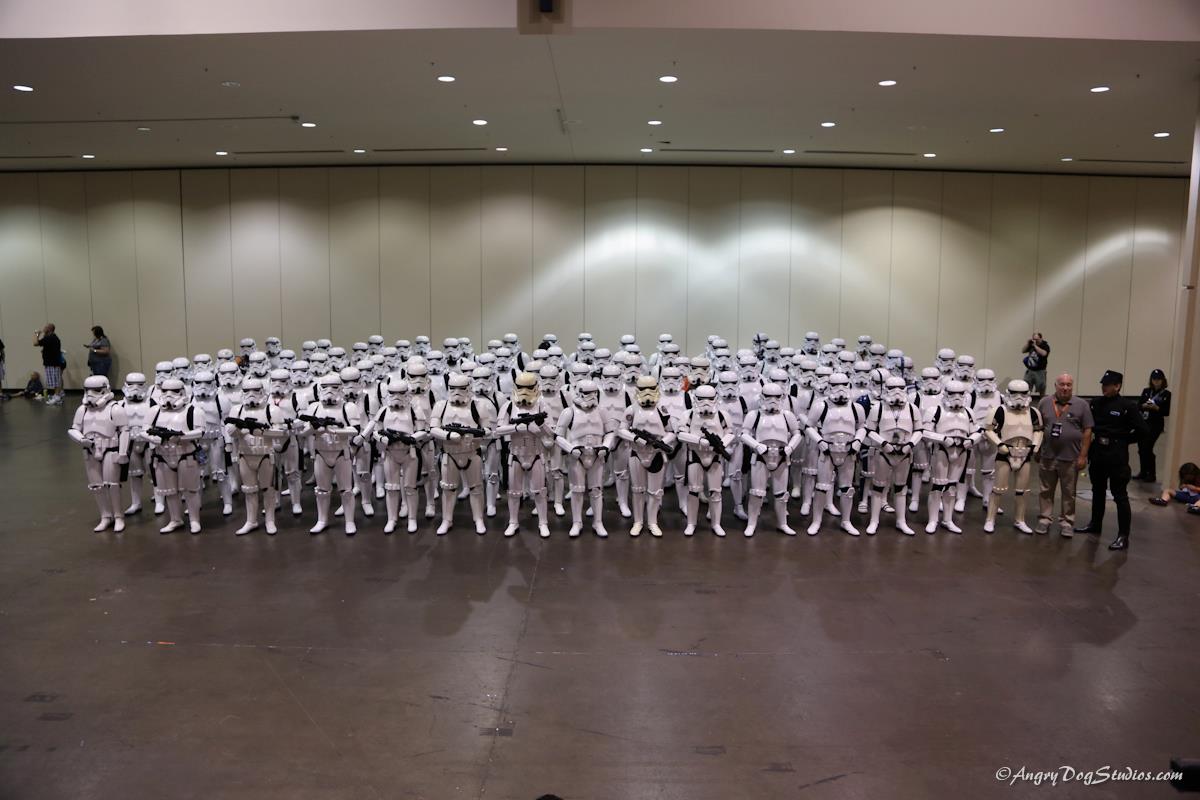
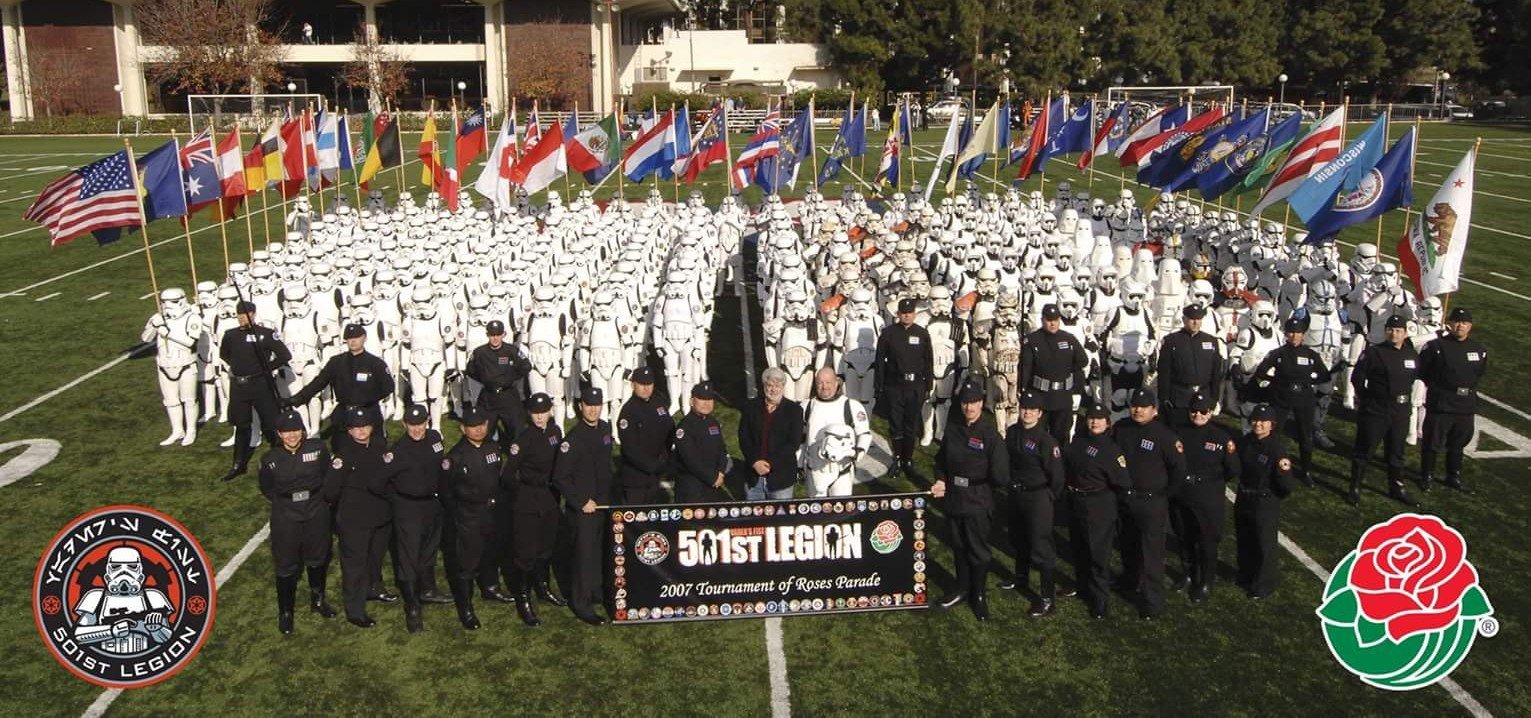
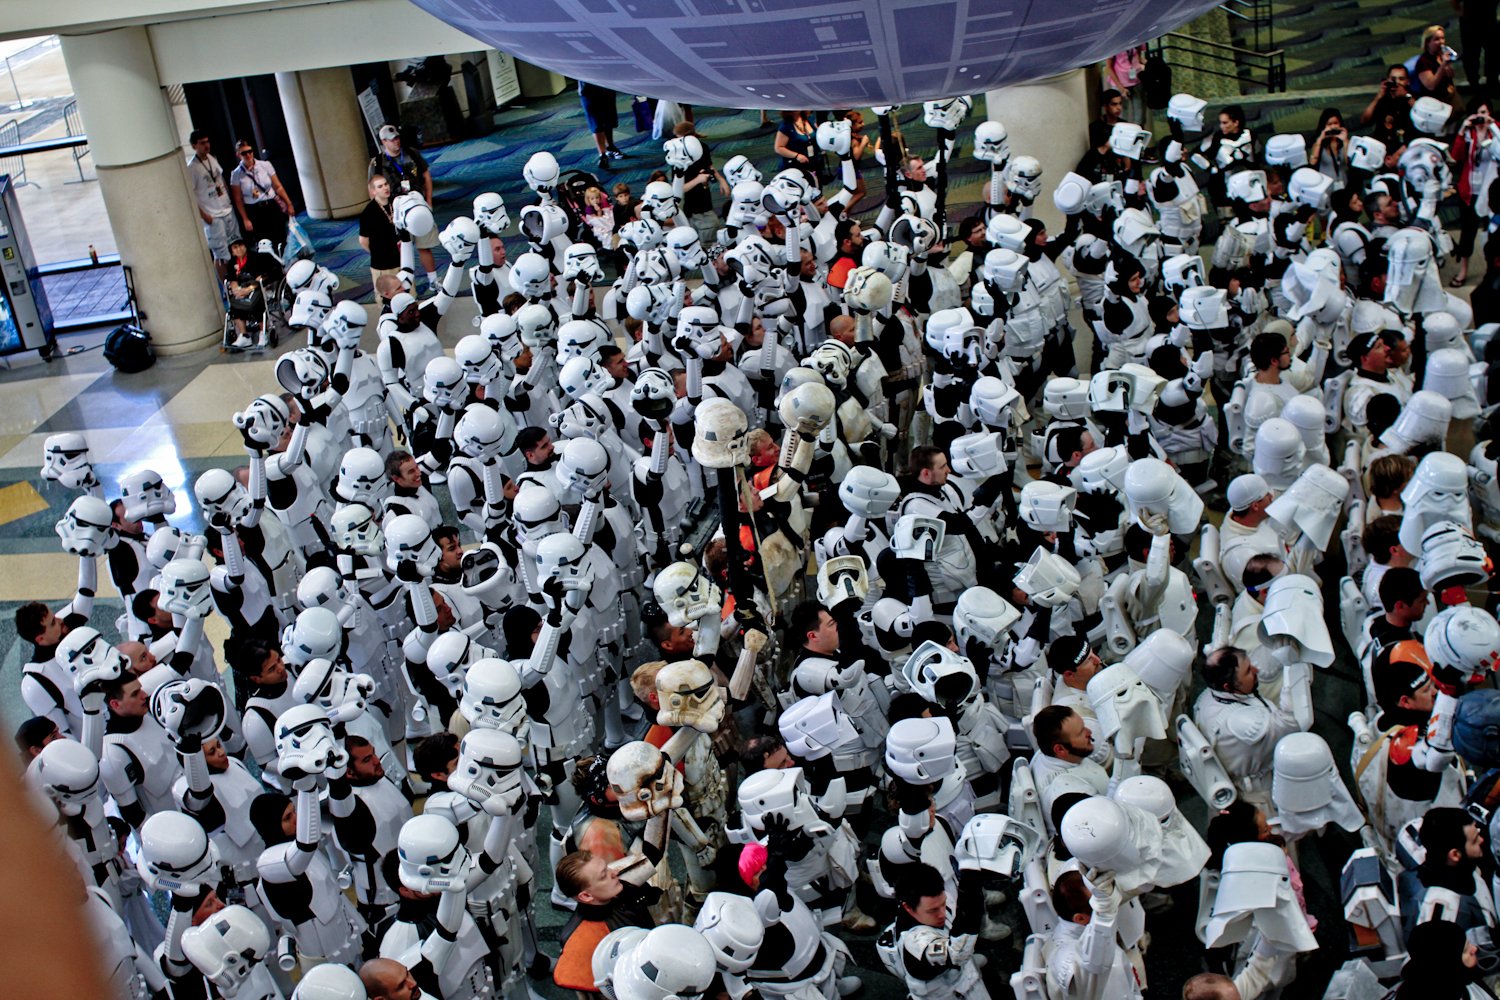
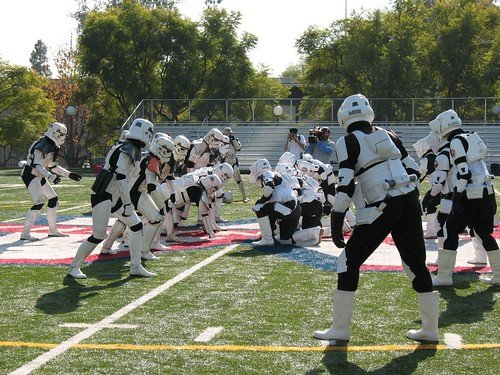
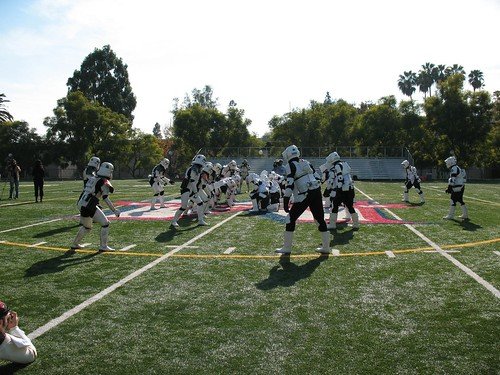
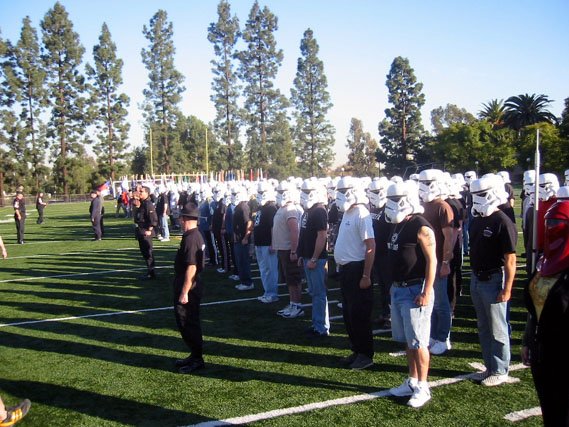
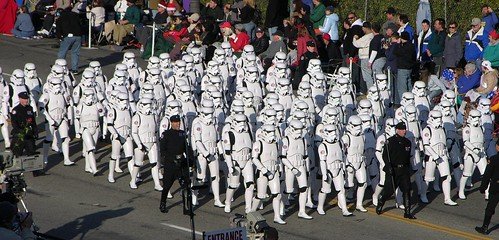
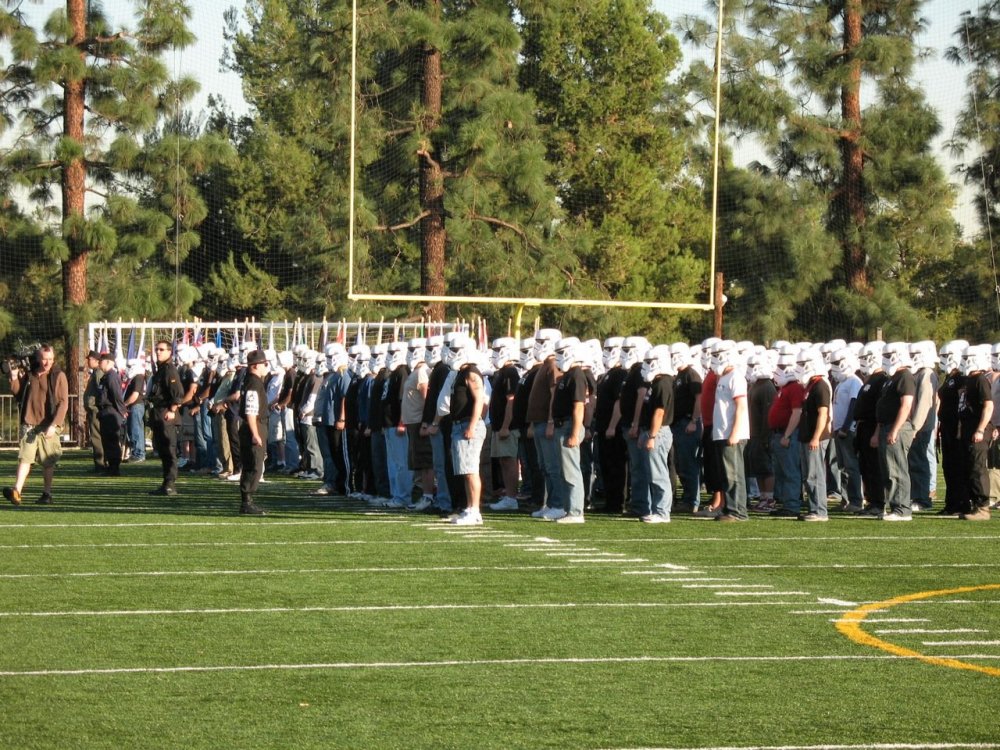
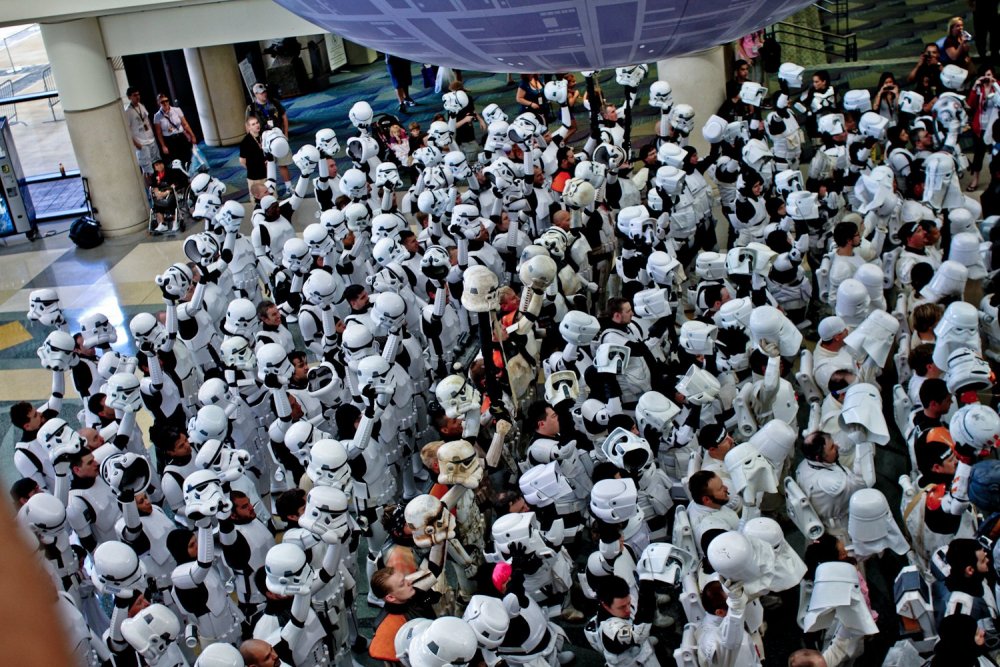
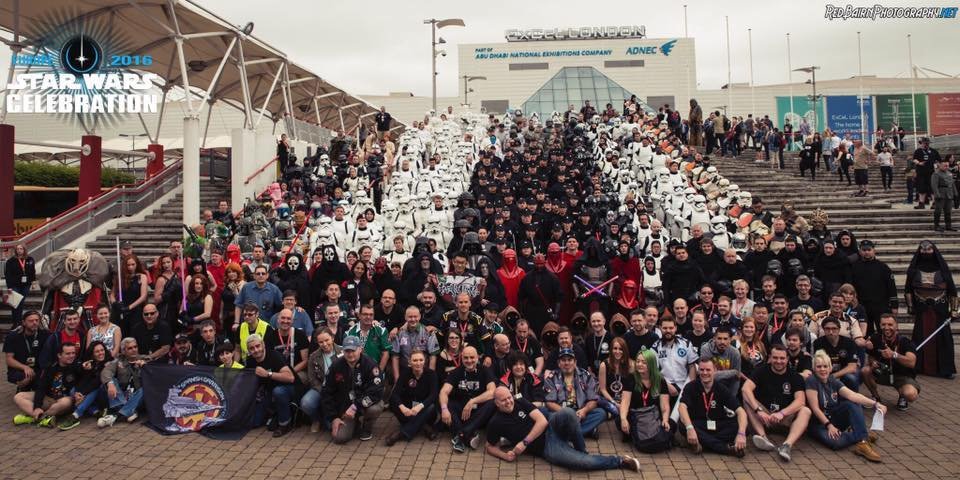
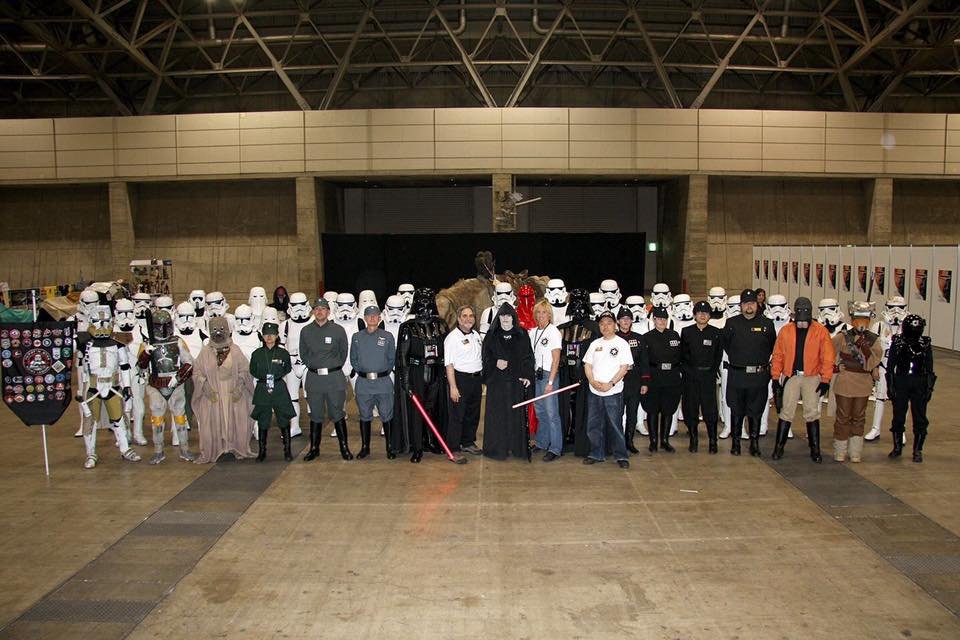
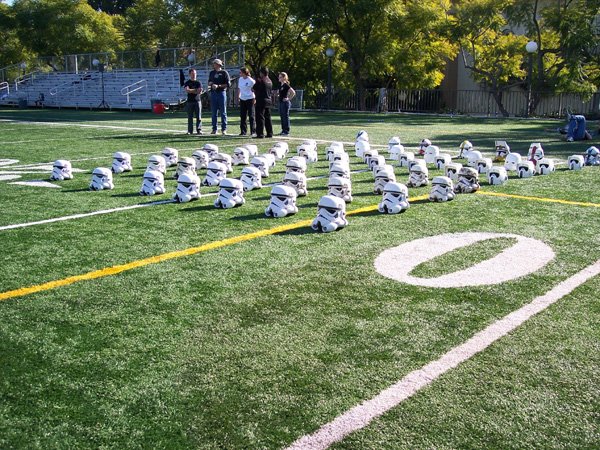
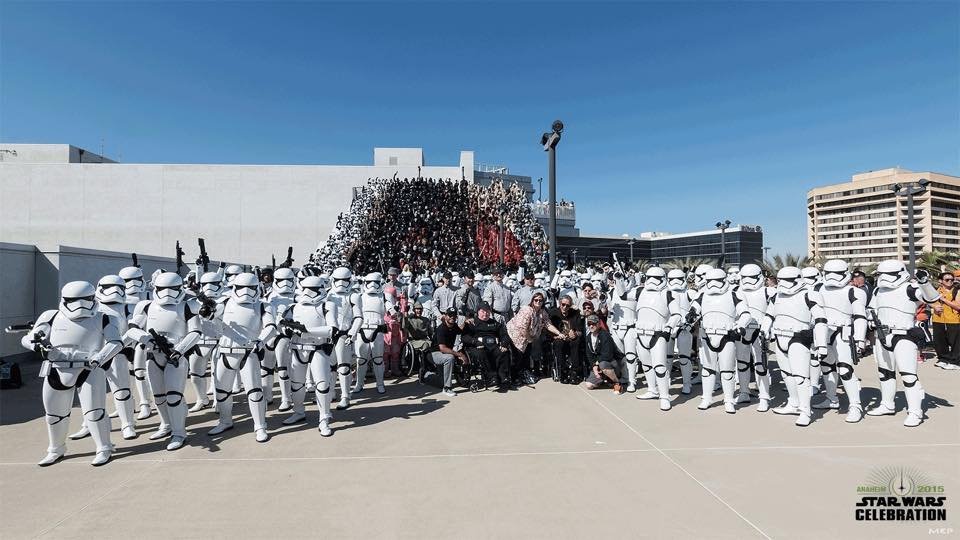
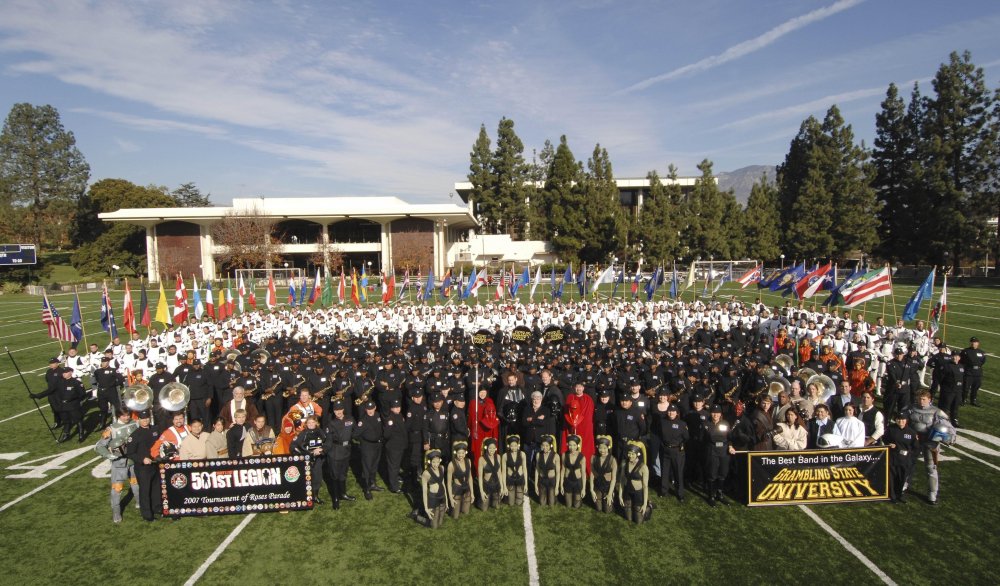
POST 44 Images from around the detachment. If anyone has higher resolution images of these please post or pm me. Rose Parade Practice 2007 1. 2. 3. 4. TK's V TB's Footbball 5. 6. 7. Rose Parade The Big Day 2007 8. 9. 10. 11. 12. 13. 14. CELEBRATIONS Celebration II 2002 15. Celebration III Indianapolis 2005 16. Celebration IV 2007 17. Celebration Europe 2007 18. Celebration Japan 2008 19. Celebration V 2010 20. 21. Celebration VI Orlando 2012 22. 23. Celebration Europe II 2013 24. Celebration Anaheim 2015 25. 26. Celebration Europe III 2016 27. 28. 29. Celebration Orlando 2017 30. 31. Rogue One / Scarif beach shoot at Cocoa Beach on Sunday 32. 33. Celebration Chicago 2019 34. 35.


 1 point
 -
Thanks Bryan. And everybody keep in mind that these iPhone pictures I took might in fact be showing off TOO much detail and saturation in the scope and overall weathering. The gold saturation really varies in all sorts of light conditions as does the silver dry brush. Indoors it looks almost entirely black, outdoors it starts to light up. I do hope he improves customer communication for the future, especially after my situation. Things go wrong and we sorted it out eventually but you never know what might happen.1 point
-
Dan, what a great and honest review! Nice work, my friend. I think you were more than fair in revealing your story and laying it all out there. I'm sorry you had such a long wait, but your blaster is VERY nice and should serve the Empire well. One thing I've noticed since I've seen several photo layouts of the Hellhounds E-11, is that each one is pretty unique. They are, after all, a sculpt, a paint, a weather job and a work of art. They aren't massed produced and every one the same. The two I have are very similar to yours, (and I see some recent improvements) but different as I would expect. And not at all in a BAD way! Your E-11 appears to have more gold weathering on the scope than mine for one comparative example. I still need to try and get him to send me a Magazine release mechanism for one of mine that didn't come with one, then I'll be happy with both of mine. Thanks for sharing your experiences! I truly hope Hellhounds Props LLC improves some things with customer communication. Except with a similar experience to yours, I'm a happy trooper (wanna be).1 point