Leaderboard


Popular Content
Showing content with the highest reputation on 06/17/2021 in Posts
-
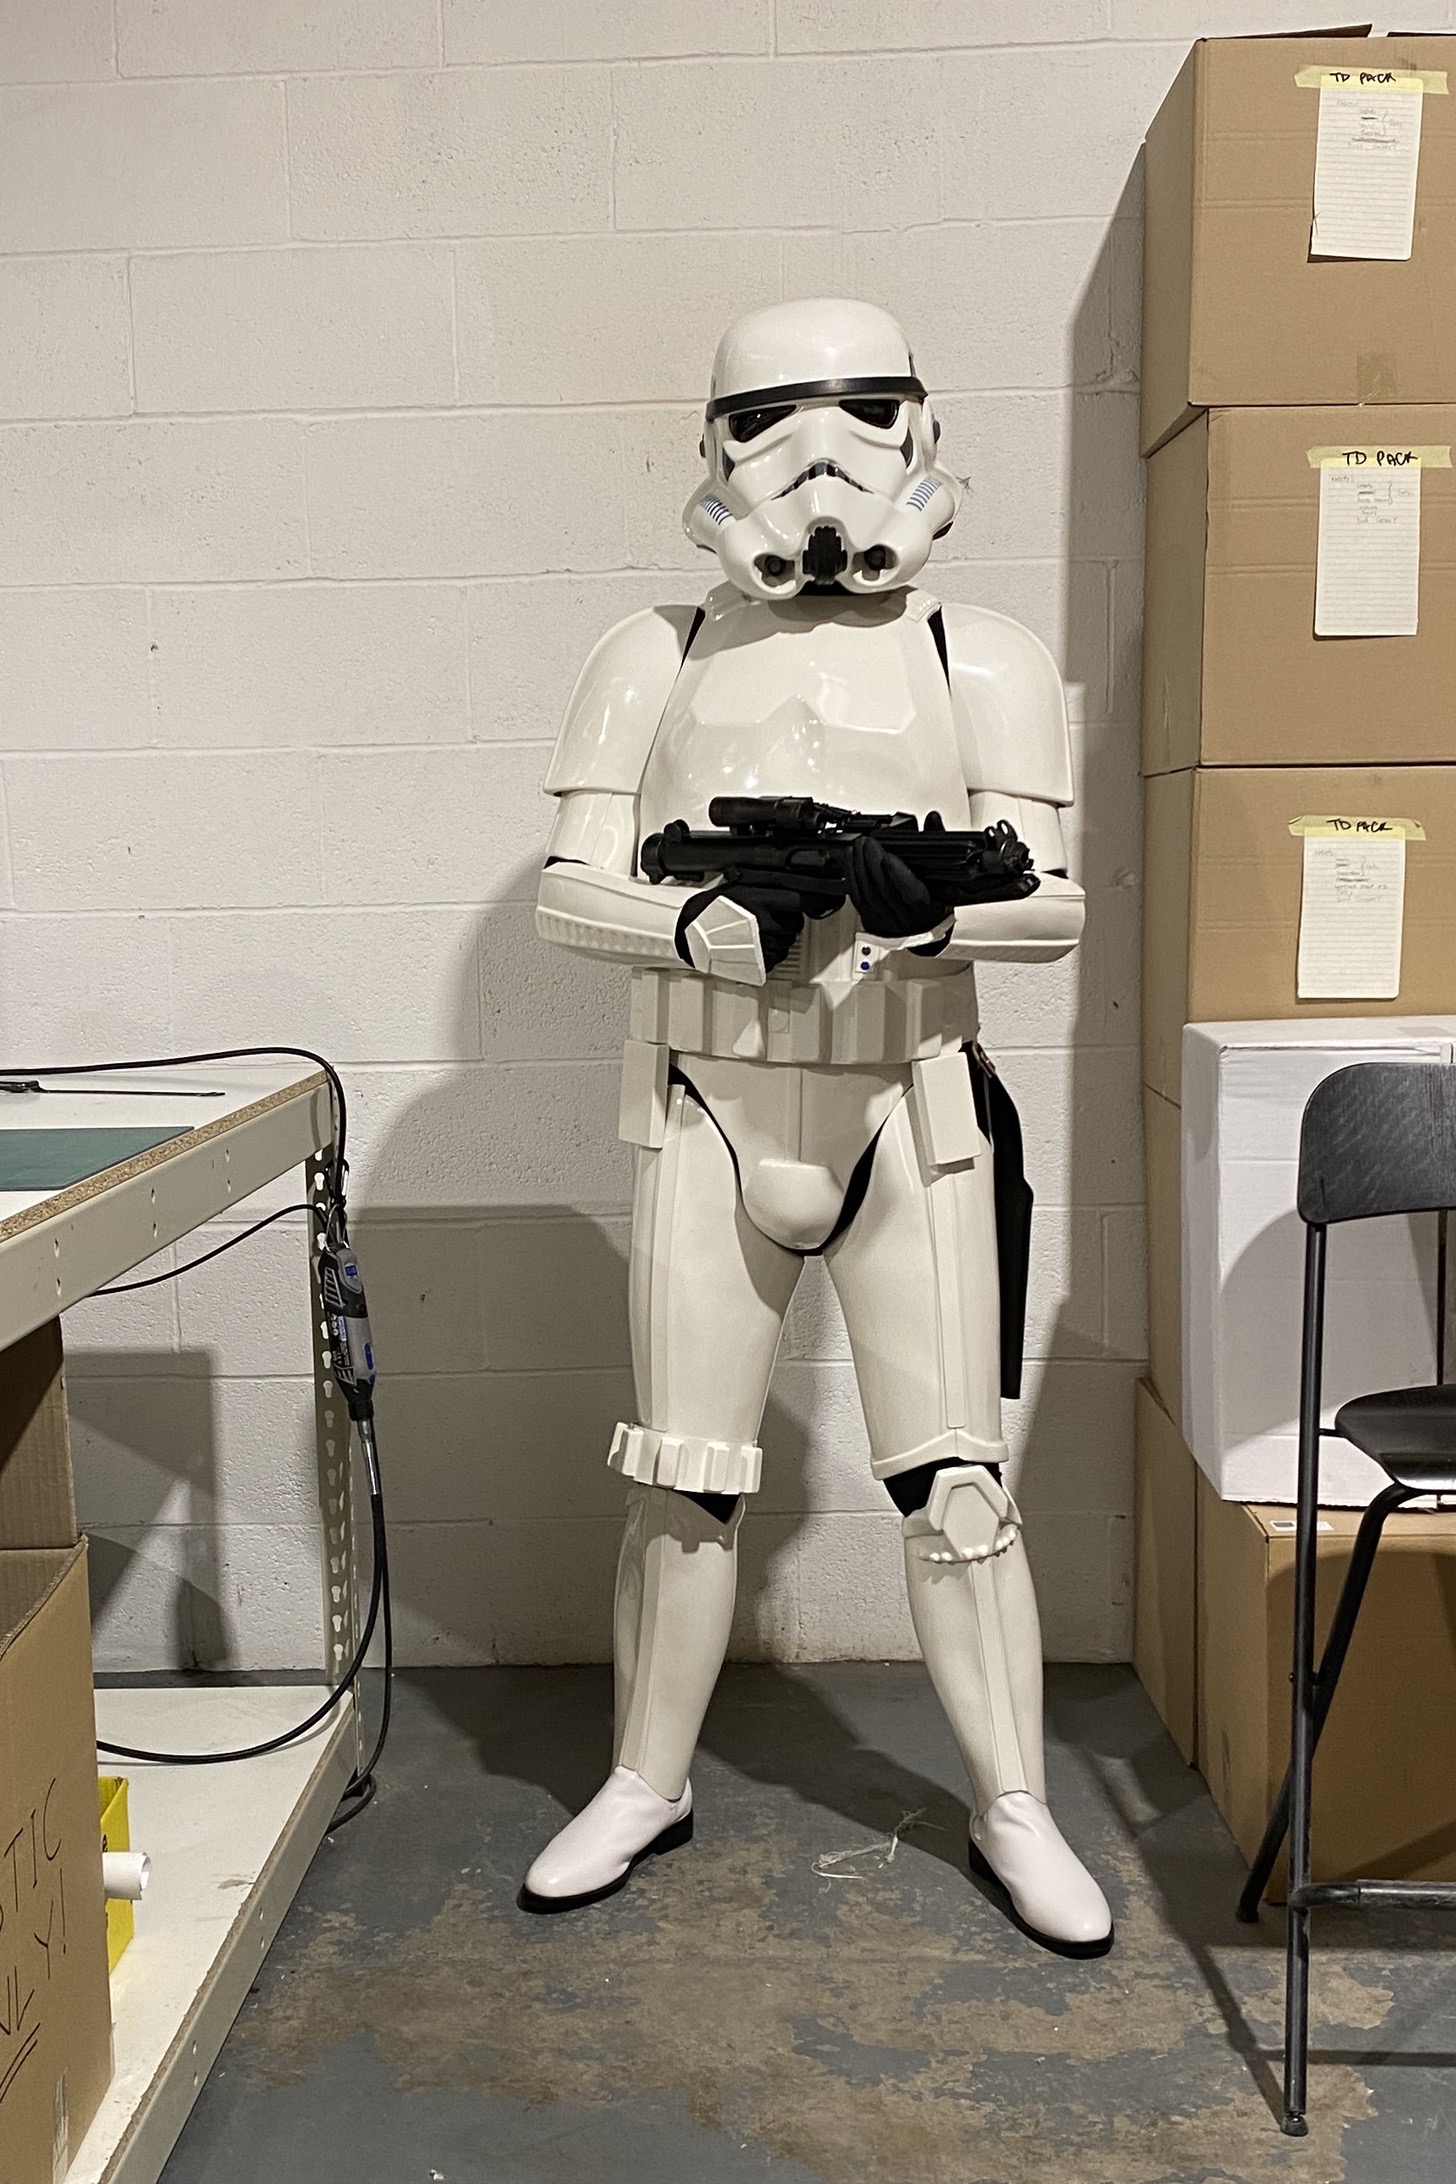
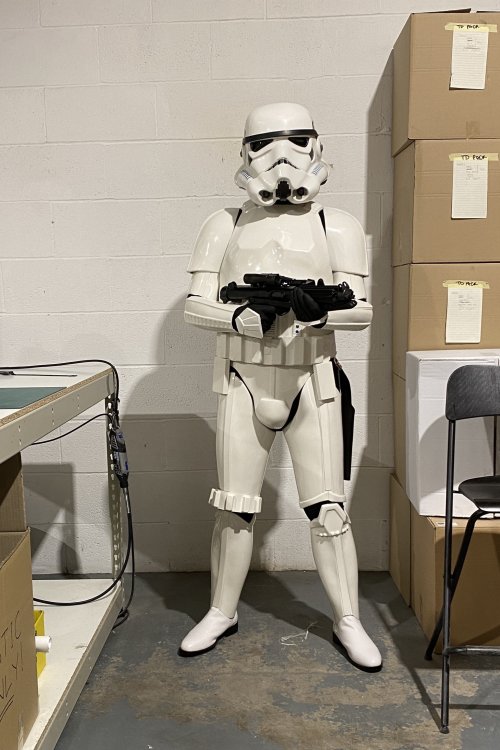
Looking sharp, Jacob! Before we can move you along we need a simple fix and one more photo, sir. As per the CRL for Level 2, the screws for the TD must be the slotted type (flat or dome head). The ones you presently have are Philips "V" head. I would check out your local hardware store, but if you can't find the correct style I can mail you some (just pay postage). PM me if interested. Reference image Also, can you post up a close-up pic of your ab/kidney rivets? Thanks, and I look forward to seeing the results!2 points
-
Hi everyone, My name is Tim and today I proudly became part of the 501st Legion with the UK Garrison. Like many, my story starts in my childhood when I first saw A New Hope and so began my fascination with the Stormtrooper. For a lifetime I’ve been obsessed with the helmet and always wanted one but it wasn’t until I read Anthony Daniels book, ‘I am C-3PO’, where he referenced the 501st. Learning there was a community of like-minded people, all over the world, with the same passion and enthusiasm for such an iconic movie character, I knew I had to join. Well now, that day as arrived. My journey… One positive out of the pandemic has been my ability to save money. Whilst I did this, FISD has been crucial to my research and I’m really glad I took the time to do this so I was confident that I was making the right choice for me. I made the decision to have a commission-build with RS Prop Masters. For me, I just don’t have the confidence to do the work myself so this was the ideal option. On top of that, their direct linage to an original suit, their attention to detail to create a screen accurate replica, warts and all, was a no brainier for me. They truly are world class in my opinion and I’d recommend them to anyone. Special thanks… I’ve had a lot of really valuable advice and suggestions here on this forum but I must thank gmrhodes13 whose regularly responded to my many questions. I would also like to thank Rich330 a.k.a. Richie Stormtrooper (on YouTube). It was his videos that introduced this site, gave advice on where to buy good quality armour (and where not to buy). There are a lot more people so if I’ve missed you out, don’t be offended. I can’t tell you how much of a dream come true this is. I look at myself in the mirror, with the full armour on and it’s the most fantastic feeling. I’m a Stormtrooper. A real one and I cannot wait to get out there trooping. Tim TK 24881 UK Garrison
 1 point
 -
Hello, Troopers! On behalf of the Command staff I am proud to announce that we have a new member of the team! Chemi (TK 30173) from the Spanish Garrison will be moving from his position of Imperial Attache to Deputy Deployment Officer. As a Centurion level TK (and one heck of a nice guy) he will be working with Mario and I and using his TK expertise to approve costumes at the higher levels. I'm sure he will be a great addition to the Staff, so please join me in welcoming him to his new rank! Way to go, Chemi, and I look forward to working with you, mi hermano!1 point
-
Hello - I’m new here - I have a decent costume - enough to make your average Joe’s ooh and ahh. But I would like to find someone in fairfax va that would be willing to get together and help me with my costume improvements.1 point
-
Correct no issues with using E6000, you can also use E6000 on places that flex as it will hold quite a lot, I used it on my shins as they will flex a little opening and closing.1 point
-
Got a lot more work done the last few nights, picture-heavy. Got the shims put onto the back of the shins: Which turned out pretty good Got around to putting the boxes onto my Forearms: Butt-join on the outside thigh... not sure yet how I want to attach the inside. Inside View And put another layer of primer on some touch-up items, and first coats for others. Abdomen is nearly finished, needs a few passes with the sander and should be good: Very happy with the back/yolk join: Behind: Knees: Spatz! Feet Plates:1 point
-
Awesome @gmrhodes13 and @ukswrath thanks as always for the clarification.1 point
-
I used E6000, I agree that they have not much stress there.1 point
-
Coming along nicely , keep it up.1 point
-
Привет! This is not surprising, because Russian and Ukrainian languages of the Slavic group of languages are somewhat similar.1 point
-
Will do! I’ll report back on those screws ASAP! In the meantime I wasn’t sure if on or off of the closeup. Here’s the side shot as requested.1 point
-
Thank you Any more photos needed I’m happy to oblige.1 point
-
Armor looks awesome Jacob, good luck on your application1 point
-
Congratulations trooper, Welcome to the ranks.1 point
-
Finally, it was time to put the gun back together. I screwed back in all the screws that I look out previously. I then flattened out the top T-track to match the others, then I trimmed down the trigger guard This next part was definitely the most time consuming part of the whole project. I first had to sand down the entire gun (for better paint adhesion), but specifically the line where the two halves of the gun meet. There is a slight bump there that I wanted to get rid of. I then used bondo putty along the entire gun to cover up the seal of the two halves. This was especially necessary under the rail, scope, along the middle t-track, and the trigger guard; which is due to small gaps that were created during trimming. Also, I filled in all the screw holes. It took several coats and smoothing out with sand paper before I got it just right With E6000 I glued on the two parts I 3D printed: The power cylinders and the D-ring1 point
-
Yes, understood. They should indeed, and I have patched them cleanly and discretely. As an LMO I have followed along and as noted would like to go for lvl2; lvl3 is out because of a latex allergy, but I'll broach that when I've made other adjustments to the belt. Just working on standard approval atm. I have the snap plates all together and ready to go for the shoulders and torso.1 point
-
That's a good point! Thanks!1 point
-
Здравствуйте! I know a little Russian, so I recognize some Ukrainian words too. Looks like that one's the same1 point
-
Hi Shanda! When you say Deathtrooper, do you mean this: or this: CRL link here CRL link here The first one (TK) we can help you with, as that is one of the costumes we deal with here on the FISD. If you mean the second one (TX), that costume is part of the Special Ops Detachment. I have provided a links to both of the CRLs for you. Hope this helps!1 point
-
Thank you and yes, for the moment I am using the Anovos Belt. Maybe replace in time but atm using it. Yeah, a right mess. I see that makes sense, I guess (added Velcro), but the Velcro is gone now, and the belt is fully supported. It was rather tricky to drill that off was some very tight pink cement on there: It appears to fit decently well though with the reinforcement.1 point
-
Looks good trooper.1 point
-
Hello and welcome to FISD and congrats1 point
-
Hi Shawn, and thank you for your EIB application! CRL and EIB Application Requirements: All required photos have been submitted, and on behalf of the entire D.O. staff we are pleased to welcome you to the rank of Expert Infantry. Congratulations! Other-Armor Fit/Assembly; In this area we review observations made by your fellow troopers and the DO team. Some observations may lead to suggestions to improve the overall look of your armour. Note that we consider both text (CRL) and pictures (screen caps/reference images) when reviewing submissions. -"Ideally" the corners of the small button panel, should be square and not rounded. Reference images -The hand guards are pretty far from the forearm opening. We believe this is due to the gloves sliding down and bunching at the wrists, pushing the hand guards down and the forearm pieces up. Reference images -We noticed that your thighs are hitting the butt plate. You can check your straps and lower them a little. Reference images -Ideally, the screws of the thermal detonator sit closer to the end of the clips and end closest to the control panel are not rounded. Reference images *************************************************** Centurion Requirements; In this section we prepare you for Centurion. Because Centurion photos show more detail than EIB, items pertaining to Centurion might be seen there and not here and additional photos may be required. We try to point out all that we can from what we see, but the final accuracy is the responsibility of the trooper. -The vocoder paint could be improved a little for more accuracy. Any NON-ACETONE paint remover, a few Q-tips and tooth picks will help you to fix it. A filbert style brush will help with the top parts. It's easier than you think . Reference images L3- Ideally there no gap between the abdomen and kidney armor. Abdominal and Kidney Plate align horizontally at top. It's really not much of a gap, so, tightening your canvas belt a little will solve the problem. Reference images L3- Three rivets, approximately 5/16"(8mm) diameter, are present on the left side of the abdomen armor. One of the rivets appears to be larger than the others, but a replacement is on it's way to you! Reference images -The outside edges of the large button panel are too wide and will need to be reduced, and squared off for L3. If you need help with this, feel free to contact any of us on the D.O. staff and we will be happy to give you some advice on how to correct it. Reference images L3- The top of the ABS ammo belt should sit at or just above the bottom of the central and vertical abdomen button panels. It will be necessary to raise your ABS belt a bit. One popular fix to this is to add a piece of Velcro to the belt and AB plate to keep it in place. Reference images - The butt plate is too away from your kidney. Some strapping adjustments would help... Reference images Perhaps you can add a "V-tab" to the end of the plate and this may help as well. L3- 3D printed blasters can not contain visible print lines, and must be sanded smooth for a more realistic appearance. We have a challenging issue here but we have confidence that you can do it!. Some parts of the Blaster will definitely need to be sanded down and repainted for Centurion. You can use a Primer/Filler" like this (below). It will still need some sanding, but it really helps! Reference images And that's it, trooper. Thanks you for your patience Shawn. You have a great armor. I look forward to seeing your centurion application soon. Any questions you have, we are here to help!!!! ***************************************************************************************************************************************************1 point
-
Moving along nicely, Aaron! You are doing the absolute right thing by posting lots of images and asking questions. If you keep this up, I guarantee you will end up with a spectacular set of armor, sir. As for the trimming on the sniper knee plate, this is what I would suggest: 1. Trim off ALL of the return edge on the bottom. Doing this will allow it to flex, fit snugly against the top of the shin and will help with positioning. Before gluing, I would post up a pic of it held on with blue tape. When trimming the sides, try not to have a sharp angle, but a slight curve. Sharp angles are where splits start. You NAILED the 45 degree angles on the ends of the ABS belt. NICE JOB! Your left side (second photo) drop box lines up spot on, with the outside edge lining up with the end of the ABS belt. The right side is a bit off, but this is easily remedied by positioning it where it should be and adding a dab of E-6000 behind the rear strap.1 point
-
Updated @Troopersaurus try sending a PM to JustJoseph1 point
-
Great finds, Henry. Thank you for posting here. Looks like I soon have to update the reference. Next two weeks will be busy for me at work, so it will take some time to get this added. Thanks again.1 point
-
On a separate note from the Hex Nut and Bolt is the final Mounting Method the prop department resorted to for the Counter and Power Cylinders. After initially being Glued on and falling off during production the Counters and Power Cylinders were eventually mounted to the blasters with a wire simply wrapped around them. As you can see after initially being glued on and falling off while filming(especially the trash compactor scene) the Counters were finally mounted to the blaster with a wire wrapped around the base of the scope feet. The ‘Power Cylinders’ eventually utilized the same type of mounting method the prop department resorted to for the counters; A wire was wrapped over the ‘Power Cylinders’ and around the mag well of the Sterling Sub-Machine Gun. Here are several more photos of the Counters mounted with a wire wrapped around the base of the scope feet. some of these images almost look like it could possibly be a thin zip tie too. There was definitely some kind of Wires and Electrical Tape connected to the socket terminals on this Hengstler Counter, old news I know but 4K resolution gives us some new insight. This image also shows the Hex Nut just over Leia’s shoulder.1 point
-
Thanks!!!! A pleasure to work with you and Mario. A lot of work ahead, I know. But I will do my best to make the detachment much bigger (if possible). I know that you will support me, and if I need help, you will be there (as it has been since the day I registered at the Detachment ), so I am not worried. Thank you brothers.1 point