Leaderboard


Popular Content
Showing content with the highest reputation on 06/16/2021 in all areas
-
Thanks! I am thrilled to join the ranks of those who have come before me. I will continue on my path to Centurion and I greatly appreciate all of the Deployment Staffs observations!4 points
-
Well, just a few months later and the BBB day should be in the next week or so from Walt.3 points
-
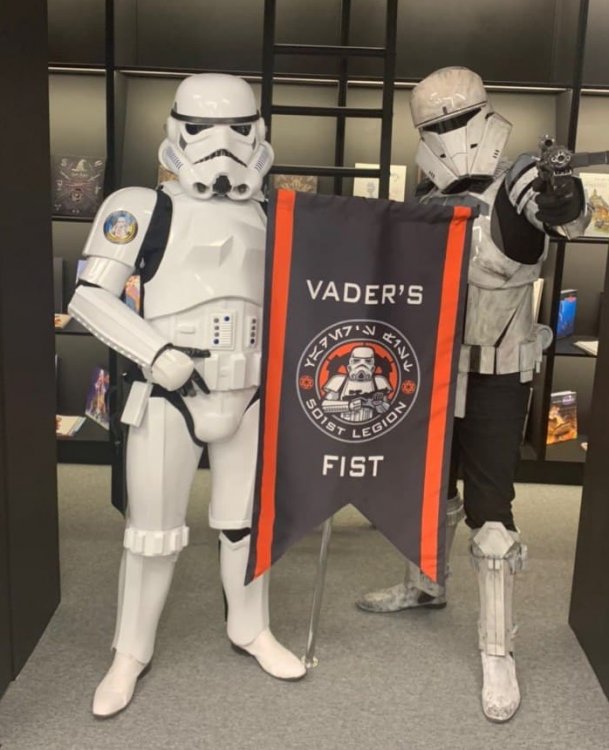
Hello, Troopers! On behalf of the Command staff I am proud to announce that we have a new member of the team! Chemi (TK 30173) from the Spanish Garrison will be moving from his position of Imperial Attache to Deputy Deployment Officer. As a Centurion level TK (and one heck of a nice guy) he will be working with Mario and I and using his TK expertise to approve costumes at the higher levels. I'm sure he will be a great addition to the Staff, so please join me in welcoming him to his new rank! Way to go, Chemi, and I look forward to working with you, mi hermano!2 points
-
Hi all, Just thought I’d let you know that I’ve had clearance and now waiting for my 501st application to go through. Thanks for all your help getting me this far. Sent from The Empire2 points
-
Hi Shawn, and thank you for your EIB application! CRL and EIB Application Requirements: All required photos have been submitted, and on behalf of the entire D.O. staff we are pleased to welcome you to the rank of Expert Infantry. Congratulations! Other-Armor Fit/Assembly; In this area we review observations made by your fellow troopers and the DO team. Some observations may lead to suggestions to improve the overall look of your armour. Note that we consider both text (CRL) and pictures (screen caps/reference images) when reviewing submissions. -"Ideally" the corners of the small button panel, should be square and not rounded. Reference images -The hand guards are pretty far from the forearm opening. We believe this is due to the gloves sliding down and bunching at the wrists, pushing the hand guards down and the forearm pieces up. Reference images -We noticed that your thighs are hitting the butt plate. You can check your straps and lower them a little. Reference images -Ideally, the screws of the thermal detonator sit closer to the end of the clips and end closest to the control panel are not rounded. Reference images *************************************************** Centurion Requirements; In this section we prepare you for Centurion. Because Centurion photos show more detail than EIB, items pertaining to Centurion might be seen there and not here and additional photos may be required. We try to point out all that we can from what we see, but the final accuracy is the responsibility of the trooper. -The vocoder paint could be improved a little for more accuracy. Any NON-ACETONE paint remover, a few Q-tips and tooth picks will help you to fix it. A filbert style brush will help with the top parts. It's easier than you think . Reference images L3- Ideally there no gap between the abdomen and kidney armor. Abdominal and Kidney Plate align horizontally at top. It's really not much of a gap, so, tightening your canvas belt a little will solve the problem. Reference images L3- Three rivets, approximately 5/16"(8mm) diameter, are present on the left side of the abdomen armor. One of the rivets appears to be larger than the others, but a replacement is on it's way to you! Reference images -The outside edges of the large button panel are too wide and will need to be reduced, and squared off for L3. If you need help with this, feel free to contact any of us on the D.O. staff and we will be happy to give you some advice on how to correct it. Reference images L3- The top of the ABS ammo belt should sit at or just above the bottom of the central and vertical abdomen button panels. It will be necessary to raise your ABS belt a bit. One popular fix to this is to add a piece of Velcro to the belt and AB plate to keep it in place. Reference images - The butt plate is too away from your kidney. Some strapping adjustments would help... Reference images Perhaps you can add a "V-tab" to the end of the plate and this may help as well. L3- 3D printed blasters can not contain visible print lines, and must be sanded smooth for a more realistic appearance. We have a challenging issue here but we have confidence that you can do it!. Some parts of the Blaster will definitely need to be sanded down and repainted for Centurion. You can use a Primer/Filler" like this (below). It will still need some sanding, but it really helps! Reference images And that's it, trooper. Thanks you for your patience Shawn. You have a great armor. I look forward to seeing your centurion application soon. Any questions you have, we are here to help!!!! ***************************************************************************************************************************************************2 points
-
Pic 16 and 21 updated to show repainted frown (removed black paint from gums and repainted to tidy up lines) Sent from my SM-A715F using Tapatalk2 points
-
The rear seam should be centered on the back of your leg, and be sure that you have an equal distance on both sides of the raised ridge at the bottom. As for the tops, I would advise against any points. The reason being is that they can/will poke into the rear of your leg while walking. Ouch. It's perfectly acceptable to trim them down as needed for comfort and mobility.2 points
-
…been a busy week, but hoping to take advantage of a mid-week weekend and finally get suited up for the most preliminary of full-on fittings to see how it looks and what alterations I’ll need to make… For now though, just touching up the armor rivets with a little paint…2 points
-
(My English is not very good, but I want to write something) Hello from Ukraine! My name is Alexander, I am 23 years old. As a child, I watched Star Wars and immediately liked the stormtroopers, I set myself the goal of making exactly the same suit, and after many years I did it! The guys from the Ukrainian outpost helped me, without their help I would hardly have made such armor. Thanks to them for that! TK-55535 ready for duty! \
 1 point
 -
1 point
-
You want to stick by the CRL and also reference for the character, gallery is here For a blood red I find red mixed with some black and brown works well, you only need a small amount to darken. Here is the color guides1 point
-
Hi Shanda! When you say Deathtrooper, do you mean this: or this: CRL link here CRL link here The first one (TK) we can help you with, as that is one of the costumes we deal with here on the FISD. If you mean the second one (TX), that costume is part of the Special Ops Detachment. I have provided a links to both of the CRLs for you. Hope this helps!1 point
-
Thank you and yes, for the moment I am using the Anovos Belt. Maybe replace in time but atm using it. Yeah, a right mess. I see that makes sense, I guess (added Velcro), but the Velcro is gone now, and the belt is fully supported. It was rather tricky to drill that off was some very tight pink cement on there: It appears to fit decently well though with the reinforcement.1 point
-
Looks like I need to pick up one of your ANH td clips next [emoji106][emoji106] Sent from my SM-G986U using Tapatalk1 point
-
Alright Shawn congratulations, welcome to Expert Infantry1 point
-
Awesome. Thanks, Spartan. Sent from The Empire1 point
-
Is that sufficient on the frown? I used a toothpick against the edge of the gums to make sure there was a gap. Let me know of any other adjustments required! Sent from my SM-G986U using Tapatalk1 point
-
Yea removing the ammo belt is a B. Looks like you did a great job The extra velcro on the left side of the belt was to help support the holster area1 point
-
Very nice so far. I followed that same build that Tony documented so well and am happy he did. Keep up the good work! What was your belt fix? It looks like you were able to strengthen the Anovos belt and reuse it?1 point
-
We have that area cut out on our Anovos kits as you can see here. But screen accuracy KB added the extra material in the front, you can see the bottom of that front piece in this image Also just see it here
 1 point
 -
I would say that image is from a costumer or member who has attached after being approved, here are a couple of TLJ references from the gallery which show no soft pouch. For approval you can't have one (unless your GML misses it in review) but if it's fine with your GML and GCO you may be able to wear a soft pouch for non LFL events, but it's ultimately their call1 point
-
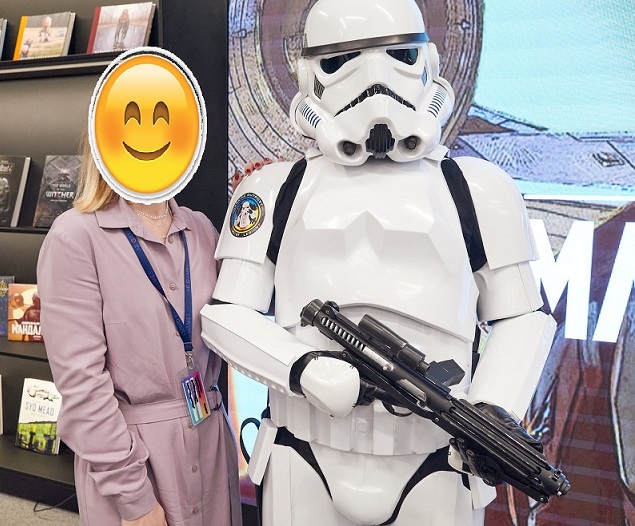
Congrats CHEMI [emoji106] Sent from my iPhone using Tapatalk1 point
-
interesante!1 point
-
Coming along nicely Mario1 point
-
Welcome..welcome. cheers1 point
-
Hopefully you roughed up the surfaces before adding the glue, it does help adherence Coming along nicely Mario1 point
-
I've been using Ukswrath's ANOVOS TK build (stunt) which has been quite helpful, thank you.1 point
-
Yes, I use them with my FOTK/Sith internal harness. Makes difficult areas to reach a simple task.
 1 point
 -
Basic trim to pull lines has been done, couldn’t resist simple tape up to see how it would look. Needs a lot of trimming and sizing especially forearms and shins Sent from my iPhone using Tapatalk1 point
-
@CableGuy, the main reason for the current size of the gap between my forearm and biceps is the length of my arms… I learned from building (and trooping while wearing) my Sandtrooper, that its biceps have a tendency to slip out from under my shoulder bells from time to time; something I’m experimenting with correcting as much as I can with this new TK build… The majority of my strapping with this current build is elastic fastened with snaps glued into the individual armor pieces, making them less permanent - more adjustable… I knew going into this build that there would be adjustments I’d need to make even up through fitting everything together including the torso, which I’ll be completing/fitting next…. I definitely agree, especially viewing the photos you’ve provided, that my gaps are a little excessive at the moment..! That’s something I’ll be correcting with both the bicep and the forearm strap lengths when I can get into the arms complete with the torso in front of a mirror… Thank you again for the photos and the video link, I very much appreciate the advice and input!! (especially that second behind the scenes pic) - doesn’t make me feel so bad about my biceps occasionally slipping out from under my shoulder bells..!!1 point
-
Thanks!!!! A pleasure to work with you and Mario. A lot of work ahead, I know. But I will do my best to make the detachment much bigger (if possible). I know that you will support me, and if I need help, you will be there (as it has been since the day I registered at the Detachment ), so I am not worried. Thank you brothers.1 point
-
So, I haven't posted anything in a while, but I thought I'd finish this thread off with one last 3D print discussion thanks to this quote from @gmrhodes13: I've had a profile set up in Simplify3d that I've used for finer prints. It's essentially been the same as my larger prints, except I slow the speed down to around 60mm/sec and run layers at .100 or .150. The results have been good, but not perfect. Please ignore what I printed and take a look at the quality in these pics: This a prime example of two totally different settings. First, on the helmet, you can see the results of .2 layer height at 180mm/sec. Lots of bondo, sanding and filler primer in my future. Next, the Snout Greeblies were printed at .100 and 60mm/sec. They're very detailed and will pass muster, but in the flat sections you can still see the line separation and on the "strainer" there's a lot of stringing. Also, the mesh doesn't look good at all. This is one of the primary reasons I'm going to be purchasing a resin printer; I'll turn that thing into a Greeblie Factory. So, the hot bed heater cable shorted out on me and I had to bust out the soldering iron to fix it. When I was done, I ran one of the prints that's embedded on the SD card that came with the Creality printer. Here it is: I thought it would be a fast print, but the thing actually took somewhere around 8 hours. However, when it was finished, I was absolutely blown away by the detail, the total absence of layer lines, and even more impressive, the thing printed on a raft that just snapped off with little to no effort at all, leaving a perfectly smooth surface under the cat. It was enough that I couldn't believe it was my printer that did it... stupid lucky cat. This got me thinking about Glen's aforementioned quote, and since I don't have anything better to do while I wait for my BBB, I decided to print a few armor pieces off using the profile I pilfered from the cat file. By the way, in case you didn't know already, if you ever find a perfect profile embedded into a .gcode file, you can just upload the file using the upload FFF profile function in Simplify 3D. The Upload FFF function recognizes the FFF in the .gcode. Neat! Here's what happened: Just like the cat, the level of detail blew me away. These are very small items (as you can tell by the 1" squares on my mat). But what happens when you print a larger armor piece like this? Pretty cool. These will require no Bondo or initial sanding. One layer of filler primer should be all it needs before paint. Also, I'm either going to have to resize these greeblies, or fill in the gap with resin. If I do, the resin will likely be rougher than the print and that's saying a lot. The only downside is that these biceps took 34 hours to print and if I were to print a full helmet with the cat settings, it would take a week. That doesn't sound like fun, but maybe I'll try it when I run out of things to print. So, Glen, thanks for the tip and thanks to Creality for supplying the amazing FFF file. If anyone is interested in how to pull a FFF profile from a .gcode file, check out this video: https://youtu.be/SRQ-3nnSa-4 Lol. He even used the cat to do it.1 point