Leaderboard


Popular Content
Showing content with the highest reputation on 02/16/2019 in all areas
-
Imperial Boots are good, but check to see if they are doing a run of them. https://www.imperialboots.com Sent from my 5054N using Tapatalk2 points
-
Just ordered a set from ukswrath [emoji16] Thanks! Sent from my iPhone using Tapatalk2 points
-
Name : Jennifer Catania 501st TK ID : 50721 FISD forum name: JenEyre Garrison: New England Garrison Build Thread: https://www.whitearmor.net/forum/topic/42210-jeneyres-wtf-anh-tk-build/ Thank you to TK-26329 for helping with these pictures! Mandatory Information Armor = Walt’s Trooper Factory Helmet= Walt’s Trooper Factory Blaster= Hyperfirm B Grade Optional Height = 5’7” Weight = 140 pounds Boots = ImperialBoots.com Canvas belt = Made myself Hand Plates = JustJoseph Electronics= Voice Electronics Maker Neck Seal = Made myself Holster = Made myself Full Body -Front – Arms at side -Back – Arms at side -Left – Arm raised -Right – Arm raised -Right Side Detail – Arm raised -Left Side Detail – Arm raised Armor Details -Abdomen Details -Action Shot (edit- accidentally made the original linked action photo black and white, so here's a copy of the original) -Cod and Butt Plate Attachment -Interior Strapping Helmet Details -Front (with flashlight inside to show lens color) -Side -Back -Hovi Tip Detail -Trim Blaster Details -Blaster – Left -Blaster – Right Accessory Details -Neck Seal -Thermal Detonator – Back -Holster Attachment1 point
-
Fantastic. Happy to be here. Story so far. I have an AM ANH Stunt kit. Helmet has been built by them, I received it today and personally think it looks stunning, just going to put some additional padding on the inside as although I'm quite tall, I have a tiny head it seems. I have received the helmet and kit this week and have been busy buying lots of bits, boots, neck seal, all tools required whilst I have waited for it to arrive. The kit looks great. Somewhat nervous getting started. I have built a Doodydoos blaster too. Just going to test loading some photos of what I have. I've read lots of build threads and have an idea of how I want to approach the build and naturally would love to achieve Centurion level if I can. Any advice welcome and I'll try and get things moving on here. Thanks1 point
-
Nice work, just watch your drop box placements when you kit up next as you can see one isn't sitting right. Good luck1 point
-
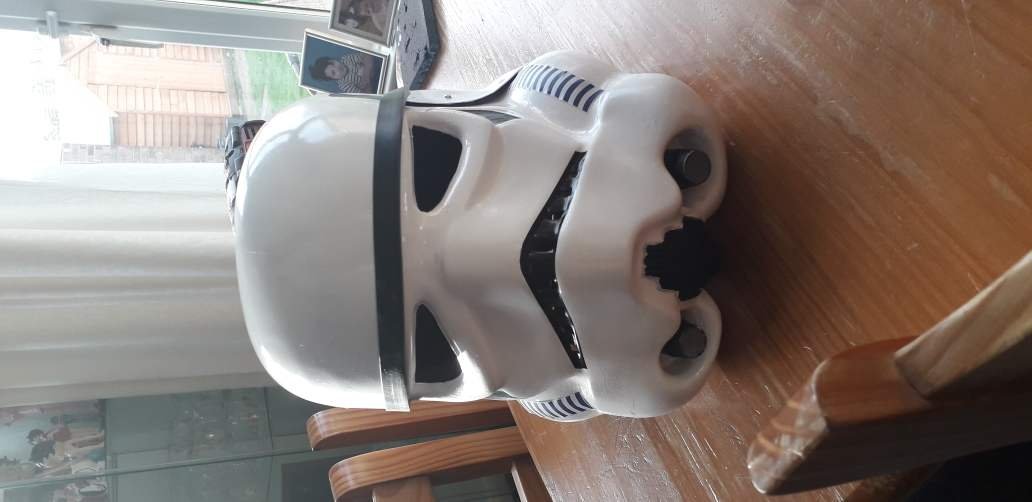
Update. Spent a lot of time filling cracks etc. I need some ears them it's done. I'll actually be weathering this thanks for looking. Lee
 1 point
 -
Good, good. AM makes a good kit from what I've seen, and I'm excited to start! I've been reading threads for so long, I'm dying to post my own.1 point
-
I love my TK’s and stocked up on a few pairs before they were out.1 point
-
Excellent work on the cylinders.1 point
-
Thank you, will check them out!1 point
-
"But I don't like my drop boxes dangling, they make a clanking noise"
 1 point
 -
That's not mine, but I did use a little heat and glued the sides first then once dry twisted the front, glued and held in place with magnets, clamps and tape.1 point
-
Belt shortened:1 point
-
Thanks for the updated pics, Jennifer, and really nice job on that armor! Unfortunately, we need one small fix before moving ahead. The actual tips themselves are fine, but the mesh (weave) in your hovi-tip screens is too tight, and as per the CRL for level 2, it must be a wider weave. Correct 'Hovi mic' aerator tips There are a few places to get this, and if you need some sources just PM me. Thanks!1 point
-
Great work...! Really awesome! Keep on going, not that long to go anymore ;-) Gesendet von iPhone mit Tapatalk1 point
-
The vocoder was the last mold I needed to make. DONE! Everything is painted and weathered. It is less than perfect but I just had to keep telling myself 'the OT helmets are also hand painted and not symmetrical.' Still very proud nonetheless. I'm hoping to get some pictures this weekend of the costume on me. Till then1 point
-
The checklist needs to be updated to reflect the requirements in the CRL OPTIONAL Level two certification (if applicable): Thigh ammo belt is attached to thigh with a solid head rivet, painted white, in the upper corner and fastened to the lower thigh ridge. The rivets used shall be single cap, double cap or split rivets. No pop rivets allowed. OPTIONAL Level two certification (if applicable): Sniper knee plate must be aligned with the ridges on the shin. For ANH/ESB style armor: Sniper knee plate must not have visible rivets or fasteners attaching it to the shin. For ROTJ armor: Sniper Knee plate shall have one "pop" style rivet, painted white and located in the center of the lower part of the ridge.1 point
-
Here is a thread for Tamiya conversions, may be of help https://www.whitearmor.net/forum/topic/45651-anh-paint-colour-guide-tamiya-equivalents/ For the TD I use an automotive primer and once dry I give it a coat of automotive gloss clear, usually find these in any auto parts outlet. Here is a conversion chart which may also be of assistance http://www.planete-auto.fr/english/tamiya-color-chart.asp1 point
-
Johan is not looking at producing these at this stage, but may after some modifications are made later down the track. "I'd love to start offering these helmets. Unfortunately, if i am going to sell them I need to make some changes to the main mold. So most likely I wouldn't be able to offer them for a few months. "1 point