
CallMeMrTibbles
-
Posts
695 -
Joined
-
Last visited
-
Days Won
8
Content Type
Profiles
Forums
Gallery
Articles
Everything posted by CallMeMrTibbles
-

Recruit from Michigan, reporting in.
CallMeMrTibbles replied to SublimeBW's topic in New Member Introductions
Hi Brian, Welcome to 501st and FISD. Not a great deal to add after all the other replies, other than to add it's a great motivator having an assembled helmet and blaster on display keeping you going with the build and the weight loss; I say this from experience! Good luck with everything, post lots of questions and pictures, and looking forward to seeing your build thread and pics from your first troop. Rich -
Hopeful new recruit from Ontario
CallMeMrTibbles replied to Doggydoc's topic in New Member Introductions
Hi Gerald, Welcome to the 501st and FISD. It's really good to have you here. Finding the right armour to fit you is important, and it's great that you're asking about this before buying anything. I'm over in the UK, and have no direct experience with the armour makers you're looking at, so I hope someone else can chime in. Whichever armour make you go with (even if you commission fully assembled armour) you can expect to do some degree of tweaking; I don't think I know anyone that's passed through this forum that hasn't had to do that. Don't worry about that though. There's a lot of help and advice to be had here and with your local garrison, and the sense of achievement when you're armour is cleared is amazing. Good luck with it all, and please post questions and pictures anytime you need help. Rich -
Macrobinocular electronics
CallMeMrTibbles replied to CallMeMrTibbles's topic in Electronics for Helmets / Blasters
Parts ordered: For the audio... https://shop.pimoroni.com/products/adafruit-audio-fx-mini-sound-board-wav-ogg-trigger https://shop.pimoroni.com/products/adafruit-pro-trinket-liion-lipoly-backpack-add-on https://shop.pimoroni.com/products/lipo-battery-pack https://shop.pimoroni.com/products/adafruit-mono-2-5w-class-d-audio-amplifier-pam8302 https://shop.pimoroni.com/products/mini-speaker-4-3w Already have some mini momentary buttons that I 'think' will work OK. Will attempt to modify to look the part. For the eye pieces... (20mm) https://www.ebay.co.uk/itm/PMMA-Plano-convex-Acrylic-condenser-Lens-for-Zoom-LED-Flashlight-Bike-head-lamp-/184929977095?mkcid=16&mkevt=1&_trksid=p2349624.m46890.l49286&mkrid=710-127635-2958-0 (Light blue with sound to light so they light up when I trigger sounds) https://www.ebay.co.uk/itm/20mm-x-120mm-EL-Tape-Electroluminescent-Glow-Foil-in-8-Colours-4-00-/233203448795?mkcid=16&mkevt=1&_trksid=p2349624.m46890.l49286&mkrid=710-127635-2958-0 -
Macrobinocular electronics
CallMeMrTibbles replied to CallMeMrTibbles's topic in Electronics for Helmets / Blasters
Will do. At the moment just thinking SW themes, but will have a look for any macro specific sound effects too. -
Macrobinocular electronics
CallMeMrTibbles replied to CallMeMrTibbles's topic in Electronics for Helmets / Blasters
More tabs glued in, and it's already a pretty good friction fit -
Macrobinocular electronics
CallMeMrTibbles replied to CallMeMrTibbles's topic in Electronics for Helmets / Blasters
Found some foam blocks and wooden battens exactly the right size for internal support. Much stronger now. -
Macrobinocular electronics
CallMeMrTibbles replied to CallMeMrTibbles's topic in Electronics for Helmets / Blasters
So, here's the starting pics of my macros, after removing the front panel and expanding foam that was used to fill the cavity. The walls of the main body are pretty thin and flexible, and the expanding foam hadn't properly filled the cavity leaving large gaps. This meant the walls were free to flex and has left some hairline cracks visible from the outside. I don't know the paint used so matching would be difficult, and they're weathered and the cracks are pretty small, so I'm hoping I can get away with not having to repaint. I'm going to need to add some kind of strengthening inside, and I'm thinking an internal wooden brace between top and bottom should be sufficient while still allowing space for the electronics. I'll also add more tabs of ABS to make sure the front panel sits properly. I'll be hollowing out the eyepieces with my dremel ready for the lenses and electro luminescent panel. The switch for that will be internal, so I don't need to worry about where to put an external switch. Will wait for the audio board to arrive before thinking about button and speaker fitment. Play that part by ear once everything has arrived. The plan for the sound module is to play various SW theme music, depending on the situation. -
Outstanding Orders with Daniel Hellhounds
CallMeMrTibbles replied to TheRascalKing's topic in Off Topic
Been seeing a few things on FB about this. Hope it gets some resolution. Good luck mate [emoji106] -
Macrobinocular electronics
CallMeMrTibbles replied to CallMeMrTibbles's topic in Electronics for Helmets / Blasters
Paul, yes, he is absolutely a genius. I've already come up with an idea that should be fun. I wanted to install small screens behind the eye pieces showing videos of the macrobinocular footage on hoth and tattoine, but then realised so many issues with that, so will be fitting small plastic lenses and electro luminescent plate (with maybe a print of the hoth scene on acetate). And then I've bought a sound board which will drive a speaker hidden behind the front lens cavity. Also need to do a lot of strengthening, as the 3d printed body already has several cracks. I'll make the front part of the body removable (using magnets maybe), for charging / replacing batteries. -
Macrobinocular electronics
CallMeMrTibbles replied to CallMeMrTibbles's topic in Electronics for Helmets / Blasters
I never do things by halves [emoji1] Other option I guess is to carefully remove the printed buttons and glue those on top of something else that stays hidden [emoji848] -
Not necessarily. Induction events need the correct person there but also need to be long enough. You can find shorter troops with the right person for branding. Not worried about having a spare bell, as can just tape over the logo for private events. Bigger issue is having to remove the branding when applying for advanced levels.
-
I've recently acquired a pair of used sandie style macrobinoculars. They needed a small repair on arrival, and now that they're open I'm very tempted to put some electronics in there. Does anyone know where to source working versions of the 3 square buttons under the eyepieces?
-
The event of first tagging is given a lot of importance, and we have to be wearing the tag in order to troop, but we can remove for approval of new costumes. Its more that it's a pain to remove as you can't reapply the same sticker (it's ruined as it's in several parts). Only certain UKG members carry replacements, so you may miss out on a few troops waiting for an event with the right person present.
-
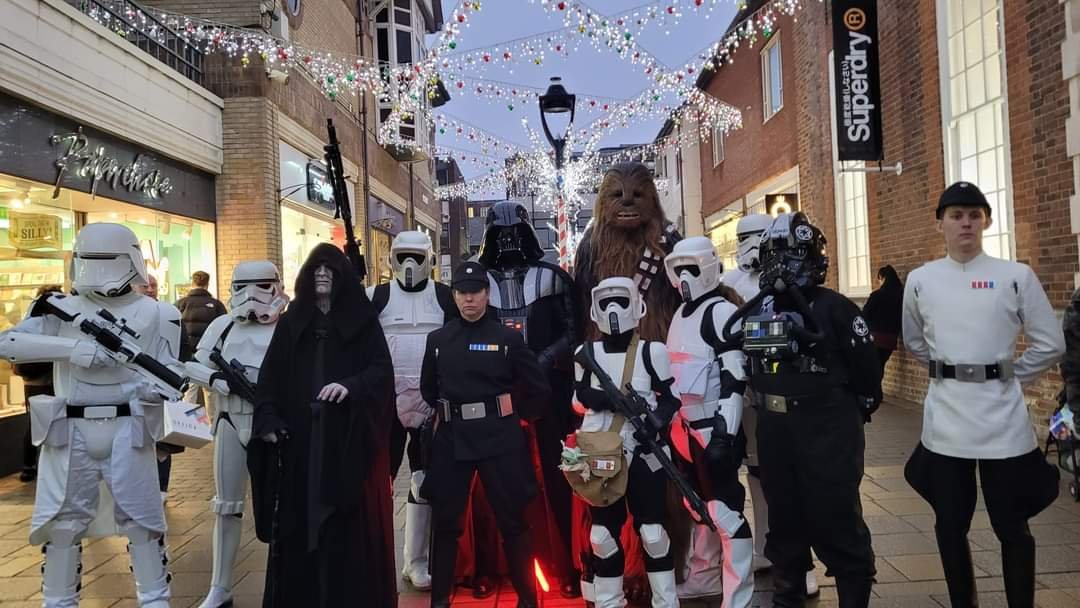
I've been a bit quiet of late (sorry). Life stuff. Did a bit of last minute adjustment to make the drop boxes removable, and did an unofficial kit up (in my street) for Samhain, sorry, I mean Halloween. Everything together now except weathering (still very nervous about this) and the helmet is still ESB. Have contacted RWA about ordering an ANH stunt lid, but they're having issues getting white abs at the mo. Pack fits fine. Feels physically odd holding such a short blaster. Pretty sure the shoulder pouch is sitting wrong. Other than all the above I think it's all there. Will try and get some pics taken this week for review here and on my local garrison WIP.
-
Matt and James's TK build thread - AM 4.5
CallMeMrTibbles replied to Sawanator's topic in ANH Build Threads
With regards to how much return edge to leave... Aesthetically it's pretty much a personal choice how much return edge you leave on, but there are some practical considerations. There are some areas of your armour which are more prone to cracks through use. Common areas are the chest near the arm pits, and the angles cut into the butt plate (although cracks can form anywhere). You find small cracks very easily by shining a torch from behind the armour. Smaller return edges allow the armour to flex more before cracking, and this is one of the main reasons that I have very minimal return edge everywhere possible on all my torso sections. The only areas I have left a fair amount of return edge on the torso is: Bottom of back (where it meets the kidney), top and bottom of kidney, top of butt, top of ab (even though its hidden), and bottom of chest (where it overlaps the ab). On the limbs it's best to get the return edges to a place you're happy with before gluing, as the amount of return edge affects the fit. Best of luck, and keep up the questions and pictures -
MintImperial’s Newbie WTF TK Build
CallMeMrTibbles replied to MintImperial's topic in ANH Build Threads
Everyone will tell you that (as you now know) the sniper knee is a real pain in the derriere! -
Potential new member in Wisconsin
CallMeMrTibbles replied to GoBuckeyes's topic in New Member Introductions
Hi Jeremy, Welcome to FISD and the Legion. So much has been said above that there's not much I can add. I'm 'this' close to completing my own HWT (we seem to be a growing part of the legion!), so it will be great to see you go down that route, but whatever you decide remember to enjoy the journey as much as the end result. Ask lots of questions, and post lots of pictures (it helps a lot, especially if you're having an issue). Using something like Imgur or tapatalk helps a lots for pictures. If you post direct to the forum you run out of space real quick. Looking forward to seeing your progress and the pics from your first troop. Rich -
wip Stormtrooper ANH, RS Prop master.
CallMeMrTibbles replied to The Vegan Stormtrooper's topic in ANH Build Threads
Congratulations on your clearance It takes hard work and commitment, so well done! Hope to see your applications for the advanced levels and meeting you on a troop -
New Colorado Trooper reporting for duty
CallMeMrTibbles replied to slescoe's topic in New Member Introductions
Hi Sean, Welcome to FISD. Looking forward to seeing your build progress. All the best [emoji106] -
Congratulations Sam!!! Awesome work and awesome armour Looking forward to you Centurion submission
-
The files that I use (non star wars, generic police radio chatter) are too big to email, but if you pm me your address I'll post you a memory stick [emoji106]
-
Would seriously be up for wearing a patch to celebrate your achievements mate. Might even donate a few extra dollars for your beer fund!
-
I would so be in for that!
-
Someone had a good Christmas Congratulations to you and mom. And welcome to the ranks cadet
-
You deserve a rest (although I doubt it'll be a long one)
