
CallMeMrTibbles
-
Posts
695 -
Joined
-
Last visited
-
Days Won
8
Content Type
Profiles
Forums
Gallery
Articles
Everything posted by CallMeMrTibbles
-

Voice amplifier sound issues
CallMeMrTibbles replied to TK-84891's topic in Electronics for Helmets / Blasters
I'm in Cambs, so not a million miles away. If you want to be sure before you spend any money I'm happy to pop over. I have an aker and a tramp, so you can try out both alongside what you currently have to see the difference. -
Macrobinocular electronics
CallMeMrTibbles replied to CallMeMrTibbles's topic in Electronics for Helmets / Blasters
Thanks! Has been fun. Whets the appetite for more projects [emoji1] -
Macrobinocular electronics
CallMeMrTibbles replied to CallMeMrTibbles's topic in Electronics for Helmets / Blasters
Thanks mate. Never thought to show you at Brum (but the volume was too low then anyway. Rectified that now [emoji16]) -
Macrobinocular electronics
CallMeMrTibbles replied to CallMeMrTibbles's topic in Electronics for Helmets / Blasters
Probably my last update for these. Found that the usb problem was actually the cable I was using to connect to my laptop. Used a different cable and can charge and transfer files no problem. Yay! Also, accidently discovered that if the macro power is off I can access it as storage, but if the macro power is on it acts as a USB speaker. Result! Fitted a couple of small, cheap ebay lenses to the eyepieces, and it looks a lot more 'finished', even without the el plate lit up. https://www.ebay.co.uk/itm/PMMA-Plano-convex-Acrylic-condenser-Lens-for-Zoom-LED-Flashlight-Bike-head-lamp-/184929977095?mkcid=16&mkevt=1&_trksid=p2349624.m46890.l49286&mkrid=710-127635-2958-0 Finally, removed the Life Day Song, as figured it was never going to get played, and replaced it with the music from Battlefront 2. Kinda in keeping with my HWT (I know my HWT is from Battlefront 1, but the music isn't as good). So, that's it. Thanks for following [emoji106] -
Voice amplifier sound issues
CallMeMrTibbles replied to TK-84891's topic in Electronics for Helmets / Blasters
Vaguely where in the UK are you? If I can I'm happy to pop over to bring my setup for a side by side comparison and then work out how to get yours working. -
Voice amplifier sound issues
CallMeMrTibbles replied to TK-84891's topic in Electronics for Helmets / Blasters
Do you have the speaker facing your chest or facing out and towards the armour? Most folk I know (me included) have it facing away from the body. Maybe it's that(?) -
Macrobinocular electronics
CallMeMrTibbles replied to CallMeMrTibbles's topic in Electronics for Helmets / Blasters
I see someone hasn't been exposed to the Star Wars Christmas Special! [emoji38] -
Macrobinocular electronics
CallMeMrTibbles replied to CallMeMrTibbles's topic in Electronics for Helmets / Blasters
Basically finished, except for a bit of paint touch up, and at some point I'll replace the internal USB cable so that I can use it to reprogram rather than only use it to charge the battery. Comments and suggestions welcomed [emoji106] ----------- -
Macrobinocular electronics
CallMeMrTibbles replied to CallMeMrTibbles's topic in Electronics for Helmets / Blasters
Latched setting----------- Momentary setting Rotational switch for trigger select. White button starts sample Red button is reset to stop latched samples -
Macrobinocular electronics
CallMeMrTibbles replied to CallMeMrTibbles's topic in Electronics for Helmets / Blasters
[emoji1] leave it with me Although, that's a little small for me! These are more my size -
Macrobinocular electronics
CallMeMrTibbles replied to CallMeMrTibbles's topic in Electronics for Helmets / Blasters
Looks like you're right about being able to fit 15mm buttons. Fab. Opens up more options. I should get the remaining parts for the sound module today, so plan to have that assembled and ready for testing by the weekend. There is a pad labelled reset, which I'm hoping stops the current playback; if so that'll have a dedicated button, probably the top grey button between the eyepieces. Plans for other buttons: - dedicated button for macro sounds. Having trouble finding the actual sfx from the film, so may have to resort to a sound-alike. This is going to be the fake screw button already installed closest to my right hand. - dedicated button for Imperial March. Probably the other fake screw button. - the red button will hopefully be latched for power for both lights and sound module. That leaves 6 other triggers, and I have an idea about that. I've found a rotational switch with up to 12 positions, but it can be limited to only rotate for 6 of those; 1 for each remaining trigger. https://www.ebay.co.uk/itm/1-2-3-4-Poles-Rotary-Switch-Solder-Terminals-150mA-250V-Lorlin-/254303918379?mkcid=16&mkevt=1&_trksid=p2349624.m46890.l49286&mkrid=710-127635-2958-0 Each of the 6 terminals will go to the corresponding trigger pad on the sound board. The common terminal will go to the other grey button by the eyepiecesbefore tieing to ground, and when pressed will trigger whichever of the 6 samples is selected by the rotary switch. The knob for the rotary switch will either be the knob on top of the macros (most likely, but depends on space) or the knob at the front by the main lens. Planning to have different music at these 6 positions: SW main theme, cantina band, award ceremony, SW disco mix, Leia's life day song and one more. I reserve the right to change music used [emoji38] -
Macrobinocular electronics
CallMeMrTibbles replied to CallMeMrTibbles's topic in Electronics for Helmets / Blasters
That's awesome mate, thank you! I'll check measurements and get the switches ordered. Once I have everything in front of me I'll let you know sizes. Appreciate that mate [emoji106] -
Macrobinocular electronics
CallMeMrTibbles replied to CallMeMrTibbles's topic in Electronics for Helmets / Blasters
That's what I was thinking with the sugru (still don't have a 3d printer), but maybe carefully trimming and gluing some abs scraps would work. I'm hoping I have a good paint match with some of the acrylics I have left over from my paint by numbers. -
Macrobinocular electronics
CallMeMrTibbles replied to CallMeMrTibbles's topic in Electronics for Helmets / Blasters
Thanks! Weirdly hadn't thought to actually measure the printed buttons [emoji2357], but will do this morning. (Assuming I need 12mm buttons) I may have found something that will work with a little modification. Momentary https://thepihut.com/products/colorful-square-tactile-button-switch-assortment-15-pack The sound module uses momentary switches for triggering, and I reckon I can make these ones look the part with paint and maybe some sugru. This latched one would be a little more tricky, but not impossible, and could be a good external power switch. Latched https://thepihut.com/products/on-off-power-button-pushbutton-toggle-switch -
Helmet / Chest Piece - Help needed
CallMeMrTibbles replied to Jeffnmar's topic in Hard Armor (General Discussion)
[emoji38] exactly! -
Helmet / Chest Piece - Help needed
CallMeMrTibbles replied to Jeffnmar's topic in Hard Armor (General Discussion)
Looking down is hard for all of us TKs, so we feel your pain. Small children, pets and ground level hazards are the bane of our lives while trooping, so don't necessarily worry that you're doing anything wrong with your build in that respect [emoji106] -
Macrobinocular electronics
CallMeMrTibbles replied to CallMeMrTibbles's topic in Electronics for Helmets / Blasters
Glued some electrical fittings to the electro luminescent plate. They tidy up where I've cut the material away, and give a cool texture and pattern inside the eyepiece. Electro luminescent plate fitted inside the eyepieces. Sound to light box is quite big so need to figure out where to fit it. Material removed from front lens; speaker will be fitted behind. Will fit black cloth with something behind to strengthen it. -
Macrobinocular electronics
CallMeMrTibbles replied to CallMeMrTibbles's topic in Electronics for Helmets / Blasters
First two switches fitted. Removed the existing screws, drilled out to take switch body. Shimmed the switch so that the button is 'only just' protruding (but enough to press with gloves on). Filed a slot into the top of the button to mimic screws and roughed up. Not sure whether to paint or leave as is. Sound module can have up to eight momentary switches. The next three will be easy to place (under the eyepieces), but if I want any more I'm going to have to get inventive! -
Helmet / Chest Piece - Help needed
CallMeMrTibbles replied to Jeffnmar's topic in Hard Armor (General Discussion)
Thanks Glen I'm thinking same, that's theres maybe too much padding in the helmet, meaning it has to be tilted forward more for visibility. As an example my helmet has some padding near my forehead, but no padding at all at the top. The top of my head rests against the plastic of the helmet. -
Helmet / Chest Piece - Help needed
CallMeMrTibbles replied to Jeffnmar's topic in Hard Armor (General Discussion)
A pic of the inside of the helmet, showing any padding, might be helpful -
Helmet / Chest Piece - Help needed
CallMeMrTibbles replied to Jeffnmar's topic in Hard Armor (General Discussion)
How tall are you? Can someone take a pic of you from the back while you're fully kitted up? Can you take a pic of the inside of the chest and ab while they're linked togther. How are the chest and ab connected? Depending on how the ab and chest are connected to each other it could be the ab pushing the chest up. Try disconnecting the chest from the ab (if possible) and kitting up again (although from your pics maybe this is happening without the ab attached!?) Also, in your pics, the pic where the chest is higher the back section looks to have dropped down. Difficult to ascertain the cause without the full armour being worn. -
EVA foam stormtrooper armor build
CallMeMrTibbles replied to Cheeseballs's topic in Other Non-Approved Star Wars Costumes
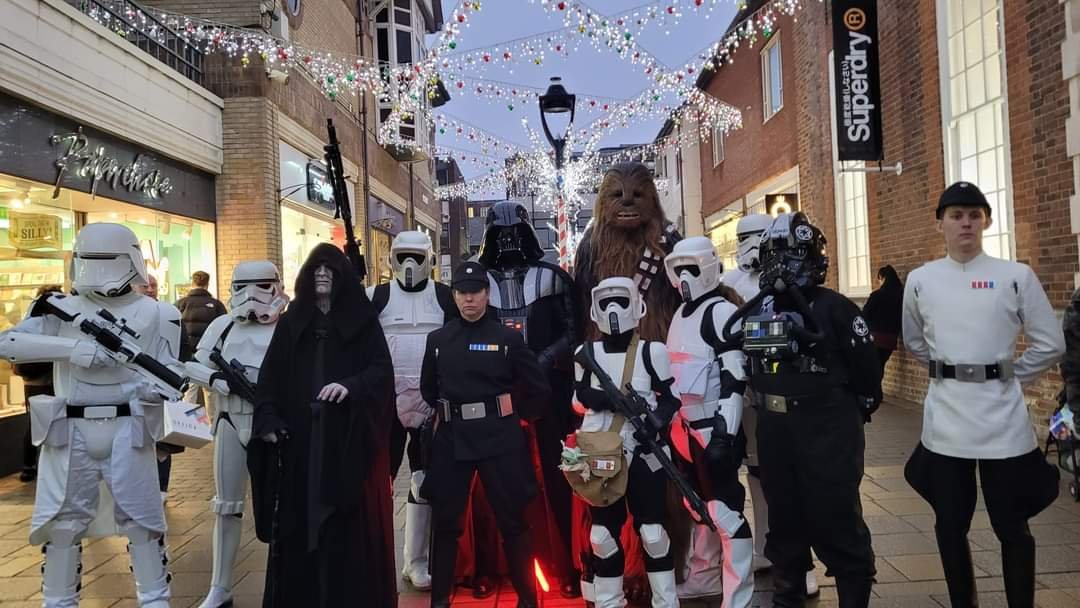
Awesome, and the only legitimate use for a rebel helmet!!! [emoji38] Hope you both had a great night -
Macrobinocular electronics
CallMeMrTibbles replied to CallMeMrTibbles's topic in Electronics for Helmets / Blasters
Thanks mate. See how it all works out. Might be some on the fly changes! [emoji1] -
Hej! Welcome to 501st and FISD. It's really good that you're asking these questions before buying anything, as hopefully we can offer advice and guidance to get you where you want to be. Not a great deal to add given what's already been said, but having said that.... If you haven't already you should look into joining your local 501st garrison. As well as us here at FISD you will find others there who can offer help, and you may have people local that can help with your build. Don't by too worried about building it yourself. I know exactly how daunting it is when you get started, but as long as you take it slow, check all of your measurements at least twice, and ask anytime you're not sure you'll be fine. The sense of achievement when you pass clearance really is something else. The route you're suggesting may sound tempting, but if your goal is for accurate armour you could find it ends up being more work in the long run. Armour from different sources can vary in shade which can create problems (and look terrible). Just something to consider. Whatever route you take, post lots of questions and pictures, and I'm looking forward to seeing your build thread and pics from your first troop. Rich
-
Hello from southwest Wisconsin
CallMeMrTibbles replied to Weipertr's topic in New Member Introductions
Hi! Welcome to 501st and FISd. It's great to have you here. Great choice on the ESB trooper (not that I'm biased [emoji1]). Have you ordered an assembled commission from RS or are you building it yourself? Even you've ordered a commission don't be worried if you need to make some adjustments when it arrives; that's very normal and there will be plenty of help and advice here and in your local garrison to get you through to clearance. Post lots of questions and pictures, and I'm looking forward to seeing your build thread and pics from your first troop [emoji106] Rich
