
Parquette
-
Posts
560 -
Joined
-
Last visited
-
Days Won
1
Content Type
Profiles
Forums
Gallery
Articles
Everything posted by Parquette
-
Excited!!!!
-
Fun new information regarding the thermal detonator. The disk on top of it in the back is actually the same piece as the DeathTrooper chin lights. https://www.facebook.com/ThePropDen/photos/a.1119213728143638.1073742148.411305008934517/1161986540533023/?type=3&theater http://www.therpf.com/attachment.php?attachmentid=646053&d=1468947135
-
A little input before it's too late The I I 's in the O I I are actually on a little step, and don't have their own individual pedestals. ---------- And as is seen on the Hot Toys figure, the abdomen is located higher (actually is right next to the chest and back armor connection under the arms). Almost like an armor corset. In regards to the control panel on the ab, I think it needs more angular slopes at the ends like in this pic, along with the center raised line becoming a ramp that is flush with the box. http://www.therpf.com/showthread.php?t=263949&page=4 But this is in no way picking! It's looking good
-
Hey Tim! Out of curiosity what is the current stance on the Black Series helmet modded for basic? Just trying to see if I should still pursue the mods.
-
Hey Jim, here's one image that shows the flare at the bottom of the chest armor. ------------
-
Here's my R1 Black Series mod currently I changed the brow to look lower by adding on rubber strips in the front and underside. To hide the seam on the top I put electrical tape over it. I also painted over the gray parts because i intend to repaint them next. After taking these pics I sanded most of it down with really fine sandpaper (1500 grit). This reflects the slightly dull appearance of the screen used piece (though mine is duller. It gives the look I want though).
-
Hey Jim! Great looking pieces so far! Now I remember asking you ahead of time a while ago about pricing on these when these parts are made, and you gave a estimate of what it may be at. I'm curious: do you have an updated estimate on just the back and chest armor? Also, when would just the chest and back armor be available? Those parts are mainly what I need for my own build
-
I do believe the R1TK was designed to be more mobile, and there is a group shot where on set the extras sat down in their TK armor, along with a knocked out trooper in the backround on Jedha when Jyn attacks. Even if it's flexible, you should be able to sit down.
-
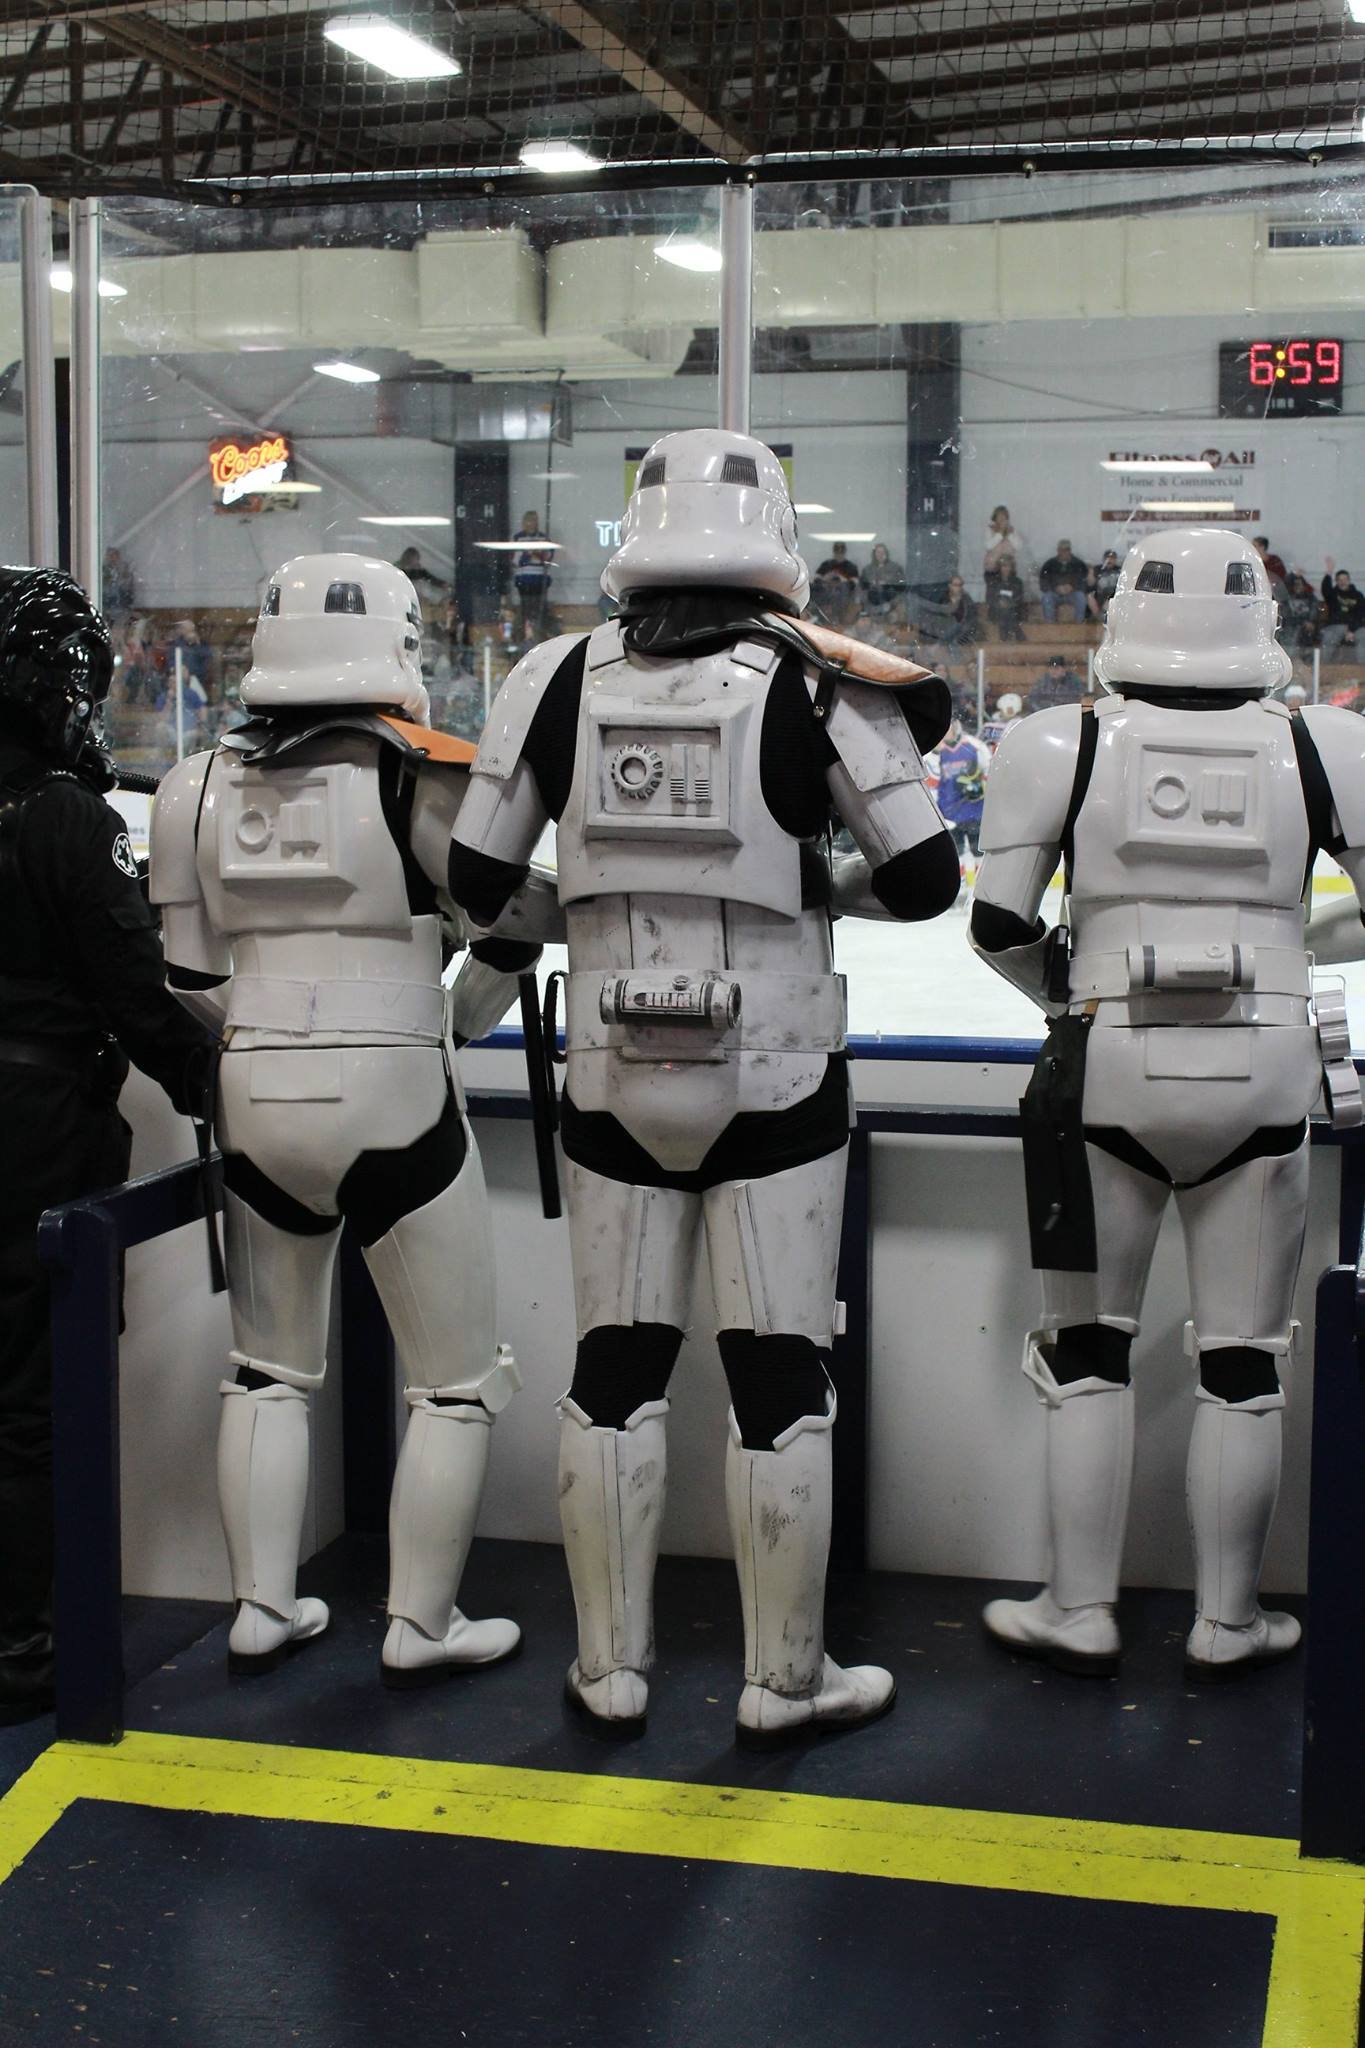
I'm the one in the middle.....
-
(edit: Is there a possibility we could eventually have a delete button? )
-
More info on the Ammo belt on the TK. On the belt boxes second to last, they have a miniature ramp on top of them that is angled towards the abdomen. The belt boxes appear to be separate pieces from the actual belt itself. In addition to, the plastic belt is actually comprised of 2 halves, which connect at the sides of the wearer. The one of the halves will overlap the other, though none specifically. I've seen 2 versions of this overlap, with one being the rear half almost overlapping, or the front. This is result to the velcro fabric belt being worn underneath the ammo belt, which connects it together. However, I think that the fabric belt could be optional for higher levels, seeing as how it's barely seen (you can see it in the EW pic closeup up above), and one could easily make the ammo belt connect through a snap on one of the halves so the other can overlap it.
-

Most comfortable/mobile TK?
Parquette replied to NotRookie's topic in Getting Started - Read this First!
Jim Tripon's is working on it -
What gloss coat did you use? I'm using Rustoleum 2x Ultra Cover Gloss White paint, but need a good gloss coat that both won't yellow on me, or dull.
-
Most comfortable/mobile TK?
Parquette replied to NotRookie's topic in Getting Started - Read this First!
850 armor works -
Most comfortable/mobile TK?
Parquette replied to NotRookie's topic in Getting Started - Read this First!
As of now with my R1 TK shins, I can run in them ok (unlike the OT TK). That is, we'll see when I have thighs. But shins so far, yes I can run in them fine. But sprint? No. -
It is very heavily based on the Rogue One TK, which with a handful of mods could be basic approval once a CRL has been posted. You can see some of mine in my "HOWTO: Make the Black Series More Accurate" thread in the "Rogue One TK" section. I made that with the soul intention of making it to approval standards. Also, CRL is currently in development! But back to the helmet. There will be those who say that it can't be done, or no way even with mods, but it doesn't matter if it's a toy. If it looks the part, you should have no problem getting basic. But I would suggest applying the armor early once the early CRL draft has been made, seeing as they are seeking to truly let people apply with basic, basic costumes until more info has been made.
-
Hm interesting. The major part would be narrowing down the areas next to the box with a Dremel to give it that thin, straight look. The bottom of the R1TK back armor kind of spreads out to the underarm area (to where the black plastic is located).
-
Oh I didn't do the ears. Just the battery compartment tray and speaker. I think a little superglue in the ear button and pushing it down may do it. I kept the rubber switch inside so that I could keep the button on the helmet.
-
The seam under the brow, or the rear? I can show both if you like
-
Thank you Tim! What do you think regarding the brow? I can provide a better pic of that seam on the underside I was talking about.
-
I painted the helmet yesterday! Too glossy though? In real life there are more reflections in the paintjob than in this photo. It almost looks wet when you have it out. DO NOT use the Rustoleum Universal Pure White paint (unless it's the Enamel version. From what I've seen in pics of that, it looks good). It is NOT pure white in my experiance. I used 2 different cans, though I think the first was more white than the second. It is an egg white color, and it looks like your stormtrooper drinks cream in his coffee. Use the Rustoleum 2x Gloss White paint. Also I cut up some really angular weather stripping from Ace Hardware. But because the angle wouldn't wrap onto the original brow very good (the underside wasn't flat, it kept staying a slope), I cut a front piece for the front of the original trim, and another for the underside. So there is a seam at the underside edge of the brow. I may close that up with electrical tape or something, but that stuff is shiny, and I want to stay away from that as much as possible (the shininess makes it look....... wrong). But the updated brow is in these pics! What do you think Tim? After explaining it how I did it, should it be fine? On a side note, my OT TK boots come in today! Made by TK Boots. Though not FO, I'm going more for basic on this costume, and as stated already, it'll most likely be approvable for basic if your have OT TK boots. I think Ill have the sole worked on to be flat or something. We'll see. It may or may not happen. Anyway, here it goes!
-
{Edit} I updated the brow on my helmet, Ill share pics soon.
-
and in addition to, it was affecting articulation in the front of the foot when I walked, so this is better
-
Actually, I took your suggestion after the piece broke off, and cut it up to the slant. I will post pics in a bit. Hopefully it'll do. Also a reason shortening it to the slant may work is because the shins and the thighs have a good gap between them at the knee area. This is because the shin is shorter than the OT, and it helps keep the sniper knee plate from sticking into the shin.
