Leaderboard


Popular Content
Showing content with the highest reputation on 11/18/2024 in all areas
-
In the past you had to do away with the extra teeth "cut out" impressions. Centurion Hero approvals for reference https://www.whitearmor.net/forum/search/?q=hero&quick=1&type=forums_topic&nodes=72 With some careful tweaks I converted a Stunt to Hero and L2 & L3 approved. Note ATA did offer both Stunt and Hero ears which made life a lot easier, it's only the teeth I had to modify. Some great references http://www.starwarshelmets.com/original-ANH-hero-Stormtrooper-armor-helmets.htm If you are looking for a really nice Hero helmet I'd contact TM https://www.facebook.com/TMProps2 points
-
Congratulations and welecome to Expert infantry Trooper and also the EI Honor Gallery2 points
-
Before I forget, a BIG thank you to everything that helped me with advice along the way (including my build partner, who is not a part of FISD/501st, just an absolutely solid friend). @gmrhodes13 @Doggydoc @dblcross @TKSpartan & @FN1313, you guys get a special callout for answering multiple questions for me. I trying appreciate it as I hit a real rut when I got into my own head when I dorked up my first set of ears. I am not done yet, I still have the EIB process and my blaster to build, but will likely not make much progress on that until after the holidays.2 points
-
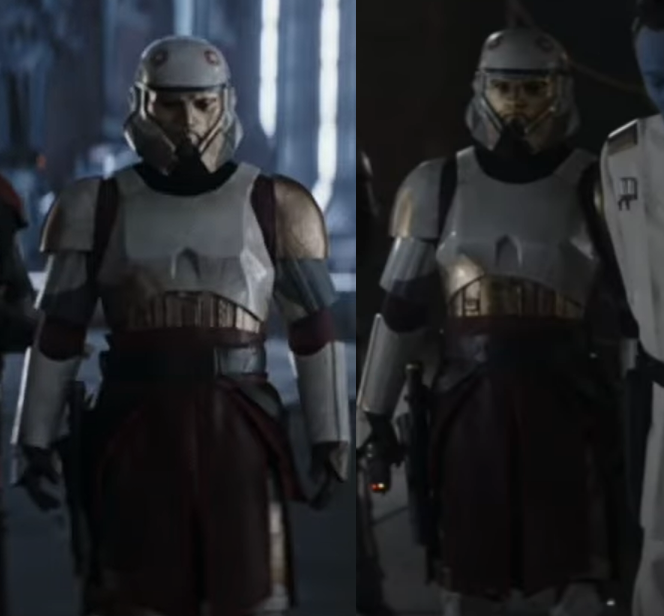
I just looked it up again and it really seems like you are right. Even if it's not visible in any scene I can't deny that fact. I think I'll have to start up the printer again to switch sides, seems like I acidentally switched the two sides while post processing, but with so much more going on on this costume I just messed it up by not looking at that. Besides that...anything other you guys can spot? You can see I'm in a bit of a tunnel view at that point... Hang tight, printer is already running again!2 points
-
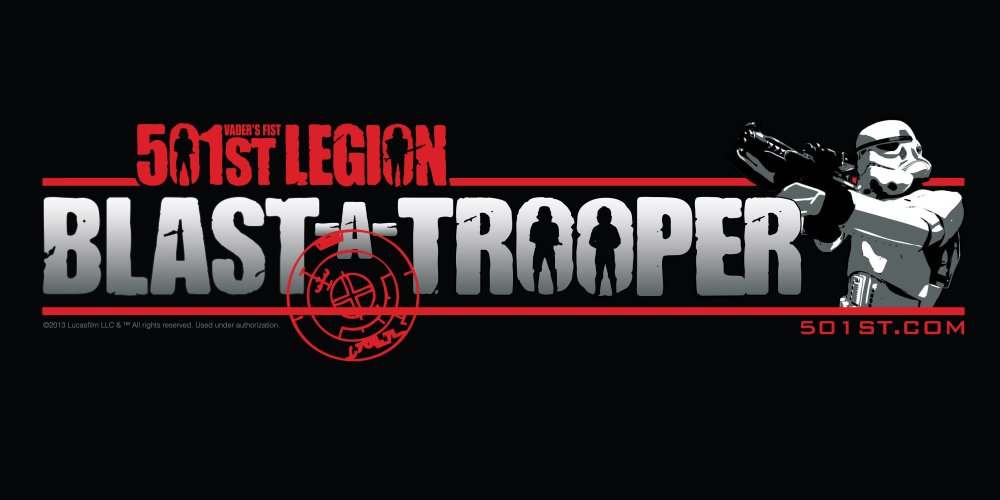
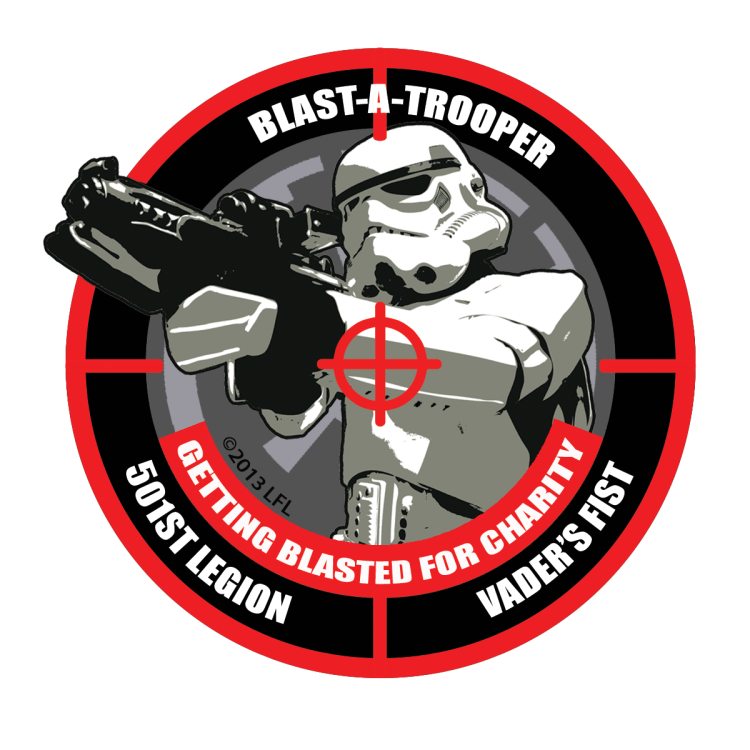
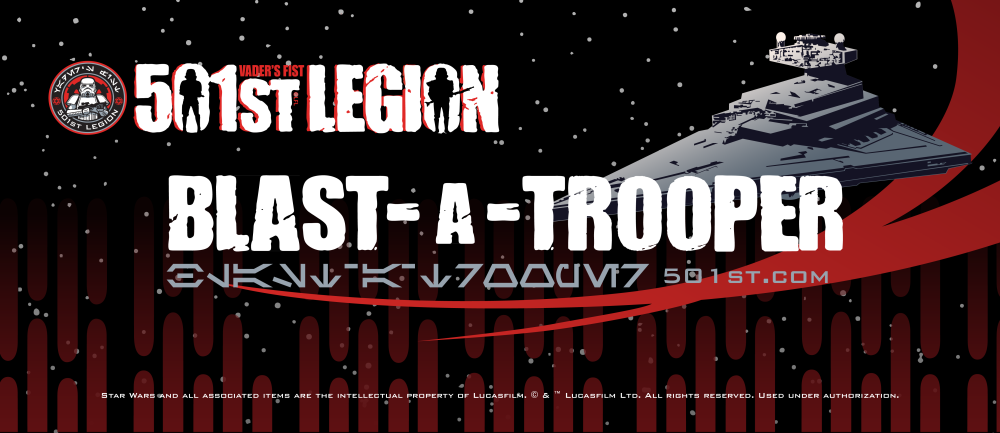
Blast A Trooper Finally after many years of asking the Blast A Trooper files have been shared on the legion forum, sharing here for anyone who may have been looking for them https://drive.google.com/drive/folders/1_W3-wBM3Gsp5EN_juDwPSCVYhLcpv_MD Unfortunately for those of you Down Under due to our PLI (public liability insurance) restrictions we are not able to run Blast A Trooper events as they do not allow the firing of projectiles at our members (I know right, foam darts) Updated image 05/09/25 https://drive.google.com/file/d/1gUQPWZGdcPmlHIGTgGu0dsV5KyJw28bn/view https://drive.google.com/file/d/1mJdqi4fBeAp5LHPXutWkQrC9vfBmx3MM/view
CertificateofMarksmanship-LetterLegionJPG.thumb.jpg.7623e7bd1b7cd3098e10266f65aca7b2.jpg)
CertificateofMarksmanshipA4LegionJPG.thumb.jpg.007ea453e220d64810a7199256c5b2f0.jpg)

 1 point
 -
Nice to meet you. I gave up many times, thought many times, and worried many times, but I bought ANOVOS armor with new hope in my heart, but it didn't arrive even after more than three years across the Pacific Ocean. The company changed, the COVID-19 pandemic occurred, and two more years later, in 2024, the "Denuo novo FOTK TLJ" arrived. I am currently aiming to join the 501st Japan branch, and I will start assembling this armor from now on. Of course, I still don't have enough necessary parts and information. I would like to aim to complete it with the enthusiasm and advice of the many seniors gathered here. Thank you very much for your cooperation. はじめまして。何度も諦め、何度も考え、何度も悩みましたが、新たな希望を胸にANOVOSアーマーを購入しましたが、太平洋を越えて3年以上経っても届きませんでした。会社が変わったり、COVID-19パンデミックが発生したり、さらに2年後の2024年に「Denuo novo FOTK TLJ」が届きました。私は現在501st日本支部への入隊を目指しており、これからこのアーマーの組み立てに取り掛かります。もちろん、必要なパーツや情報はまだまだ足りません。ここに集まった多くの先輩方の熱意とアドバイスを頂きながら完成を目指したいと思います。どうぞよろしくお願い致します。1 point
-
Great answer, I’ll read up and check through all info you brought to the table. Big THANKS! ?1 point
-
Thanks glen ! As always you rock !1 point
-
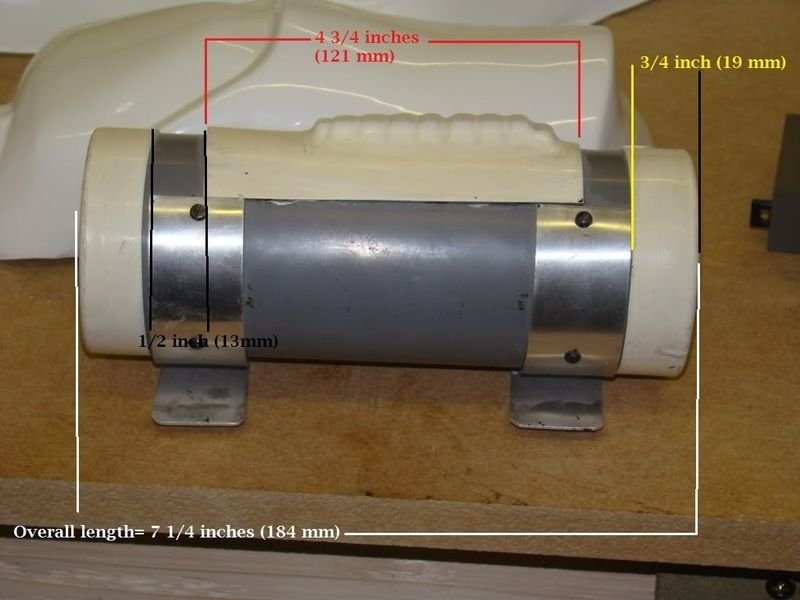
Hi Chris, and thank you for your EIB application! CRL and EIB Application Requirements: All required photos have been submitted, and on behalf of the entire D.O. staff we are pleased to welcome you to the rank of Expert Infantry. Congratulations! Other-Armor Fit/Assembly; In this area we review observations made by your fellow troopers and the DO team. Some observations may lead to suggestions to improve the overall look of your armor, and please keep in mind that we consider both text (CRL) and pictures (screen caps/reference images) when reviewing submissions. Great job with the required fixes brother. Next we have some suggestions for you to check. Let's start from top. The helmet looks like you're wearing a bit too high. If possible, we recommend that you remove some of the inner padding of the helmet (upper area) so that it sits a little lower Reference Images Centurion Requirements: In this section we prepare you for our highest tier of approval. Because Centurion photos must show more detail than EIB, items pertaining to Level 3 might be seen there and not here and additional photos may be required. We try to point out all that we can from what we are able to clearly see, but the final accuracy is the responsibility of the trooper. CRL L2: Ideally, the tube stripes are positioned approximately a pencil width from the side of the cheek. This is a requirement for Level 2, but since yours are somewhat close( the right side is perfect) we are allowing this for Level 2 and moving it to Centurion. Reference Images CRL special note: Armor is scaled proportionately to the wearer. Looking at your forearms, they seem too wide. I've made this modification for Garrison's buddies by removing the cover strips (sometimes just the rear one), trimming the forearm a little, and re-gluing the cover strip. Reference Images CRL L3: Ab button paint shall not extend beyond the bottom of the actual raised button. This one is an easy fix, just a painting session to add a little more paint to the edges to cover the raised section. Reference Images For accuracy , you may want to trim the return edge on your small ab buttons plate to get it flat. Reference images CRL L3: The top of the ABS ammo belt should sit at or just above the bottom of the central and vertical abdomen button panels. In looking at the reference images below, we are asking that you raise it a little to at least cover more of the bottom of the ab-button plate(s). Ideally it should touch (or even overlap a bit) the bottom button(s). Reference Images CRL for BASIC : The total length is approximately 7.50" (190.5mm). End caps are approximately .78" (20mm)in width. Looking at your Thermal Detonator and comparing it to the reference image, you will nee to reduce the endcaps width and the pipe size to get a more accurate look sir. You may want to check the above CRL reference dimensions. Reference Images CRL L3: Ideally there no gap between the abdomen and kidney armor Perhaps , Just a little strapping adjustment could do the job here. Reference Images CRL L3: Drop boxes are vertically aligned with the end of the ammo belt with minimal gap between belt and box. As you can se bellow, the drop boxes are overlapping a little the ABS belt. It looks like you need to lower down the elastic strap. Reference Images CRL L3: Hand guards shall be latex or latex-like, solid white or painted white, and affixed to rubber gloves with no visible strapping or stitching. You may want to replace the plastic hand plates for the more accurate ones requested by the crl. Reference Images CRL L3: The blaster may have minor weathering or base metal exposure however, T-tracks and grips shall be of a black plastic appearance with no silver/metallic weathering allowed. Just take in account to give a black paint coat to the T-tracks as per the CRL requirement. Reference Images And that's all trooper. Congratulations for your EIB badge!!! We are confident that you'll go above a beyond with the fixes to reach the next level. Remember to request your EIB certificate HERE .1 point
-
Yeah! but i still think the pieces i already printed will fit .1 point
-
Great to hear, always best to try on your armor with the correct undersuit, especially with a ribbed, padded undersuit. Hopefully the wait won't be too long.1 point
-
Update! i just ordered the suit from Sheev´s emporium! Which means i must stop my printing and painting untill it arrives so im sure about the scaling is correct! Happy building!1 point
-
Enjoy your new banner @KorbenDallas1 point
-
A couple of screen references, it's barely open when he's standing still
 1 point
 -
Think i have made a big mistake on this project. I have printed so much and used my shadow under suit for reference. Now when i look at the suit on sheev's emporium the material feels thick? Does anyone here bought it and can tell how thick it is? I also asked sheev about it but I dont know if he is able so answer fast.1 point
-
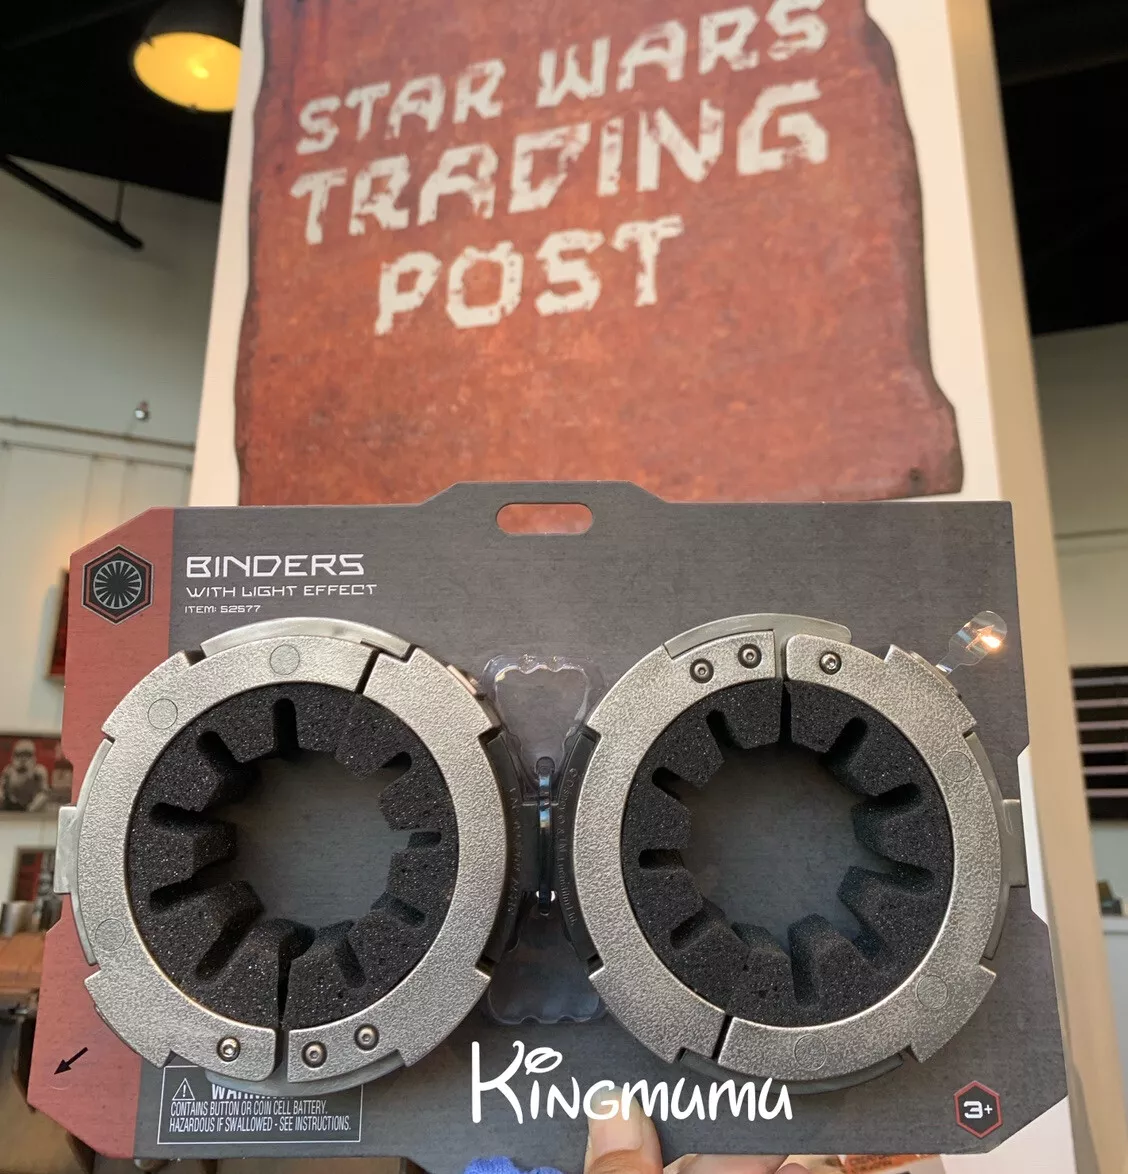
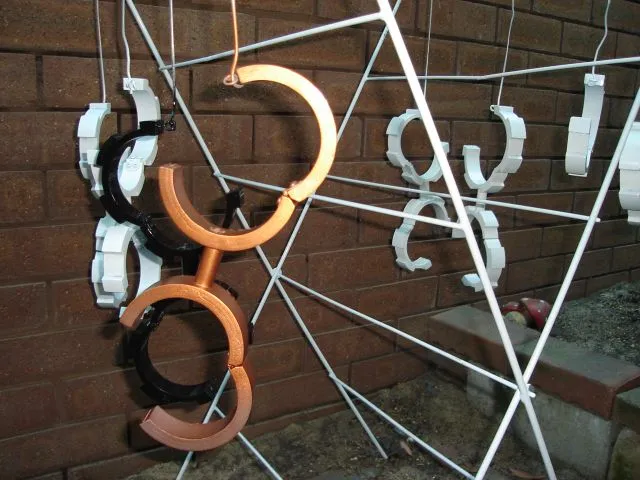
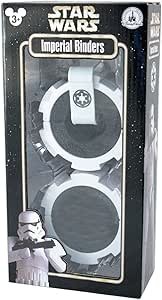
Apart from those at Disney parks There are some 3D files available https://www.yeggi.com/q/star+wars+imperial+binders/ I see quite a few premade on Etsy https://www.etsy.com/au/market/stormtrooper_binders A few others: https://www.opleprops.com/en/stormtrooper-parts/589-OPLE-Props-Imperial-Binders-Cuffs-Stormtrooper-Shadowtrooper.html https://www.facebook.com/stormtrooperbinders/ I used to make them out of PVC (ANH style) Google search
 1 point
 -
Awesome! Myself and a friend will love to get them when you're ready to sell.1 point
-
Sounds good. Thanks for the support ?1 point
-
I love this comment. It should be something you have fun with, and not something to stress about. It's a hobby, right? ;-) Keep up the great work!1 point
-
Alright, here are some shots from my Captain! I fixed all the previously mentioned points and in my eyes its pretty done! I'd like to hear your opinion if we can move on to get this as a CRL model and the CRL finally done!1 point
-
Hey Terry, send me a PM. You pay for the shipping and I'll repair the tips for free.1 point
-
Updated @planktonimore @SublimeBW @Matteobdt1 point
-
Congrats! I really enjoyed the EIB process. Hope to see your submission soon! Let us know if you need any help or tips1 point
-
You may wish make a few adjustments before the DO's begin reviewing. Front forearms trim all the return (L3 centurion) No lower edge/plate on large ab plate, this can be fixed by cutting a plate slightly larger, glue on to large ab plate, then fill join with ABS paste, sand and polish. Also trim smaller ab plate Your gaps are too small, look at the gap between endcaps and control panel, the control panel is too wide. The total length is approximately 7.50" (190.5mm Side rivets are not in alignment abdomen to kidney (L3 centurion issue)
 1 point
 -
Very easy to reach Centurion with AP... was a little harder 12 years ago when you had to shim the sides and separate the butt from the kidney plate but that has long since been updated. If it fits you right, which is paramount if you plan on wearing it trooping ..go with it. Many ABS suit makers now have/ make screen accurate Centurion level parts available so it boils down to personal fitment ...I own 2 of these suits so please feel free to reach out if you need any guidance.1 point
-
Excellent build Daniel. Congratulations and welcome to the rank of Expert Infantry!1 point
-
Star Wars Ambient Background MP3's https://star-wars.ambient-mixer.com/ Star Wars Game Soundtracks https://downloads.khinsider.com/search?search=star+wars Droids https://drive.google.com/file/d/1QWn85WRpO310CtCE00kogPQcoTPTdFU_/view?usp=sharing Soundboards https://www.myinstants.com/en/search/?name=star wars https://www.101soundboards.com/boards/34524-star-wars-soundboard https://www.soundboard.com/sb/stormtrooper_sounds https://www.voicy.network/official-soundboards/movies/stormtrooper Displays Blueprints Halcyon Bridge Deathstar Plans Deathstar Ambient Backgrounds1 point
-
EXPERT INFANTRY PHOTO CHECKLIST (for all non-FO TK costumes) Mandatory Information: PHOTO GUIDELINES ___ Armor Maker Photo size- At least 800 X 600 (preferably 1280 X 960) ___ Helmet Maker Good lighting ___ Blaster Maker A neutral (solid) background color is suggested, more info in this thread ___ Permission photos social media: Yes ___ Approved TK costume link: NOTE: you must be an approved 501st Stormtrooper to post an Expert Infantry request, you can request TK access here Please post a link to your approved TK costume from your membership profile into your EI application, instructions in first post of this thread IMPORTANT!- Example photos can be seen below, but all photos MUST be 800 x 600 or larger to show details. PDF Available for download/printing here:EXPERT INFANTRY PHOTO CHECKLIST.pdf Optional information: ___ Full name ___ Height/weight *** ___ Boot maker ___ Canvas belt supplier ___ Hand guard supplier ___ Holster maker *** Although not mandatory, including this information helps a LOT. Troopers come in different shapes/sizes, and we can make certain allowances in some cases. Please be aware that all photos listed below are required for approval Full Body 1. ___ Front (Arms flat by side) 2. ___ Back (Arms flat by side) 3. ___ Left side (Arms raised) 4. ___ Right side (Arms raised) 5. ___ Left side detail (arms raised showing ab/kidney connection clearly) 6. ___ Right side detail (arms raised showing ab/kidney connection clearly) 7. ___ Action shot Armor Details 8. ___ Abdomen button plates (close-up) 9. ___ Cod and posterior plate connections showing rivet/snaps (exterior) 10. ___ Interior strapping 11. ___ Wrist openings (close-up) 12. ___ Close-up of ab/kidney rivets 13. ___ "Han" snap 14. ___ Left sniper knee plate close up 15. ___ Right sniper knee plate close up 16. ___ Left thigh ammo pack rivet close up 17. ___ Right thigh ammo pack rivet close up Helmet Details 18. ___ Front 19. ___ Left side 20. ___ Right side 21. ___ Rear 22. ___ Back-lit shot showing lens color 23. ___ Close-up of Hovi tips Accessories 24. ___ Neck seal 25. ___ TD (Thermal Detonator) front 26. ___ TD Rear, showing close up of screw type. 27. ___ Holster attachment 28. ___ ABS/canvas belt (rear) 29. ___ Boots (showing tops and sides) 30. ___ Rubber gloves Blaster Details 31. ___ Left side 32. ___ Right side 33. ___ Rear showing D-ring Important! IF A PARTICULAR DETAIL IS NOT CLEARLY VISIBLE, THE APPLICANT WILL BE ASKED TO PROVIDE ADDITIONAL PHOTOS. Model: Arthur (giskard8) TK 39093 Armor type: ANH Hero FULL BODY 1. 2. 3. 4. 5. 6. 7. ARMOR DETAILS 8. 9. 10. 11. 12. 13 14. 15. 16. 17. HELMET 18. 19. 20. 21. 22. 23. ACCESSORIES 24. 25. (front) 26. (rear) 27. 28. 29. 30. BLASTER 31. 32. 33. A big shout-out (and many thanks) to Andrew (Sly11) for doing the PDF for this!1 point


CertificateofMarksmanship-LetterLegionJPG.jpg.0ae0f1ef705334ae4ef49b5974003f88.jpg)
CertificateofMarksmanshipA4LegionJPG.jpg.2115e30e9995fa246eb27bb1639d4e7d.jpg)