Leaderboard


Popular Content
Showing content with the highest reputation on 07/19/2023 in Posts
-
Greetings all, It gives me great pleasure to announce the newest CRL for FISD and the Legion! The Artillery Stormtrooper as seen in the series The Mandalorian today has the green light form the LMO office and is live and ready to use. I would like to thank Honeymustard TK-22540 (Logan Hole) of the Wisconsin Garrison for his epic work and research and assistance is helping us bring this CRL to fruition. A new to Legion and legion first. Congratulations Logan, your hard work has paid off. Costuming:ArtilleryTrooper - Databank (501st.com)2 points
-
In honor of our newest CRL Also @MaskedVengeance -- found your twin2 points
-
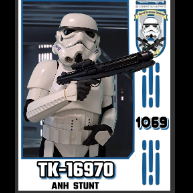
Name: Manvi ID: TK-16970 Username: Manvi Viztotia Garrison: Spanish Garrison Armor Maker:Armour Factory Props (AFP) Helmet Maker: Armour Factory Props Height/Weight: 1,80m. 64kgrs. Boot Maker: Valverde del camino Canvas Belt Supplier: AFP Neck Seal: AFP Hand Guard: AFP Holster Maker: AFP Profile Link; https://www.501st.com/members/displaymember.php?userID=35695&costumeID=1241 point
-
OK. Noted . Thank you. :-)1 point
-
I use a mini lightsaber to seal the ends. LOL. Overkill but very fun1 point
-
I normally check the measurements, eye of snap to other eye of snap then deduct 5mm, usually that works for me BUT over time I ended up with a few that were just too long/loose which I've added extra snaps too and I now use these as a measuring device.1 point
-
That's part of the build figuring out what works. A bit of trial and a bunch of errors to the end. I'm having a build day this weekend. I posted on our local forums. If interested even though you're doing great so far. Keep it up Future Trooper1 point
-
@gmrhodes13soldering iron is a great idea. Thanks!1 point
-
"Bitten by the bug" happens to many of us, not uncommon to be waiting for shipping of parts for 1, 2 or even 3 costumes, albeit my recent activity was more props for convention displays so waiting for a lot of electronics, but I still have 2 BBB sitting in the wings for when things get quiet 10th year anniversary in the legion last December and still my interest has not diminished, "thank the maker"1 point
-
I have to say, I haven't been this excited about any sort of lore since I was fascinated by Mass Effect years ago! Right now is a time in my life where I am able to focus on my interests once again, so this has been so much fun working on this armor build and reading up on Star Wars lore! I think it is a really good sign that I am just as fascinated with Star Wars as I was with Mass Effect. I have to take things one step at a time, because I still have this armor to complete, but I have already found myself scheming on another build! Perhaps something that is canon and would be 501st approvable. The Imperial Shock Troopers really interest me...but I shouldn't get ahead of myself. Plenty of time to scheme as I bring my current beloved build to completion! I've been waiting years to bring my FEM7 trooper to life after all!1 point
-
1 point
-
Pretty much all of the elastic is at different lengths, it's a case of working out the gaps using tape then considering any tightness needed in the elastic to close pieces like AB/Kidney. Many double snap which helps if one snap fails.1 point
-
@revlimiter1 point
-
1 point
-
Hey Bryan you have done an awesome job! The helmet looks really good in its proportions and you'll be a beautiful Hero!1 point
-
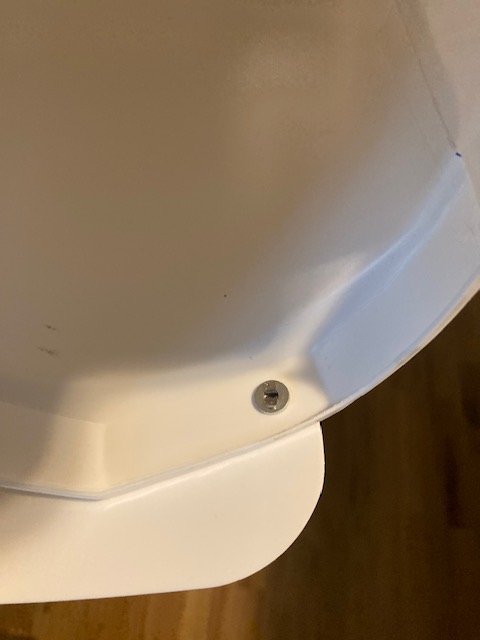
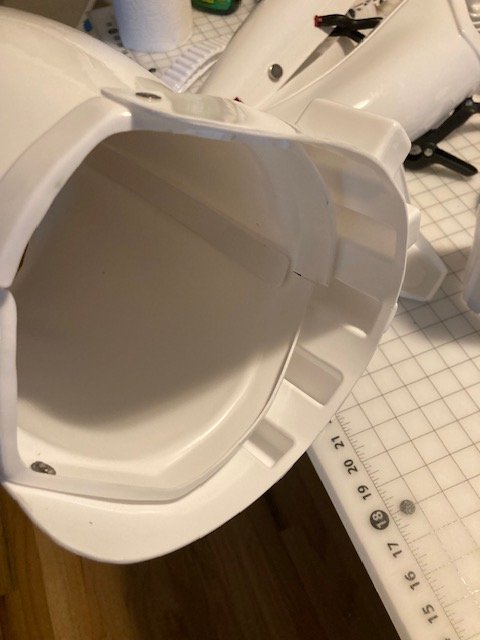
Regarding the lower ear section, checking others WTF armor builds and EIB and Centurion submissions it looks like this armorer in particular has this detail in the ears armor. Looking to the back view of this helmet and compared to reference , the ears looks ok But if we see the front view, the WTF ear mold is thicker. This is not a issue in any level, and it could be just a suggestion to leave a little gap to make the ear looks thiner. Keep it up1 point
-
Lower ear left is a little thick, but you have closed up those gaps well, should be ok for basic approval but for higher levels it's up to our DO's @Deployment Officer Team A couple of references to compare with

 1 point
 -
Looks good to me as well1 point
-
Looking pretty good to me, I agree with the echoed information previously, but looks like you’ve got some good progress. Sent from my iPad using Tapatalk1 point
-
I could only find 2 inch wide Velcro at my local haberdashery and I bought the self adhesive kind, although I did sew around the edges so it was more secure. I put the soft part of the Velcro on the right side and the ruff part on the left side (as you wear the belt) which goes on top so that if any of the Velcro shows nothing gets stuck to it. As I had to use 2 inch Velcro when I stuck the thin and thick parts on the belt I offset them against the opposite hook and loop so that the velcro wont be pulled off when I undo the belt. Sew around the edges and there you are, all done. I used poppers to attach everything to the belt including the armour belt, holster and drop boxes to make storage easier and the thermal detonator will be held on using money clips. Finshed and ready for duty.......... end of transmission1 point