Leaderboard


Popular Content
Showing content with the highest reputation on 05/25/2023 in Posts
-
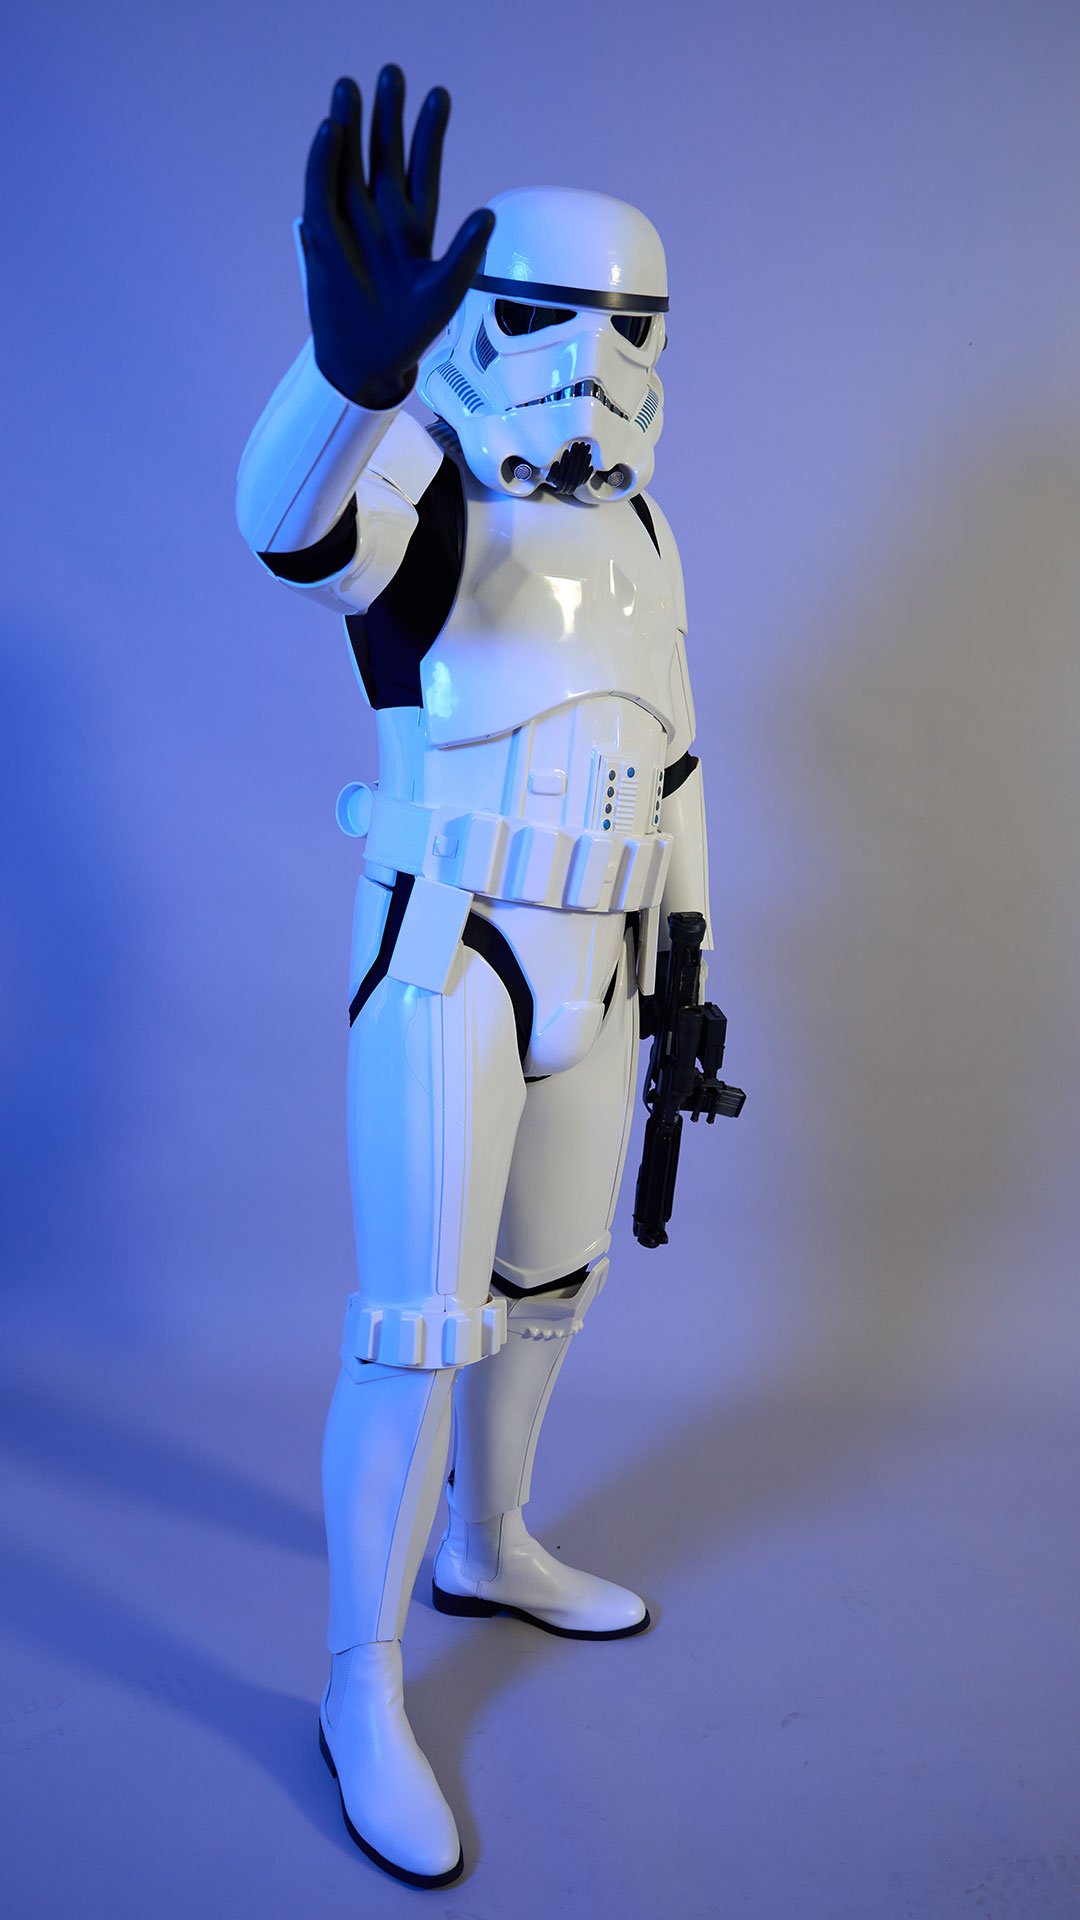
Those posting the negative comments online obviously have no idea what we represent. If they would bother to dig a little deeper into our organization, they would find that we have raised over $360,000.00 for the "Make-A-Wish" foundation and many, many thousands more for local charities. We spend crazy amounts of money building our costume(s) and then drive countless miles to appear (for free) at the events we attend on our own time. Remember, we only show up when we are invited, and this includes children's hospitals, police community events, parades, etc. We are asked back to these events year after year for a reason. Yes, we are the "bad guys", but what kid wouldn't want to meet a "real life" Stormtrooper who gives them a high-five? We don't do this for notoriety. We do it because we care. Yeah, it's fun to dress up as your favorite SW character, but when you see a giant ear-to-ear smile on a kid (or adult) at a troop it makes all the time (and money) you spent building that costume worthwhile. "Bad guys doing good". Side note: I have been on more troops than I can count, and I have noticed that the vast majority of those wanting photos with members of the 501st (especially TKs) FAR outweighs those wanting a pic with a Jedi. No offense to you Rebel Legion types, lol.5 points
-
Hello Sean. Thanks so much for the pictures!!! Unfortunately, in order to check the position of the TD, we need a photo showing its final position.. The best thing to do would be to put on the armor, and take a new photo. Regarding the teeth, we have been talking about it, and we think you should fix a little bit more the lower part that we indicated. Reference image We know it's a little "scary" this kind of fixes, but believe us, for this kind of details, you will feel proud to wear your armor ... Thanks!3 points
-
Hello everyone! Welcome to my first ever build! I’m sure there’s probably going to be a lot of screw ups during this build but follow along anyway as I learn from my mistakes. This thread will be focusing on TLJ FOTK primarily. I’m planning to make this into a conversion kit so that I can switch between TFA & TLJ but that’ll come after my first approval. This will not be a step by step guide but more of a documentation of my progress in hopes of getting this kit 501st approved by the end. Helmets are here! TFA helmet is from the original standard line that Anovos made. TLJ helmet is the standard from Denuo Novo. There’s a slight color difference and I personally like TFA white more but I’m trying to stay away from painting this kit if I don’t have too so I’m hoping it’ll look fine at the end. *fingers crossed* So I wanted the interior of my helmet to be black. Similar to the look that the premiere line has. So time to test out my masking skills. Looks good so far! Plastic bag for overspray insurance. Did a couple of coats with Plasti-Dip. All dried up and tape removed. I’m happy with it. It needs a bit of clean up but I’m planning to go back in with some black acrylic paint to finish it off. Will be doing the same thing to my other helmet. Here goes nothing. I’m terrified to start trimming but decided to start small first. Admittedly I didn’t have the right tools when I started this but I was so excited when I first got the kit that I couldn’t wait anymore and tried to do it anyway. I used these gigantic shears instead of polycarbonate scissors which is why it looks a little wonky but I’ll sand it down until it’s all nice and smooth. I waited to trim anything else until the right scissors came in. Chest day! First big trim and I’m feeling a bit more confident in myself after that initial trim for the hand guards. I’m using a black pencil to define the guide lines because some of these lines are hard to see. Front chest all trimmed up! My hands hurt. I’m having a blast! Forearms!! So as I stated previously I’m focusing on TLJ so the forearms will need to be cut a certain way. The photo above in RED shows the cut that Denuo Novo has in there assembly book. The photo below in BLUE is how I’m going to cut mine. The top of the forearms in the assembly book appear to show the bottom trimmed about 50%. I think this page has stayed the same since the original Anovos kit so I’m keeping that extra length to use for more real estate when I decide to glue them. Resin pieces ready to paint! Sprayed it down with some Gloss White Behr spray paint. First major screw up! I didn’t have to trim this part since the decals are provided but I wanted to since I got this nice backing from ukwraths. I went in a little to fast with the sanding bit in my Dremel and created a pretty big ugly hole. I’m hoping it won’t look that bad when it’s all said and done but I’ll most likely will have to buy another bicep piece. *sad face* Everything all trimmed up! I might start glueing soon or I’ll probably wait until my gaskets come in. I just ordered them from Teresa at Geeky Pinks so it might be awhile until there’s another update from me.2 points
-
Hello you lovely people, last Sunday on the 21st of May I received my approval for my TK (ANH Stunt). Now I am very proud to be part of the 501st Legion - German Garrison. I am so happy to join this great community. My next plans are to optimize my armor which is from RS Propmasters and do the request for expert infantry. I am looking forward to my first troop in July and meeting great people. Note … the pictures with the colored light setup are just for fun.


 2 points
 -
Okay, I think I get what you're after on the helmet, and for reference TD new position (excuse the bad camera angle) and belt velcro adjusted over buttons. Sent from my SM-A145R using Tapatalk1 point
-
Presently just outside of York, but possibly moving closer to the seaside soon?1 point
-
Congratulations! Those pictures look awesome, I'm sure you'll get EIB without much trouble. Looking forward to meeting you on a troop one day!1 point
-
I kind of like having the snaps able to rotate. And not even once has any of my snaps failed. But I use heavy duty snaps so that might help.1 point
-
Hi Justin, welcome and great to see you out of the gate and straight into a build thread. We are here to assist where ever possible so ask plenty of questions and the help will flow. As Glen pointed out, do use the reference gallery to get those little finer details spot on for the TLJ TK Looking forward to following your progress.1 point
-
Congratulations Marcel, One of us! one of us!!1 point
-
Congratulations trooper. Welcome to the Legion.1 point
-
Looking forward to seeing the progress. You may notice in the images below there is a slight curve to the rear forearm cut/angle Just in case you aren't aware we have a gallery area full of references, always check before you cut, measure twice and cut once Good luck1 point
-
Congratulations Marcel. Welcome1 point
-
I can tell you from personal experience that it just takes one person (and in my case it was a 501st TK) to throw water on someone's hopes. Thankfully a lot has changed since then. I vowed that should I ever get to the 501st that I would never be "that guy" who dashes someone's hope. After that, for a short while, I had nothing good to say about the 501st. It was an elitist group that forgot what they were supposed to represent and were taking themselves far too seriously for walking around in plastic armor. My point is, not everyone is good at PR and should a 501st member be that someone it is better to defer to the member who is good at it. I spent many hours at the club table during my first troop talking to lots of people and no one was anything but excited about the 501st. Everyone got the idea of the bad guys doing good and were excited about it. When the day comes that a Karen or Ken is going to try and give us grief I'm prepared with the facts. You might not change their mind with those facts but you can deliver them and move on to the person who does want to see you there. I see no point in whipping a dead horse if their mind can't be changed or they just want to make trouble. Bart And, there is still nothing cooler than seeing lots of the shinny white armor together in a group. That is just plain cool and will never grow old.1 point
-
A lot comes from our costuming standards, some not understanding and frustrated they haven't been approved so the first thing to do is yell out on social media the legion is too strict. That's not to diminish some peoples experience in the legion a lot can be negative but I find the positive more out ways the negative. Every club has it's issues, look at our former LCO takes to social media and rants over issues she encounered, that's not the way a club leader should act. Social media is the easiest way to get negativity out there in the world, it has a lot to answer for. Mostly my time in the legion has been positive, hopefully that remains until I call it a day.1 point
-
The other reality is most who say such negative things are those who don’t want to put effort into replica costumes or sadly those who were disfellowshipped from 501st due to any number of reasons. I generally don’t see much in terms of negativity from most people. Even as a GML when I work with individuals who don’t have approvable costumes or think I’m strict once I explain the details and the quality differences I’d say most understand and then find themselves asking how to get to that point rather than getting offended. Sent from my iPhone using Tapatalk1 point
-
https://www.501st.com/mission.php I say the mission says exactly what is necessary. Sent from my iPhone using Tapatalk1 point
-
Double snaps can be the difference between trooping and not, especially in areas that can take some strain as you can occasionally have them pull through the elastic. Great thread here on snap setting1 point
-
The spacing looks good as long as you have sufficient flexibility, well, as good as you can in TK armour lol. Definitely follow what Glen suggested above, things start to move a little once you are fully kitted up, and you will soon know what needs repositioning and adjustment.1 point
-
Pulling the Anovos helmet apart for interior and possible exterior painting. Followed this tutorial: https://youtu.be/qGc1LXHuaT4 Success! Honestly showing my age, but thought of this when I put the helmet on:1 point
-
No, for the year is 2023. It's finished. Well close enough anyway. I managed to prime the side cover things last summer, and looking at them last week I realised all it needed was a rub down and they would be okay for top coat. So during the week I've been sneaking up and rubbing them down with 400 and then 600 grit. Possibly a bit rough and ready, but take a look at real film props up close some time and see how rough they can be. In the end it came out nice. First job gloss paint. Always a phrase that fills me with dread. Took it slowly, a light dust coat and then a couple of wet coats to get a nice smooth finish. It's not flawless but you'd need to be pretty close to tell. Assembly was a bit scary as the paint probably could have been left another day or so. However I know that I need to do things when motivated or it will be another year or so loop. I started by using a scalpel to clean off paint where parts will glue and the barrel nozzle fits. I should have masked these but a blade works if you're careful. The top sight was assembled using M4? countersink screws. IIRC the original instructions wanted to use a grubscrew into the Glock slide but this felt like a better solution to me. The mount bracket was countersunk to accept them and then everything was done up to approximately "snug". The sight is resin, the mount PETG and doing things up too tight will just break things. At snug they should stay done up, and not strip out the threads. The top black thingy no longer fitted. Paint tolerances are a nightmare, but the fix was simple. I applied a bit of masking tape to the face of the file to make it safe then used the side of the file to add the needed clearance. This done a dab of Tamiya Semi-Gloss black was added to hide my crimes. The sheen is nothing close to the spray Satin Black I used but it's close enough for this. Next came bolting things up. The instruction PDF was long gone at this point and the one in the TFA download is for the TLJ build so some educated guessing was needed. I have a stash of M3 and M4 security Torx screws in assorted lengths, as you do. I used the TLJ guide to get the size and then picked the appropriate length by holding them to the part. I used the longest possible for each to get a solid join. The most important was the front M4 screw as I am actually using this to join the two halves, no glue. The longest I have went about 10mm into the other half which should give a solid fix, and on the other side the shortest one I had was used as it's effective decorative unlike the rest. The last job was to glue the red thing onto the sight, glue in the slide pull, barrel nozzle, and the sight into place. All of this was done with the smallest dabs of CA so not to make a mess but also give me a sporting chance that this semi removable if needed. Hooray pew pew time. I do need to add the holster bracket still. I have an idea for this but I need to get the hole spacing and hardware size for the R2Dan holster so I don't screw it up.1 point