Leaderboard


Popular Content
Showing content with the highest reputation on 11/02/2022 in Posts
-
Ugh. Well, hopefully they are able to get this all sorted out. I haven't started trimming yet, but per my initial glance, everything seems to be in order. However, I am a FOTK novice, so I'll be leaning pretty heavily on you guys. Also, I'm already following @TheRascalKing's lead through most of this and letting Justin make all the mistakes so I don't have to. Also, if I do start finding off-color pieces, they're all going to end up red in the end, so I'll let it slide. I will say this though... who in the flying QA circus allowed the DN team to sew the gaskets inside out??? Honestly, I wouldn't have even thought about it, but Justin pointed it out to me about a week ago. I don't get this at all. In this pic, I turned the knee gasket inside out so the difference can be seen. SHINY SIDE OUT DENUO NOVO... Fortunately, Dave from Sheev's Emporium gave me a lesson on sewing ribbed fabric a few months ago, so I'm either going to right this wrong, order a new set, or make one myself. Actually, I have a bunch of fabric left over from my DT kidney gaskets, so I might just try to make some gaskets this weekend. Ok, I'll post more pics later. Regardless, I'll be finishing up my new ROTK/ New Generation TK in a couple weeks and I'm sliding the Deathtrooper to the side to finish this one first. My Anovos TFA bucket is getting here tomorrow, so I'll be set soon.3 points
-
Hi Matt, and thank you for your Centurion application! CRL and CENTURION Application Requirements: All required photos have been submitted, and on behalf of the entire D.O. staff we are pleased to welcome you to the rank of CENTURION. Congratulations! Other-Armor Fit/Assembly; In this area we review observations made by your fellow troopers and the DO team. Some observations may lead to suggestions to improve the overall look of your armor, and please keep in mind that we consider both text (CRL) and pictures (screen caps/reference images) when reviewing submissions. You did a great job on the requested fixes Trooper, Well done!. We noted just a few extra details when making your review. Your helmet's right ear lower screw looks to be a little higher positioned than we normally see in the screen. Reference Images As a suggestion to get the very best TK shape , you could consider some Tab or even a bit more, magnets system to your side closures (mainly to the right side where we noted the AB plate overlapping the kidney. ) Reference Images AB TABS CLOSURE SYSTEM MAGNETS Just a suiting up detail here Matt, This not an real L3 issue, but the TD is cocked at an angle and the right TD clip is not pushed down all the way. Since we can't put our own TDs on, every time someone help you to put on the TD you may want to check your handler to aim for a more vertical appearance Finally , a very fine detail is the inner angle of your sniper knee (right side) , just a minute with sandpaper will do the trick. Reference Images That's all . Congratulations for reaching Centurion Level Trooper!!!2 points
-
Good morning Everyone! Wow! Its been a while - five years!2 points
-
Glen how did you even see that?! I have never even noticed this haha. When looking at the pants there is a black sticker on them that when the light hits it just right does have a "glare". Eagle eyes on you! I will definitely look at doing that or trying to just peel off. Thank you also for all your help through my whole process, could not have gotten here without yours and many other peoples help from the FISD! Thank you, M1 point
-
Thank you Jonathan! The pic came through this time and I can see that it really does not look odd. (not sure why I thought it would). I can also say that I just had my Centurion app approved! I would be curious at your process on tapering as I think I would like to look into it just for an overall better look for me personally. It could also help with a couple notes they gave in my approval. Thanks, M1 point
-
Congratulations trooper and welcome to the Centurion ranks. If I could suggest using a permanent black marker to cover up this logo
 1 point
 -
Congratulations #5191 point
-
I re uploaded the front pic. Let me know if it still cuts off and ill just dig out my armor and take pics of the biceps and show you how small they are LOL. Anways here again is the unmodified pic: and here is after tapering it: Well, your kit looks very nice, and you are already EIB. If you decide that that is something you would like to do, I can absolutely share with you what I did. I know how much time goes into making a kit. So if you can get to centurion with just the recommendations given by the admins, then that would be the path of least resistance.1 point
-
G’day Matt I intro’ed myself over on KFG, but great to see you here. Defo in the best place for all the right info and guidance. I’m the FISD Attaché to KFG so feel free to reach out for any local advice. Cheers Rudi Sent from my iPhone using Tapatalk1 point
-
Hi, I was following this build while trimming my shoulder bridges. https://www.whitearmor.net/forum/topic/31920-ukswraths-am-10-build/page/2/#comment-412045 Are these fine? Or I trimmed them too aggressively [emoji26] Sent from my SM-N975F using Tapatalk1 point
-
Thank you!1 point
-
Another thing, I browsed through some of my old photos and found photos of my commissioned RS propmasters (no longer using it....retired it last year). RS did not modify the torso in any way (I thought they were....the website implies they make it built to your size). But they did size my biceps and forearms to my tiny arms. The reason I am sharing this is to help show you how a smaller-sized bicep and forearm will look compared to the rest of the armor to address your concern about proportions I ended up modifying the kit since I did not like how I was swimming inside the torso. Anyways, hopefully, this gives you an idea on how the arms might look.1 point
-
Hi everyone, I'm really sorry for my lack of posts over the past week or so, life has been so hectic, but I'm getting back into the swing of things! I have a few verbal updates for you all, and I will hopefully be able to provide some photos to support that this evening! - I received my 2 sets of replacement ears from Trooper Bay, which I will use to practice fitment on my helmet - I have fixed the paint on my vocoder and mic tips to hopefully increase the accuracy of the helmet - Both of my biceps have been completed - I cut out both thighs, and have glued one. It seems to fit nicely! I'm very happy and grateful that this armor kit seems to be bigger than Walt's, which helps me a lot. The abdomen and kidney meet without shims, the chest is wider, and the thighs are bigger. With all that said however, I do still need length in the shins and forearms, so I'm just waiting to hear back from Walt on when hes able to ship the extended ones! Thank you all for you help and support thus far, and I cant wait to continue this build!1 point
-
OK folks, so here it is (at last). I got all the pieces attached and secured and 95% of the weathering complete. Still a few tiny areas I want to tweak, but overall this is it. NOW, before anyone mentions the lack of black paint on many of the actual screws, prongs, spring and such, I left these as-is to show that they had been added. Whoever ends up with this is more than welcome to cover them with some flat black but that will be their choice. As for general weathering I am a minimalist. Yeah, I did add more "brass" on the Hengstler than normal, but I wanted it to pop a little. The lighting was not too great, so here is a better pic of the front. Yes, the word OFF and the arrow on the end of the magazine are a bit wonky. I had to use a Dremel to inscribe it and this was after 5 Mountain Dews. I really gotta' cut down on the caffeine. Also a close-up of the rear power cylinder setup. Front view of the scope/cylinders/Hengstler Front sight close-up OK, so if you remember a few posts back I was concerned that since I wanted to use a real wire spring that the inside circumference of the rear of the shroud was too tight. I was determined not to let this beat me, so I ended up going with a hole saw bit (Pic 1). I used an extension bit to get down inside, but there was a lot of the PVC pipe inside in the far end that just shredded, so I used some elongated needle nose pliers to get out the bits and it worked a charm. HOWEVER, the inside walls were... well let's just say chewed up badly, so I CA glued sandpaper to the hole bit and went to town on it. It worked. Not perfectly smooth inside, but very close and not noticeable. Took me about 3 hours. Here is the end result, and I'm pretty pleased. End cap Hengstler** Grip **As I mentioned earlier, I used my leftover curved Lexan lens from an old build. Note: The lens appears to be fogged under the 0 and 5, but that is a reflection. And finally the folding stock. I was worried that since I was using a real vintage Sterling one that it wouldn't line up correctly. But, that was unfounded. Bryan's 3D files are so accurate that it fit like a glove with no modifications! And that's it, folks! This build was both challenging and fun, and I hope you enjoyed it as much I enjoyed doing it. It will be going up for auction in the next day or so to raise funds for the JDRF, and I hope it makes money for a great cause. If you would like to see any detail pics that are not shown or have any questions, just ask here in this thread. Last but certainly not least, I would like to give a BIG shout out to Bryan @trooper96 for supplying the files (and some extra pieces) for this incredible weapon, Kevin @kmwilson343 for donating the 3d print (and extras), Brian @Bulldog44 for donating one his incredible scopes, and Andrew @Sly11 for giving me the thumbs up to auction this off here on the FISD. You all truly rock, gentlemen, and my bucket is off to you.1 point
-
What are some of your coolest/prized Star Wars possessions when it comes to things or collectibles in general? I have a bunch of things! Amongst everything on my shelves I have a Boba Fett toy from 1979 and the the LEGO BrickHeadz Boba and Han in Carbonite from New York Comic Con. (I have all the BrickHeadz spread out all over my apartment because there are too many ) Now, on to the coolest ones! First then, a signed limited print from Anton Grandert who I have had the pleasure of getting to know lately! He is a concept artist at Lucasfilm and works directly under Doug Chiang, and we have amongst other things talked a bit about some important Stormtrooper details! Last but not least, a signed Ralph McQuarrie lithograph of his concept art for ESB, and along with this, a frame from the master 70mm original film! In my frame I have the frame just when Wedge says the "P" in "Activate har"P"oon! These don't go for a fortune at the moment on eBay so may as well get one now when you can! What are some of your things that lift up your homes, souls and spirits?1 point
-
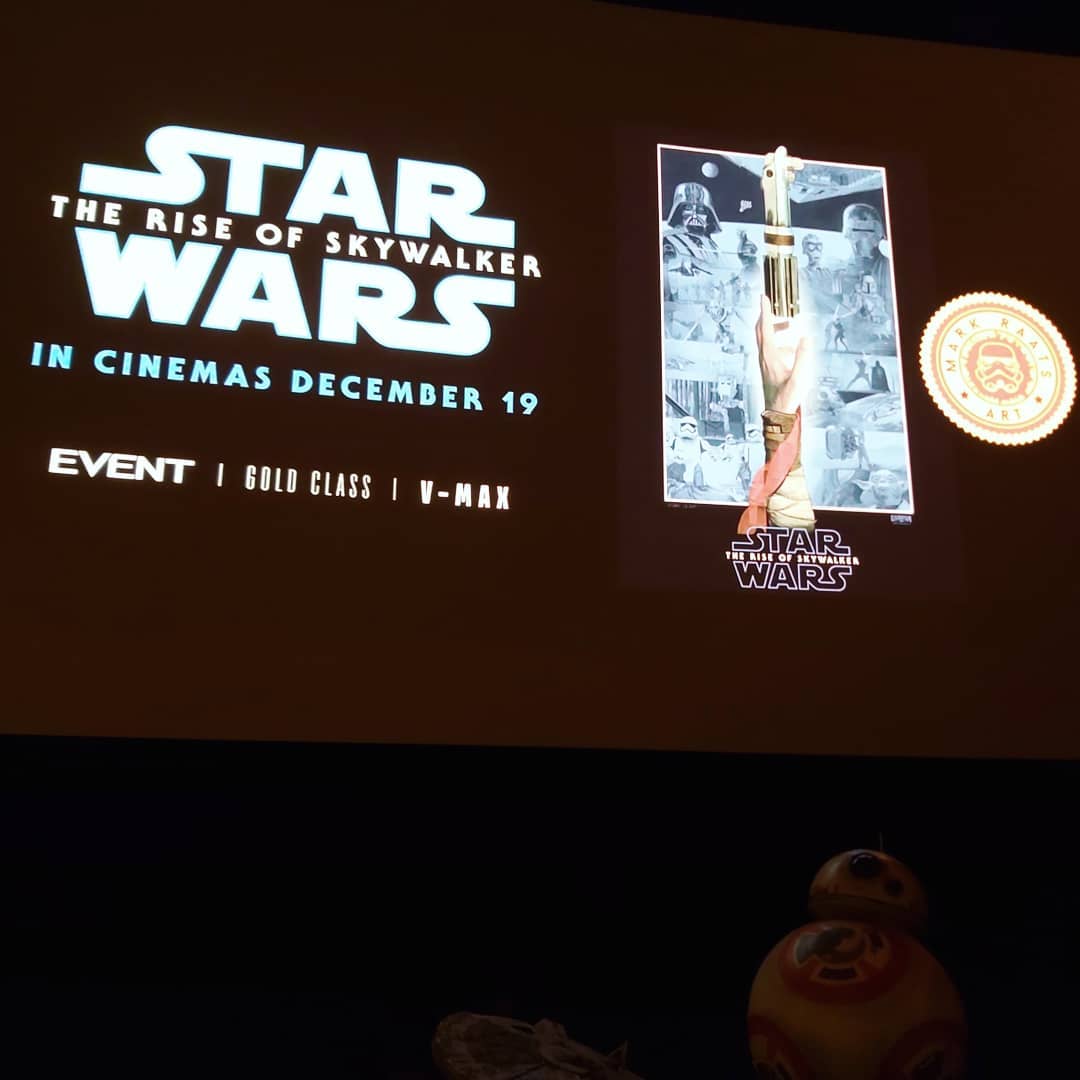
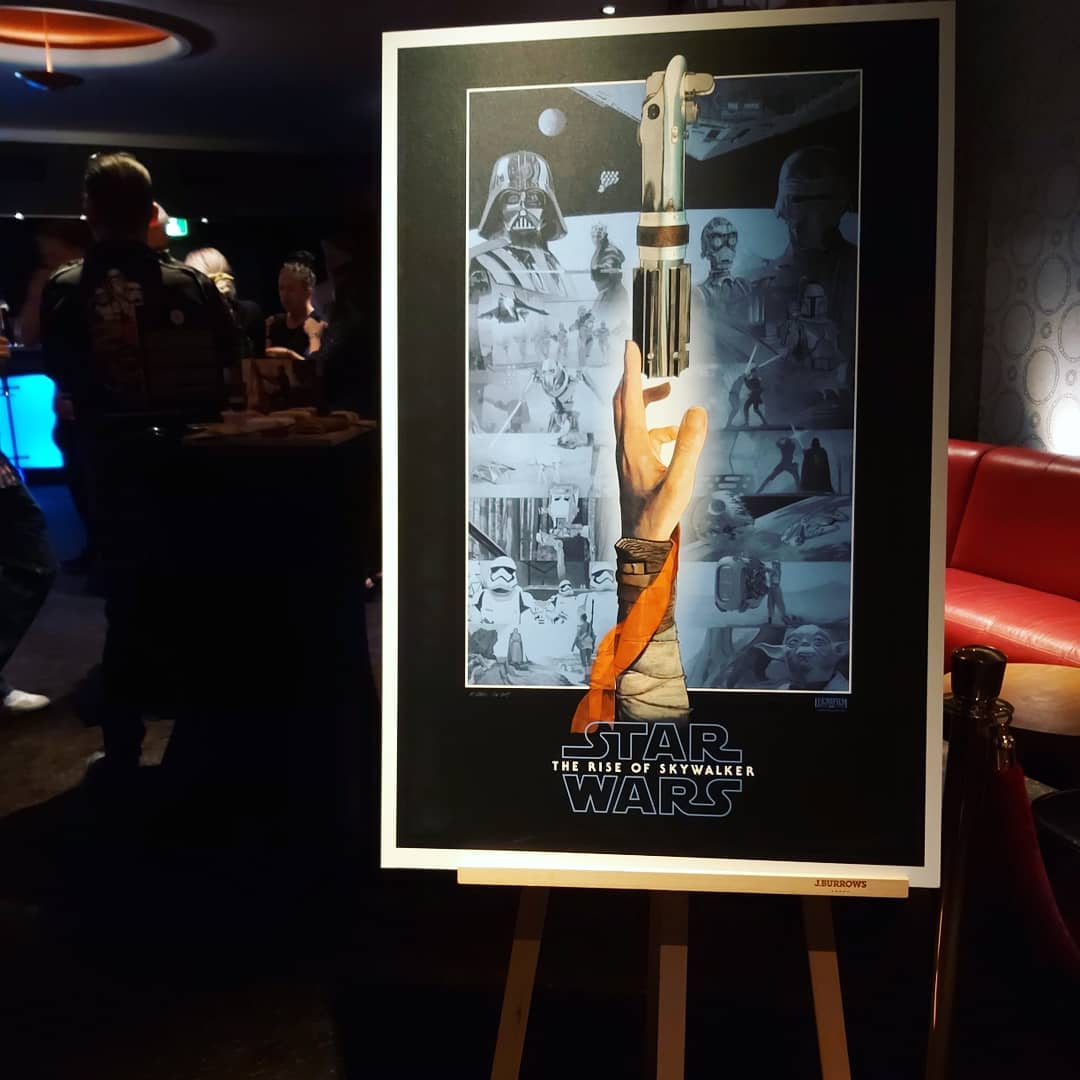
The only artwork I have (apart from cheap posters) is a signed limited run artwork by Mark Raats, he lives in Perth and does a lot of artwork for LFL, we have met him on many an occasion and he's a real down to earth guy, always willing to chat and regularly drops by our display at conventions or out at events. I was lucky to be invited to a special Q & A for Mark about his work on the poster for Rise of Skywalker, and was presented with a signed copy.
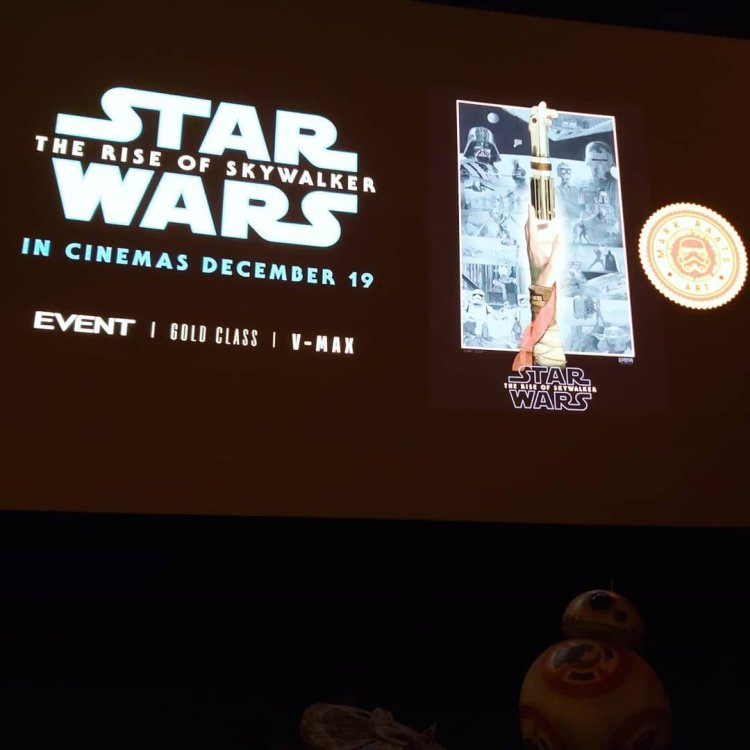

 1 point
 -
Still working on my SW man-cave. The drawers are full of stuff I haven't got around to displaying yet, and planning on building mannequins for one of my TKs and Tusken later this year. I don't own any real weapons of any sort, but my passion is building accurate SW replicas.1 point
-
I have two of Jim's kits and have had several ABS kits over the years - I would not say either one is any more or less prone to cracking. It happens. Fiberglass can be much easier to repair, but also requires paint on top, which can make it better and worse. They're just different materials. That being said, the kits that Jim makes are typically ones that are made by the studio in a flexible injection-molded polyurethane material, so Jim's flexible fiberglass is the most accurate approximation we currently have (or are likely to get) to the screen used armor. I did an additional layer of resin reinforcement in both of my suits, but made sure to use a resin that remained flexible, and I haven't had any major concerns. Any cracks I have gotten have been small, mostly in the very surface layer, and at points of high stress/flex. /$0.021 point
-
Being fiber glass with a resin coat, yep it sure can crack but there are several things to take into consideration more than just the material armour is made of. Size of trooper wearing it and how it fits. Close fitting parts can catch and rub against each other creating pressure points that can crack ABS of flex fiber glass. How you troop. Some are very active and not only troop frequently but also move around vigorously. Run, jump around etc. So depending on how you act can determine how long your armour will hold up. Tall or short, removing material in some areas means less flex than the standard size which can also alter the structural properties of various pieces.1 point