
Leaderboard


Popular Content
Showing content with the highest reputation on 12/29/2021 in all areas
-
Definitely! Adam put a lot of thought into this build and it shows. The only downside to becoming a Centurion is that you tend to notice every little nuance of other trooper's armor.3 points
-
Alright all, I'm looking to retire my old ATA kit and replace it with a Triple D (AM) kit built to EIB standards. The plan is to take my current ATA kit and cut it down to make it fit my wife, so I'm just waiting on Dave to get the plastic in so I can order and get started. I'm starting the tread now so I can solicit tips tricks and ideas so I'm ready to start once BBB day is here.1 point
-
Mandatory Information: Armour Maker - RWA Helmet Maker - RWA Blaster Maker - Shear Tech Optional Information Full Name - Ben Connolly Height - 183cm Weight - 91kg Boot Maker - Imperial Warfighters Canvas Belt Supplier - RWA Electronics - n/a Hand Guard Supplier - Imperial Warfighters Holster Maker - RWA Neck Seal - RWA1 point
-
Apologies in advance - Imgur seems to have uploaded almost every image either upside down or to the side.1 point
-
@justjoseph63@TheRascalKing Thank you both! I'm feeling the love. I'm actually still working on my kit very slightly. I've got ABS paste sitting in the extremely small seam in my left thigh-knee right now. I know it doesn't NEED it, but the backs look so good without the seam. The front deserved that sleek one piece look as well.1 point
-
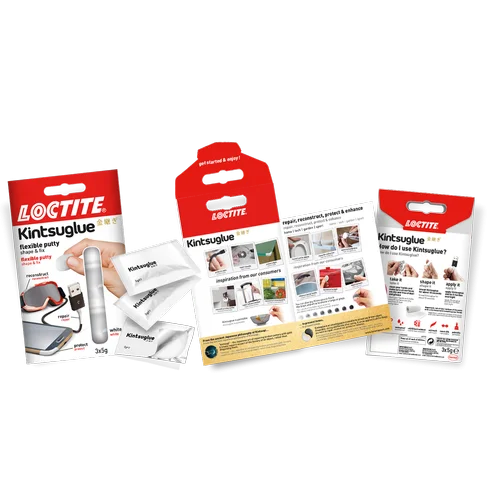
For those aiming for Centurion (or just looking to be more screen accurate) and have gaps in the lower thigh ridges, the usual way to fill them was ABS paste. That method (although tried and true) can take quite a bit of time, uses acetone and has be sanded down and polished afterward. Below is an alternative that should take less than 15 minutes and is super easy using a moldable epoxy called SUGRU (info. at bottom of this post). It is permanent, flexible, keeps it's color, will adhere to almost any surface and clean-up is a breeze. For those in Australia, a similar product that can be used is Loctite Kintsuglue (white) available at Bunnings. Link here. Thanks to Glen @gmrhodes13 for the heads-up! For this tutorial I will be using a mock-up of a thigh ridge as an example. Materials needed: 1. 1 packet of white SUGRU 2. Small scrap(s) of ABS or any thin white plastic. 3. Small straight-edge knife 4. Pliers (if using ABS) 5. Paper towel NOW LET'S GET TO IT! Step 1- Cut small shims as needed (photo 2) to cover the rear of the gap and give the Sugru something to adhere to. If using ABS, I suggest popping the scrap in boiling water for a few minutes to soften it up and allow it to conform to the correct shape (photo 3). This is where the pliers come in. It does NOT have to fit perfectly. Step 2- After you have the right shape, cut it to fit (photo 4). Step 3- Glue it in place (photo 5). CA (super) glue is fine for this as it will not be seen. DON'T WORRY ABOUT ANY TINY GAPS- the Sugru will fill them! 1 2 3 4 5 HINT: Wash your hands before using this product so you don't discolor it while applying. Step 4- Roll a small piece of the Sugru into a strip (photo 6) and then press it firmly into place (photo 7) filling the entire gap (don't forget the back side). Step 5- Using the knife edge, cut off the excess at an angle (photo 8), otherwise you may remove some of the filled area. Step 6- Wipe the edges with a paper towel to remove any residue (photo 9) being careful not to touch the filled area. 6 7 8 9 DONE! That was easy, right? Let it dry for 12 hours or so and you are good to go. Examples of filled gaps in screen used ridges SUGRU is available online or in many retail shops, but it is sold in sets of 3 packets- normally around $10.00. **Available in the UK in single packets for £3.15- Link here. A big shout-out to Ben @Ebio Amisi for this idea!1 point
-
A few options, purchase one from a store, sometimes the sell off older mannequins, local sales groups sometimes offer them for sale, they can be a little expensive if you are looking at new. Make a duck tape mannequin Make a pipe mannequin or or You can also purchase adjustable joints for pipe mannequins https://www.amazon.com.au/Adjustable-Joint-Fitting-2-5cm-Elbow/dp/B00C7WST34
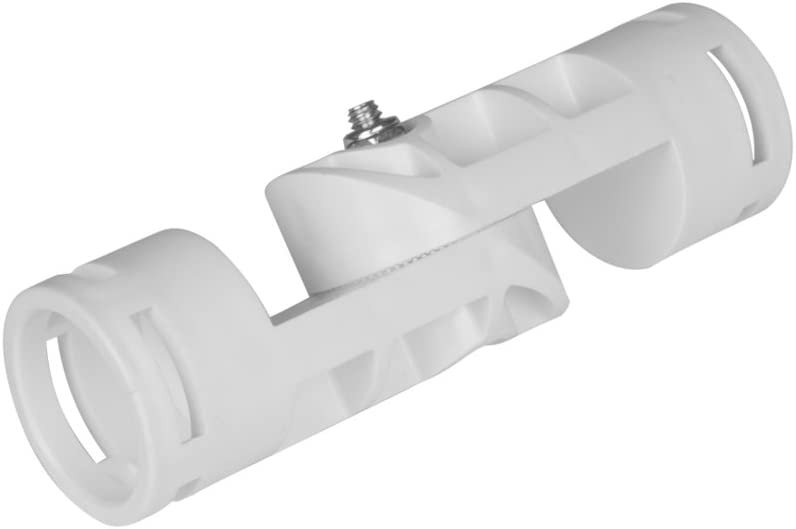 1 point
 -
Have you checked in the First Order Battle Group section? The whole section is devoted to First Order costumes. Vendors List1 point
-
Good luck with your rebuild of this great version of a TK.1 point
-
Great how to Joseph, should help many out. For those down under looking for something similar to Sugru head to Bunnings Loctite 3 x 5g Kintsuglue - White $8.24 OR Selleys 50g Knead It Multipurpose Epoxy Putty $9.15 (note dries grey so will need paint added)
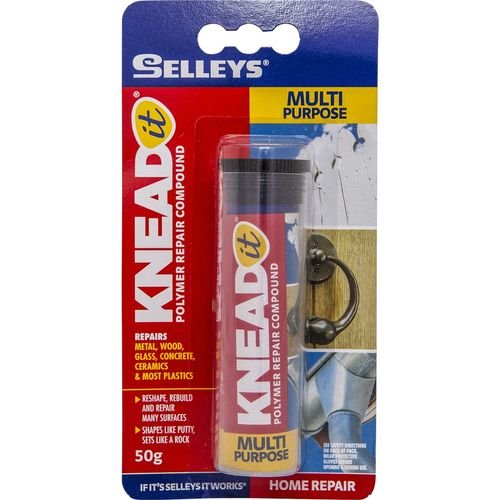 1 point
 -
I'm so happy to see another person strive for excellence! It feels good to know you gave 100+% to your armor, it feels good to troop with others that take pride in their armor... but... it feels especially good to know you don't look like a store bought Halloween costume or costumed panhandler.1 point
-
Using some masking tape for the straighter lines can help, there are a couple wobbly lines on your traps, see how they look when you have cleaned them up1 point
.thumb.jpg.6d328112c293e966a129e9e62a88b910.jpg)
