Leaderboard


Popular Content
Showing content with the highest reputation on 11/06/2021 in all areas
-
Hi Matt, As @gmrhodes13 Glen recommended, in order to keep the great look you're getting with your armor, I think you can do both steps. 1- Move the button cover a bit and 2- trim the belt to get it centered. The right side is not visible at all but you can do the same if needed. Reference3 points
-
Nice updates. Quest Design appear to supply a nice looking blaster, hope they are around for a while1 point
-
Ok now that looks easier than I'm doing it. I also think my snaps were wrong. It's like the post wasn't long enough. I just ordered Tandy 24 leather line snaps. The return edge also is a lot more comfortable now. I just removed a bit from the sides to keep it from digging in. I'm trying to keep 0 gap in the armor. Tonight is going to be more sanding of all the edges to make it look better1 point
-
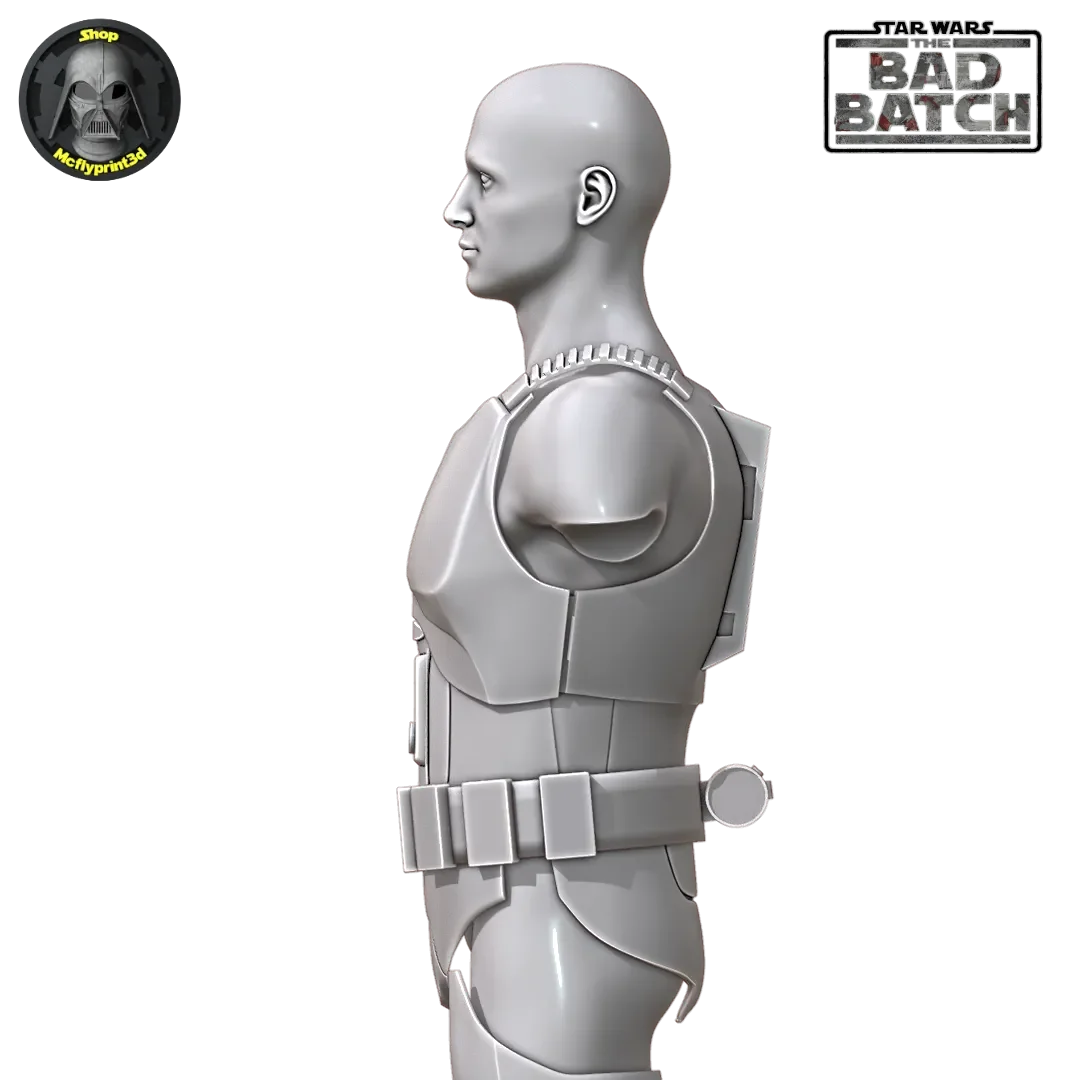
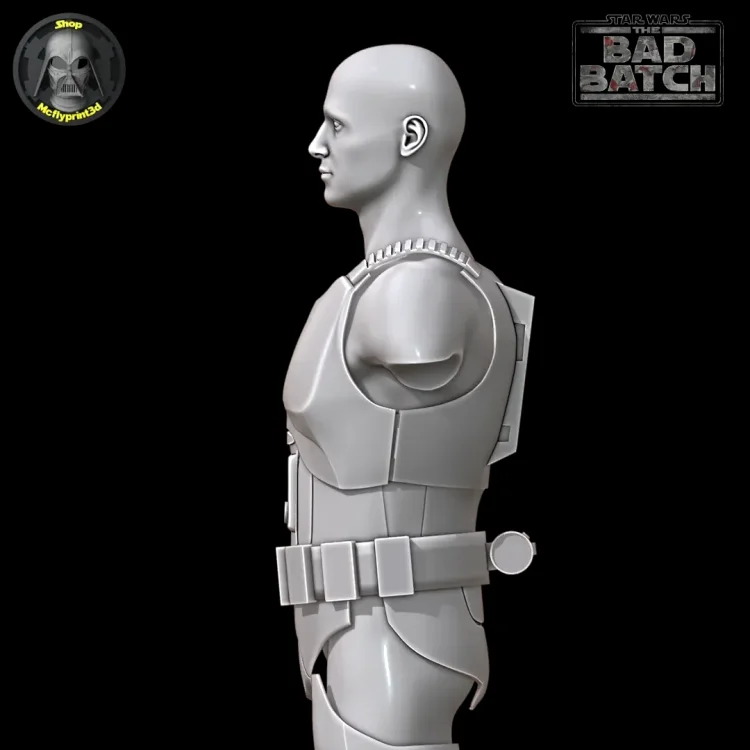
Well, a super big thanks to Gmrhodes13 for providing the file maker with information to help update the armor file for better accuracy. Also to Mcflyprint for being totally down with making any necessary adjustments. His files just getting cooler and cooler. So after going over the new files its time to put two of my four printers are back to work. Did a test print strip on the ab section after tinkering with it on Armorsmith, and all seems good. I guess I'll have to see what the morning brings. https://imgur.com/u0EgOi5gur](https://imgur.com/TkXRQsZ) I totally hope this project comes outs as cool as I'm imaging it1 point
-
Yep. It's on with E-6000 so shouldn't be to much trouble to move it. I will wait to see what they say, but can do as you say. Move it over a little and trim a little. Thanks, M1 point
-
There was a Trunk R Treat within walking distance of the house on Oct 30th, so I trooped over there with my daughter. She in a blow up T-rex and me in the TK. It wasn't a long troop. Maybe 30 minutes and a half mile of walking, but it was enough to reveal something that needed fixing ASAP - thigh mobility. The shins feel pretty good, but the thighs dug into my knees on every curb or stair. I trimmed them as symmetrically as I could and am pleased with the result. But the gaps at the backs became VERY noticeable to me. Just more gap than I wanted and more than I thought I'd be able to get away with for Centurion. ABS paste mixed up! Thanks to the excellent thread here and an old baby food bottle, some scrap armor got turned to goo and applied to the backs of the knees. And then it was the learning curve to sand and finish them. I tried sanding while things were still a bit soft but wasn't happy with the finish. Waiting for full cure seemed to produce a smoother finish. I mowed things down with the dremel and sanding drum, then 220 grit to flatten things down to the right level. Then 400 -> 800 -> 1000 -> 2000 -> Medium cut compound -> Ultimate compound. I could torture myself trying to get a flawless finish, but this seems more than good enough. Especially in a low area that's not often noticed. I mean, I even got a shine on the plastic. Pretty pleased for my first time doing ABS paste.1 point
-
Two troops down and a few improvements made. Aside from minor repairs and changing minor details to improve my comfort, I've added two major things: I added a pouch inside my chest plate, which holds money, an emergency glucose, my keys and so on. Its actually rather spacious, so who knows what else will end up in there over time. I also got myself an Aker, because not speaking at all is just as annoying as having to shout constantly, just so you can talk with others. Additionally (without photo), I thought it was worth mentioning that having padding is nice, but moving it down enough so it isn't visible is even better. Was there anything else I should mention? Ahhh, yes... That might take a while. I haven't forgotten about it, but I'm not yet at a point where I can apply. Give it a few months and that application will probably pop up... probably, haha. In the meantime, if any of you notice things that I should improve on any of the pictures in my troop log, please tell me! With that being said, there's still stuff that I'm working on (as proven by this update), including the fact that I plan on decorating my trooper box next. So who knows, maybe I'll one day post another update on here in regards to weathering, my Trooper box and/or additional upgrades. For now, thanks for reading and as always I very much appreciate all the support and help that got me to this point!1 point
-
Been back and forth with the designe over the last couple of daysr, looking much better now. Also had him bring the detonator in closer and add a missing detail on the top
 1 point
 -
Thanks guys!!! I'm far too happy about having a TK number. I got a little more work done. I addressed my thermal detonator finally. First, I unrolled it to get the donut rotation closer to correct. I managed to not take pix of this. Just careful unrolling of the metal clips to an even level and then a bit of bending to remove the arc. And it was great, but the TD hung waaayyyy down under the belt. It wasn't good. The rotation was great, but it was just way too low. So I unbent the metal clips and hammered them somewhat flat. Then it went in my bench vise and new bends were installed at the right height. That's what the above pic shows. Fortunately this metal bends very easy. I can do most of it by hand. But flattening and adding even bends are jobs for tools. YES! Not only is the rotation good, but the det is even on the belt. Wild success! I snipped off the overhanging ends of the metal clips and re-re-re flattened and bent things flat behind the belt. I reapplied the little angles at the tips and re-covered them with fuzzy velcro. Worth the hour or so of bending and hammering. And then I printed a new sticker for my E11 with my TK number on it.1 point
-
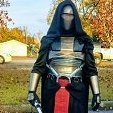
Thanks for the suggestions! I'm working on getting that TD to be a bit better. As for me, I'm approved and got a TK number!!!! TK 89400 reporting for duty!! Also, I did some work on my blaster. It's a vintage Hyperfirm B grade, apparently one of the last they sold. It had weathering all over the place. Lots on the grip. Some on the T-tracks. TONS of brass on the scope. So I repainted it completely. I'm a fan of weathering. I like it and tend to weather most of my models. But it needs to be at least realistic and not too obvious. Major wear areas should have weathering visible from a few feet away, but the rest should be very subtle. At least in my opinion. I tried to do that here. I also added an accurate D ring to the blaster. I drilled out the scope a bit and fit a dot of black vinyl with an epoxy dome to give the front a bit more character. Sad black rubber scope was sad... and now it's much happier. And then I printed up a counter sticker and something fun for the scope! I drilled the scope out to a bit over 24 mm and gave it some depth. Then I filled it a tiny bit with resin to give it a flat base. And then I printed a scope sticker on holofoil with an epoxy dome. The design is based on Crosshair's scope in Bad Batch with a little bit of tweaking. Even with being stuck in a shallow well, the holofoil manages to catch light nicely and reflect rainbows as it gets waved around. Super fun. The counter sticker is black and white printed over dark grey vinyl. The design is simple, but overlaid on a hengstler counter photo to get the dimensions right. I'll swap this one out for one with my TK number shortly. The nicer weathering and small personal details have me loving this little E11. Fun to combine my day job with TK tweaks!1 point