Leaderboard


Popular Content
Showing content with the highest reputation on 07/10/2021 in Posts
-
I'm sorry I every doubted it. The V-tabs are a success; I finally gave the butt belt the ol' snip. The booty looks great with the v-tabs regardless of forward closure Don't find my lack of faith disturbing, I glued the v-tabs on top of the butt belt planning to use them in conjunction. Woops 2nd time moving the han snap, was clumsy with the paint this time around and made the process plenty more difficult. Ended up sanding everything off and repainting the entire corner. Hopefully that's far enough? :X Also got a nice SBB from @trooper96 Very exciting!4 points
-
Hi Rob, those handguards looks great !! About the TD, if I can make a suggestion. consider the allocation of the TD panel in such way that the rounded washer detail looks more to the front than upwards . I suggest to trim a bit the bottom section to allow the panel rotation to the front. Reference Images We are here to help.2 points
-
A good reminder I need to get my space pack operational again...2 points
-
Nice work. Just bare in mind while you are preparing the blaster kit no print lines for EI and above 3-D printed blasters can not contain visible print lines, and must be sanded smooth for a more realistic appearance2 points
-
Hey troopers, I think we all know that this very forum is a hot bed of experienced troopers and helpful information. Years of experience and TK knowledge. To that end, here are some of the key features, (sometimes subtle, sometimes obvious), that I feel really make an iconic ANH Stunt Stormtrooper, all in a simple, easy to digest video. Topics include; -brow height -eye trimming -ear trimming -vocoder painting styles -hovi tips ...and more Enjoy the video, and please feel to ask any questions or comment. :-)1 point
-
Hello everyone, I received my BBB a couple weeks ago. I am working on an AM 4.5 TK build. I have been lurking the past couple weeks and reading everything I can on here. In some ways its very intimidating because I worry about making a bad cut! I have worked with EVA foam for cosplay. and when I mess up, I can just build a new piece. For this armor, I am being overly slow and cautious before I do any trimming. I am from the Orlando area, and this is something I have wanted to build for many years, but just could not find the money or time previously. Having my TK armor and joining the 501st is really a bucket list item for me! This has been a dream for over 40 years, so I am very excited to start getting into this! I have gained so much knowledge just from reading these forums already, that I want to thank everyone who has shared tips from their experiences because it is very helpful!1 point
-
Hi Alan, congratulations for your BBB day and be sure most of us had been in your seat before !! We encourage you to aim for the high levels just from start, it well deserves the work. You can open a build thread according to the version you want to Build : ANH Stunt ESB TK ROTJ TK Post tons of photos and when in doubt ask questions before any cut or mod. "Measure twice, cut and glue just once" We are here to help.1 point
-
Hi Alan, The way you've described how you got here is almost exactly the same as my journey, and reading others posts its the same as many others. Pretty much everyone here can identify with you, I'm sure. And you're definitely in the right place. You'll be hard pushed to find a more knowledgeable and supportive lot than right here, I can testify to that. Good luck with your build. If you have any questions, however weird or silly you think they are, post here. We've all been there, and you'll always get help. Rich1 point
-
Oh, okay thanks! That sounds good. I'll check that out then! I'm sure I'll love it from all that I've heard and seen so far1 point
-
You could start a build thread even though you're mostly done. You could get some feedback there and when you think your ready to apply. Then post in the pre approval thread. You're gonna love Trooping! You're almost there1 point
-
Good Morning! Back for my monthly armor update! Last month was devoted towards finishing the gloves and the thermal detonator, Thank you @justjoseph63 for the glove order and the flexible hand guards! Even if they are essentially chemical gloves they look and fit great! https://www.whitearmor.net/forum/topic/49156-fs-rubber-gloves-for-expert-infantrycenturion-level/ The hand guards are also spectacular! To ensure the best centering, the gloves were marked with a Sharpie and blue tape. Before sanding these guys, I etched scoring marks with an x-acto for that added layer of traction for gluing. Good ol' nail polish remover was used for removing the printed text. Here's how the guards sit at the knuckle and with a closed fist. Aaaand open palm... Alright, continuing the work on the thermal detonator here's what we have so far... Thank you to @ukswrathfor the Belt Clips! Superior craftsmanship and hyper fast service! Thank you @MaskedVengeance for your guidance regarding the detonator. It certainly made life easier when acquiring the necessary items for completion. For the detonator body I ran down to the local hardware store, purchased a 2" PVC and sawed it down to size. I eventually whittled it down to 6 3/4", filing down a bevel along both rims. As you see among the snapshot of items used, I bought a spray can of Testors 1238 to achieve that dark gray tone. I have assembled all of the pieces to fit for eventual fastening, Before I fasten everything, I just wanted to clear all of the measurements first. From end to end, the canister is 7 and 1/4". (I know the pic looks like 1/2" but it's not.) The width between the middle panel and end caps is 1/2", There are some different angles to make sure everything sits correctly. I know it's not much but believe me I'm trying. Looking after little LeeLee requires my full attention nowadays but I wouldn't trade that hard work for anything. I will not fasten anything until I receive y'alls well-experienced knowledge and blessings. As always, my humble thank you's for your help and time! I ALWAYS and SINCERELY appreciate it!1 point
-
I have been dragging my feet on getting my order done, terrible. Getting very close with AM now to finalise everything. Slow and steady wins the race.1 point
-
Welcome to the FISD!1 point
-
Like a smooth, shiny egg! The foundation of every trooper rump.1 point
-
Good work on the v tabs. You have a great looking butt [emoji6]1 point
-
Saving the sanding for the weekend, have to put on my PPE1 point
-
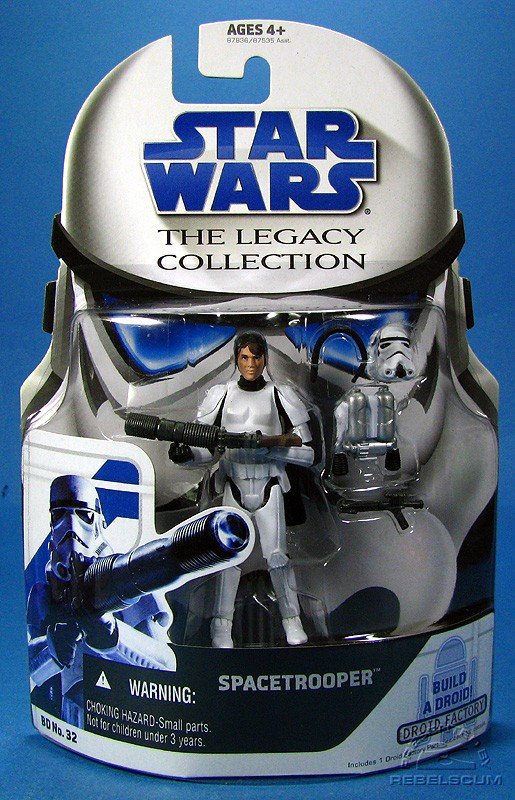
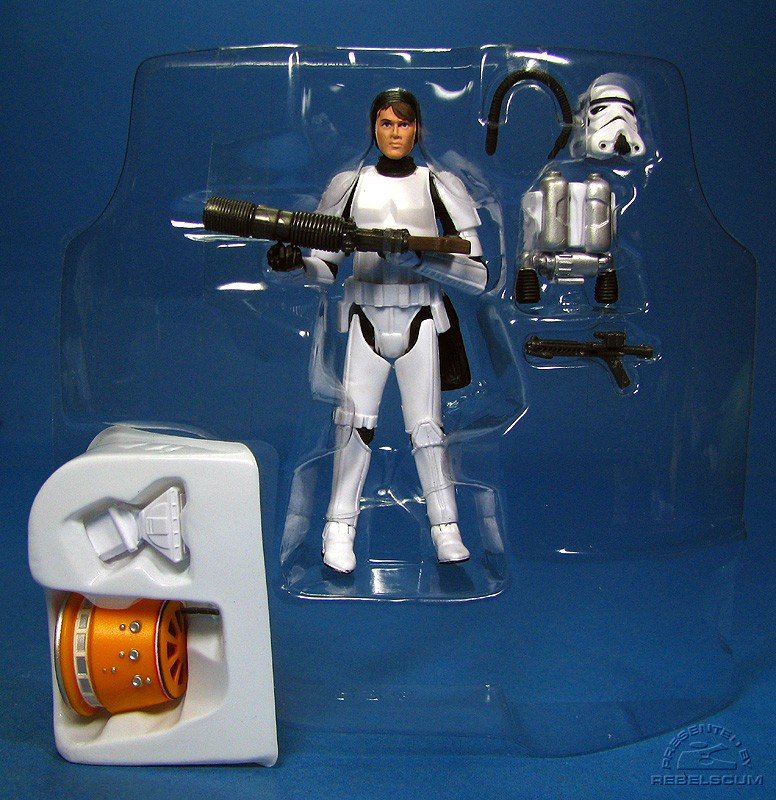
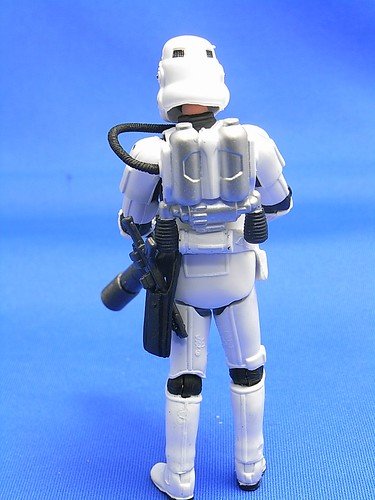
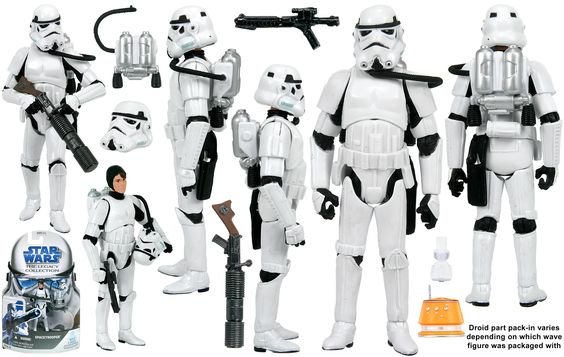
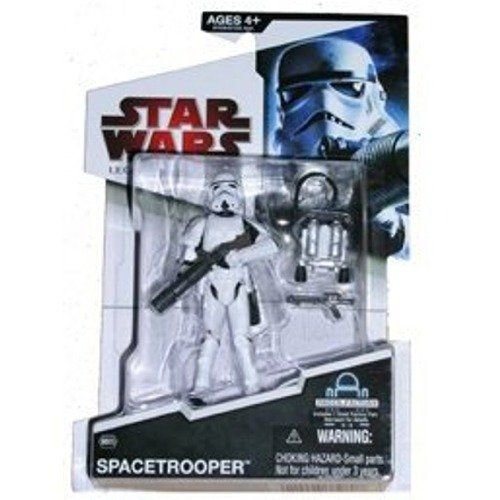
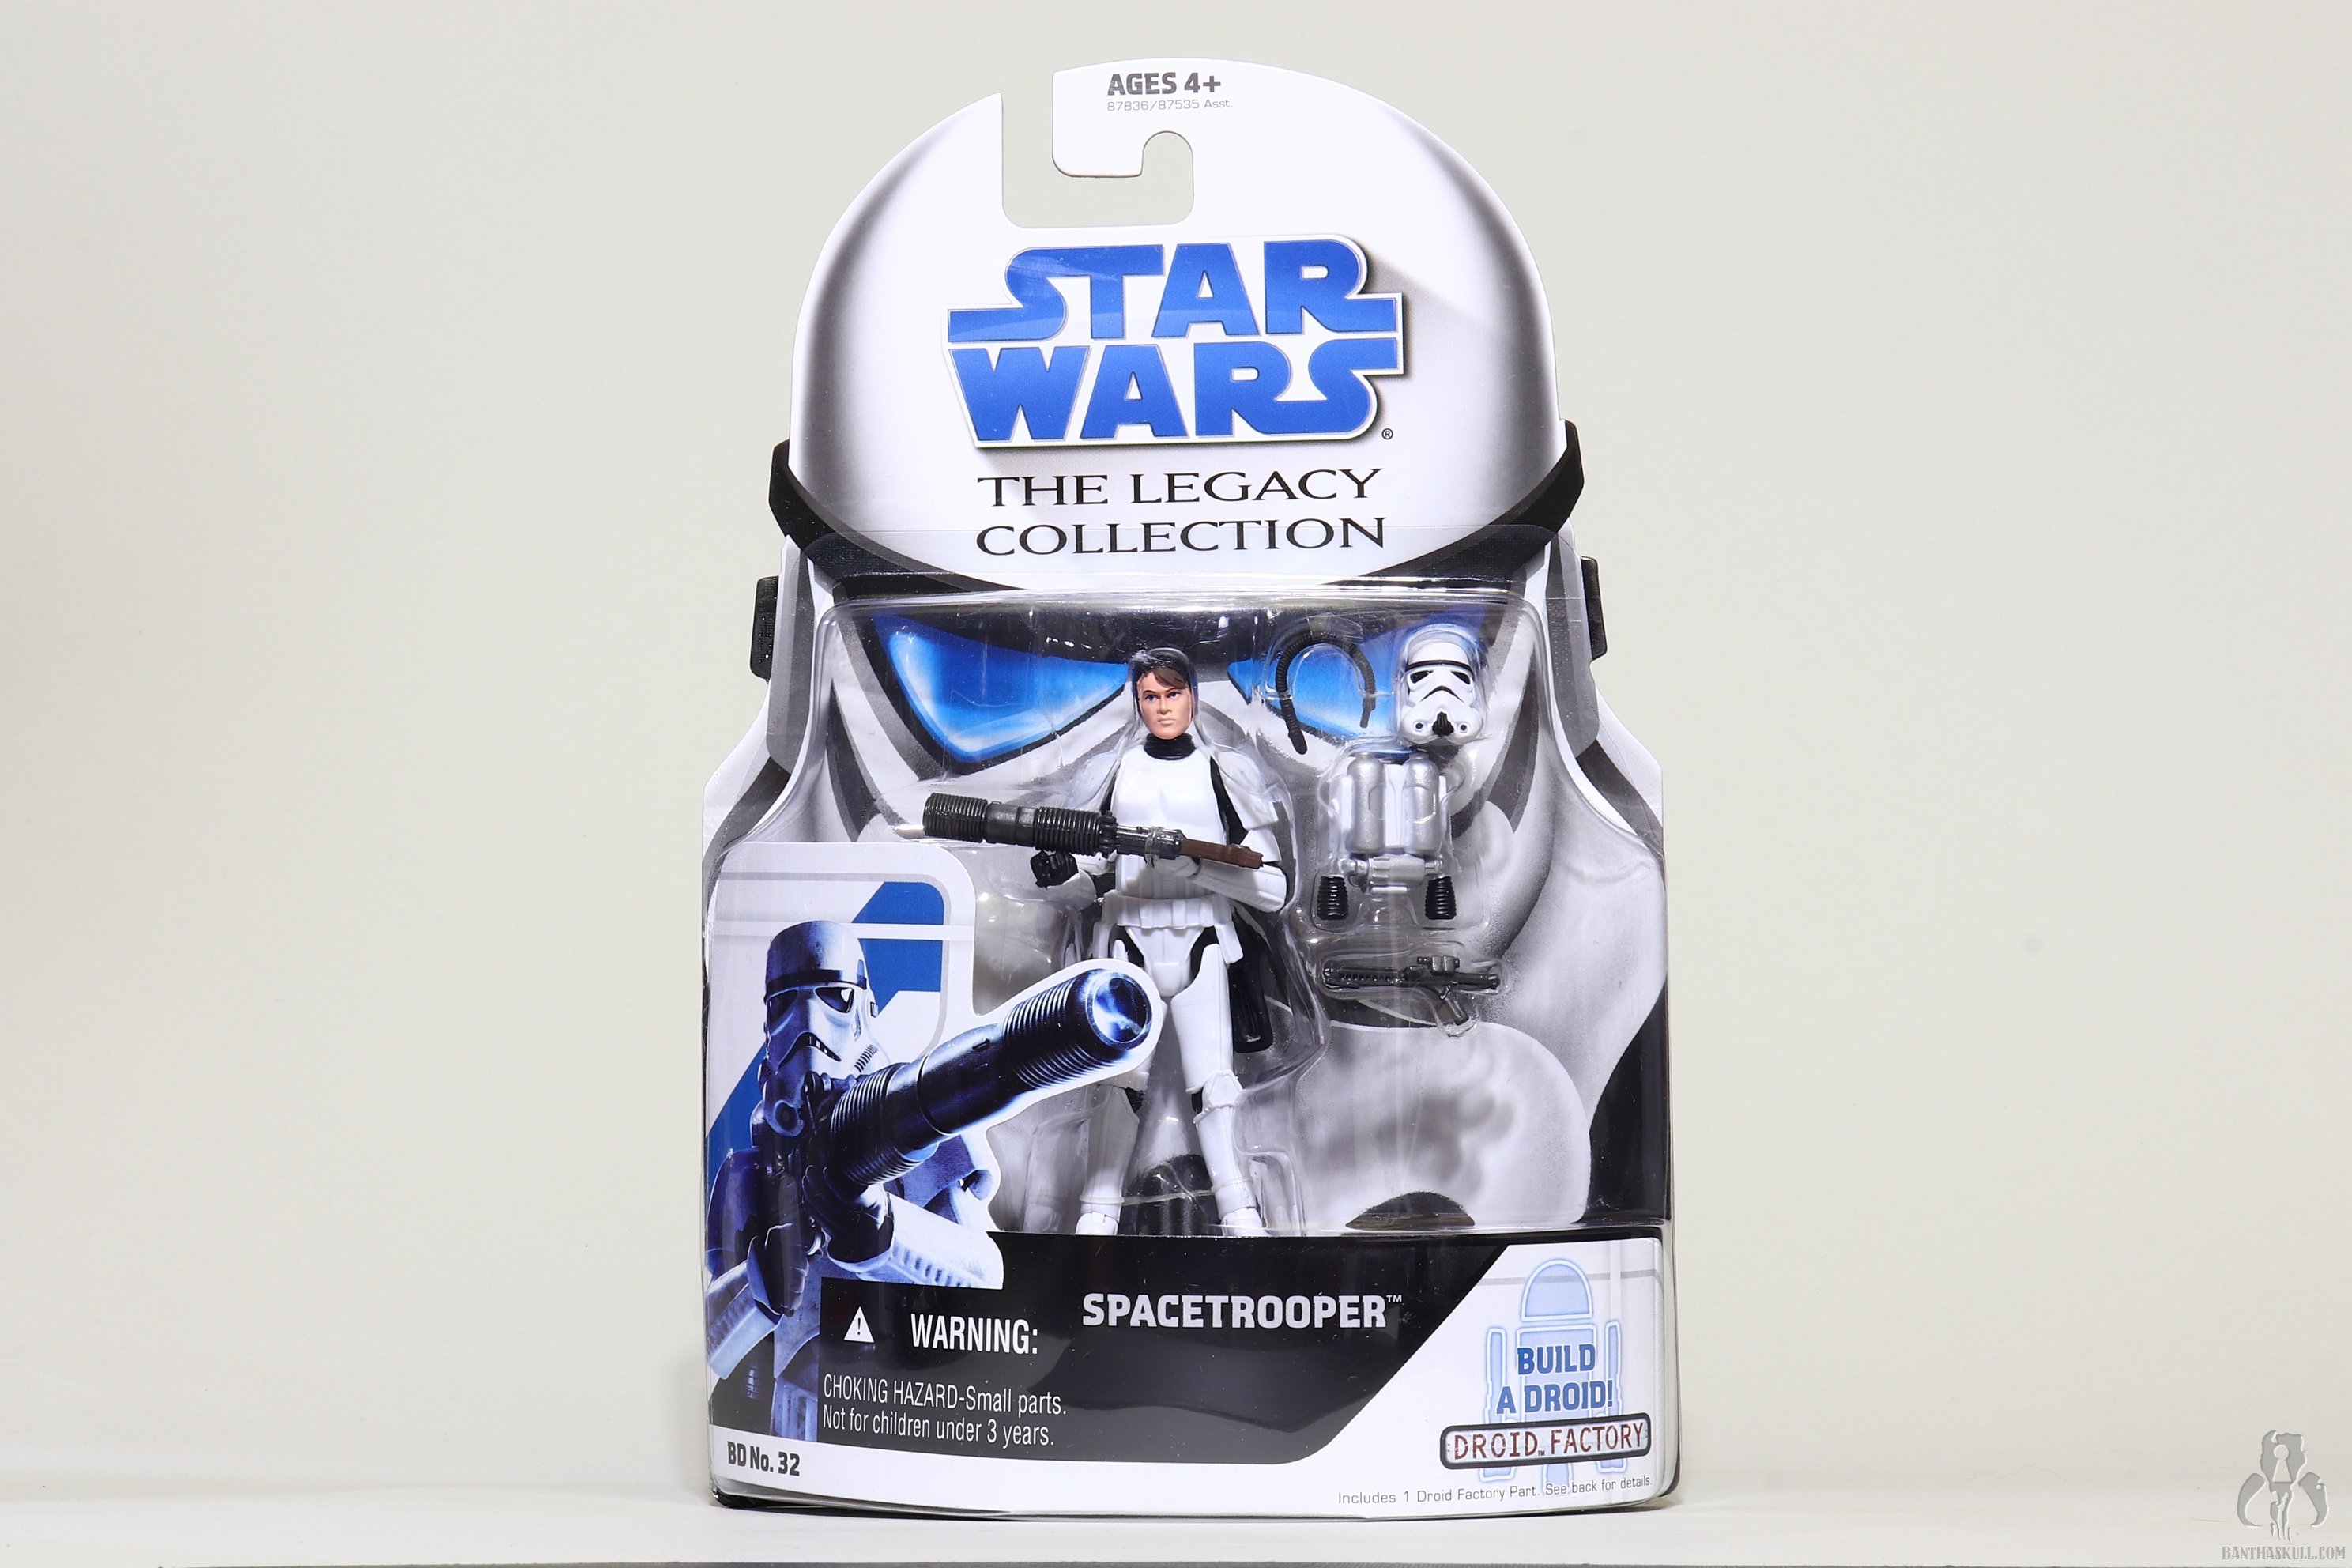
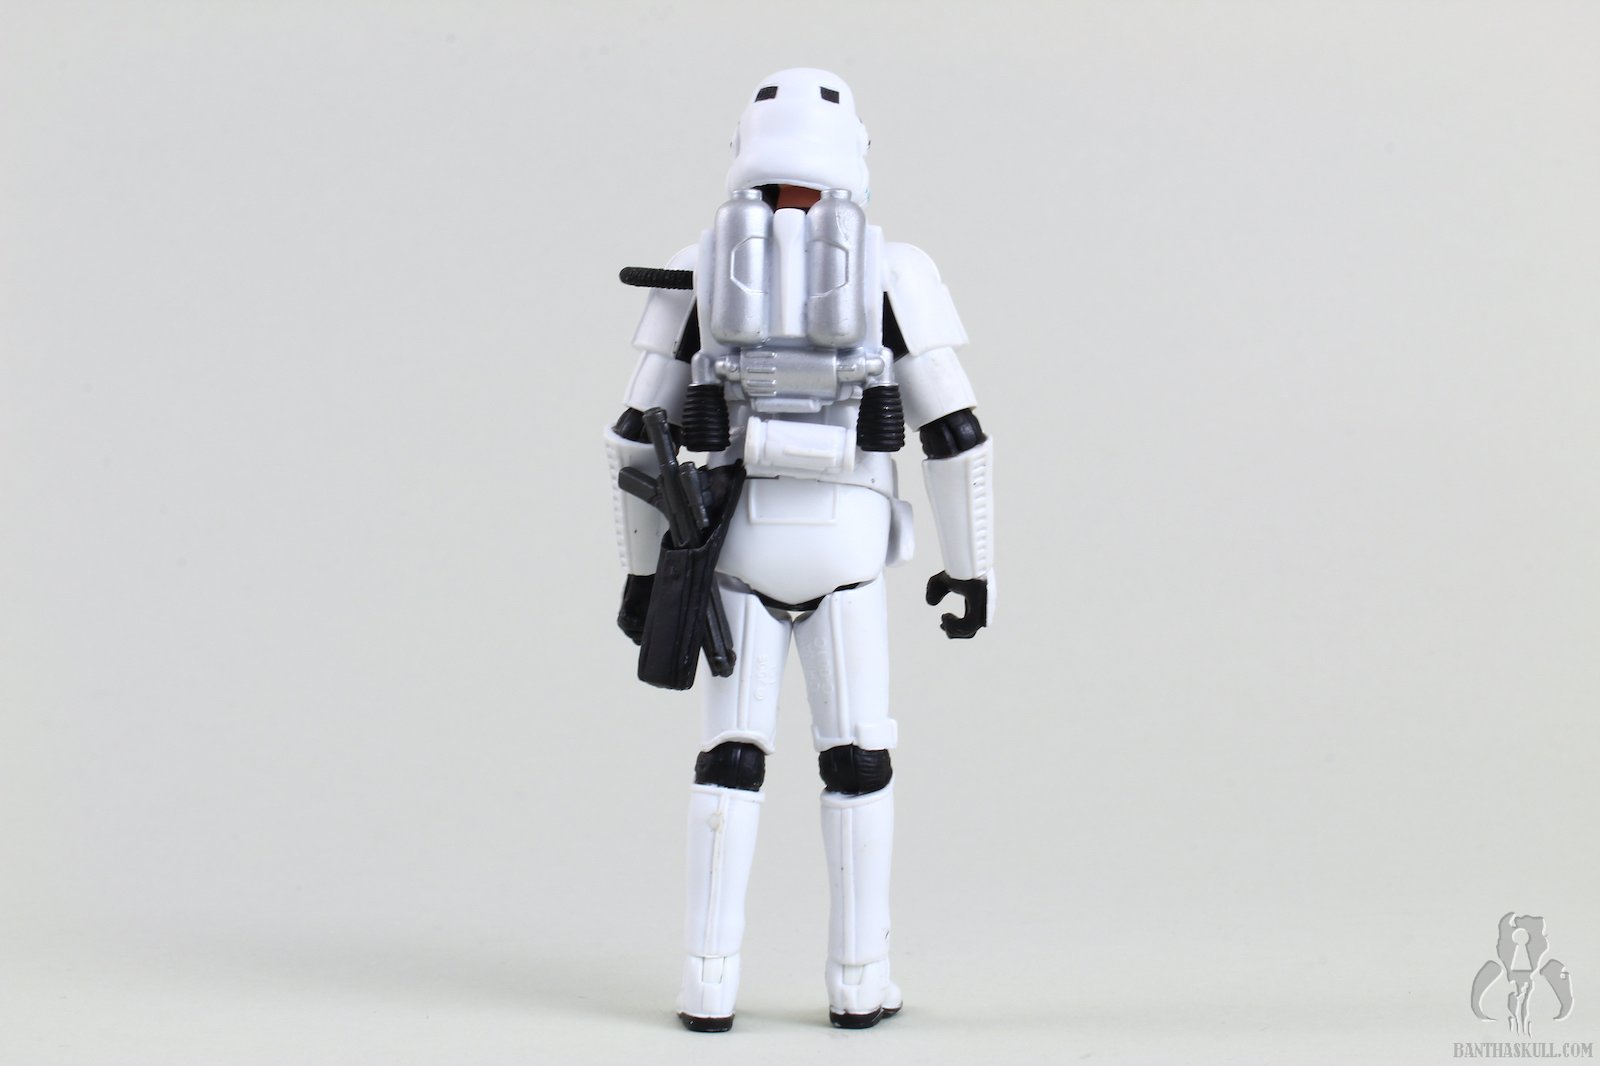
Legacy version https://www.banthaskull.com/photo_galleries/gallery/ph-bd32-spacetrooper


.thumb.jpg.a186d0fa8b38e0e2253b276c3570068f.jpg)

 1 point
 -
Hallo Luca. Willkommen bei FISD1 point
-
Don't forget to paint the TD screws! Just kidding, Aaron...You're doing a fantastic job....Taking care of the details to the maximum...I am really enjoying your thread...
 1 point
 -
Hello and welcome to the forum. Here is a great thread full of info1 point
-
Welcome to the FISD! Good Luck Future Trooper!1 point
-
Name:. James W. Future Outpost: Southern California Garrison Maker: ANOVOS Helmet maker: ANOVOS Belt maker: TKittell (Imperial Issue) Neck seal maker: ANOVOS Boot maker: Imperial Boots Blaster maker: S&T (airsoft) with ebay T-tracks and m38 scope Gasket maker: ANOVOS Height, weight: 5'11 - 200lbs Type: ANH Stunt Special Thanks: @justjoseph63@ukswrath@TKSpartan@gmrhodes13@kman@TheSwede@CableGuy Note: L3 says minimal gap - should I order larger shoulder bells? I think my chest (pectorals) won't allow for sub-inch gap with the current bells. L3 - Slotted ear screws, vocoder repaint, L3 - White Rivets L3 - Single snap unpainted L3 - 45degree ammo belt corners L3 - Belt ammo pack rear enclosed L3 - T-Detonator using slotted pan screws L3 - 2 piece lenses L3 - Silicone handguards Ideally I would want to go to L3; but not sure what the approval format/order would be for the local garrison. Thanks!1 point
-
Thank you all for the kind words. Great to see so many friendly people. Thanks for all your tips, I am sure I'll have many more questions in the future. Got a reply from Dave C at [email protected] (armor masters), lots of helpful info about the kits with time frames and costs. The excitement is building :)1 point
-
I think Glen has had more practice than most of us, lol! It takes me a good 15-20 minutes (with a handler) or so when I go HWT because of all the accessories. Speaking of mobility, I am constantly dropping bits when getting kitted up, and since I can't bend down after putting on my calves/thighs without looking like a contortionist I bought a "grabber" device. On my next troop the first thing I dropped was yep... the grabber.1 point
-
And the troopers stood the flag...1 point


.jpg.0b58e615afed2229a99b3d22fd020d6c.jpg)