
Leaderboard


Popular Content
Showing content with the highest reputation on 08/12/2018 in Posts
-
I’m out of town but here’s a teaser.
 3 points
 -
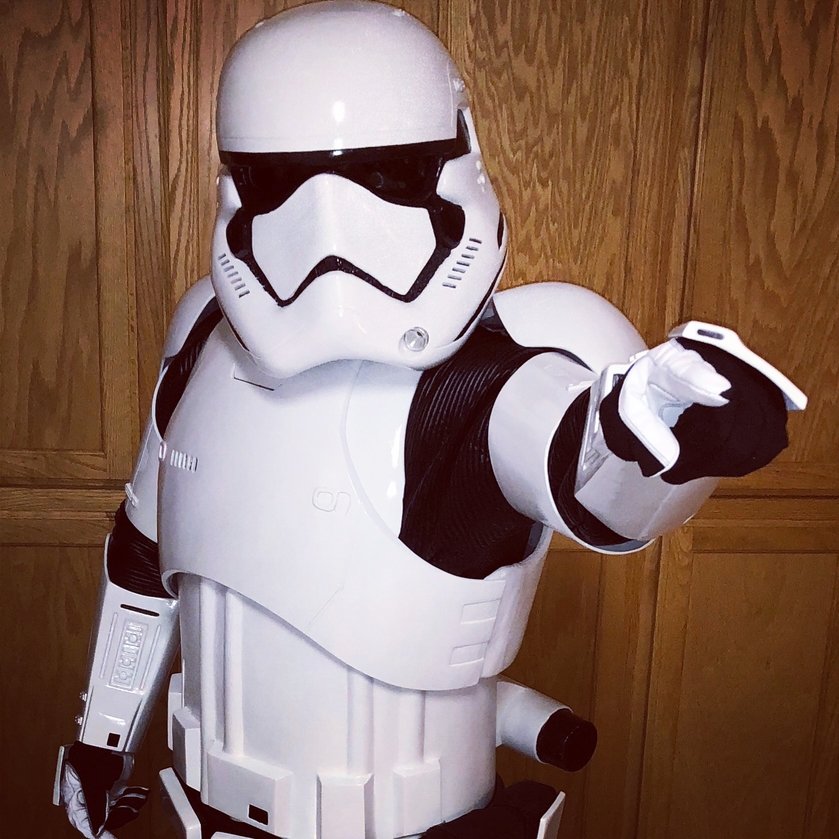
stripes and lines on the bucket: Still some cleaning up to do in there, but over all quite happy with these. The blue lines really did drip quite a bit unfortunately, but nothing a tootpick cannot fix The lines on the dome are also nice: I had these gaps on the back of my thighs, which I didn't like at all. So was looking around and made a pre-emptive modification to my legs, took a half moon out so I can walk easier and the gap is a lot less visible. Still need to clean them up a bit more but the raw image now is something like this: Didn't get around to a trial fit today, instead I painted all the split rivets that need painting. Hopefully tomorrow and otherwise definitely tuesday a trial fit again. Need to order some tactical helmet padding for my bucket, since that foam that comes with it does not make the helmet comfortable at all.2 points
-
The coverstrip needs to meet where raised edge starts. Are you using the compression top when mocking up pieces? A picture of it on you blue taped up would help. The picture you showed is huge for a coverstrip. Did you remove all return edge yet? It helps. Start a build thread in the ANH section. Post up some photos and we'll be able to help you along the whole way. Glad to have you here Future Trooper!1 point
-
Great work Paul! Another nice E11 with electronics [emoji106]:-)! Gesendet von iPhone mit Tapatalk1 point
-
Yep, that's the one. Just got Tapatalk, so hopefully things will be A-okay now Sent from my LGLS992 using Tapatalk1 point
-
Any chance of taking a look on the inside of the ab plate to see how your cod is fixed in there? Your cod looks super small in relation to your ab and chest plates; the proportion looks a little off to me. It looks like the ab and chest haven't been trimmed at all, and they need to be for your height. I suggest bringing the cod down a bit. As things are now, when you get the belt on, you're going to be all ab and no cod. Does that make sense? Your ab button box should be centered somewhere just below your sternum. Keep that in mind as a guide for your "center point" for sizing on the ab. The horizontal lines on the chest plate should sit right at a horizontal lines along the middle of your chest. Once you've identified where your center points are for the chest and ab, it becomes much clearer where you will need to trim. If the chest covers the ab box too much, then trim the chest at the neck first. If that trim starts to bring the horizontal chest line up too high, then you will need to trim at the bottom of the chest as well. Do the best you can to keep your center points in their places. Now, back to that cod.... Here's a pic of me (and my cosplay-addicted son) so you can see how much cod there is on my kit. The size of the cod is in proportion with the ab and chest plates. I trimmed the cod (from both the top of the cod as well as the sides), the chest (from all sides, including recreating new returns on the bottom and sides), and ab (trimming from the top and recreating new returns at the top for brackets) to get here. And here is a pic from a WTF kit I'm currently working on for a friend in my Garrison. She is 4'9". Even though she is quite Vertically Challenged, her armor looks proportionally appropriate on her. The chest line is centered on her breast midline, and the ab button box is just below her sternum. I don't have a return on the bottom of the chest plate intentionally. It's not required for higher level awards. Mark Hamill never had a bottom chest return on his Hero TK. And a screen reference shot: I would tackle these issues first before moving on to your kidney. The kidney will be fitting with the ab, and until you get the ab placement correct (which also means locking in your chest and cod for size first), you will be setting yourself up for frustration. Good luck! You can do it!1 point
-
Little update: started working on the back part of the forearms today. Got the first one trimmed out fine, since it only had one cut line, though the second piece (#19 in the Anovos kit) has two cut lines, but only on one side. Been told I should cut from the uppermost line on the side that has two cut lines, since I am small.
.thumb.jpg.8cd520bf793f2c78f263a69c36a34b01.jpg) 1 point
1 point -
Only one I’ve ever had is a zippered one and I’m happy with it. Sent from my iPhone using Tapatalk1 point
-
Congratulations Andy! Welcome to the Ranks!1 point
-
Thanks Dan. Sent from my VK815 using Tapatalk1 point
-
Bucket is coming along nicely! As for the body. I remember following Crickets and then Sha Sha's build. Both great to follow which I'm sure you are. I would have to say everything needs to be made smaller to fit your frame. Putting return edges back on will be the hardest. But technically no return edges are required. Just for illusion of thickness. Best of luck Future Trooper!1 point
-
Good work!!!!! Amazing version! Rogue one good movie jeje,1 point
-
1 point
-
It was my pleasure, Andy, and proud you should be! You really did a great job on that build...an hour or two with a few tools and some E-6000 and I expect to see your level 3 submission soon after! (Once you are approved you can add the decal back to your shoulder bell, ).1 point
-
Well done, Andy. Welcome to EI. :-)1 point
-
Here's a pic of the angle part , the original parts were milled out of solid blokes , most of the angled part is in fact rounded as it was turned on a lathe with shoulders left of the angled parts Sent from my iPad using Tapatalk
 1 point
 -
Hi Andy, and thank you for your EIB application... let's get right into it! CRL and EIB Application Requirements: All submission photos are present, Trooper, and your armor displays all the elements required for Level 2 Badge. Congratulations and welcome to Expert Infantry!! Other-Armor Fit/Assembly: In this section we review observations made by us and your fellow Troopers. Suggestions made here are to improve the overall look of your armor. If these suggestions would effect an application they will be mentioned in the below sections. Really nice job on this build, brother, and thanks for the updated frown pics, tube stripes, adjusting the biceps and especially posting up the requested photos with the decals removed! As you know, the higher levels are all about accuracy and looking your best, so here are a few minor things that could be taken care of to make your armor look even better. The back to kidney connection could really stand to be closer in the center. The edges look fine, and it may be just a matter of tightening up the center connection. Reference image You might also do that on the kidney to posterior plate to keep it from protruding. Looks like you have some extra strapping material there that could be tightened up. Reference image The thigh ammo belt needs to be aligned evenly on both sides with the squared corner ridges. Moving them slightly (5-8 mm) should do the trick and not let the previous hole show. Reference images Note that they are spaced equally on both sides. Centurion Suggestions: Because Centurion photos show much more detail than EIB, items pertaining to Centurion might be seen there and not here. We try to point out all we can from what is seen but the final accuracy is the responsibility of the trooper. The return edges on your wrists will need to be removed with a little "Dremel love" and is an easy fix. CRL: "No return edge on the forearm is allowed" Reference image The gap on the right ab/kidney connection will need to be eliminated, and tightening up the strapping should remedy that. CRL: "Ideally there is no gap between the ab and kidney". Reference image The rivets on your ab kidney connection need to be parallel to each other. They look to be spaced correctly, but they are not lining up parallel like they need to because the tops of your ab and kidneys are not lined up at the top, (red lines). Reference image GREAT to see that you upgraded to a quality canvas belt, but the outside of your drop boxes will need to be lined up with the outside edge of your ABS belt. Another common issue but one that can be easily remedied by adding a bit of E-6000 under the rear straps that hold them on to the belt. CRL: "Drop boxes are vertically aligned with the end of the ammo belt". Reference image As mentioned in a previous post on your thread, the bottom ear screws will need to be replaced with the V-shaped flathead type as used on the top 2. CRL: "Ears screws shall be slotted, flat topped, countersunk and painted white". Reference image Your shoulder bells should be moved in at the top to where they touch (or almost touch) the shoulder bridges. Doing this will also help bring them in closer to your chest/back plates, but you can also remove all of the return edges from the bottoms if needed. CRL: "There should be a minimal gap between the shoulder armor and chest/back plates" Reference image The control panel on your TD should face up, not to the rear, with the "O" on top. Also, it looks as if your clips are overlapping the panel a bit. This is a very common issue, but would be remedied by moving it up. You may also be able to do this by repositioning your clips, as long as there are no holes showing afterward. CRL: "The white control panel faces upward...". Reference image You have a little more work in front of you, but I have every confidence that you will do a fantastic job, and I look forward to seeing your Centurion submission soon. Now get out there and make the Empire proud, Expert Infantryman!1 point
-
Looking good, Rat. Best of luck with approval. :-)1 point
-
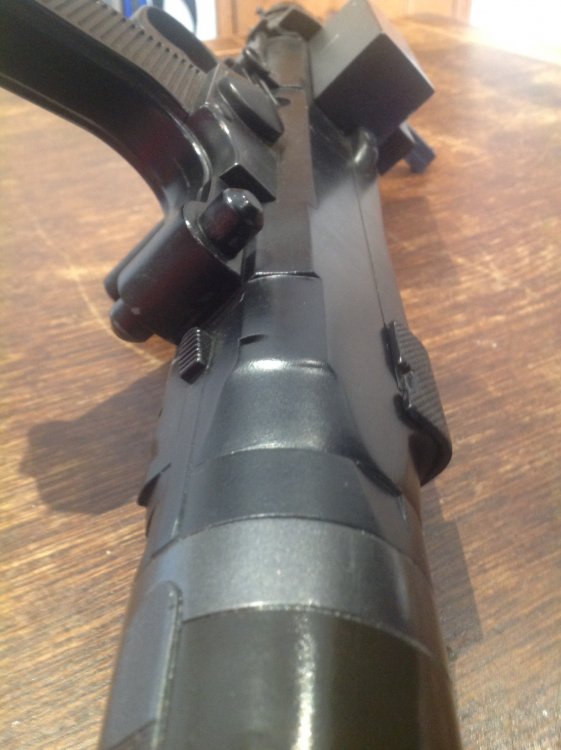
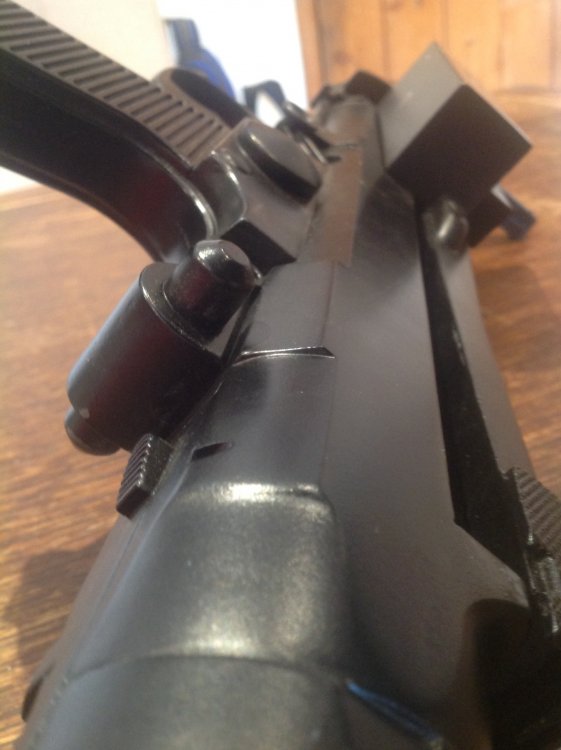
Hi again, just a quick update on my doopydoos fitted spring cup. The plastic felt pen cap is now hollowed through. Felt I needed to bring out the dremel for working with plastic. Heavy gauge wire spring set in place and lodged in place so made stationary. This would be the end of the spring cup with the 'lip.' Armorture wire spring also set in place on the other end of the cup so to resemble one spring going through the cup. This follows after SMG references. Sent from my SM-G390W using Tapatalk1 point
-
Hello and welcome aboard, nothing better than BBB’s. There are lots of build threads on the forums for the heightwardly challenged, lots of research is the key to putting together any armor. So have a read through and check out what others have done on their builds. Good luck with the build.1 point
-
Thanks Tony. Waiting for the response email for my application. Sent from my VK815 using Tapatalk1 point
-
Looks perfect thank you1 point
-
Ah. Looks like I will be adding another snap to the belt, bellow the ones I just put in. I’m finally trying to glue the ab buttons again. The first time I couldn’t get it to hold down well enough and had to remove it. So here is my “creative” solution? See if this works. Basically used everything besides the kitchen sink. Sent from my iPhone using Tapatalk1 point
-
Your fine trooper! Your a true TK as in we always miss I thought we had almost similar titles so I thought I'd double check. No harm no foul. Still jealous over that liner in your tote....I just have my kit go in with blankets covering the sides1 point


.jpg.abb1c2908c622fb813dca026e8e668b2.jpg)


