Leaderboard


Popular Content
Showing content with the highest reputation on 06/03/2018 in all areas
-
I'm proud to report that TK 87109 is reporting for duty! https://www.501st.com/members/displaymemberdetails.php?userID=28013 Thanks EVERYONE for your help. Any advice on the best way to get connected for future troops?2 points
-
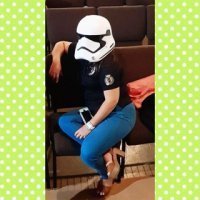
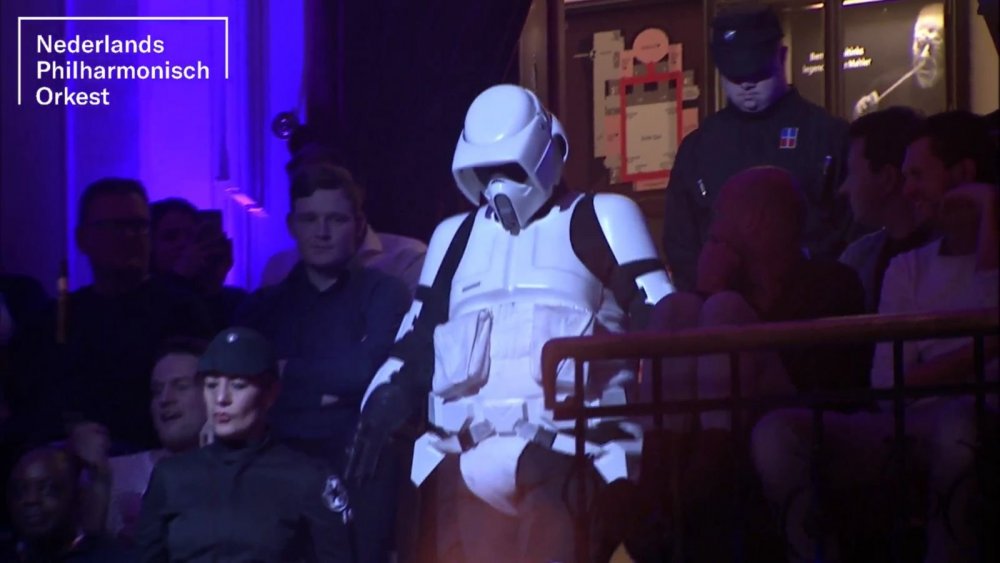
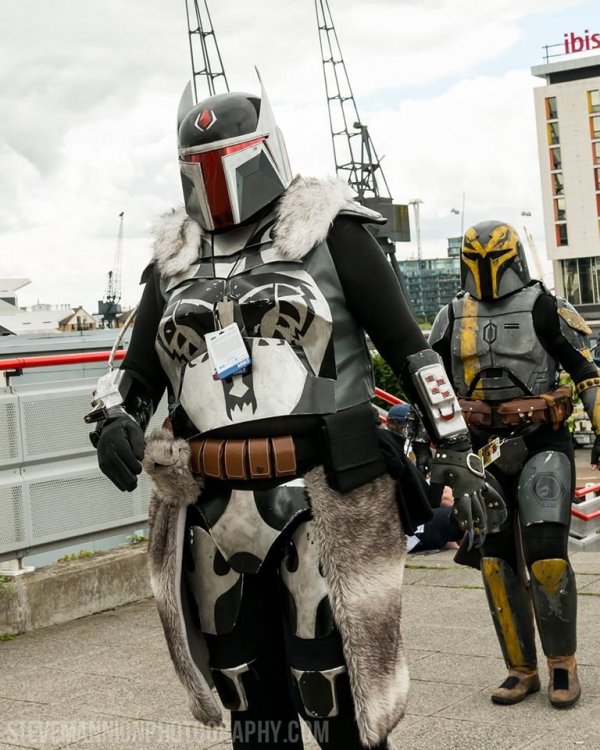
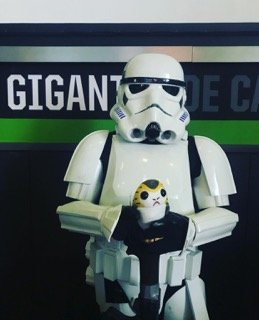
hello everyone !!, I just wanna show off my other 2 Star Wars costumes 1st is my Mandalorian from the Mandalorian Mercs Costuming Club, she is named: Dha Ca Krast and the 2nd one is my Bikerscout from the 501st legion, Dutch Garrison!!!! I am so very proud to wear both these costumes!!! I just love them unbelieveable much greetings, Marielle (TB-11300)
 1 point
 -
I've been a Star Wars fan since I was little. My first love when I saw the movies (especially "A New Hope", my favorite from the oldies) was everything Empire. Specifically the Stormtroopers. Obviously I wanted to do a TK kit for me, but I wasn't sure how to do it, where to get it, when to get it, or who to get to help me with it. Long story short, I discovered my local Garrison (Puerto Rico) through now a good friend that I met at a local con. He also became my mentor and started guiding me though. At the moment I didn't have the money to buy a kit, or anything near it. So I just patiently "waited" (several years) for the moment to come. While this happened, I met my Garrison CO (Comanding Officer) at the moment (2017) and we eventually became good friends. One day I spoke to him about my interest in entering the Garrison but also explained to him my "monetary" issue. He understood perfectly. Then I also told him about my interest in entering the group (in the meantime) as a handler. He gave me the oportunity to enter as a handler. He also had told me that before me there was a member that entered first as a handler and eventually got his kit. That brought a certain peace and joy to me because that meant that I could be part of the group in the meantime and learn anyway from others, while being around Star Wars characters (50% of my dream come true). When "The Force Awakens" came out, I saw the movie and fell in love with (Kylo) the First Order Stormtroopers. That is the kit that I wanted! That's the one that I wanted as my first kit! I had told my CO that I wanted that kit (he's the only one in PR that has it, for now) and he told me the expenses that it was going to pull to get/make. It was a slight let down for me. But I didn't loose hope. I still want that kit. I kept searching for other possible kits to make. My moment came and I finally got my first kit... A "Rogue One" TK kit. The first one in my Garrison. I bought it with my student loan leftovers (had to start getting it for my last years of college). TA-DAAAAA!!!! Didn't expect that, huh. Yeah me either. But hey! WORTH IT. Granted that my loan leftovers from that year weren't going to be enough to get a FOTK kit. But were enough to get a R1TK kit. My CO helped me build it and paint it (always grateful for that). Take my word that I will do a FOTK kit soon. Most likely also with my last student loan leftovers, but I will do it. My dream finally came true. I finally became TK-24333 at my local Garrison. I would have loved for it to be with a FOTK but it was meant to be with a R1TK. After aaaaaallllll of this being said, I will post here more of my R1TK build. I will write about what I have learned thanks to my Garrison CO and hopefully this will help new recruits. Keep in mind that the TK and Mimban troopers in "Solo A Star Wars Story" are the same as the ones in "Rogue One". So these posts will help for those too. The Mimban troopers are the same kit as the R1 troopers, except a wee bit dirty (just a little). Hopefully I'll be able to share what I have learned and be of help with future R1TK builds.
 1 point
 -
Wow!! And WOW again!! That aluminium work looks SUPERB!! The gloss grip against the Matt black and the ali looks brilliant! Excellent work on that trigger guard, too. Looking forward to more updates. This is a lovely build. Dan1 point
-
Hi again, back with some more updates! Kept working on the inner bolt first. First layer of metallic paint was too bright so I started adding a quick shade from Armypainter I had lying around. Pretty happy with the metal/rust effect. Started working on the grip and trigger group again. I wanted to make the trigger group almost completely out of aluminium. Did not know how... So I just began with cutting some aluminum Had to try some different techniques and tools to get there. Some more successful then others Bending the aluminum in al kinds of angles. Finally after a few hours of work it started to look like something. Almost a perfect fit from the first try! And right on after the second try! Test fitting with the new cut trigger (made from forex/sintra 5mm) and a previous bent trigger guard. Did not like the old trigger guard so I decided to make a new one. Made a wooden dummy to bend the aluminum into shape. Some more aluminum bending was done that day and several meters of aluminum were wasted. Much better! After trying every DIY store nearby went to a specialized screw store. Finally found that screw I was looking for! Different angel of the trigger group. Decided to sand out the resin nut and replace it with a real one for extra detail. The selection screw broke a while back. I tried to fix it with some steel pins but did not really like the shape and was afraid the crack would still be visible after painting. So with some stuff I had lying around I tried to recreate a better one. Forex 5mm was too thick so had to be sawn in half. Used a spare nut for the screw part of the switch. The result after several attempts. Almost drove me nuts! Side by side comparison of the end result. Picture of the self made selection screw. Time to get some primer on this baby. Nice detail! Damn you little bubbles/holes! After sanding and priming the bubbles again, I added a black base layer. Finished result of my grip and trigger group // Part 1 // Finished result of my grip and trigger group // Part 2 // Finished result of my grip and trigger group // Part 3 // Finished result of my grip and trigger group // Part 4 // Started on the magazine tonight but will be posting that in my next update! To be continued1 point
-
Awesome, congratulations1 point
-
Hi all, eventually got it on, it's only taped up so can alter , feel free to comment Sent from my SM-G950F using Tapatalk1 point
-
1 point
-
Awesome! Welcome to the Legion Trooper1 point
-
Hi Darren, Imperial Warfighters are a popular choice in the U.K. You can find them on Facebook. :-)1 point
-
Hi Alan, and welcome to your EIB review. Thank you for applying. CRL and EIB Application Requirements: All submission photos have been posted. Your armor displays all the necessary elements to qualify for Expert Infantry. Super nice job on that build, brother, and I appreciate you taking to the ime on those fixes. On behalf of Tony and myself, a big congratulations on being the first Sky Trooper in the Legion to reach level 2! Other-Armor Fit/Assembly: In this section we review observations made by your fellow troopers and ourselves. Some observations may lead to suggestions to improve the overall look of your armor Not a whole lot to add here, Alan. There are a few small cosmetic issues on your bucket which would add to the overall finished look of the incredible job you did, mainly the ABS paste around the ears and on the vocoder. A bit of time with some fine grit sandpaper and paint would make this a showpiece! In addition, for your Centurion submission (which I hope to see soon) could you post up some detailed pics of your chest box, including the top? You may as well show off the great job you did! Lastly, it would be awesome (but not necessary) to see a short video clip of your pack lights and sounds in action! Centurion Suggestions:In this section we prepare you for Centurion. If there were any areas of concern they would be discussed here. As stated in the CRL, for level 3, you will need to change out the flat green lenses for the bubble type as seen below: Reference image Again, fantastic job, Trooper, and looking forward to seeing you at level 3!1 point
-
Great news, Jameson! Time to get out there and make the Empire proud.1 point
-
Awesome news! Contact your Garrison and see what events they have coming up.1 point
-
Congratulations! Welcome to the 501st!1 point
-
Started the weathering by using fullers earth, hairspray and a sponge...but what caught my eye was the tubestripes (had the helmet sitting on a stool) they looked way of so just wanted to show they are a pencil width all the way.....not entirely happy with them as I just free-handed them between two stripes of tape...gonna give it some thought and then redo if I feel like it Anyways...started with the shins and boots...still need to fill in some creases on the boots and under the raised edges of the shins, in generall were dirt would accumulate....the great thing by using hairspray is that you can easily remove it and start over, or go clean TK, but the same time resilient enough to stay put.....not to sure about heavy rain though so tread carefully And..going about this by using the principle of "less is more" and taking my time Too little...? Too much....? Just enough...? Comparison - and the weathering stands out more "in person" than the pics show so I guess it`s kind of hard to give feedback but wanted to share all the same1 point