Leaderboard


Popular Content
Showing content with the highest reputation on 11/15/2017 in Posts
-
Evening all, With my paint arriving on time, I was able to continue this evening. Continued priming some parts, including the grip, inner bolt, trigger, cocking handle and other little bits. Then masked off the tracks and applied a coat of Metallic Silver to the main body. Then the fun (slightly daunting) part - hammer paint. I’ve applied a moderate coat and left it as it lands. I’m quite pleased with the result; however, from what I’ve seen in other threads, the appearance improves further when the paint has dried. I also added an extra, light coat of brass to my scope and will add the top coat of Matt Black tomorrow. At this rate, I think we should be complete by the weekend. :-) Thanks for reading. :-) Sent from my iPhone using Tapatalk2 points
-
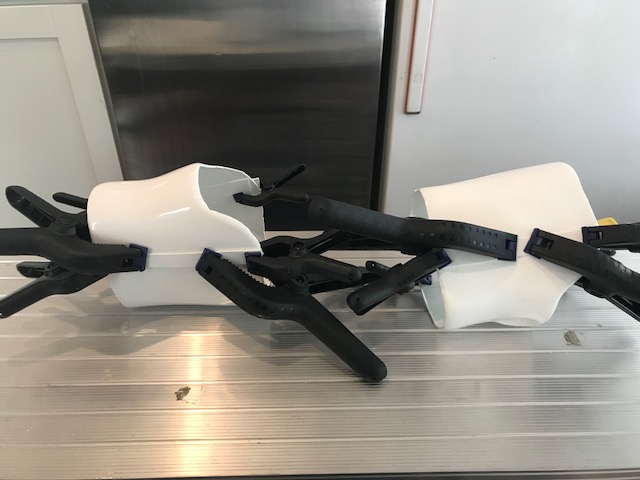
Home stretch and completion post! Starting with the fit of the electronic components Battery fit test Once everything fit, the trigger group was glued in place. I started gluing on the t-tracks that I painted with a rubberized undercoat paint. The pistol grip soon followed. I'm using a 2 part plastic epoxy for these parts since it will support the rest of the blaster and will need to hold up to the use. While i sat the body aside, I began to work on the counter and rail mounts. First attaching the mounts to the rail and then glued on the counter. After attaching the rail to the body, I began fitting the coils. Instead of using the supplied plastic coils, I had some wire from my chainmail project that was the same thickness and already coiled. Took a bit of time to bend the ends to shape but overall a secure enough fit that I decided not to use glue. Added on a few layers of paint and done. Glued the hex screws in place and weathered Finally I attached the stock and completed the build. (will add numbers when I can get a TK number)2 points
-
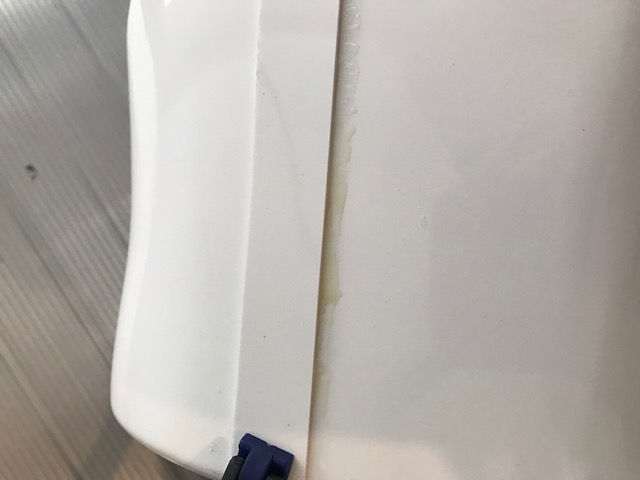
Aaah - it’s a tiny toilet!!! Thanks Jesse! Lol Seriously though, very in depth. Funny thing is, I spent ages measuring the top of my end cap and marking centre lines, then did the same as you - looked inside and saw the centre hole - drilled through and thankfully it met up with my measurements. Good work, Jesse. :-) Sent from my iPhone using Tapatalk1 point
-
Awesome! Thanks a lot, really like your commitment to detail. I will try and adjust all of the above, and apply for Centurion soon:-)1 point
-
Thanks, Jesse. Yes, I’m really pleased with the Humbrol paint. Seems very nice to work with. Due to the quantity used so far, I’ve ordered additional cans of Matt black and silver metallic. :-) Sent from my iPhone using Tapatalk1 point
-
Im sooo glad I found pix via the ref. Guide & Dracotroopers build on this dovetail... i woulda screwed it up fer sure ! Didnt turn out perfect but it fits and will work! Yay! Phew! Procratinating removing the bolt from the understock where they cut it from the SMG...1 point
-
There's two people in our Garrison that are 5'7" and 5'8" respectively, one has the Anovos kit and one has Jimmi's kit and both had no issues. I'd say Anovos but you're lucky if you'll have your kit by Episode IX, Jimmi's isn't as accurate but you'd have it much sooner (and you also have choice of TFA/TLJ versions).1 point
-
Nice work Dan! I agree with Chris, the Humbrol paint is adhering nicely. You can see more reflective points and shadowy points now with this recent paint application. A rich color is coming out1 point
-
Roughly 1/4" and 2"1 point
-
Yep much better IMO.1 point
-
That is definitely different than mine. Mine is what I consider a first generation since I was in the first tier orders. Mine has no Anovos or LFL markings anywhere on the armor or helmet. I dare to say that it looks like they are improving quality by the looks of your helmet.1 point
-
Biceps done and drying, still want to do some light sanding around the edges just didn’t have what I needed. little oops when starting and had some glue over flow on the backs of both arms. None of it is bad, any ideas for removal?
 1 point
 -
Ha, my two favorites are (currently) in the lead... Honestly I wouldn't be disappointed with any of these, though. Great work, designers!1 point
-
It's been awhile since I've updated so am including pics from Halloween party and my kit on my TK Products mannequin. Sent from my iPhone using Tapatalk1 point
-
Even better than messing with a mixer! Can’t wait to see this one completed! Sent from my iPhone using Tapatalk1 point
-
Voted. 6, 7, 8 is possibly doing it's self a disservice as they are all so similar any vote for 1 is really a vote for all and it just waters the vote down.1 point
-
Looking closer at the L2A3 Front Sight I got off a Brit. via ebay. Cleaned and disassembled. Has the imprints F58 and CR1179 on the bottom housing and F57 on the top sight. Neat that it is adjustable via tiny allen wrench. The bottom hole appears to be threaded too... trying to find reference on that.1 point
-
Cleaned up the understock with some guner we had on hand. Seemed to work pretty good. Took a lot of paper towels and scrubbing, not too much scrubbing though. There was a lot of dirt and grime built up in this thing. Really hard to get behind the release button buuuut finally got rid of the crunching sound when opening and closing it. Ran some alcohol thru it as well. Now I'm waiting for some Super Lube. Next... how the hell to get it attached.. Sent from my SM-J700T using Tapatalk1 point
-
I ended up grinding out the counter and building a fully functional working stock on mine. Went a little too far me thinks [emoji1] Sent from my SM-G920F using Tapatalk1 point
-
Hey buddy...it’s a snug fit but I️ didn’t have to trim any...that lip is where I️ have the Velcro [emoji1303] Sent from my iPhone using Tapatalk1 point
-
Interesting mod, yes, that folding stock looks quite hefty. I'm assuming the piece unfolds, this will be a nice feature1 point
-
Taking the feedback on board about the TD screw position I made some changes that I hope look more consistent to the original TD http:// by -matthewwormleaton- I have painted the screw heads and filled in the old screw holes with the idea of weathering the TD slightly. The screw at the top of the TD in this photo looks slightly off but in person it resembles the TD in the reference photo.1 point
-
Thanks for sharing your technique here, Mike. I really appreciate this. Looks like building an E-11 more and more turns into making highly detailed display models1 point
-
A converted sterling is the holy grail for a display piece, but for trooping you''re better off with a hyperfirm or a doopydoo resin kit. Avoid hasbros.1 point