
All Activity
- Past hour
-
thanks for letting me in
-
 batcop86 joined the community
 - Today
-
Nessun produttore li fornisce attualmente. Potresti costruirne uno tuo No maker supplies these currently. You could build your own
-
 Supertrooping joined the community
 -

TheSweatshop's Rogue One TK Stormtrooper
TheSweatshop replied to TheSweatshop's topic in Rogue One Build Threads
Made some progress. I’ve got a job out of state but I brought my printer along and have afternoons off to work on my armor. I kept the printer running all week. I’m printing in ABS. I know some people have difficulty printing ABS due to warping but so far with my enclosure I’ve been having success. My printer is a Prusa MK2.5S with a IKEA enclosure. I print at .15mm layer height but I also have been taking advantage of Variable Layer Height to squeeze out detail and print time. I’m printing at 15% infill and it seems super light but pretty damn durable and flexes well. I glued them up with an ABS juice of ABS and acetone, mostly being acetone but I’m adding more ABS supports to see what mixture works best. The actual alignment went spectacular to my surprise. I also did a test fit. Only the outside edges of the belt tabs were having trouble but I bowed the abs by using filament boxes as spacers in the back gap and it made the difference to get those last tabs to set up. Currently printing Nico’s Modified Helmet from @TKModder421 so stay tuned for that glue up as well. -
 Emanuele changed their profile photo
 -
Sto cercando il giubbotto del primo ordine come quello visto nel link qui sotto sapete darmi consigli su dove comprarne uno ??? https://images.app.goo.gl/zxttBgpHqrN7spDA8
-
 Okay, I think I got it. Here it is. https://www.501st.com/members/displaymemberdetails.php?userID=21584
 -

TK-12953 - A Dave's Darkside Depot EIB AHN Stunt build
jsilvius replied to jsilvius's topic in ANH Build Threads
Thank you Glen! Sent from my SM-N981U1 using Tapatalk -
 Thank you for taking the time to review my EIB application, as well as providing all of the Centurion requitements. A lot of work and detail went into the your response, and I won't let it go to waste! I'll definitely start focusing on fixing up the armor to improve the overall look, i.e. helmet position, teeth mesh, etc. I'm super stoked to be a member of the EIB rank, thanks again!
 -

TK-12953 - A Dave's Darkside Depot EIB AHN Stunt build
gmrhodes13 replied to jsilvius's topic in ANH Build Threads
Side shims are looking good. NOTES ON BICEPS: In the original films, many of the biceps had an indentation, or "thumbprint" (normally worn only on the left) on the inside. As the biceps are interchangeable, this is not a requirement for any level. Coming along nicely. -
Incorrect link, that is going to your 501st forum profile, you want your 501st membership profile, have a read of the first post again. You can also search here https://www.501st.com/holocron/member/search, just add your TKID
-

TK ANH Stunt by CloseTheBlastDoor
CloseTheBlastDoor replied to CloseTheBlastDoor's topic in ANH Build Threads
Great idea! -
TK11397 https://www.501st.com/forum/memberlist.php?mode=viewprofile&u=14917
-
TK-12953 - A Dave's Darkside Depot EIB AHN Stunt build
jsilvius replied to jsilvius's topic in ANH Build Threads
Okay, after some time off working on other projects, I'm back on working on building my DDD's AM 5.0 to at least EI. So I'm at the point i need some feedback. I need shims between the kidney and Ab plates. I measured the distance between the two and cut some shims, matched them up to the kidney and glued in some back strips. So am I on the right path? secondly, I don't remember which bicep is the left/right and which forearm is left right. My ATA kit had the thumb print on both biceps, and I though the forearm with the more curve was the right one. Pictures below. Ab/Kidney shims. Biceps/forearms. -
TK-12953 - A Dave's Darkside Depot EIB AHN Stunt build
jsilvius replied to jsilvius's topic in ANH Build Threads
I'm only chasing EI, but I'll look at making the adjustments, just in case. - Yesterday
-
 Congratulations Trooper ! Welcome to EIB ranks
 -
great job. thank you.
-
Field Exercise Awards -- Post your milestones here
gmrhodes13 replied to Alay's topic in Field Training Exercises
You need to add a link to your troop log, instructions here Debes agregar un enlace a tu registro de tropas, instrucciones aquí -
Field Exercise Awards -- Post your milestones here
gmrhodes13 replied to Alay's topic in Field Training Exercises
One outstanding -
TK ANH Stunt by CloseTheBlastDoor
gmrhodes13 replied to CloseTheBlastDoor's topic in ANH Build Threads
I covered mine in silicon so they don't catch, I have seen others cover in gaffa tape. This is one of the tricky areas, takes some practice but you should be able to get them on, I normally leave a loop of elastic on one end which helps give something to grab on to. -
Congratulations trooper and welcome to Expert Infantry and the EI Honor Gallery
-

Field Exercise Awards -- Post your milestones here
Sly11 replied to Alay's topic in Field Training Exercises
Congrats Chris! Updated for you. -
Incorrect legion, that is your legion forum profile, not your membership, please read instructions in the first post
-
TK ANH Stunt by CloseTheBlastDoor
CloseTheBlastDoor replied to CloseTheBlastDoor's topic in ANH Build Threads
I had a bit of an adventure finding the longer rivets for the ab-kidney stackup suggested by Glen. When I received them, it seemed as though I had them this whole time ! I glued in the kidney-side assemblies first: Then hammered in the rivets and ensured that there was a fit on the ab side: Then, did the ab side: I feel like the insides are going to catch on my undersuit, so I’ll need to figure out how to cover them. For the right side of the ab-kidney, I glued snap bases in place: Luckily I’ve been on a diet, and it looks like the left and right sides close with minimal gap, whew! What a trooper endures to maintain a slender figure ! For the elastic, it seems like it would be especially hard to get my fingers under the right side and secure the snaps. Are there tricks for this? Also, what should I cover the rivets with on the inside? -
 Congratulations!!!
 -
Please read the first post of this thread, you need to add a link to your 501st legion profile
-
You could reduce the amount of light with a resister, you don't need much as the main glow is very central https://www.instructables.com/Choosing-The-Resistor-To-Use-With-LEDs/

-
Albums
-
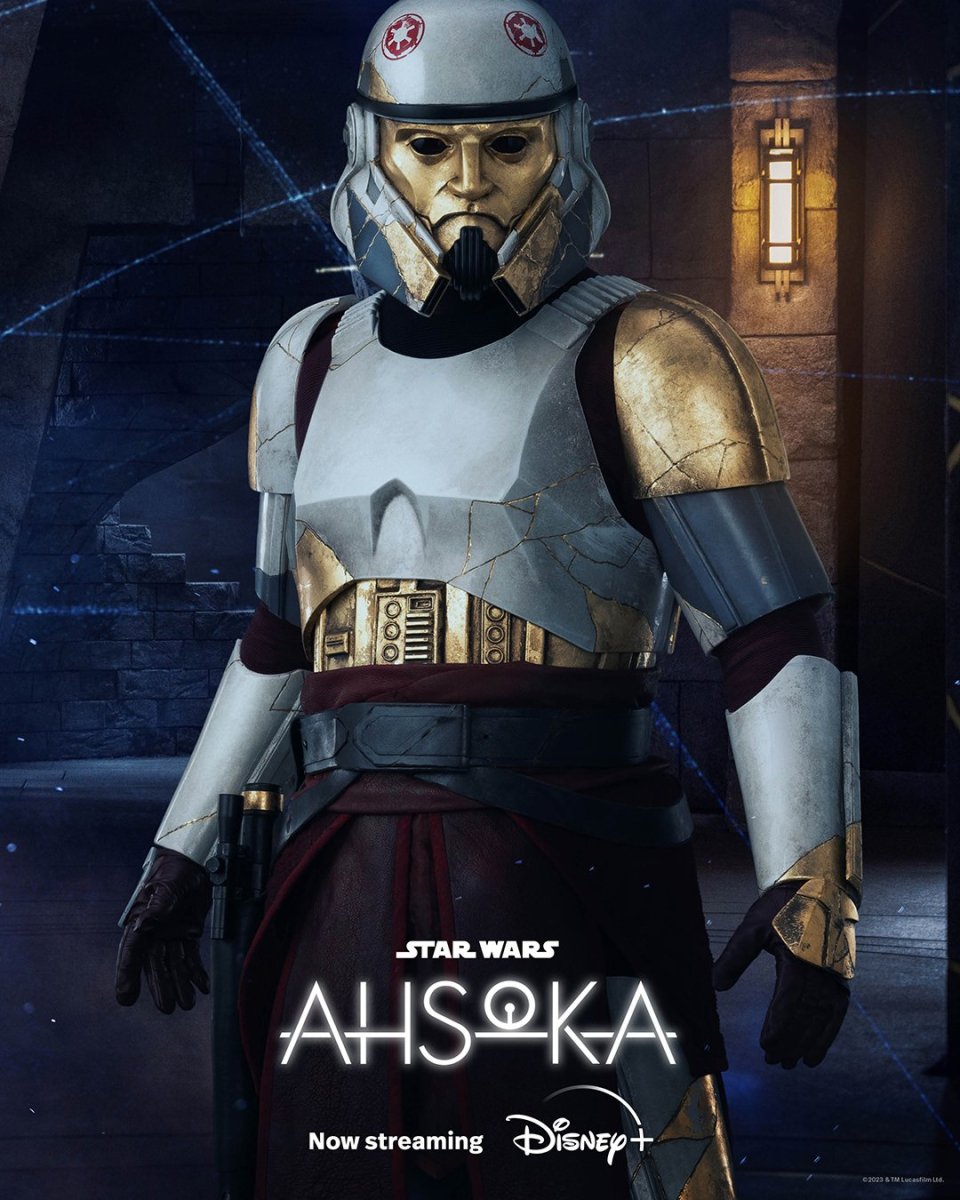
Captain Enoch (Ahsoka)
- By themaninthesuitcase,
- 0
- 0
- 2
-
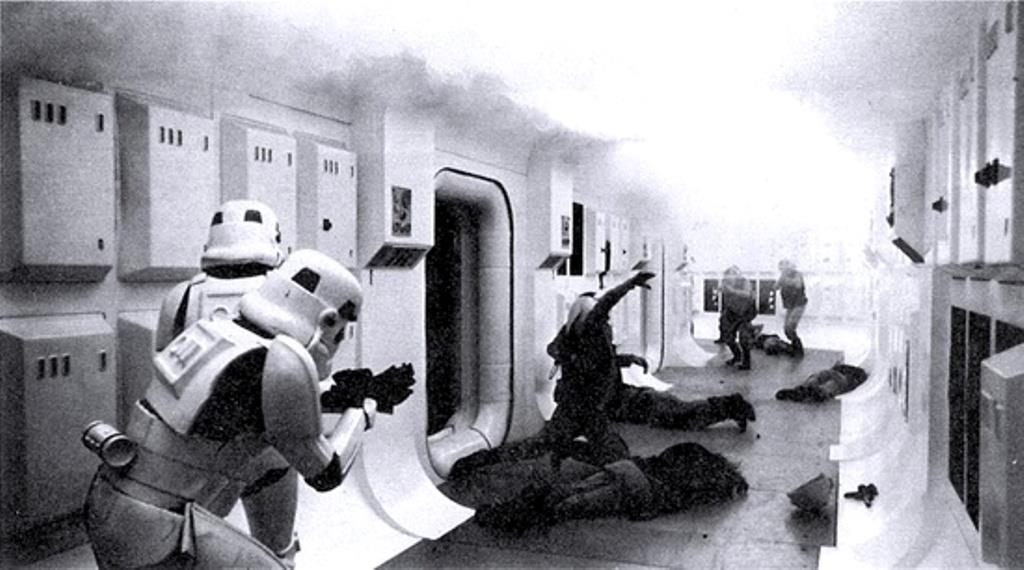
Promo pictures & others
- By Locitus,
- 0
- 35
-
.jpg.da3b75dcced28b94590e16b06907ce49.jpg.d3465bdfa251d57f1217de22fbf5842f.jpg)
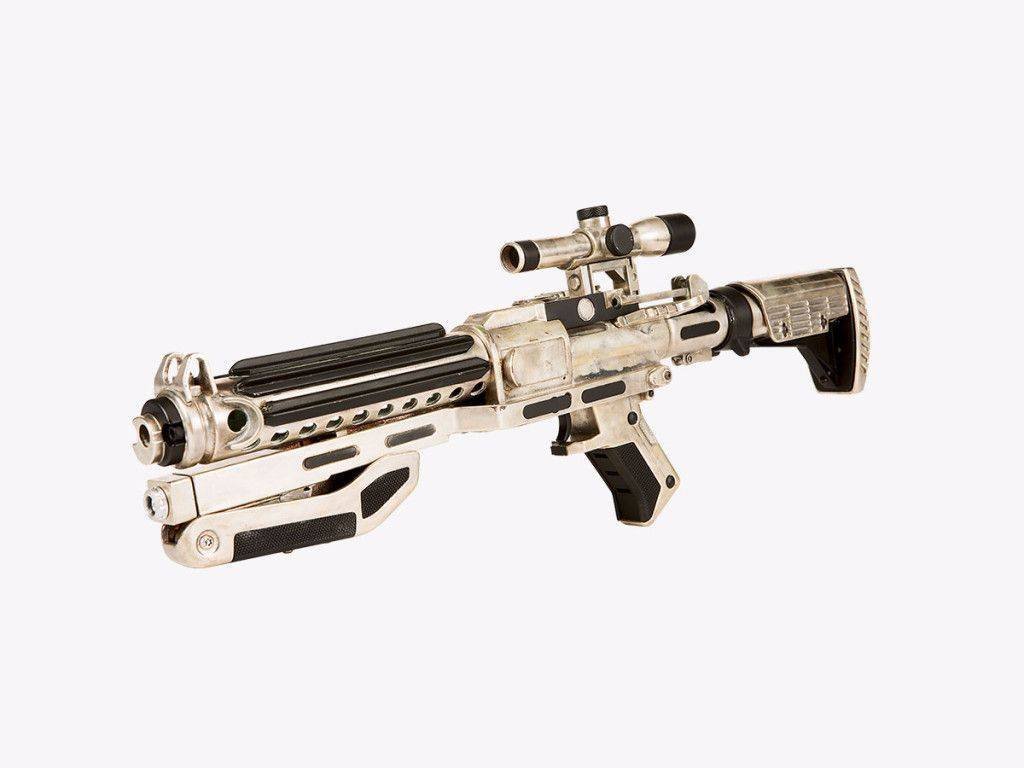
Publicity Blaster - Nambu Type 99 LMG
- By gmrhodes13,
- 0
- 0
- 4
-

TFA F-11D Blasters
- By gmrhodes13,
- 0
- 0
- 13
-
Captain Phasma TFA References
- By gmrhodes13,
- 0
- 0
- 59
-