gmrhodes13
-
Posts
31,206 -
Joined
-
Last visited
-
Days Won
1,069
Content Type
Profiles
Forums
Gallery
Articles
Everything posted by gmrhodes13
-
Have to finish my ROTK first, been building too many droids Facebook group https://www.facebook.com/groups/639937921327785
-
Someone must have been on drugs that day Kintsugi
-

Kidney / Ab plate locking tips
gmrhodes13 replied to viewoptic's topic in Assembly, Mods, and Painting
If you use this idea don't forget to either paint black or wrap black tape around so the tab isn't seen from the outside -
TikiTechie TLJ First Order TK Build Thread
gmrhodes13 replied to TikiTechie's topic in TLJ Build Threads
Should be fine Looking good so far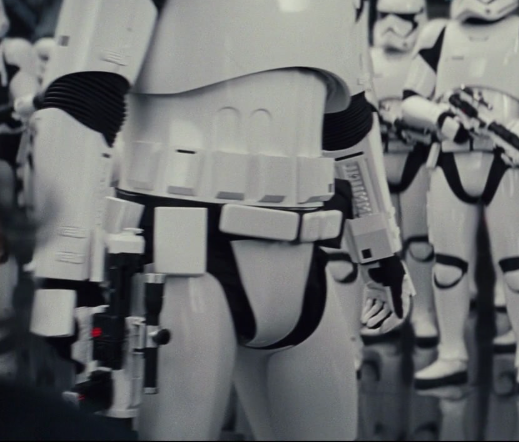
-
Kidney / Ab plate locking tips
gmrhodes13 replied to viewoptic's topic in Assembly, Mods, and Painting
Tighter strapping can help, I doubled mine over which helped. Interlocking tabs are used by a few, mine was just an issue of the kidney pushing out sideways, I bent and glued a piece of ABS each side, behind the kidney and they just sit behind the abdomen. It's basic but works for me -
Just remember no spoilers, not everyone has access at the same time
-
JmTrooper’s (First Build) Denuo Novo TLJ FOTK
gmrhodes13 replied to JmTrooper's topic in TLJ Build Threads
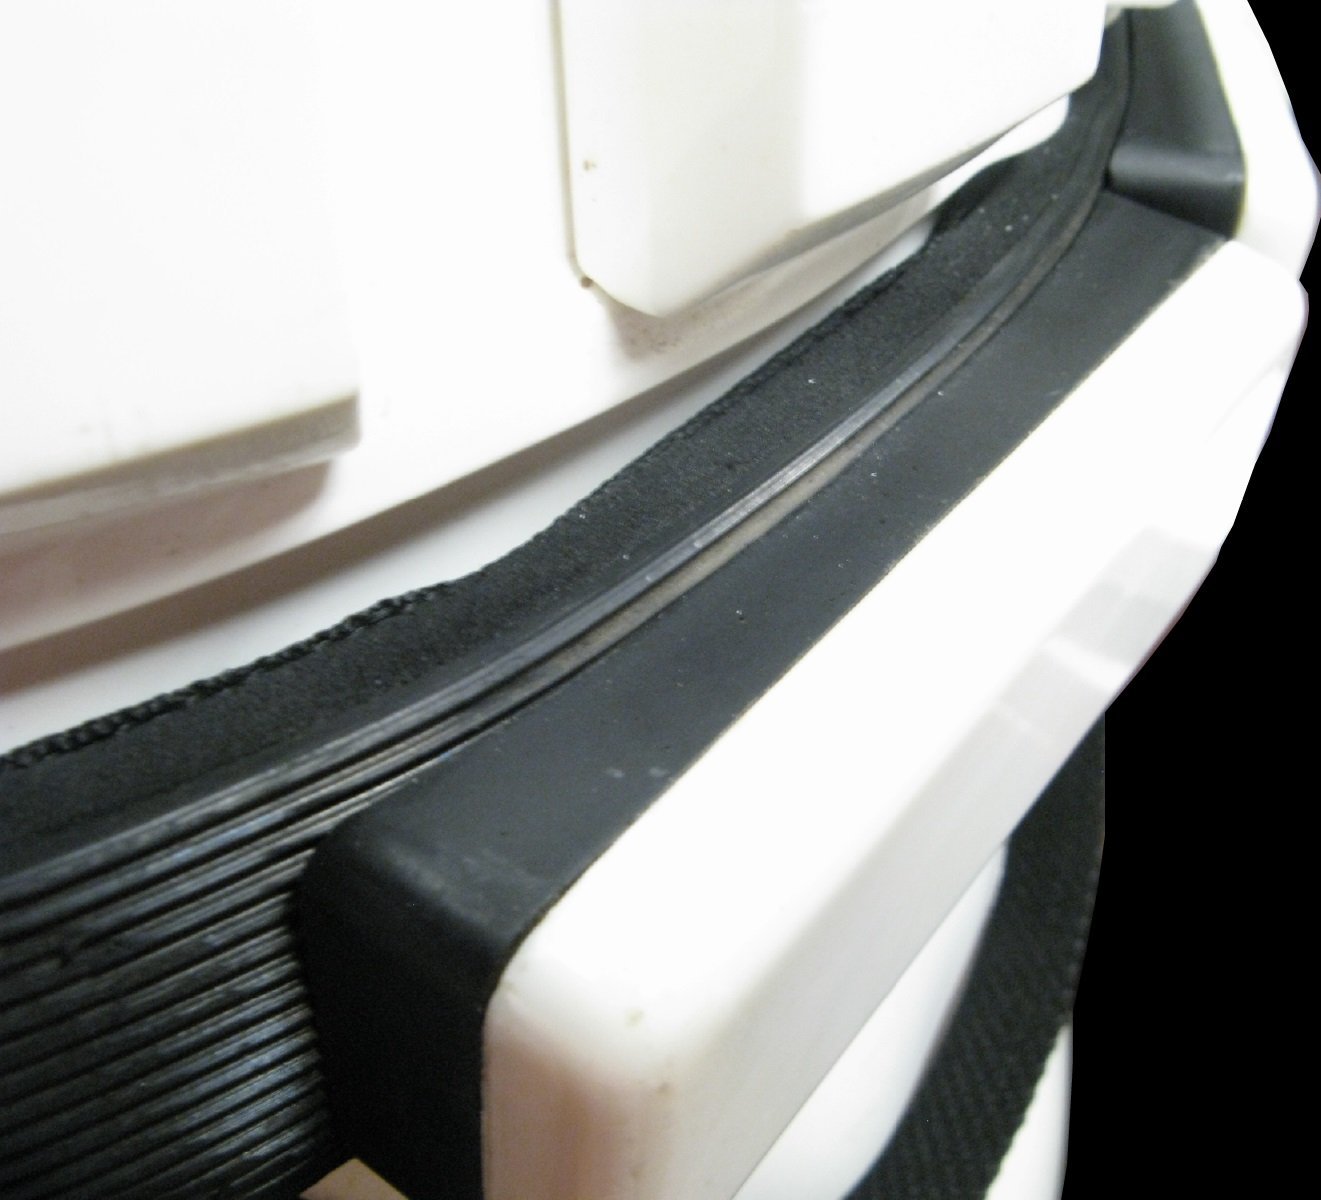
Your images don't appear to be showing, don't forger "direct link" or right click copy paste if on computer Gaskets look great You could sew it, glue it, use rivets, so many options, makes sure you get the measurement right if you aren't using an adjuster buckle and make sure you check while wearing, it will make a difference.
-
Just try to even out the gaps, I would come up a little with your shins. No strapping between thighs and shins, especially for higher levels
-
declared aim : ANH Stunt tk centurion
gmrhodes13 replied to Trime Mudor's topic in ANH Build Threads
Bit hard to check for any gaps with your arms bent lol, but looks like it fits you. You never forget the first time you trial fit your armor. Looking forward to seeing this completed soon. -
Thin coats are best so it allows the paste to dry, if you add really thick coats you get a lot of air bubbles which will show when sanding. Depending how they look after sanding there are a couple of options, purchase a replacement OR larger cover strips, these are normally added on the rear as the public normally see us from the front. I would however check in with your GML to make sure they allow larger cover strips, some GML's are a little tougher on some items. A fix for the large ab plate is cut off the remaining return, then cut a piece of plastic larger than the ab plate, glue let dry and then fill in the join with abs paste, a few people have done this mod in the past and it's turned out great
-
TikiTechie TLJ First Order TK Build Thread
gmrhodes13 replied to TikiTechie's topic in TLJ Build Threads
It's entirely up to the GML as far as basic approval so any issues check with them first. That said here are some references, two main types of rears on the forearms for TFA, standard and Finn (or Hero/Stunt), with TLJ being a straighter cut. That is incorrect, should be same widths both sides TFA I doubt your tab recesses would be noticed but if you have to fill you could match those as well just to be sure.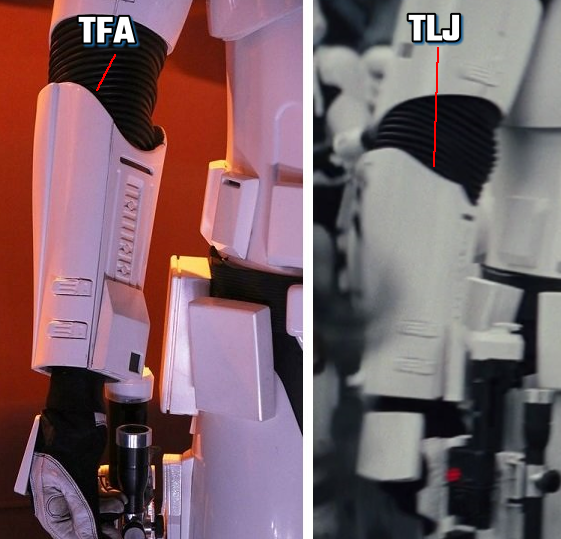
-
declared aim : ANH Stunt tk centurion
gmrhodes13 replied to Trime Mudor's topic in ANH Build Threads
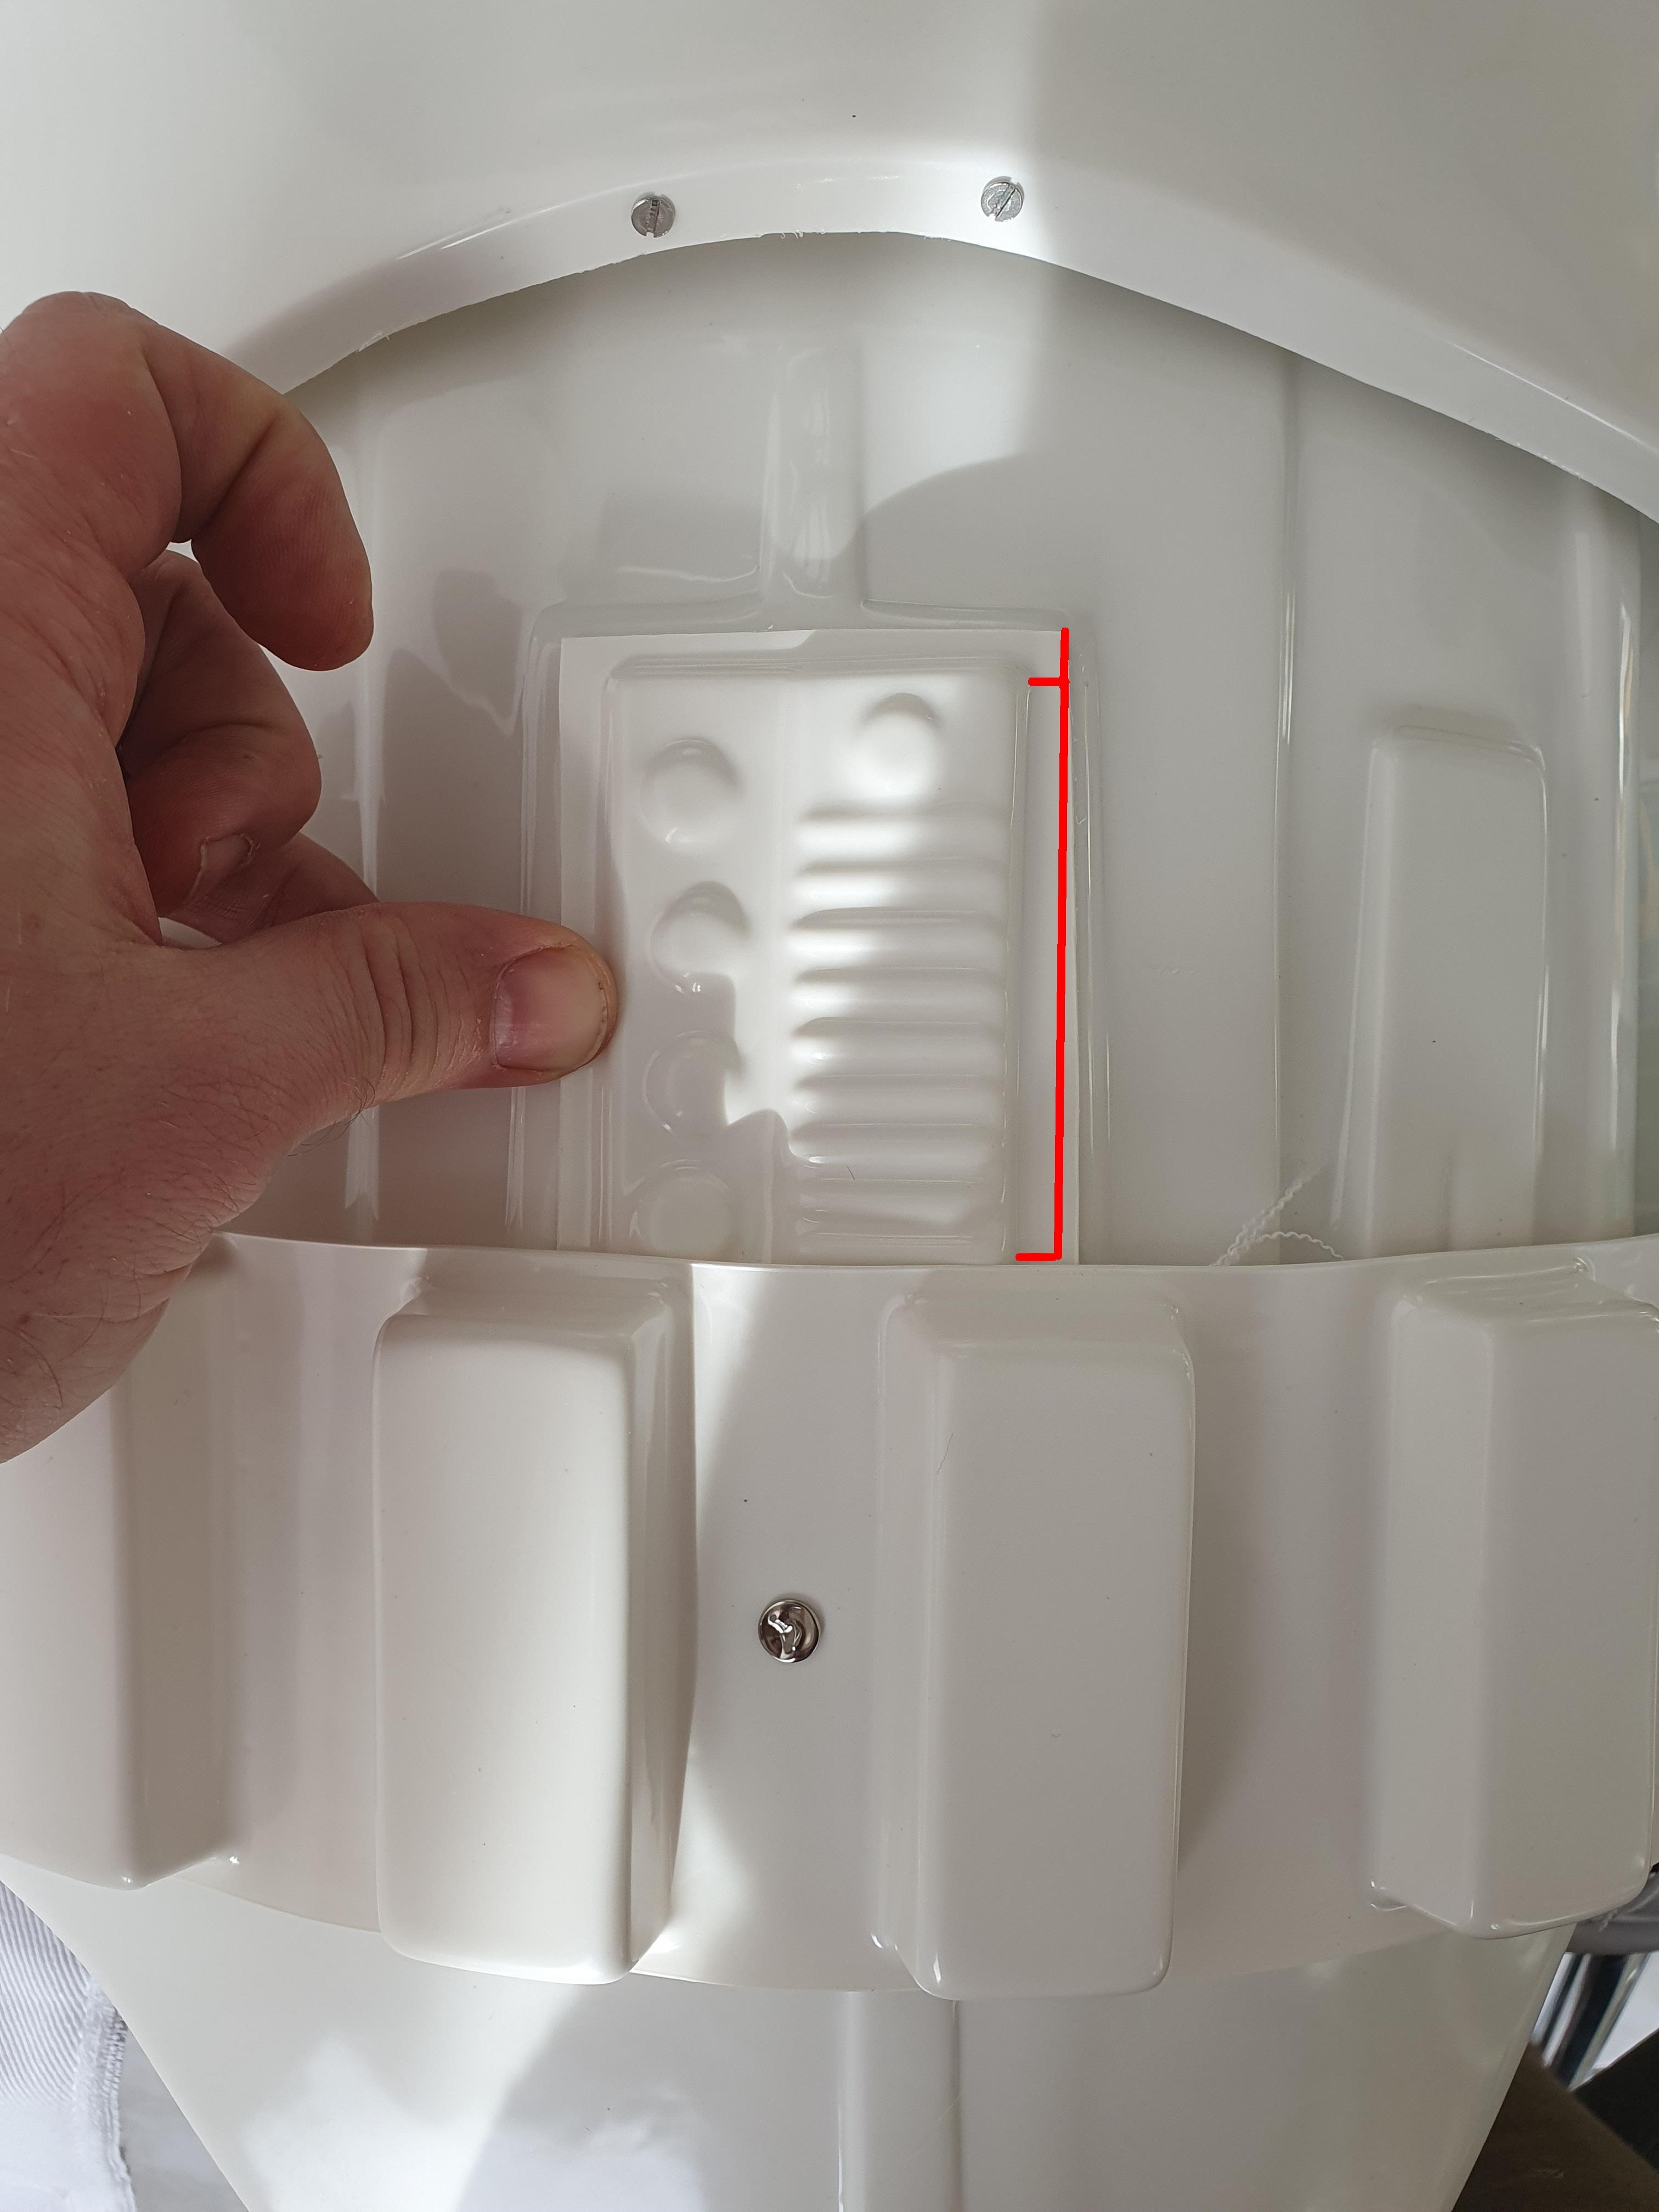
Height looks ok, just check the right side (front on) looks to be cut on a slight angle Reference material for you for higher level clearance DO reference material The top of the ABS belt shall sit at or just above the bottom of the central and vertical ab button panels. A slight overlap is suggested, but not required. AND Although not specifically listed in the CRL, the following item (underlined below) is often overlooked by during the build/painting process, and while not required at any level can be recommendations to improve the overall look of the armor. AB button plates should ideally be squared at the corners and be trimmed to where the actual plate is inside the ridge area it is mounted to as seen below. Note: For Level 3 the paint does not extend to the bottom of the actual raised button.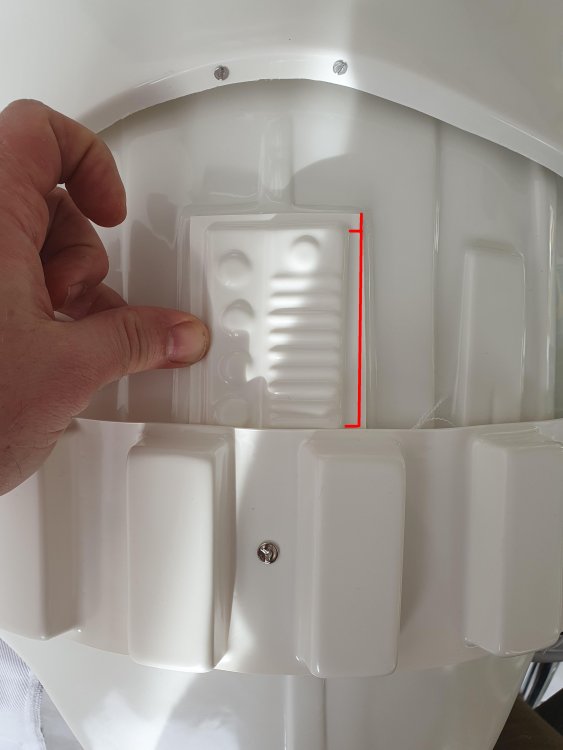
-
TikiTechie TLJ First Order TK Build Thread
gmrhodes13 replied to TikiTechie's topic in TLJ Build Threads
Gaskets can take up some of the gap, I did however had to add foam inside my shins to keep them central to the leg, they had been a bit doglegged looking at first -
TK-27259 reporting for duty
gmrhodes13 replied to Elodya's topic in Newly Approved Members - Sound Off!
Congratulations trooper and welcome to the ranks -
At times glue is normally dry in 24 hours, some can take a little longer, depends on weather and thickness of glue. Any parts under strain (usually second coverstrip on a part) may need to dry longer, I like to leave 48 to 72 hours, it's a pain waiting but at least you only have to do it once. Happy belated Birthday
-
TikiTechie TLJ First Order TK Build Thread
gmrhodes13 replied to TikiTechie's topic in TLJ Build Threads
I run the elastic under the yoke, the tabs have been strong enough so far. Inside I've added 3 extra support pieces of plastic to help prevent cracks, you need some give to get your arms through (especially with rubber gaskets) and unfortunately cracks are just going to happen. Also with the elastic straps I have the front ones slightly shorter, this helps pull the shoulders in at the front after moving your arms so the gaps look better. You may be lucky just to use ABS paste as long as you can fill and sand to a nice appearance, it's a lot of elbow work but it can be done, and has been by a few members now. We had to deal with some modifications on the earlier kits hence why most had to paint. -
TikiTechie TLJ First Order TK Build Thread
gmrhodes13 replied to TikiTechie's topic in TLJ Build Threads
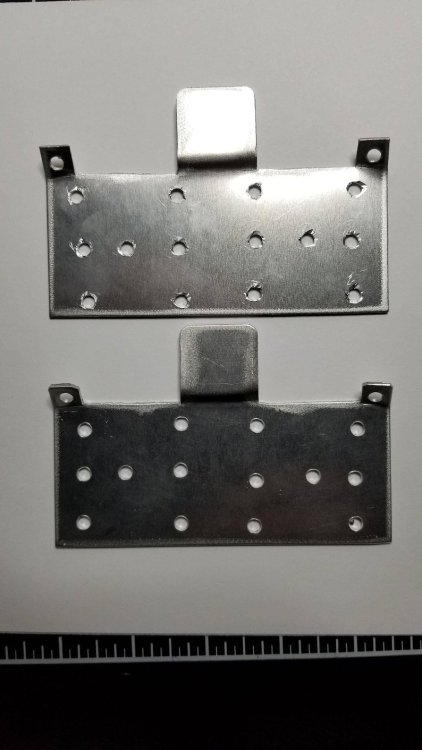
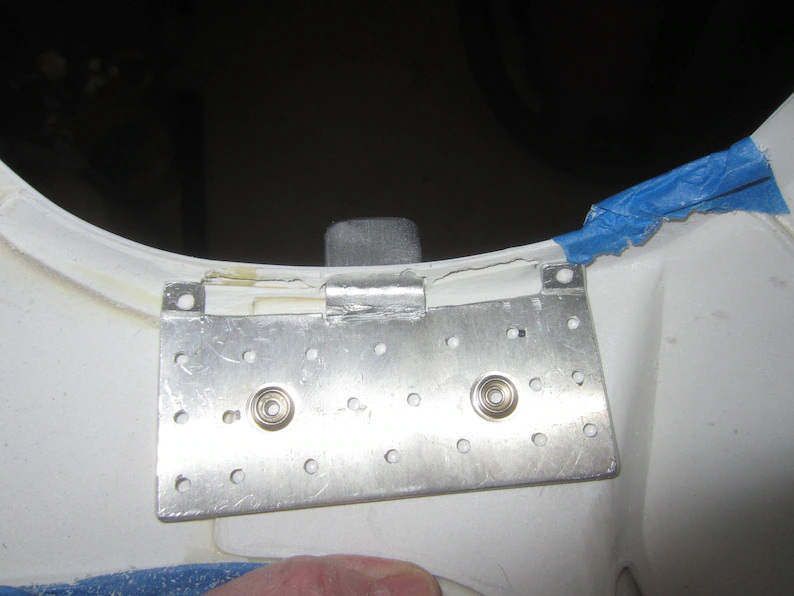
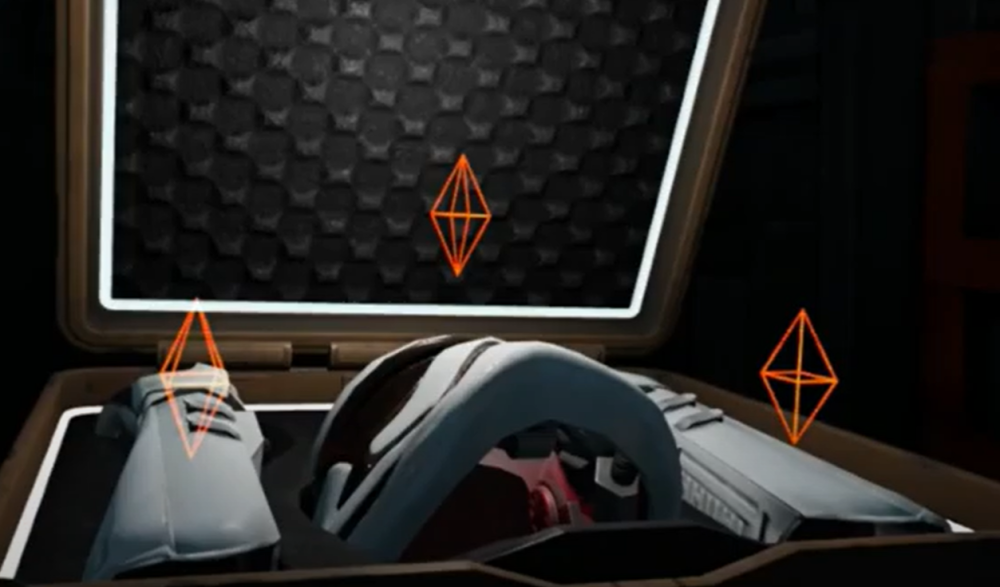
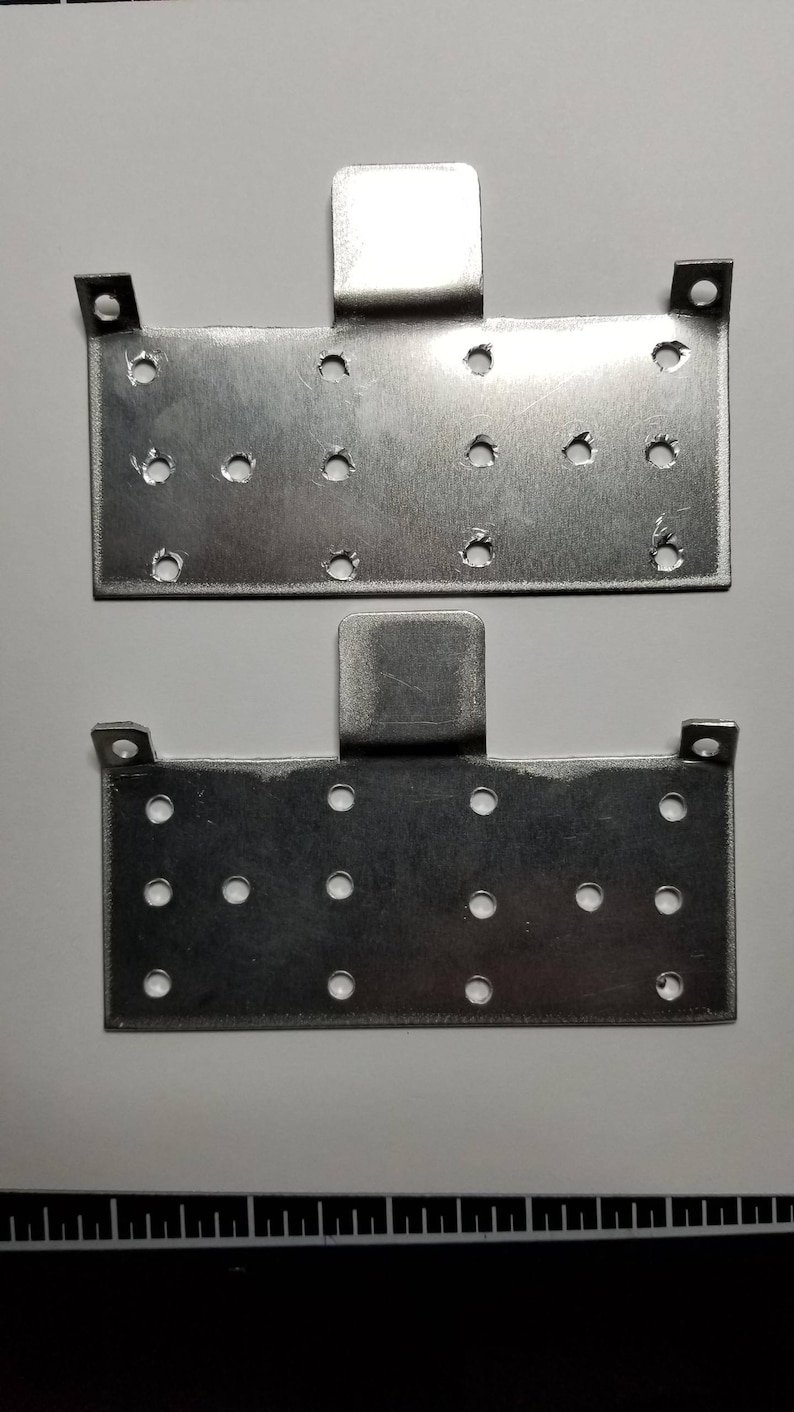
You just try to get the yoke/backplate to fit best you can, I used JB weld and it can be sanded but I still had to ass some bondo. A place that flexes is the top of the yoke over the shoulders, it's a good idea to add some support behind the return edge From Tony's build @ukswrath came up with a metal support to help I didn't cut a slot for my shoulder tabs I made them wrap around so you aren't creating a weak area Belt box reference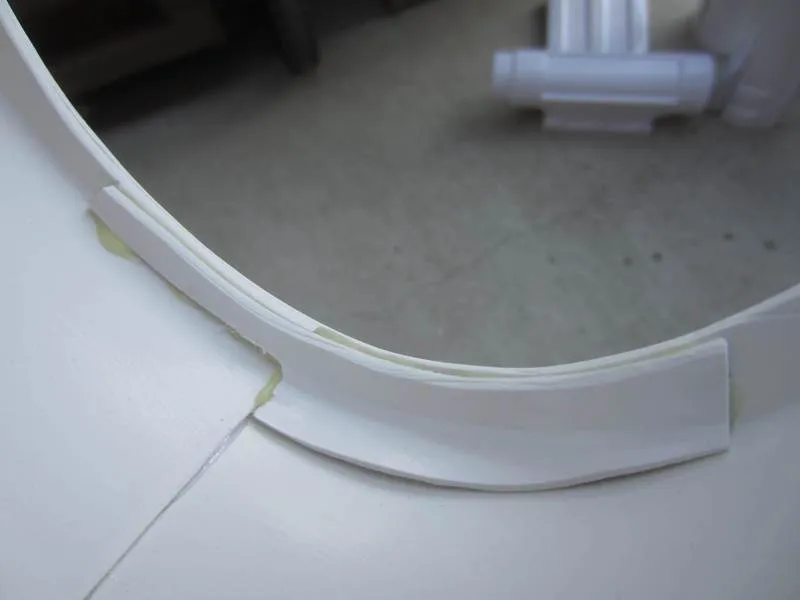

-
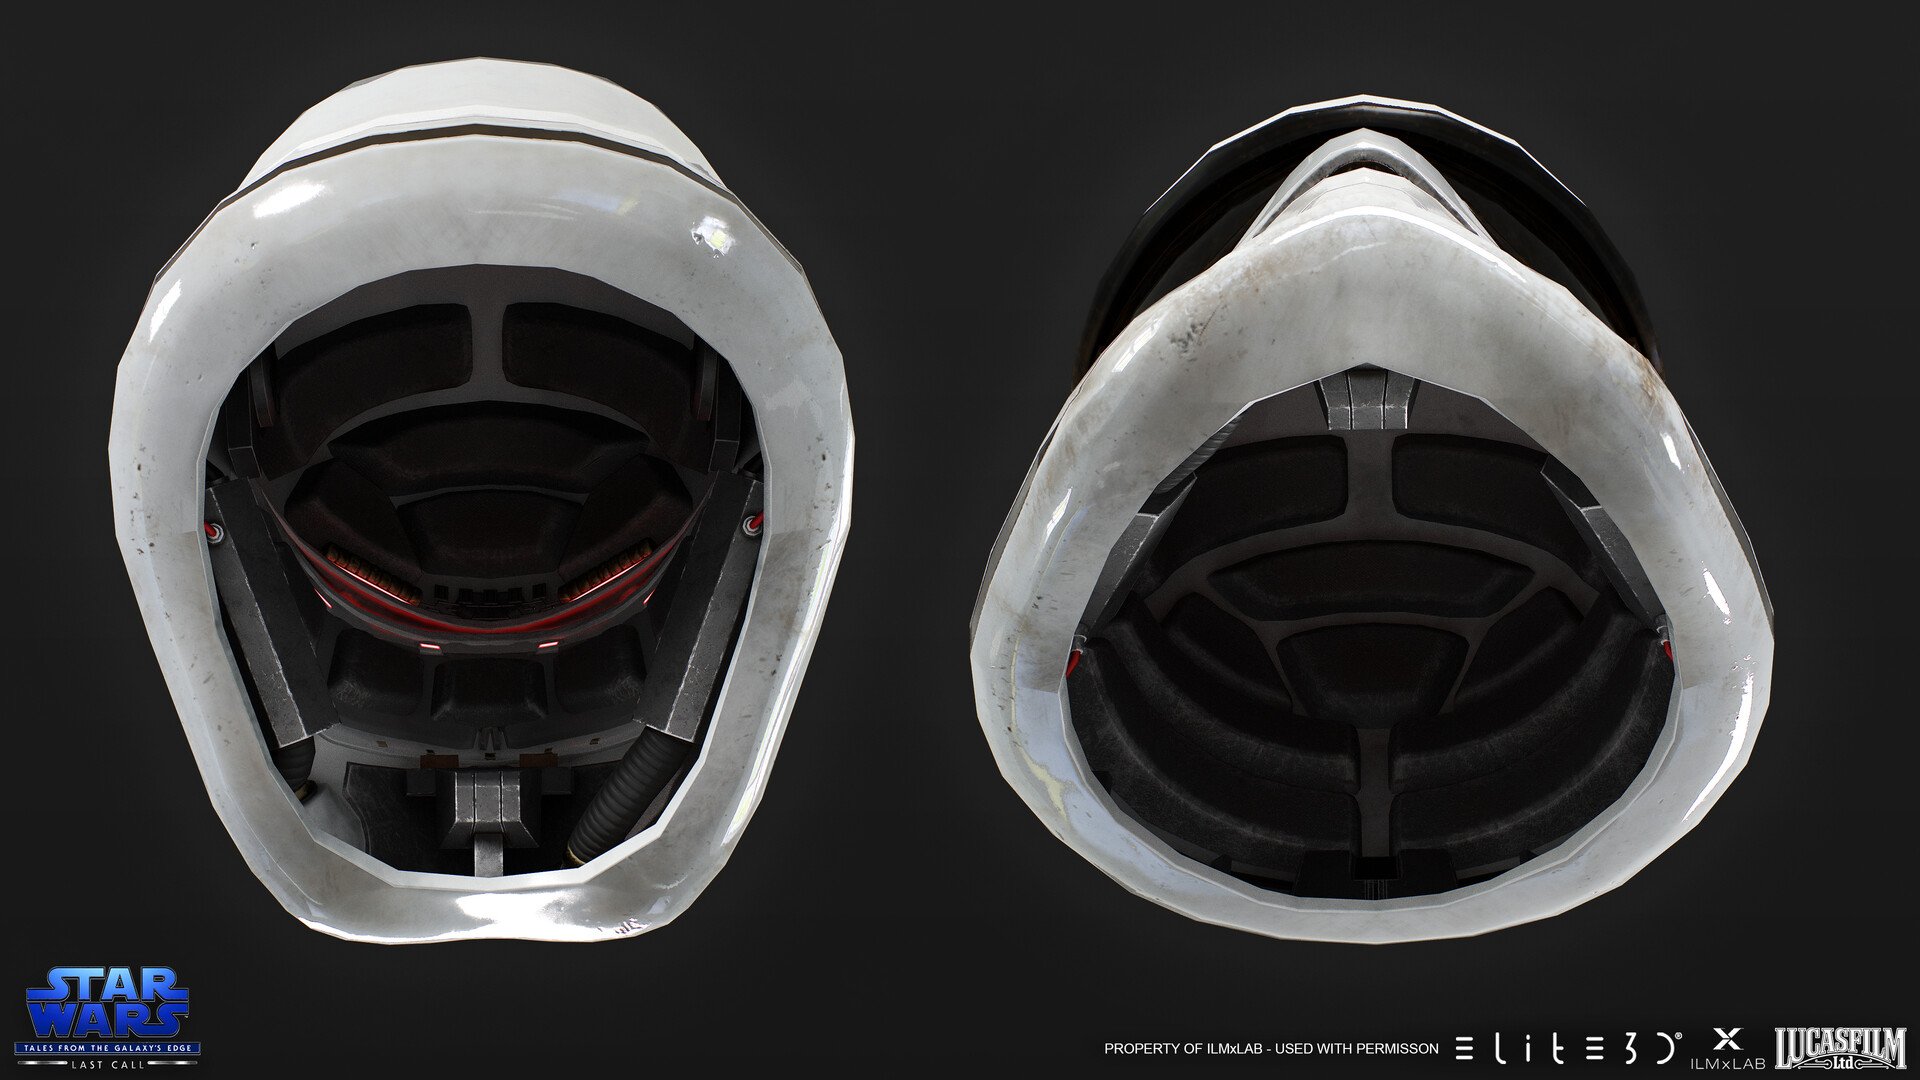
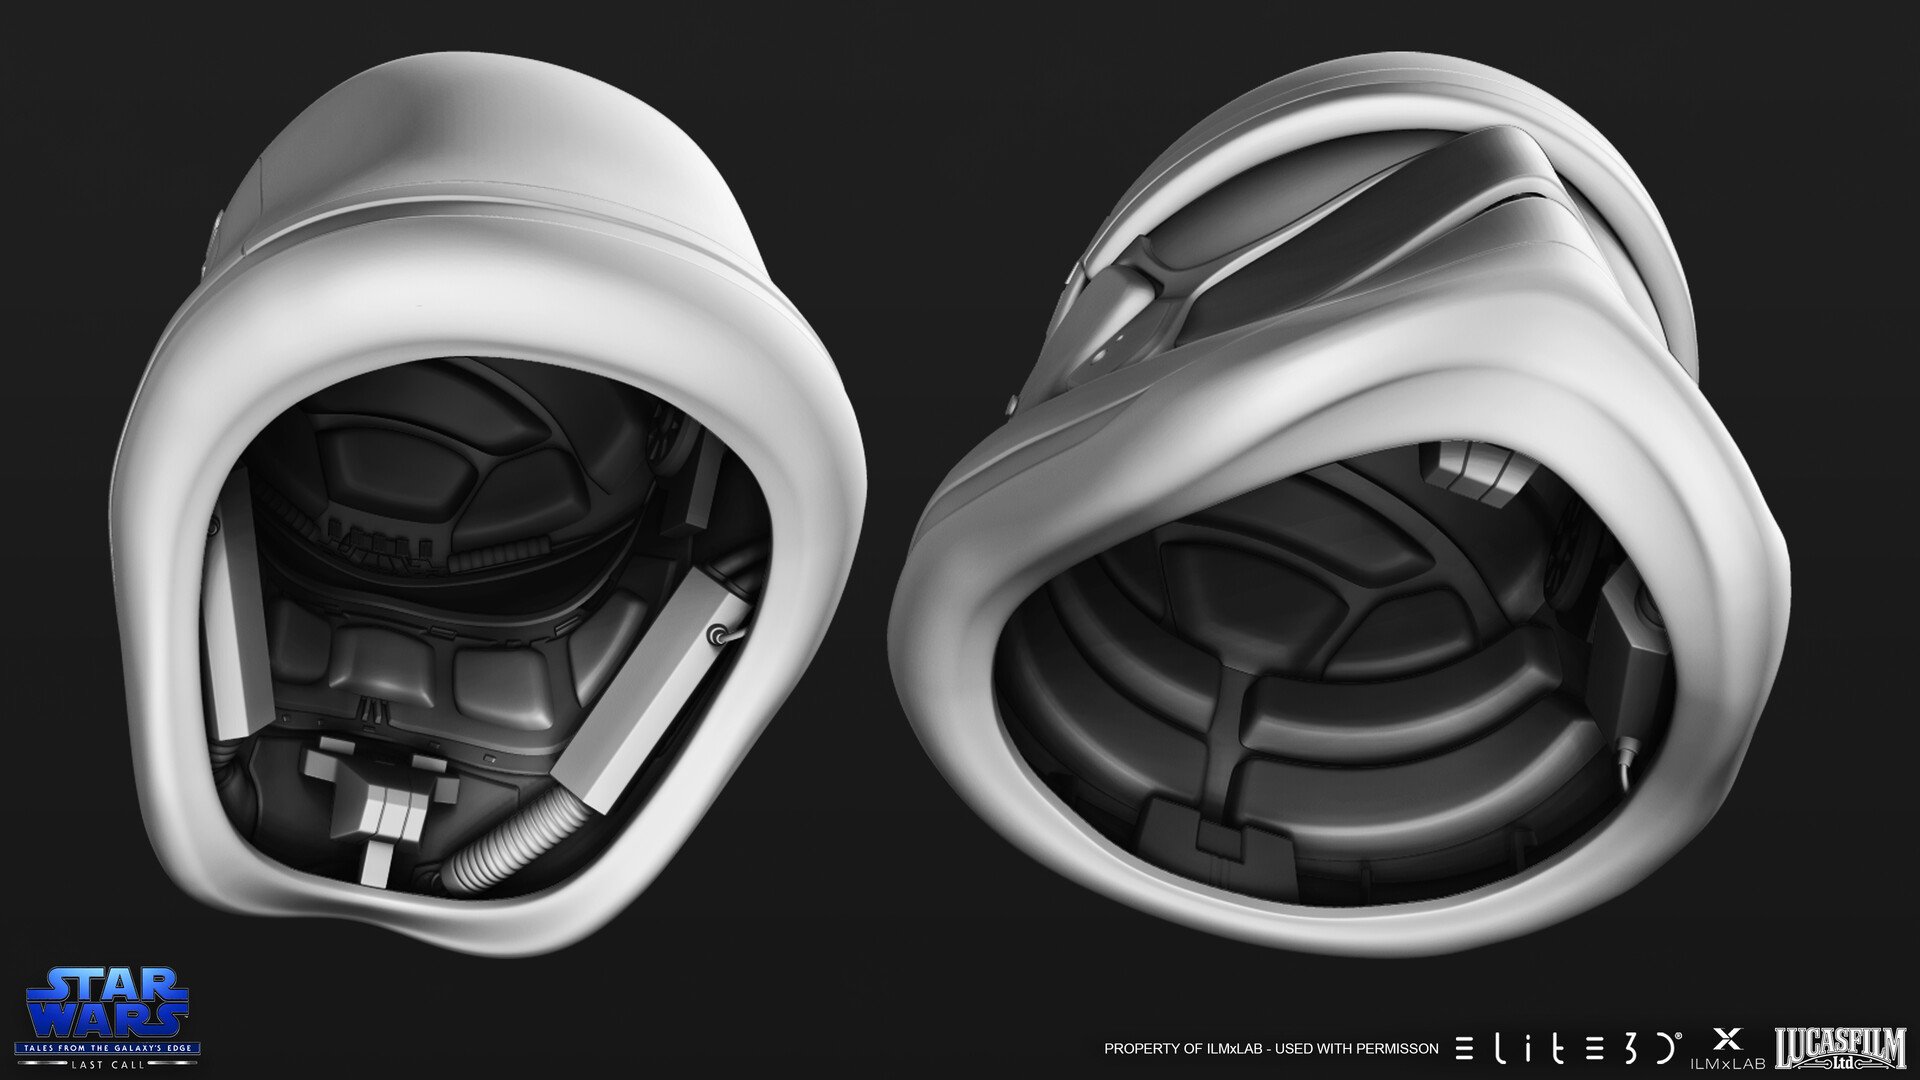
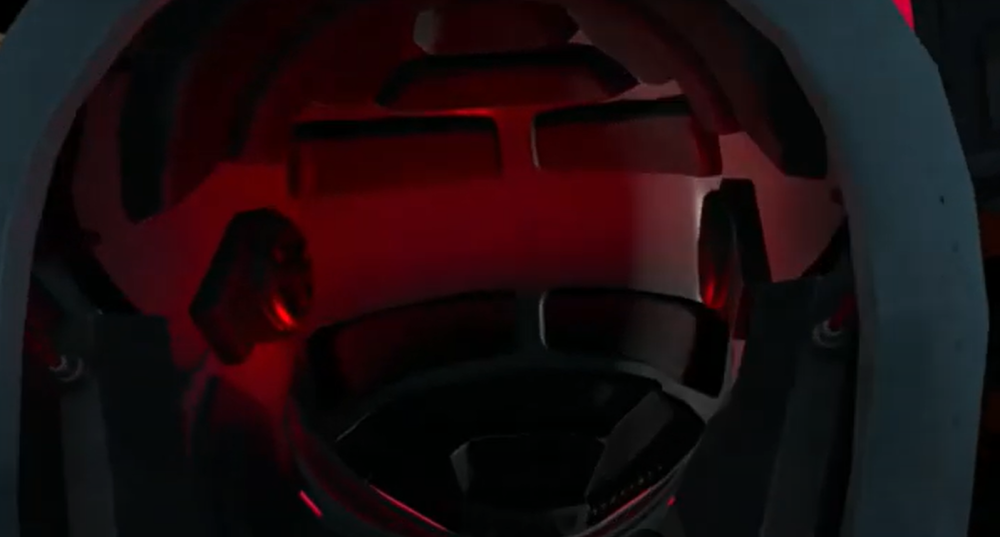
The TK did carry two firearms, not sure about Lieutenant Guage, two F11's sometimes a mix Off topic but some nice pics of the helmet internals


.thumb.jpg.c0248712a38dd231310250c90019e9e6.jpg)


-
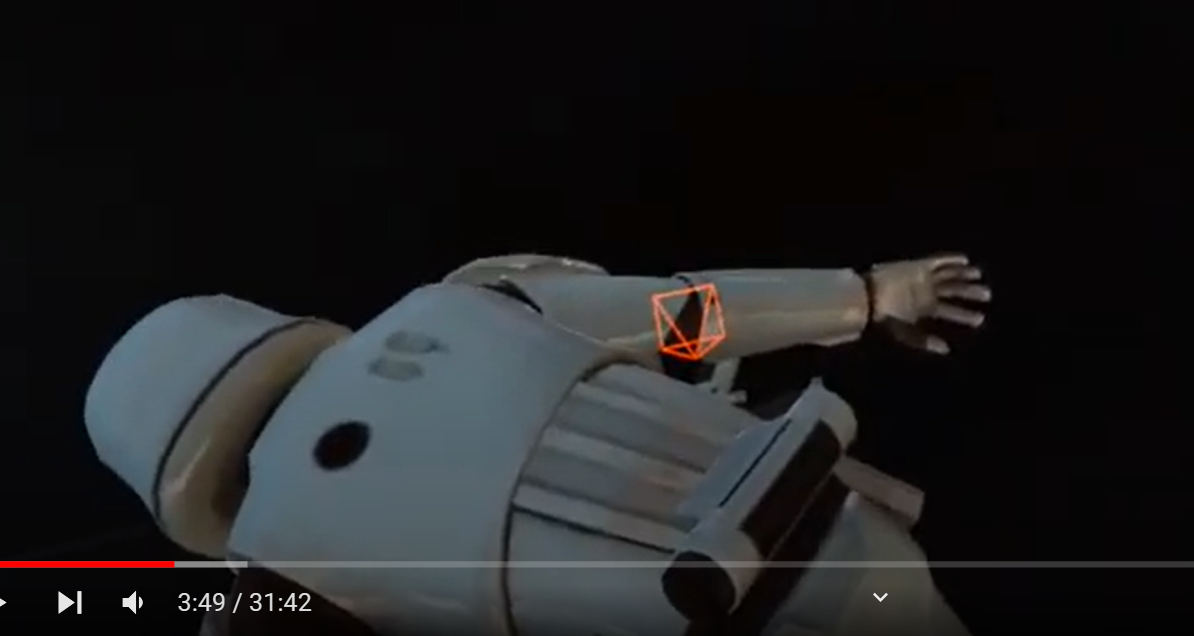
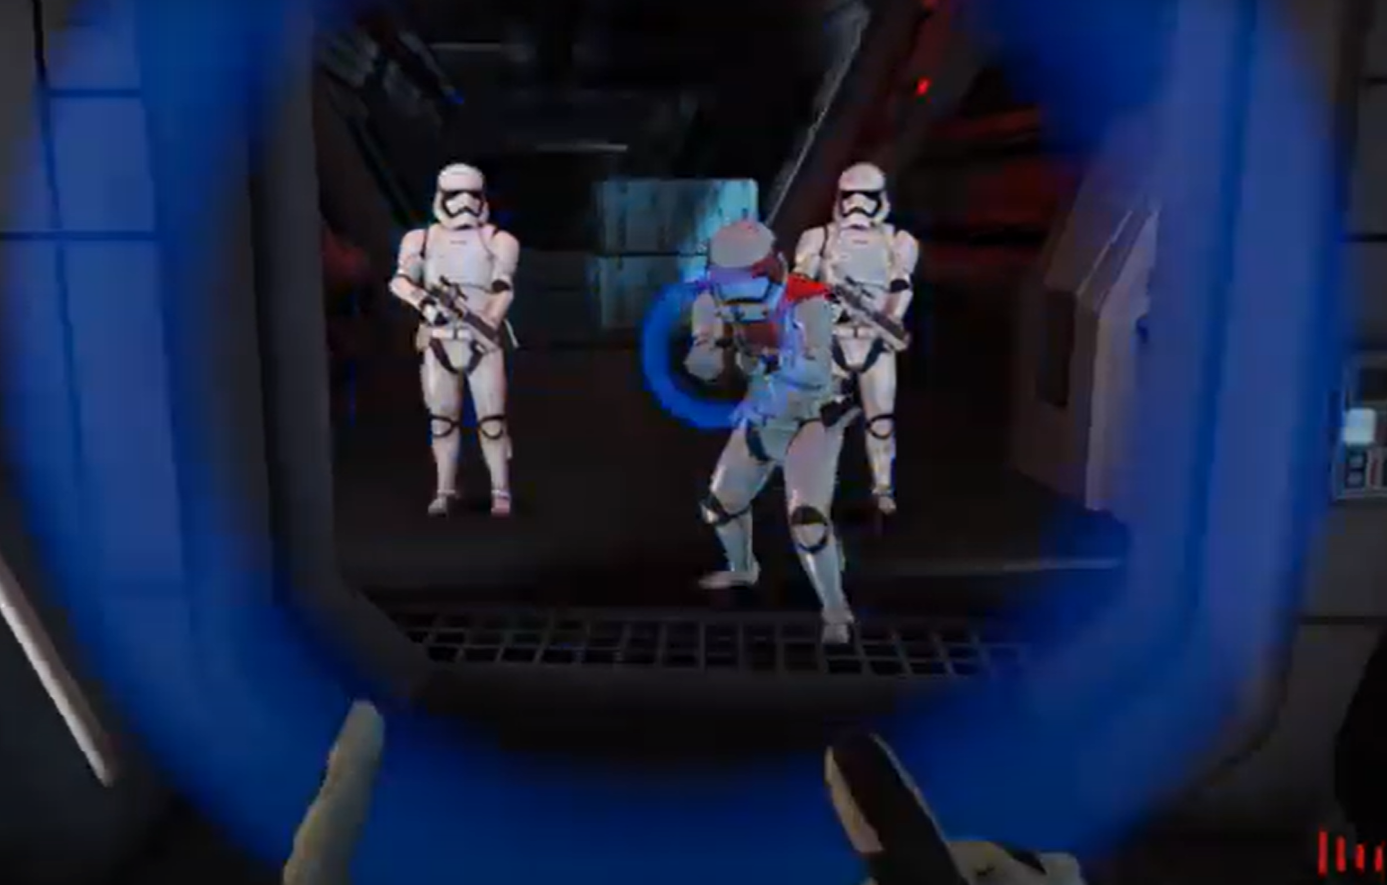
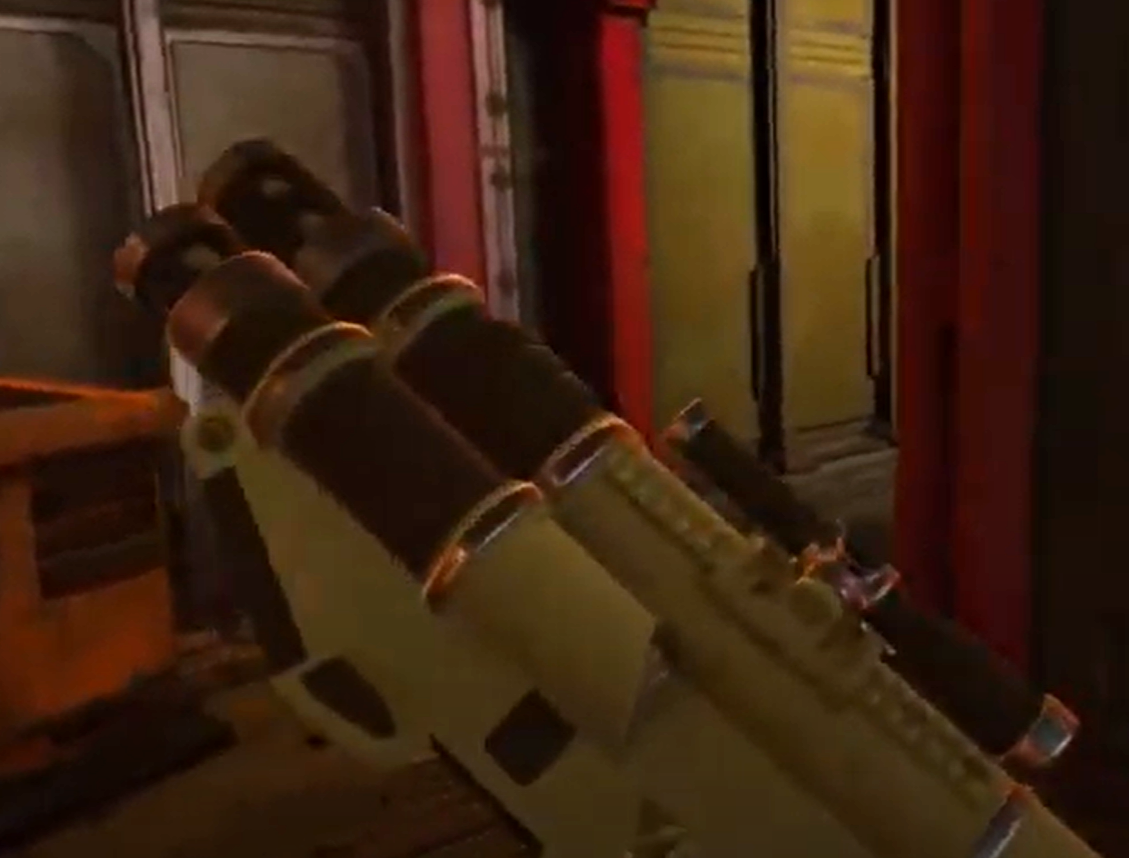
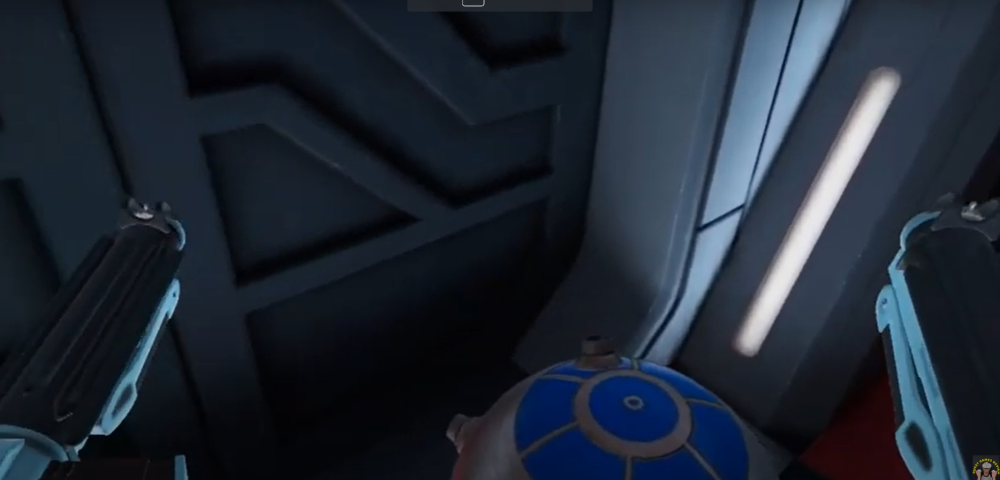
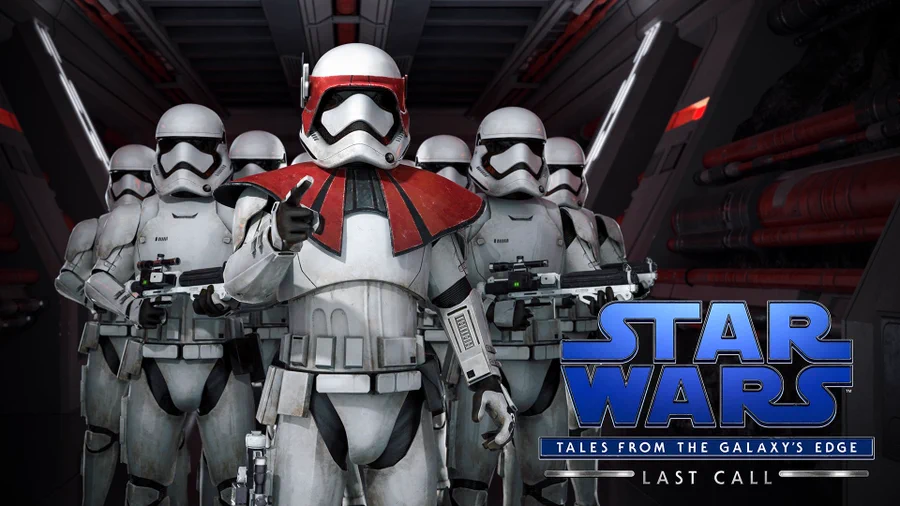
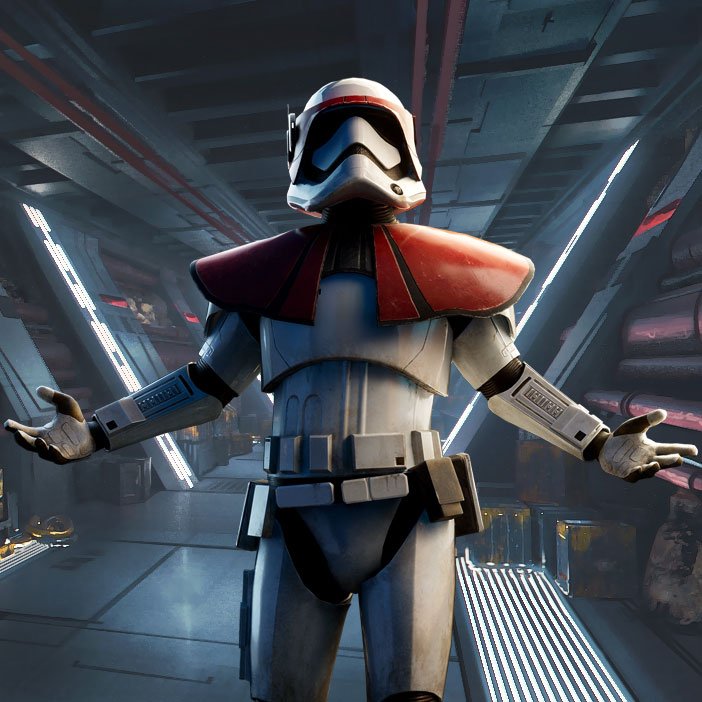
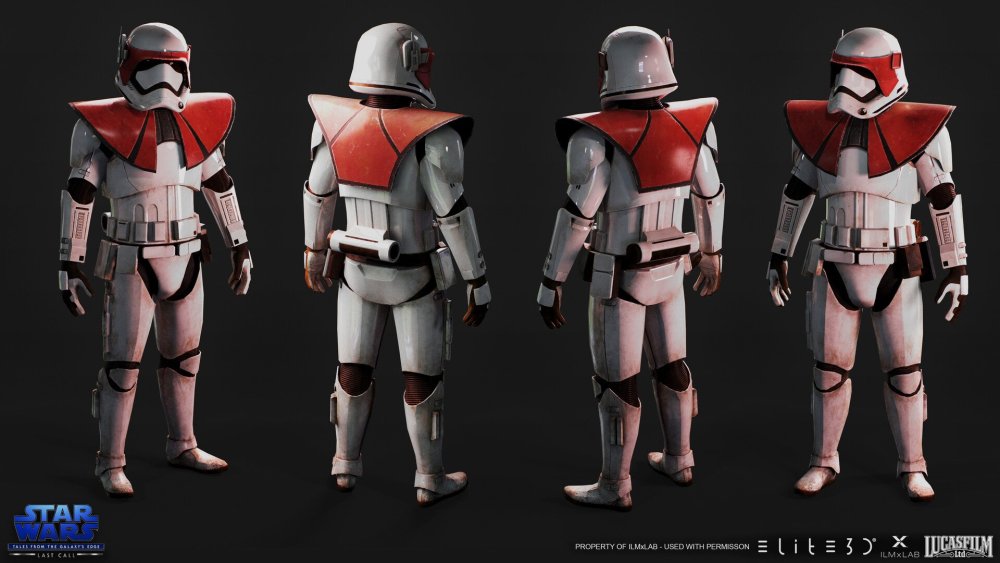
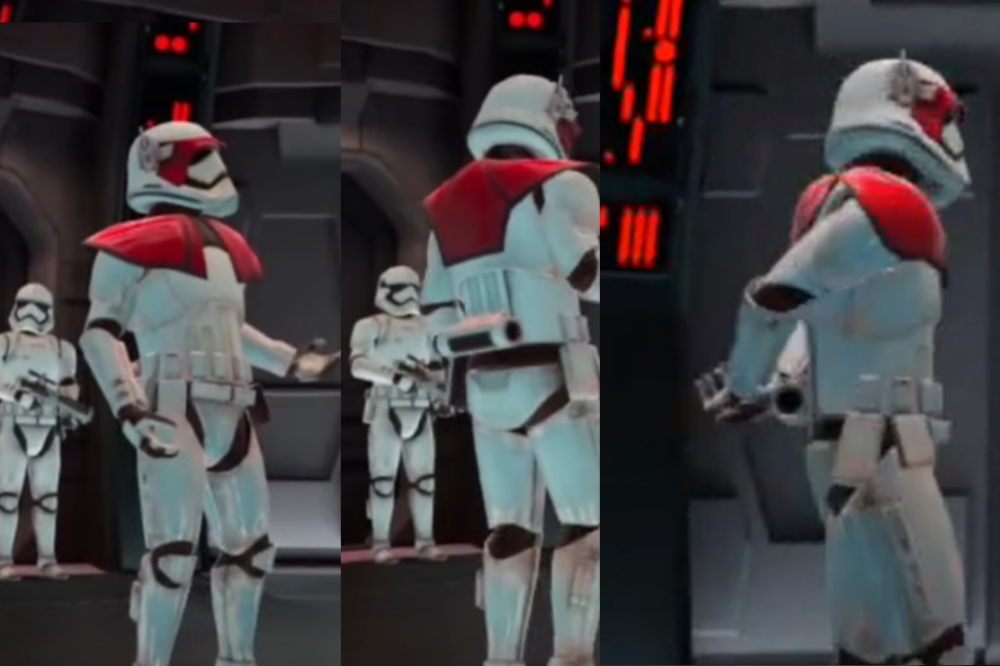
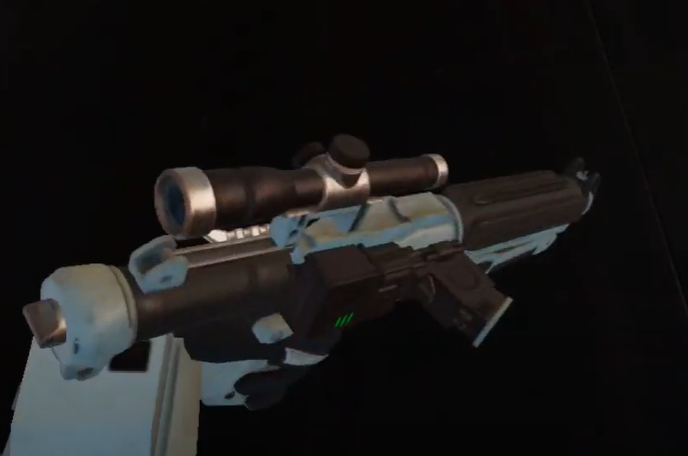
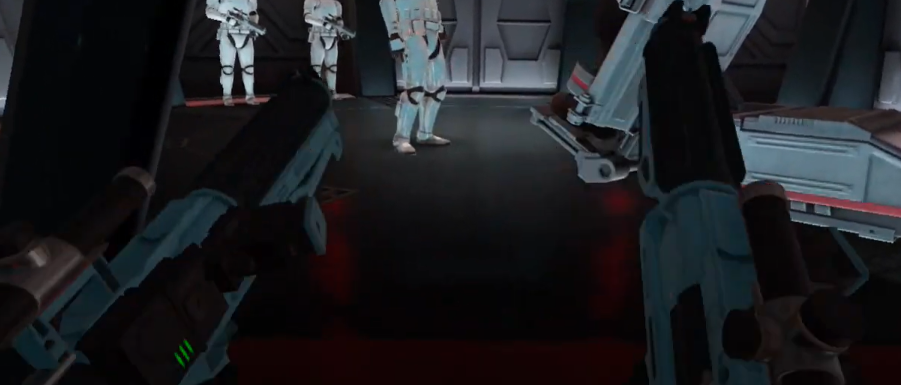
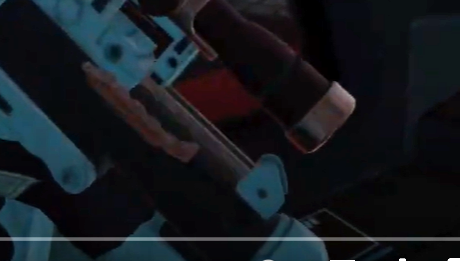
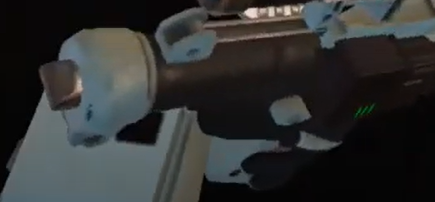
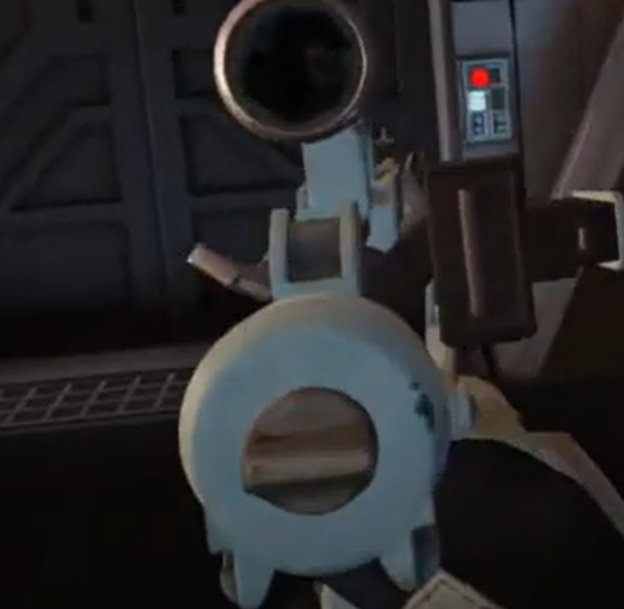
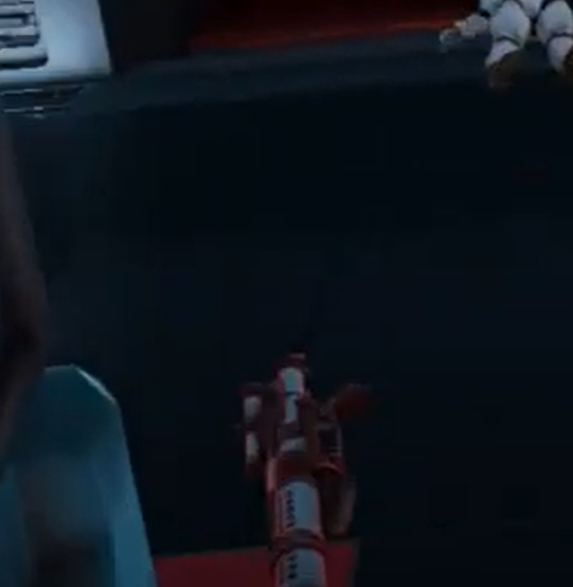
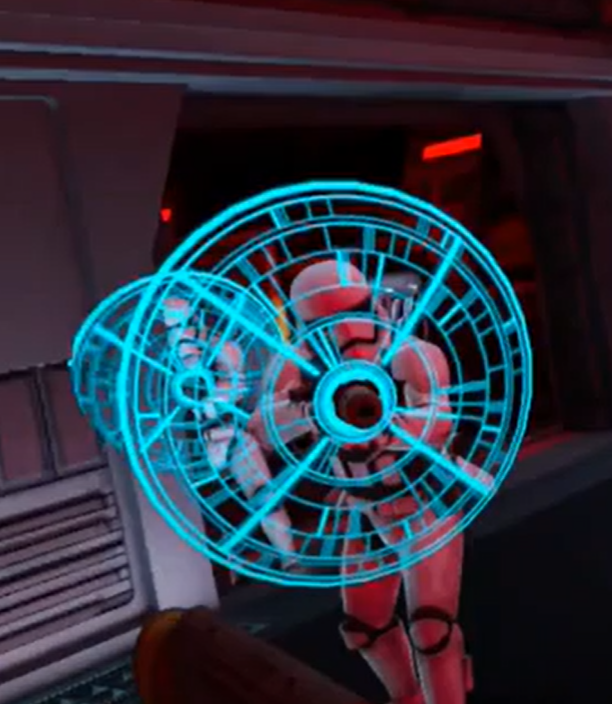
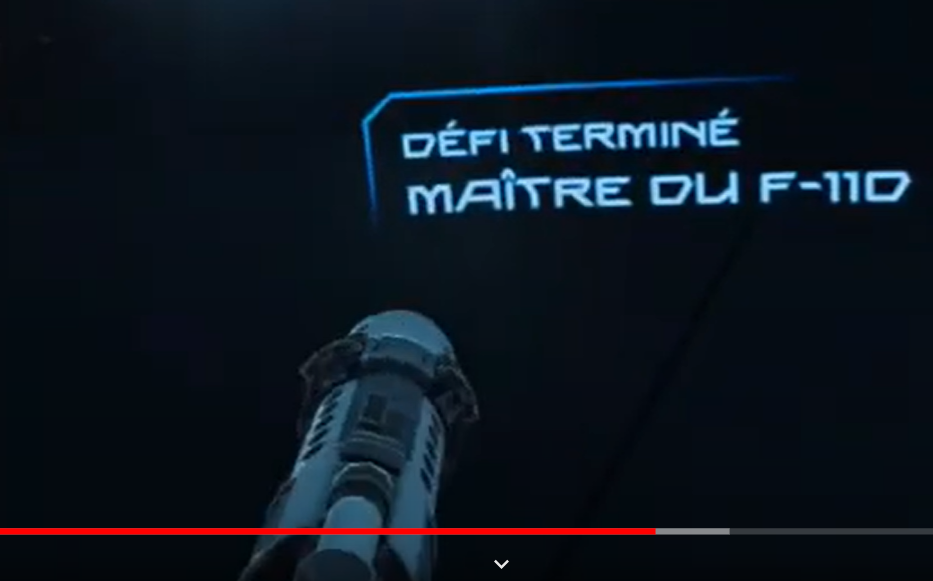
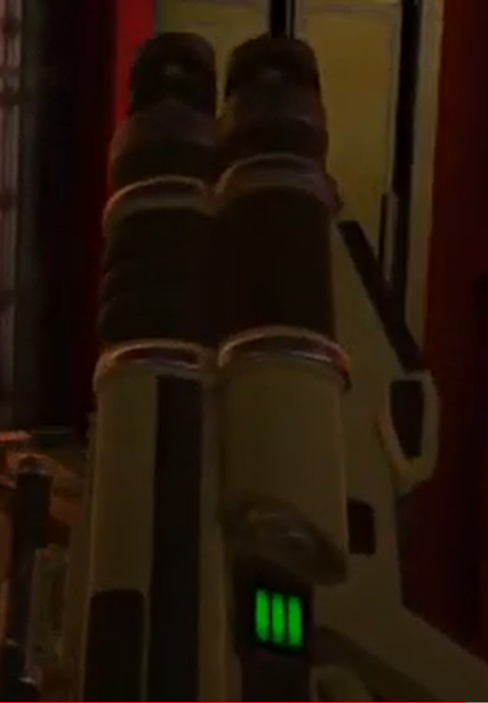
I've only glanced the proposed CRL, there may be some items/details added to the FOTK CRL's to be more inclusive so it would be best to try be consistent across each CRL. I just can't make out any seams on the sides, with this character or other TK's in the game But having a deeper look this morning there are a few items which do differ, although troopers are based on TFA armor/helmet they appear to have a TLJ detonator, all black endcap I also noticed you crossed out working lights, there's definitely a hengstler light, although it is green which is a little weird But no magazine light Some other details, white rear sight (added these details as there may be some options added to FOTK CRL's) No D ring Silver D ring mount Could possibly add an option for barrel lights, red or blue, (kill or stun) F-11D Blaster Blaster may be scratch-built, or a modified commercial toy Stormtrooper blaster. Blaster may have a sling attached. Details to be painted black, white and silver per reference photos. OPTIONAL Level two certification (if applicable): Rear sight is painted black. white D ring mount painted silver, if D ring is present it should be rectangular in shape and painted black No D ring present D ring mount is silver 3D printed blasters can not contain visible print lines and must be sanded smooth for a more realistic appearance. OPTIONAL Level three certification (if applicable): Working lights on Hengstler and working front torch are is required. Front handle must be movable. I see you can select an F-11 heavy blaster but not sure if Lieutenant Gauge can as I don't own the game. F-11ABA heavy blaster cannon Comes with a sheild as well And the Jet trooper Tri-barrel Launcher And green lights again, must be the norm for the game Still more to look at but I've spent far too much time on this today.


-
Using UV resin to repair armour cracks.
gmrhodes13 replied to Doggydoc's topic in Tutorials, Tips and HOWTOs
Similar to what I have used, automotive resin and fibreglass, you just have to be careful not to add too much hardener as it can cause heat build up when curing. Using a UV light is obviously a lot more stable and no issues of heat build up, nice work -
Yes definitely get rid of that sharp corner, you'd know about that one while walking A few references
-
Unfortunately ATA is no longer available, both the owner and his wife contracted Covid and passed. It had been sold to another member but's that's all we know currently. There are other makers out there so it's just a bit of research and looking at higher level approvals to see the details, most EI Centurion threads have the armor makers name in the title.
-
Darkalex ANH stunt build thread - RS Prop Master
gmrhodes13 replied to Darkalex's topic in ANH Build Threads
Great news, congratulations trooper and welcome to the ranks -
Hello and welcome, here's a good thread full of info
-
Hi and welcome aboard, costume approval is done through your local garrison, reach out to your GML (garrison membership liaison) you also need to fill out an online legion application found here https://www.501st.com/members/join_form.php Each costume has a CRL (costume reference library) with minimum requirements for costume approval, you can find a list of costume CRL's here https://databank.501st.com/databank/Costuming:CRL Looking forward to seeing a build from you soon, good luck


.jpg.27a62d485f84479250a22bab8884d207.jpg)