Leaderboard


Popular Content
Showing content with the highest reputation on 02/22/2024 in all areas
-
Having heard from someone who worked on the suits, they were originally gold leafed, and then switched to gold paint for repairs, so there was plenty of both on screen. However, requiring gold leaf at any level does not sound like a reasonable proposal for hobbyists. I would advocate for an open-ended wording and not specifying the source of the gold color in the CRL. What is the latest status of this CRL?3 points
-
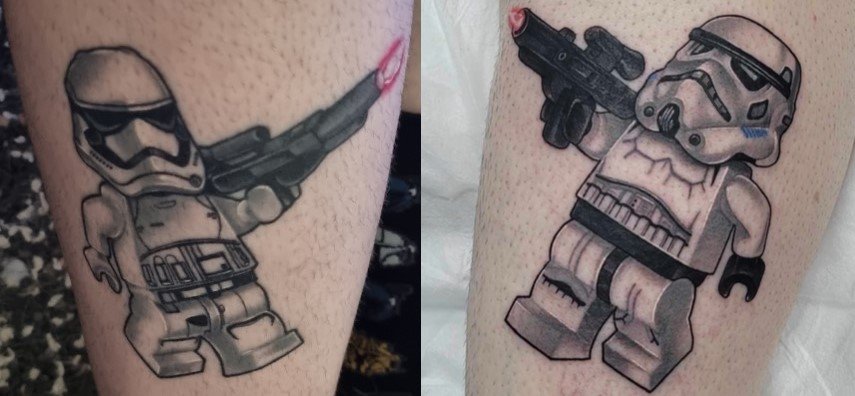
Same, same but different
 2 points
 -
Troop 1/22 points
-
(1) 11 Nov 23 - Brisbane Supanova (2) 12 Nov 23 - Brisbane Supanova (3) 13 April 24 - Gold Coast Supanova (4) 14 April 24 - Gold Coast Supanova1 point
-
Just coming back to admire your work on this again, Tom. Really quite a phenomenal look you've constructed, and hopefully we can get a CRL up and running soon. Discussion thread linked above by Andrew.1 point
-
Hey Matt. I can’t tell from the photo, but it looks like the spring goes into the sliding bolt. Not sure if this is the case or not. The spring should sit between the bolt and the back cap and should be a bit compressed so it doesn’t move. Are you going to Toronto Comicon next month. I will be there all 3 days and would be happy to look at anything you need me to in person.1 point
-
Thank you very much for the support and I hope to soon be able to share my progress, I will gladly share my doubts and questions about it.1 point
-
Thank you very much, I hope to post my progress soon.1 point
-
Hi Kevin. Great work on lining up those screws with the back of the trap angle. I think you are still okay. Your ears are not too thin at this point and if you look at the screen used helmets, they often did not fight tight to the helmet. If you look where the ears are sitting on the helmet, this is the area that holds the other parts off of the helmet, so careful incremental sanding may bring them in a bit tighter. The helmet seam showing in the gap does affect the look some. Not sure if you have some room to trim it back a bit to hide it. Different helmet manufacturers will all have slightly different layouts to the alignment. Here are some screen used references.1 point
-
Congrats on your firsts! Let's see those pics! Bart1 point
-
Congrats on your first two events. Now we sit and watch for awesome pictures!1 point
-
I bought a Black Series Artillery Stormtrooper helmet. I'm going to hold on to the BS Stormtrooper helmet as is. The Artillery helmet comes in two parts which meant I had to disassemble the two halves. In order to get to all the screws, I cut away some of the internal plastic wall on the back half. I also had to cut the top tabs that hold the two halves together. The bottom ones released easily after that. Once the halves were separated, I removed the lenses and the front brow that holds the lenses in place. I'm holding on to both of those for now. One of the rank bars is loose because it is the button for the voice activation in the original helmet. I'll hold on to that and attach it later. I cut and roughly sanded any of the plastic that could be removed in the face section and the back section. I'll eventually do more. Lastly, I sanded the edge of the yellow paint where there was a small ridge. I also sanded the seam under the tears.1 point
-
Still messing with the forearms. The wide cover strips have cured to one side of the joint, but additional shaping will be needed to be able to effectively and properly glue the cover strip to the other side of the joint. I haven't had much time to do that shaping yet. I have had the time to start working on the snaps! As I learned during my shock trooper build, using nylon for the snap bases works out really well, and allows the snap bases to curve with the curves of the armor! For those reading a build thread for the first time, here's the process for the snaps: I am using nylon from a long tie-down strap, cutting the nylon into smaller pieces, and then using a lighter to melt the ends of these nylon pieces to prevent fraying. I then punch a hole approximately in the center of each nylon piece and attach the snaps accordingly. I am using heavy duty snaps I purchesed from my local Michael's craft store and used special pliers to contect the two halves of the male snaps to the nylon. E6000 is then applied to the bottom of each nylon piece (avoiding glue coming into contact with the metal of the snaps) and applied to the appropriate place on the interior of the armor. The place on the interior side of the armor where the nylon snap base is glued was scratched with sand paper to allow a better surface for the glue to adhere. Upon gluing, rare earth magnets or clamps were applied to hold the nylon snap bases in place while the glue dries/cures for 24 hours. Here's the abdominal piece: The kidney piece is next in line for this treatment.1 point
-
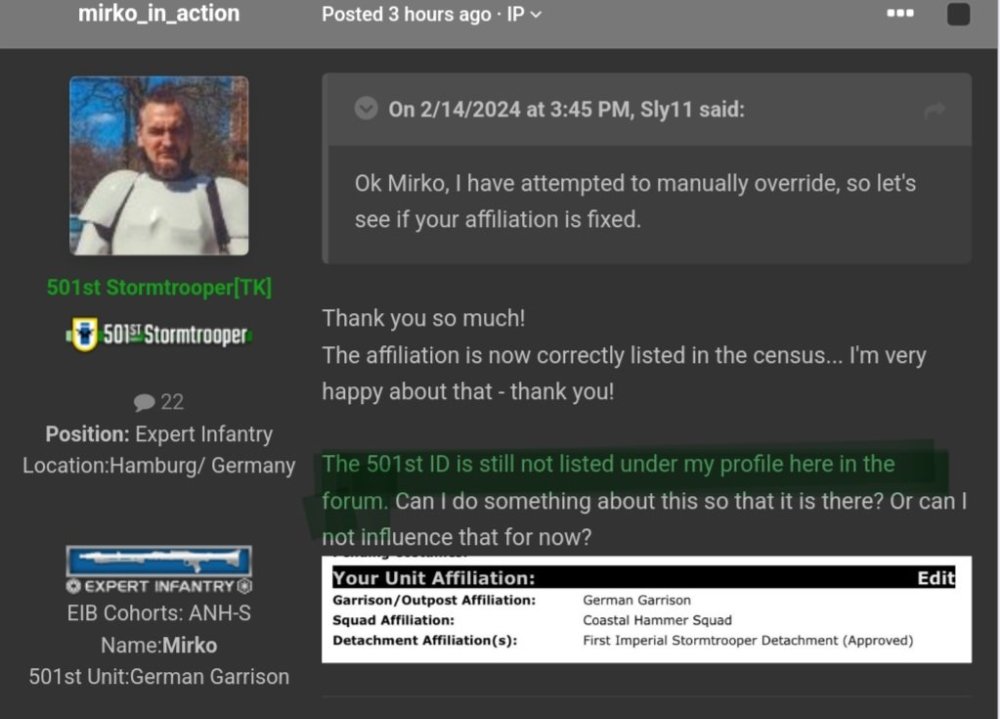
Still has an issue with no TKID on his forum profile
 1 point
 -
1 point
-
It's actually a Jim Tripon kit, but thank you! Minor adjustments and corrections here or there are just part of it, so I'm used to that!1 point