Leaderboard


Popular Content
Showing content with the highest reputation on 01/01/2024 in Posts
-
Wishing everyone best wishes and glad tidings for 2024, may it be a safe and prosperous year for you all
 4 points
 -
I am going to be using the hearing assist, so I will make sure all the holes have no white showing through. Already hit up the edge that was mentioned for the forearm. I'll hit up the button plate, detonator and the blaster asap and get photos in (hopefully tomorrow). Thank you again! Great to be on the right track. One more milestone and I'll be up there with the Centurions! WOO HOO! And here's to all of you for a Happy New Years! My TK dreaming of what the New Year will bring!2 points
-
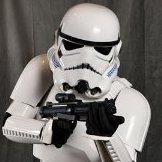
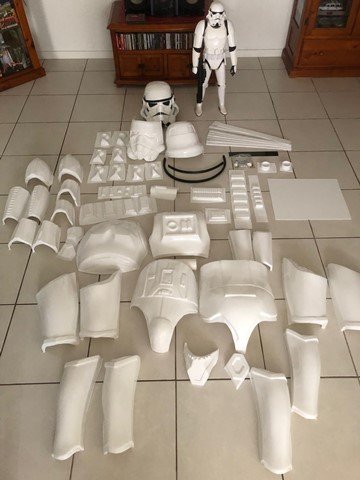
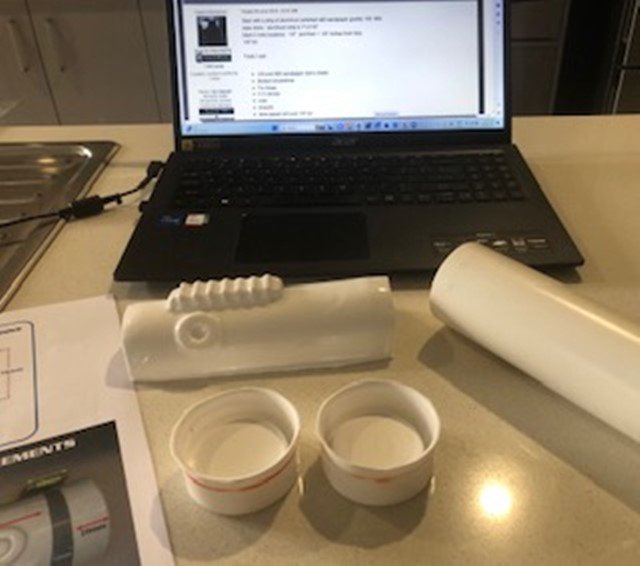
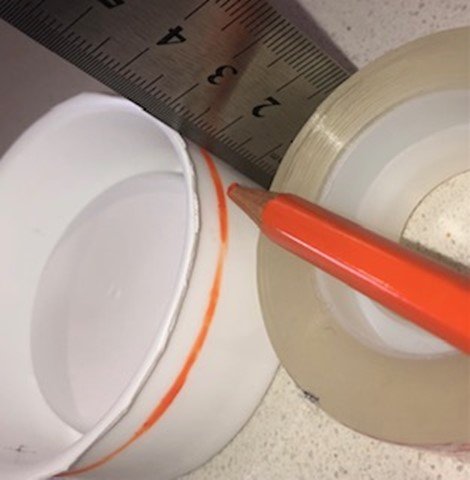
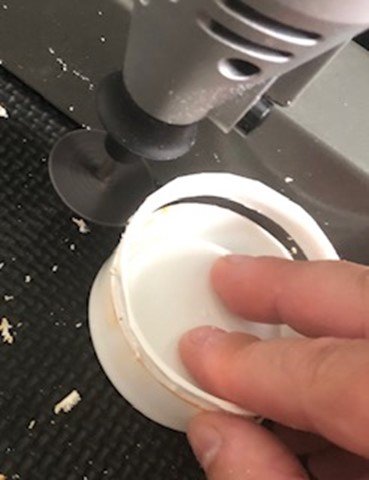
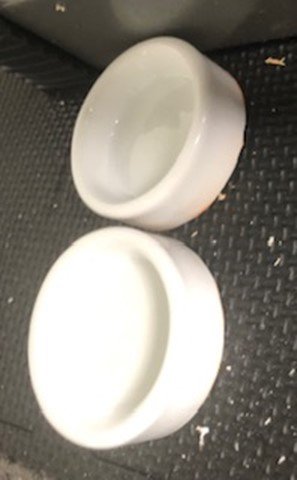
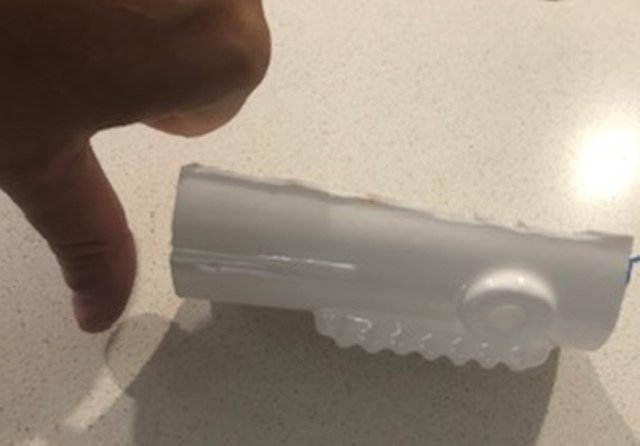
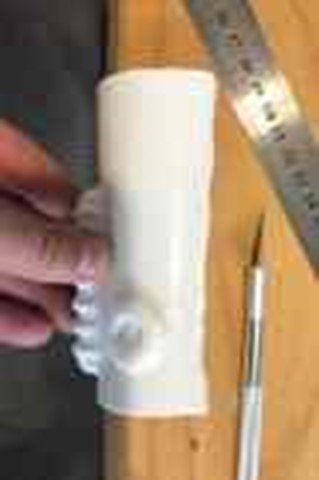
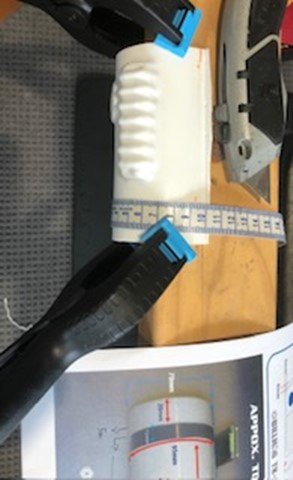
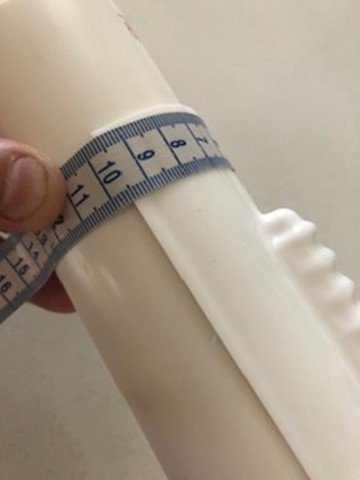
Armor: Walt's Trooper Factory -WTF Neckseal: Trooperstore Undersuit: Trooperstore - Brand: Extreme Racing Gloves: Trooperstore - Cotton blend with Velcro on back - may swap out for Rubber - though Ozzi gets hot and sweaty. Belt: Trooperstore - Brand: Extreme Racing E11 Holster: Trooperstore - E11, 3D Print file from Galactic Armory - Thanks to a good mate "Bud" for Printing... and re-printing the muzzle after I destroyed the first attempting ill-advised modifications. Balaclava: TBA Boots: Vincent from Keep Trooping - One size larger = perfect fit Blaster: Options and budget pending Audio: Audio System w/ICOMM voice modulator and Chatter Loop Audio System UkswrathsSpecialty (also Flat Pan Head Screws for detonator - scarce as hen's teeth) Cooling: Dual Helmet Cooling Fans: Henry's Cooling Fans - Trooperbayshop also Standard Tube striping, trooper frown back screen After some months researching and purchasing supplies, parts, paints, glues and tools, measuring twice and cutting some other time. Finally bit the bullet and started on the hand guards. 1. First Cut: Hand Guards. No Pics - 2. Detonator: Studied (BillHag’s TK-1650) Billagrams for measurements. THERMAL DETONATOR ASSEMBLY HOW TO by TK bondservnt, and justjoseph63 Quick Reference Guide for OT TK. Spent some time getting my head around cutting down to size on a curved/round surface. Detonator caps at approx. 20 cm achieved by taping the Dremel on a solid upright at the right height and simply turning the caps. Had some difficulty working out how to cut a straight line on a curved line of the detonator. Made a bad cut using a Dremel on the side length - had to fix with additional cut using a knife and ruler. Perhaps what I should have used in the first place. My dimension on the curve is 95mm as per approximate guideline - however (last Pic) I have a bevel line - do I crop down to 90-92mm?
 1 point
 -
Thank you!! Sent from my iPhone using Tapatalk1 point
-
Hello and welcome aboard, we have a whole area for FOTK's which you can find here https://www.whitearmor.net/forum/forum/218-first-order-battle-group/ Vendors here https://www.whitearmor.net/forum/topic/49132-vendors-list-for-your-fotk-build/ Good luck with the research1 point
-
Nice work, looking forward to seeing these1 point
-
Thanks Michael. Added to the process line1 point
-
I am in the process of switching my ANH over to ESB and I must say this thread has been incredibly helpful.1 point
-
Congrats, Barry! Thanks for the first TK related chuckle of 2024!1 point
-
"Paint me like one of your french girls" Congratulations trooper and welcome to Expert Infantry and the EI honor gallery1 point
-
Hi Leander. Welcome to the FISD. Looking forward to following your build.1 point
-
Oh, my oh my.... to see an original set of armor like this up close literally sends shivers through me. I will be making more than a few screen caps of this for reference images, and I believe mi hermanos @TKSpartan and @Chemi will be doing the same. Tack sa mycket, Daniel!1 point
-
A video to go with it1 point
-
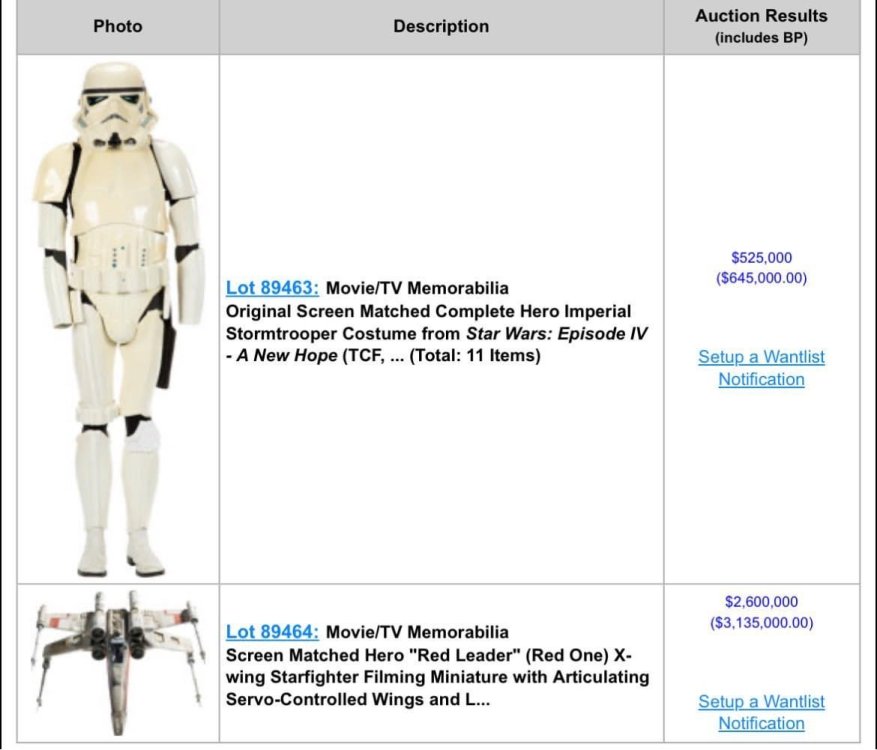
From one private collection into another at a prickly sum, but that X wing miniature, holy smoke!
 1 point
 -
1 point
-
Adjust Ear Position Here's a little treat for all the perfectionists and improvement-seekers out there. How To fix my ears. I'll reference methods that I already used to change my knee rivet placement and adjust my ab-kidney rivets but will go a bit more in-depth for those curious. As Glen rightfully pointed out back in May, the angle of my ear and the ear screws wasn't as good as it could have been. With my ANH Stunt Centurion now achieved () it was a good opportunity to work on this problem. Firstly I removed the left ear, positioning it on the rest of the helmet to find a good angle, marking down the correct screw placements and other changes I needed to make, in order to fit the ear into the new position. Part of that was moving the top of the ear further back and the bottom of the ear towards the front. Since I needed to change the screw positions I filled the holes in the ear with ABS paste. Here's a tutorial I made a while ago. However, contrary to my advice back then (and now. Don't do this.) I went over it with barely ABS-soaked Acetone towards the end to give it that smooth finish. Don't do that, just sand and polish it. If I didn't have three pairs of replacement left ears I wouldn't have done it either. Luckily it turned out well for me. Once the ABS paste had dried I drilled a new hole into the ear, the time double checking the angle and screw placement. Everything fit well, so I counter-sank the screws for that Centurion Appereance. I apologize for the bad lighting, but this is what the helmet looks like now. I'll probably tighten the screws a bit further for a closer ear fit. Although the angle and placements aren't perfect now either, they're a lot closer to the desired outcome. All in all, this took me about 45 minutes spread over two evenings, so it was a pretty quick fix. Next up? I've talked with @MaskedVengeanceabout replacement canvas belts and how to properly fasten the ABS belt to the replaceable canvas belt, so I think that might be a good project to start into the new year with. Additionally I still have two proposed changes to my current armor that I'd like to implement in the future, based on information by Alan Flying, who had played one of the ESB TKs during the Bespin scenes. Happy holidays everyone and have a good start into the new year!1 point
-
Edit: Small typo mistakes have been corrected. It's never easy to work with a foreign measure system ! Don't ever ask me to work with inches, etc...1 point