Leaderboard


Popular Content
Showing content with the highest reputation on 02/11/2023 in Posts
-
More strapping today. Added elastic straps and males clips to top of biceps: Female clips will be attached to elastic inside of the shoulder bells. Added straps and female clips to inside top of the thighs: Males clips will be on strapping attached to a garter belt. Added straps and female clips the the top of the torso front: And glued strap in the back, these will go over the shoulders with the male clip at the end: Added Velcro to the cod and torso: Added Velcro to the glove plates: Added Velcro to the spats:4 points
-
3 points
-
Thought I would share a new set of shoulder straps that I made for @TattooedStormtrooper, who was having issues with his shoulder bells pulling away from this shoulder bridges due to the lateral stretch allowed by the type of elastic I was using. I'm always keeping an open ear for ways to improve my kits, so when he researched and recommended a new brand of elastic with a firmer flex for me to try out, I jumped at the chance with the below as the result. With the RascalSnaps system, these took seconds to swap into his suit with the existing anchors and are a significant upgrade. You'll notice the double Line-24 snap connections at each corner, the integrated Centurion elastic tie-downs so they never get lost, and the hand-sewn snaps to the nylon web shoulder drops. These things barely sag at ALL now and these are probably the nicest ones I've made yet. I immediately ordered a bunch from the same company and will be switching my kits over to this type of elastic at some (but not all) connecting points, as the stretch is firm and quality is excellent. I also ordered some black 1" of the same kind and will likely use that instead of nylon for most kits, as a little stretch at the shoulder will allow for better range of motion. Anyways, thought I'd share. I'm still only making these kits on demand primarily for local members who troop frequently, but feedback has been great for years at this point. Feel free to emulate my system if it helps!3 points
-
It can depend on the ABS as well as the acetone used, some slurry heats while drying, as you did I found thinner layers reduced the tiny bubbles Some excellent strapping advice in Tony's @ukswrath FOTK build2 points
-
You would be amazed how many feel this way, I was panicking attempting to trim the first piece but as soon as I did I wondered what all the worry was about. For anyone following research is definitely the key as well as checking the CRL's and with our gallery full of references, "measure twice and cut once"2 points
-
Okay, but it's already been wayyyy too long2 points
-
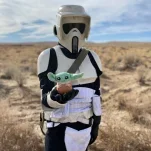
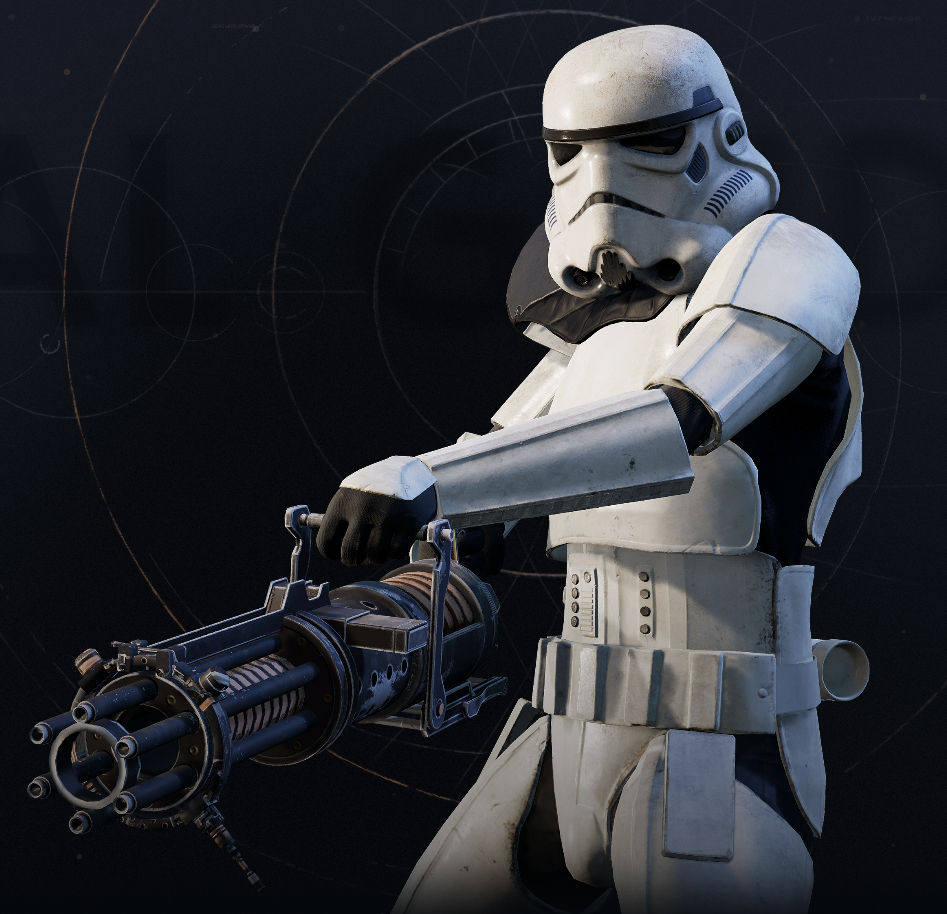
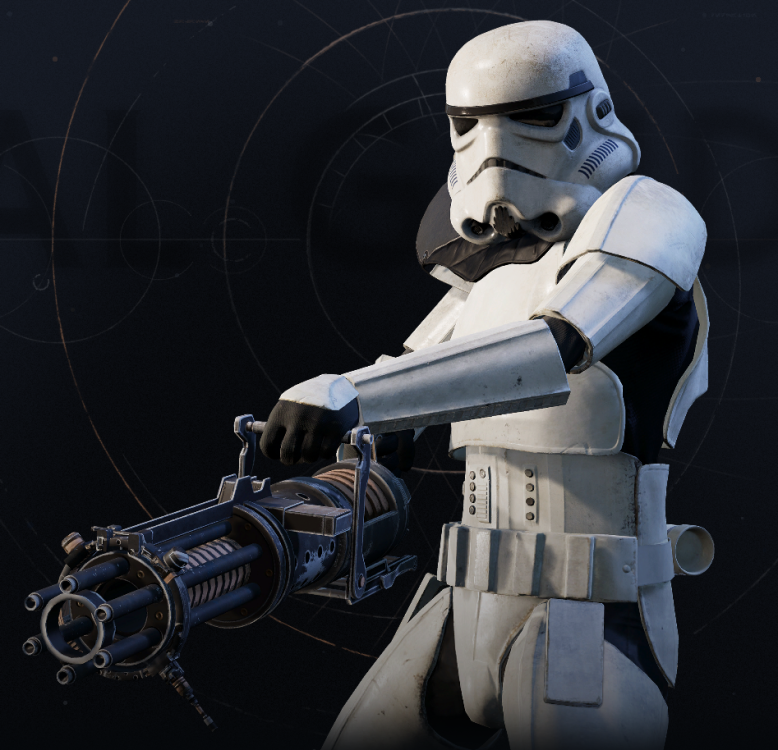
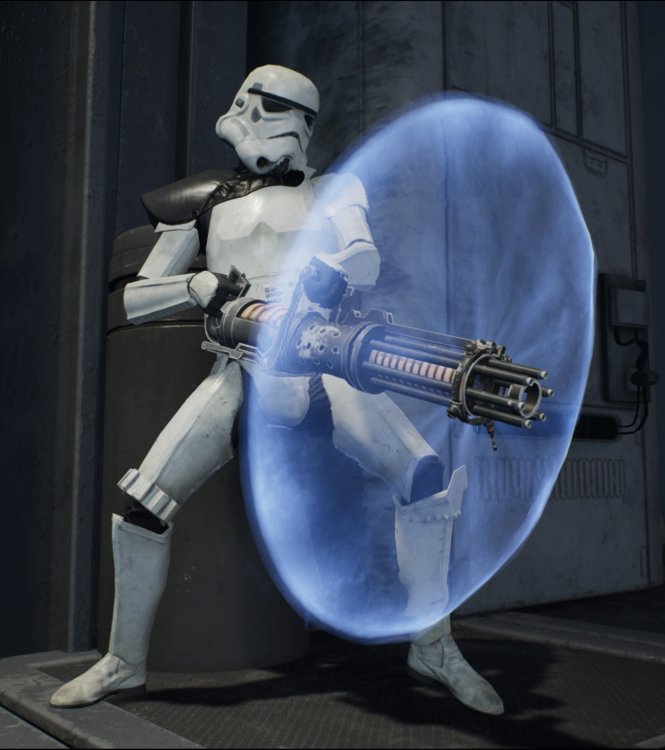
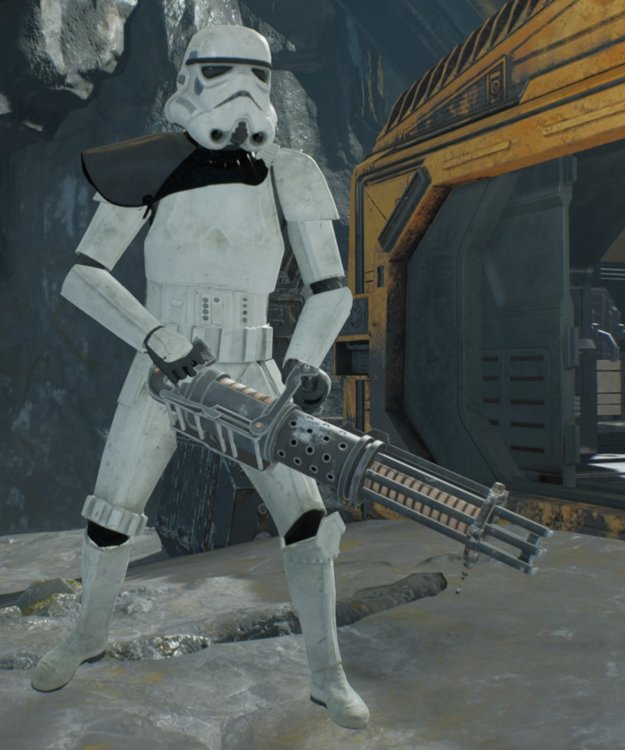
I've got this guy on my desk in front of me right now. He's a beauty. Seems to be an ROTJ armor that's lightly weathered, ANH bucket, black pauldron, and that big fancy gun. BFG seems integral to the costume as he's never without it.2 points
-
I was very nervous when taking on some of my tasks, but it was very rewarding when completing them!1 point
-
Great work. you're a little ahead of me in the process. I found it hard getting the tiny air bubble out of the abs slurry. I finally used a 25mm artist paint brush to apply the slurry in thin layers like paint. still think how i'm going to attach the webbing to the amour.
 1 point
 -
The anxiety of doing something that messes it up is dreadful LOL. That is why I had to buy it prebuilt, there is no way I could have taken on that task. I give so much credit to those that can build their own. I'd rather have an extra part on hand in the event I screw up and not need it then need it and not have it and not be able to troop.1 point
-
Having said that I did go and shave some brow off. Looks more typical now. Though I may eventually settle for somewhere in between.1 point
-
I'll be fixing this up this weekend.1 point
-
I asked the same question here:1 point
-
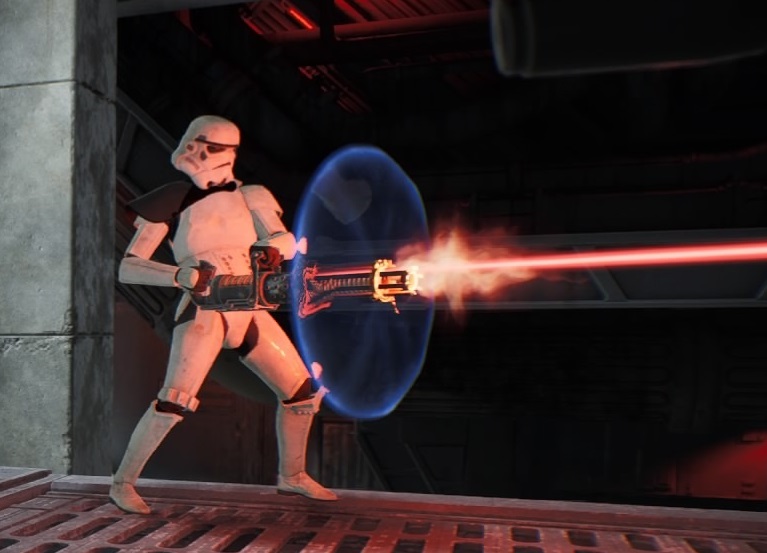
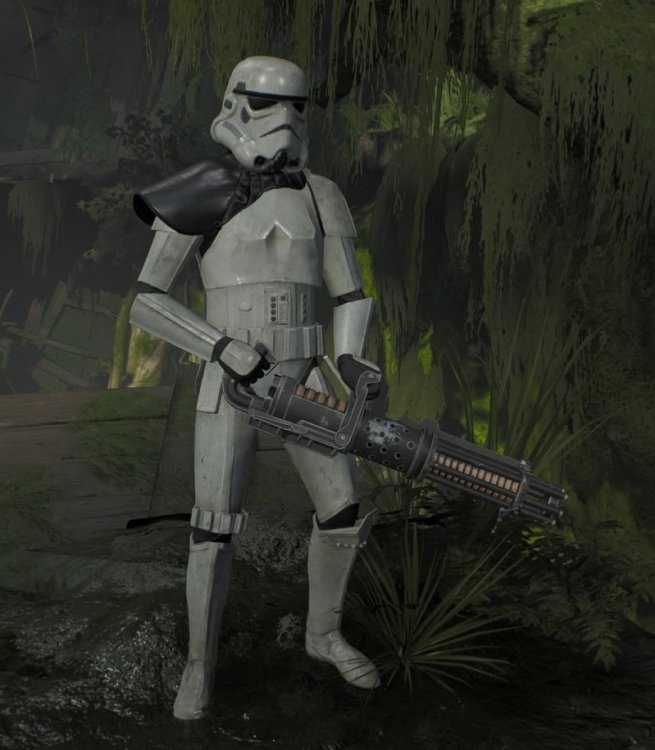
Hello everyone, the reason for this post is to request help and advice on how to correctly or accurately build the CRL for HEAVY ASSAULT STORMTROOPER (JEDI FALLEN ORDER) since it currently does not appear registered, and I would like to be able to achieve it since it is one of my favorite TK variants. I hope I can. help. Greetings
 1 point
 -
You shouldn't have to replace your sniper knee! I only remember small comments that some sand paper can take care of!1 point
-
They are similar. remember that for Legion basic approval the blaster is not required. And I would suggest , for approval photos or Higher levels submission don't wear the blaster into the holster, (usually it makes the Ab belt to bend a bit to the side )1 point
-
That's a cool looking bag1 point
-
I didn't say you HAD to print it. And you think that's long; I'm only halfway through the PDF conversion of my own build and it's around 200 pages already.1 point
-
@MaskedVengeance @revlimiter1 point
-
As the others have said, your bucket already looks GREAT as-is! And so does your whole kit in general! I think you're spot on with just dropping the forearms a bit to even the bicep-forearm and forearm-handplate gaps. Are we gonna see a Pre-Approval post from you soon?!1 point
-
1 point
-
1 point
-
In that case - carry on Trooper1 point
-
I decided that I wanted to get rid of the eggshell texture, so I did some research and ended up buying some white Carfidant Ultimate Scratch & Swirl Remover. I wet sanded with 1000 then 2000 grit, being careful not to burn through the paint. Then used the scratch remover to bring it to a smooth polish. Once that was done, I attached the ears, tears and traps, brow trim and teeth. I attached the lenses I had purchased from Paul Prentice. I decided to drill holes in the chin to attach the mic tips (don't remember where I purchased them from) and the vocoder with fasteners and nuts. And lastly ended up using US52 rubber U trim (OT TK brow trim) for the neck trim. I have to say in the end I was pretty happy with the result. Finally I had my beautiful, factory new R1TK helmet!! This build was waaaaaayy more work than I anticipated, but I'm pretty proud of the finished product! It has become my flagship piece in my collection. I hope you enjoyed the journey along with me. Please feel free to comment and let me know if you have any questions1 point
-
Should be very helpful for our new builders1 point
-
Very nice, just watch what images you use as close up's, especially for higher level approval OR do a little more sanding, a few areas 3D print lines can still be seen For L2 EIB 3-D printed blasters can not contain visible print lines, and must be sanded smooth for a more realistic appearance.
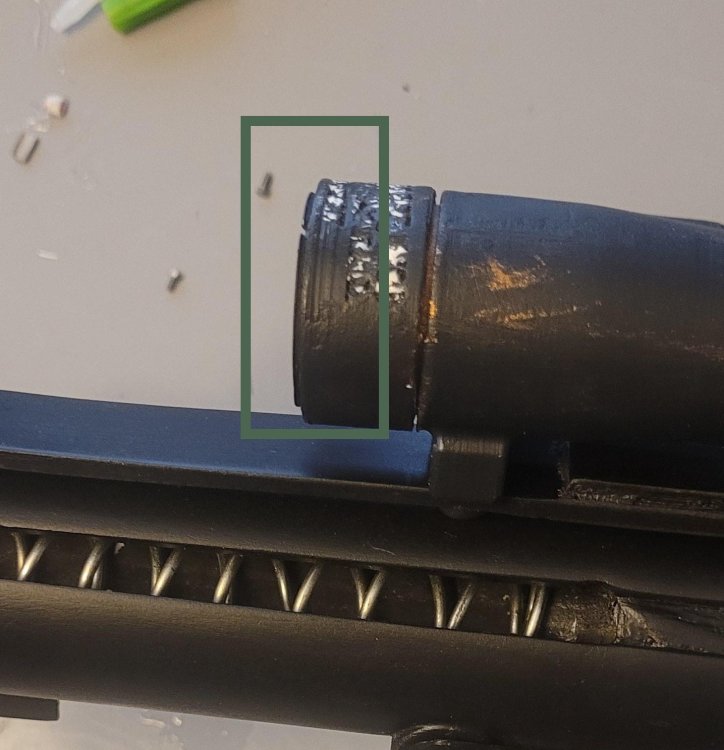
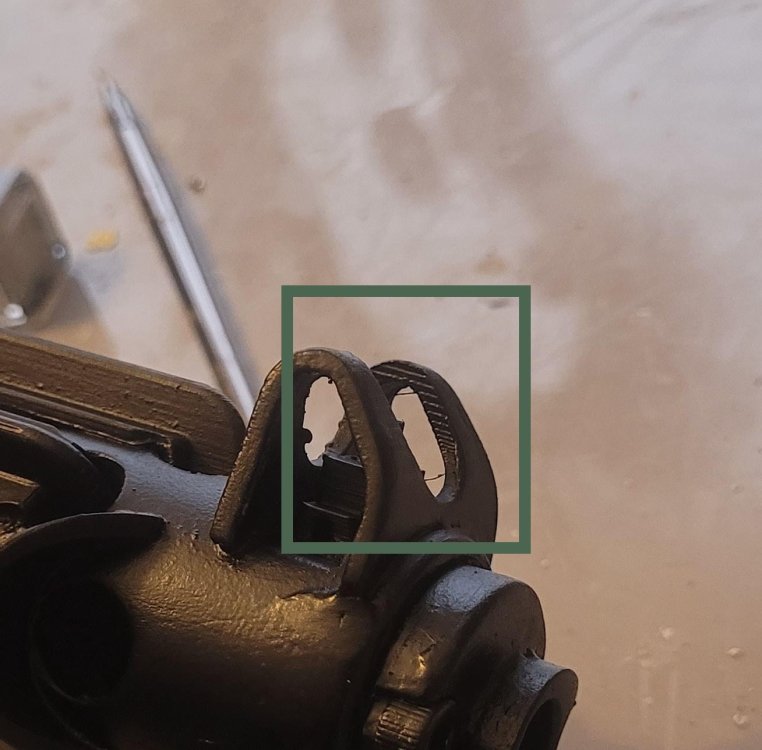 1 point
 -
Thermal Detonator Accuracy Update I received my new thermal detonator from my printer utilizing Jesse M's files, and am stoked on it. It is significantly lighter than the included solid resin TD, and more accurate for TLJ. The carriage has been printed in one piece on a large format resin machine by @fabricatorandfiends and the tube was done in PLA filament with a relatively low infill by @supershipley . How does it compare to the dimensions of the included TD? With a spraypaint cap added for mockup... close. Very very close. Prep work began on the printed TD carriage, as even with resin there were several visible print lines and dimples from supports that just wouldn't do. Most areas weren't too bad, but some needed significant work with primer, glazing putty, and lots of sanding to get nice and level. Back in primer... And in final Behr Gloss White: The tube was part of a small run by @supershipley: And after some primer filler and wet sanding to rid it of visible print lines: And finally, in Rustoleum matte black primer: And finally, the whole 3D-printed TLJ thermal detonator, fully assembled with a bit of VHB to hold the tube in.1 point