Leaderboard


Popular Content
Showing content with the highest reputation on 06/04/2022 in all areas
-
Hi Gerald, What I would suggest is to add an internal wide ( 30-35 mm) covers trip to hide that gap and next glue the 25-30 mm external cover strip to have a better look form outside.2 points
-
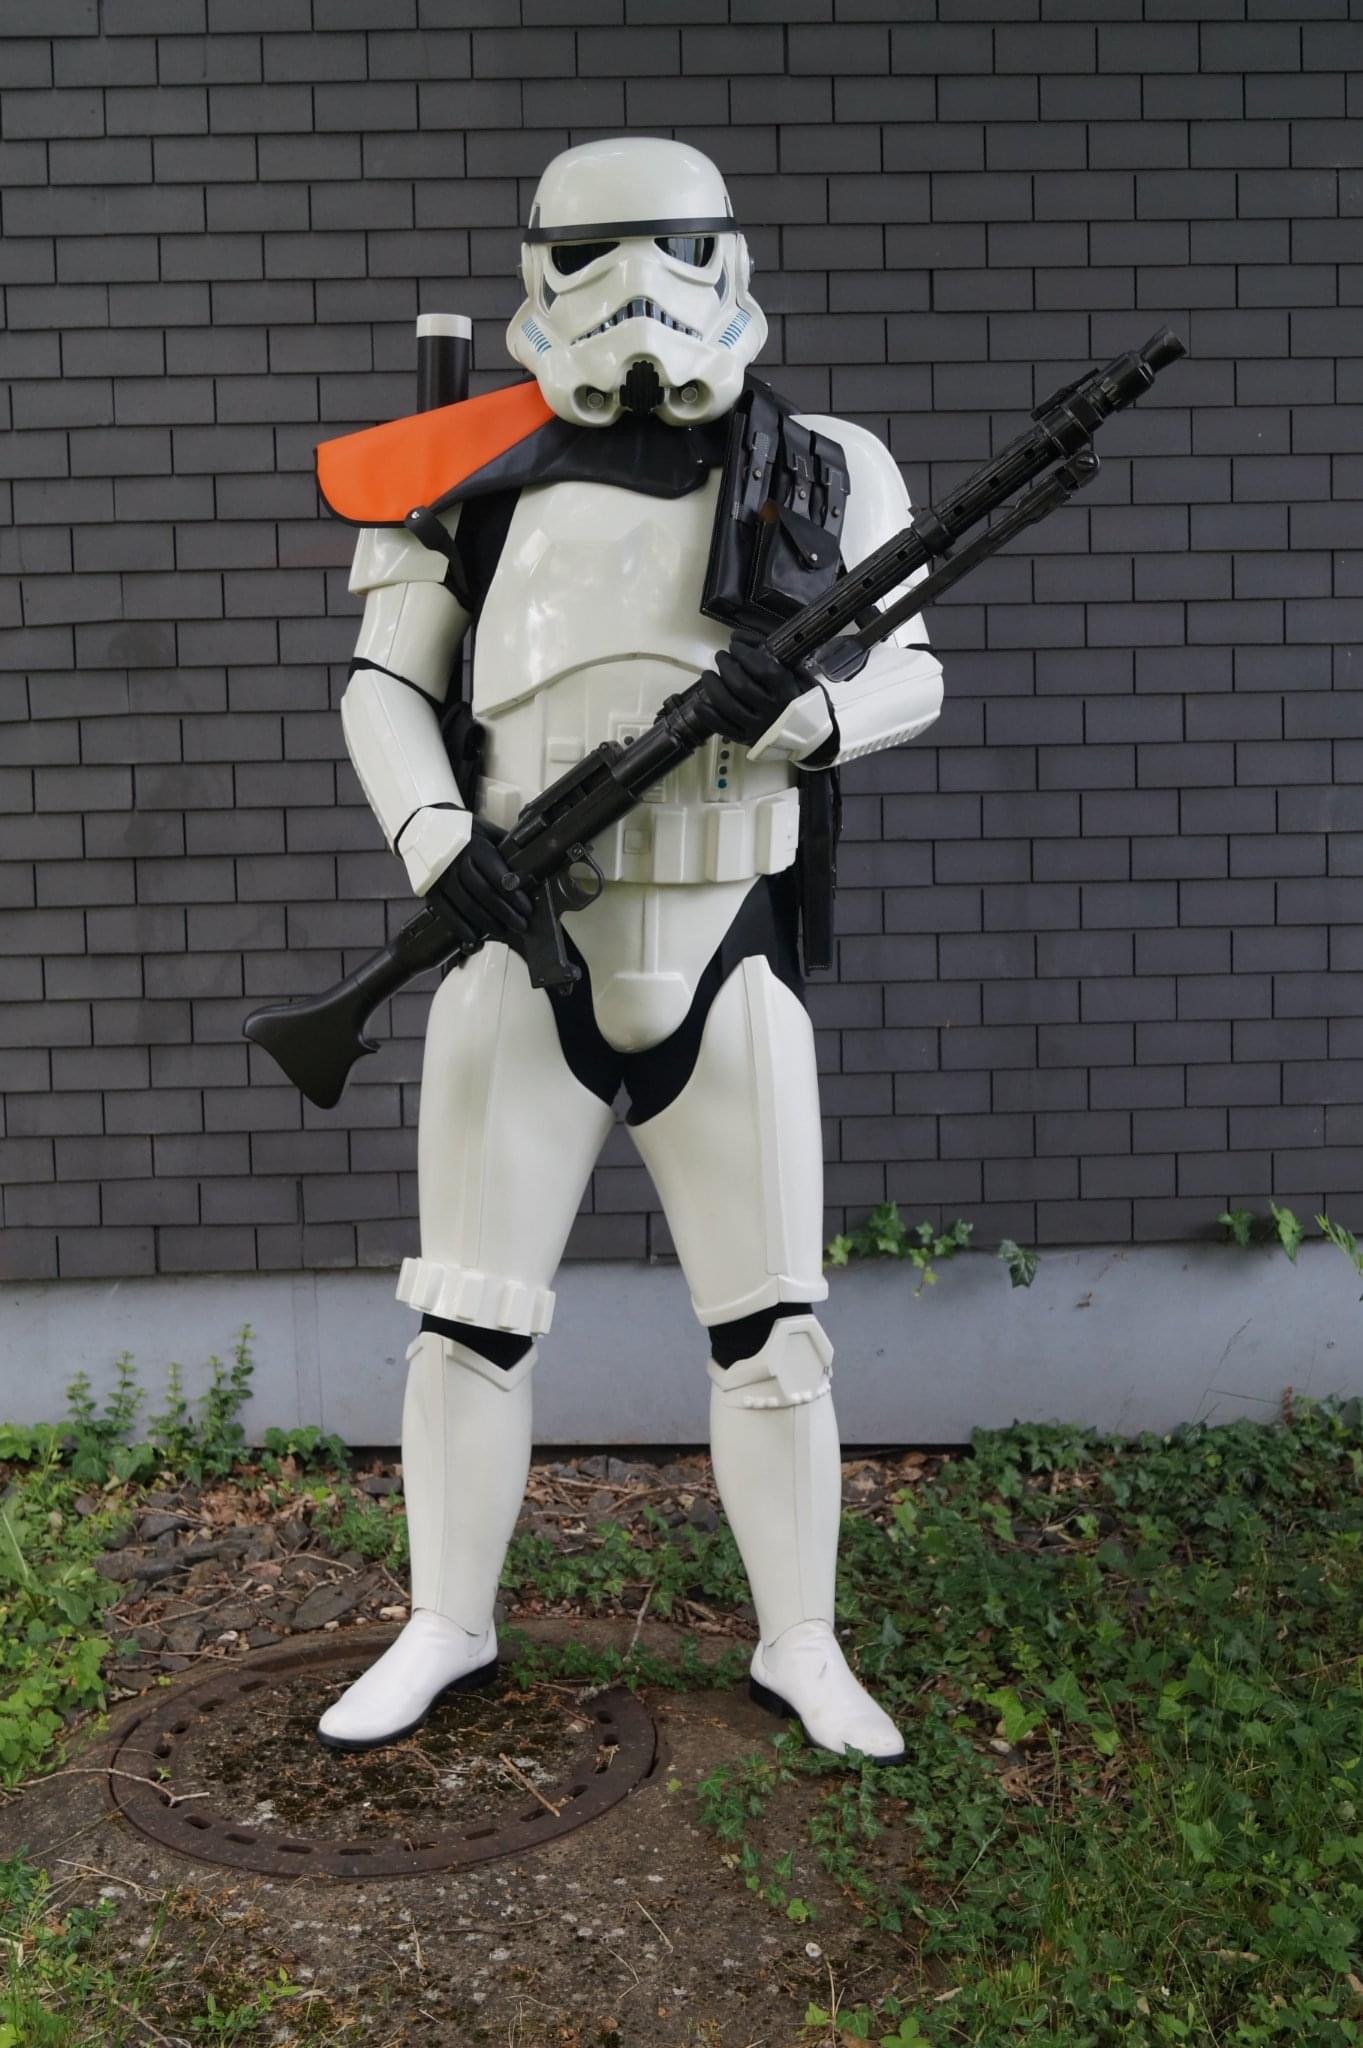
Great tips by Glen and Joseph. As an alternative, remember that you don’t have to use poppers/snaps for all connections if you don’t want to. Although the screen used shoulder bells were not physically attached to the biceps (and the “Han hooks” were very rare), the biceps were attached to the forearms. They were simply glued in place. Given the width of the elastic used on the originals (50mm wide), this actually helps achieve the look of the originals when glued. As it’s very unlikely that you’ll ever need to detach these parts, gluing direct is a suitable (and accurate) method/option for connecting the arm pieces. Here’s how I personally did my latest set of armour - bells to biceps: And here’s how I do bicep to forearms (like the originals), and some information on how the originals were aligned: Hope these alternative methods (and tips and tricks) are useful. Best wishes CableGuy Dan2 points
-
Although it takes extra time and costs a bit more, as Glen mentioned many find one snap at each connection sufficient, I would go with the "double snap" method. I built my first set of armor using only one snap at each end of the nylon, but 5 minutes into my very first troop my left shoulder bell and bicep connection came apart. I ended up removing ALL the strapping and replaced every single connection with 2 snaps at each end. That may have been overkill, but I now do that on all my armor, and to this day I have never had a connection fail. Even if you don't use two snaps on the individual limb pieces, I highly recommend using 2 in the areas seen below. The pic shows the original method, but note that the straps were glued on one side. I don't suggest this. Elastic will lose it's stretching properties over time and at some point you may need to replace one or both. Hint: Note how the elastic is doubled over on the snap end below. I do 3 folds for added strength, glue the folds together and then set my snaps. The reason being is that those connections get a lot of wear and tear when suiting up/down, so better to be safe than sorry.2 points
-
1 point
-
Also check with your GML, some don't like oversized cover strips so you may need to add some extra material to the back of your thighs. This was an interesting one, he extended the rear of the thighs to allow standard sized cover strips on the front, but it's a lot of work. A few examples of adding extra material This is one of @justjoseph63's diagrams showing how to add extra material, although this is not for those with raised ridges1 point
-
Same for me. I've had 3 troops with the wireless earbuds and the delay really throws me off. I have the mic's under the ear in my helmet so I'm good there. Just need to find a wired headset that will work with limited space.1 point
-
Had my event last night. I'm definitely going to have to go with wired ear buds. The delay on my voice while trying to talk to the people around me was extremely annoying. It even made me second guess what I was saying. lol And I may eventually want to move the mics to my helmet. I could hear every movement and squeak of my armor. I have another troop next week, but a break after that. So I'll work on moving those after that event.1 point
-
Thanks Dan, Joseph and Glen! Really appreciate all your help.1 point
-
Everyday is a school day indeed! Great information thank you, Glen.1 point
-
Yes legal, Han wears them, called bicep hooks, helps to keep your bells at correct height and pulled into the shoulder bell.1 point
-
In short, it's really not feasible for an OTTK on hobby level machines at this time. The large pieces like the chest, thighs, and shins that need to flex have yet to be built by anyone with the accuracy and durability to make the sanding and post processing worth it. The suits were meant to be vac-formed ABS, and really just should be. We're getting closer to an accurate 3D Rogue One style trooper, but the same problems apply.1 point
-
Yes rounding the corners and adding Velcro is what many do. A couple of references if you don't already have them Note the position of the control panel detail. Also clips don't show under the belt
 1 point
 -
1 point
-
You may want to tone down your weathering a little, if you look at your reference image your provided (and the one below) there is not as much collection of weathering on the inner edges of the cover strips. Note that like many of the other game CRL's we see the thigh ammo strip attached higher on the knee. No curves on the shoulder bells they have a sharp corner. Drop box location is further inwards and not on the end of the belt. Butt plate is more curved like ROTJ. In this reference there are no large tabs on the shoulder strap fronts, also a holster is present but attached behind the belt (not seen in the other references) Also providing as many references as you can for the LMO's to review makes there job a little easier Note also in these references boots have white soles like ROTJ1 point

.thumb.png.a6ed6181c5fa602617131001cb8f5718.png)