Leaderboard


Popular Content
Showing content with the highest reputation on 05/03/2022 in all areas
-
Approved in March of 2022!!!2 points
-
Congratulations Matt!!!1 point
-
Thank you to all who helped out here and gave me tips on my pre approval. I am happy to announce I was given my ID number! I know I still have work to do for the higher levels here in the FISD (which I will continue to work on), but this was a dream and the very start of it. I have requested access so hope to be official here soon as well. TK66007 reporting for duty! Thanks, M1 point
-
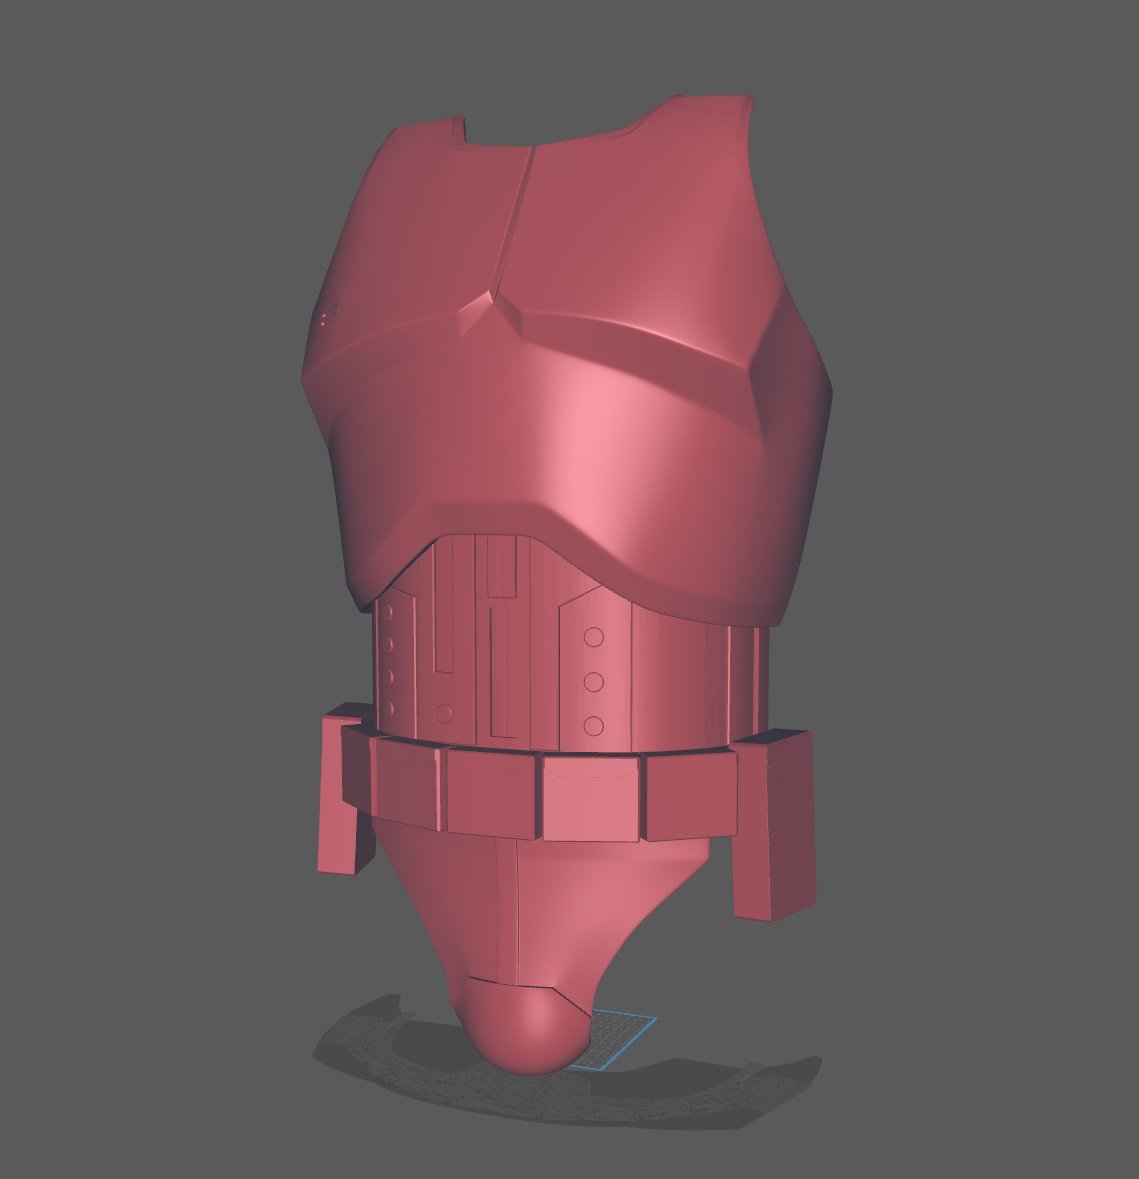
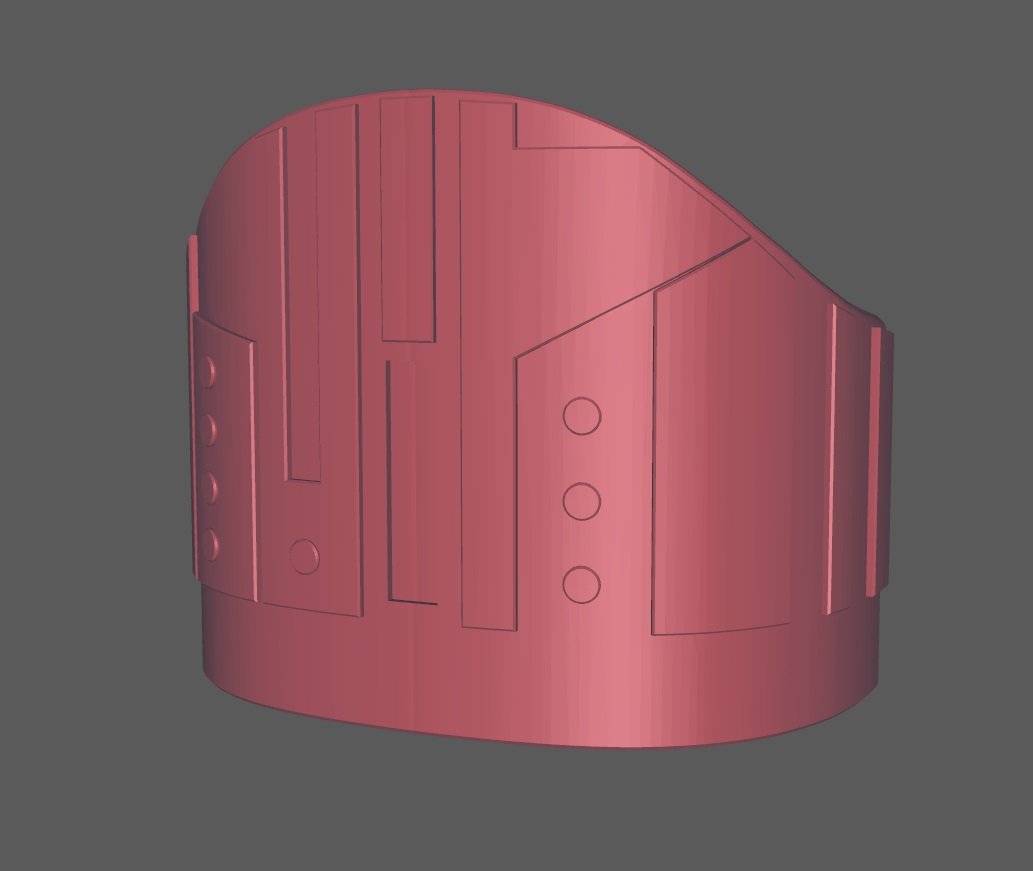
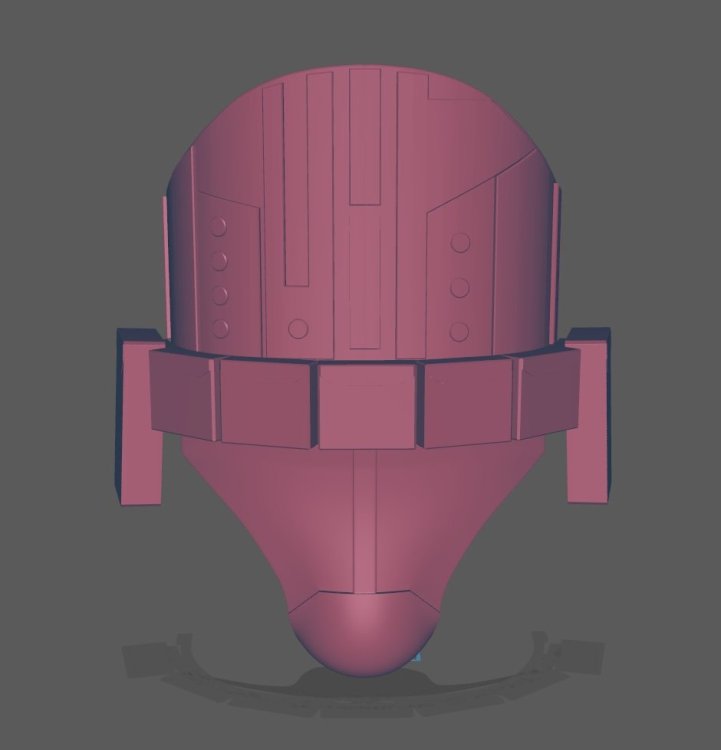
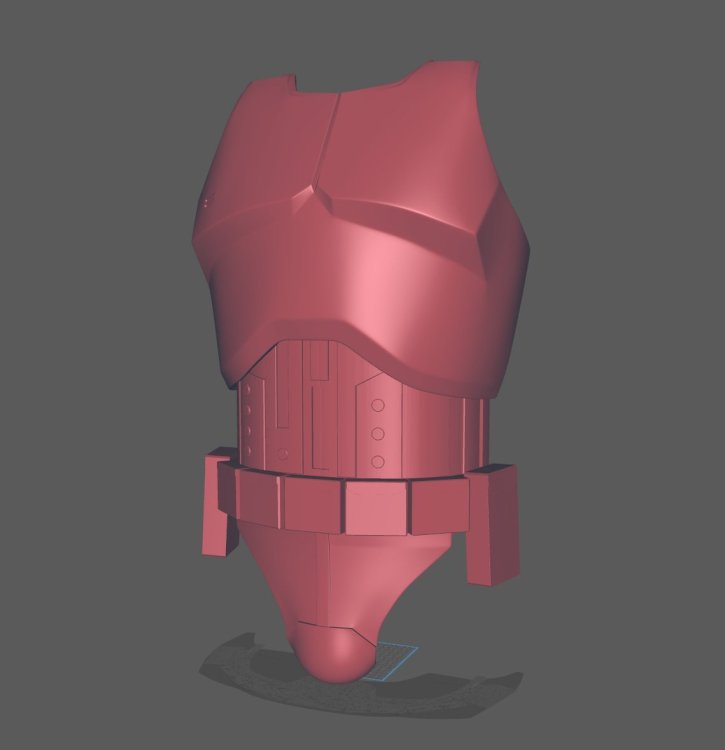
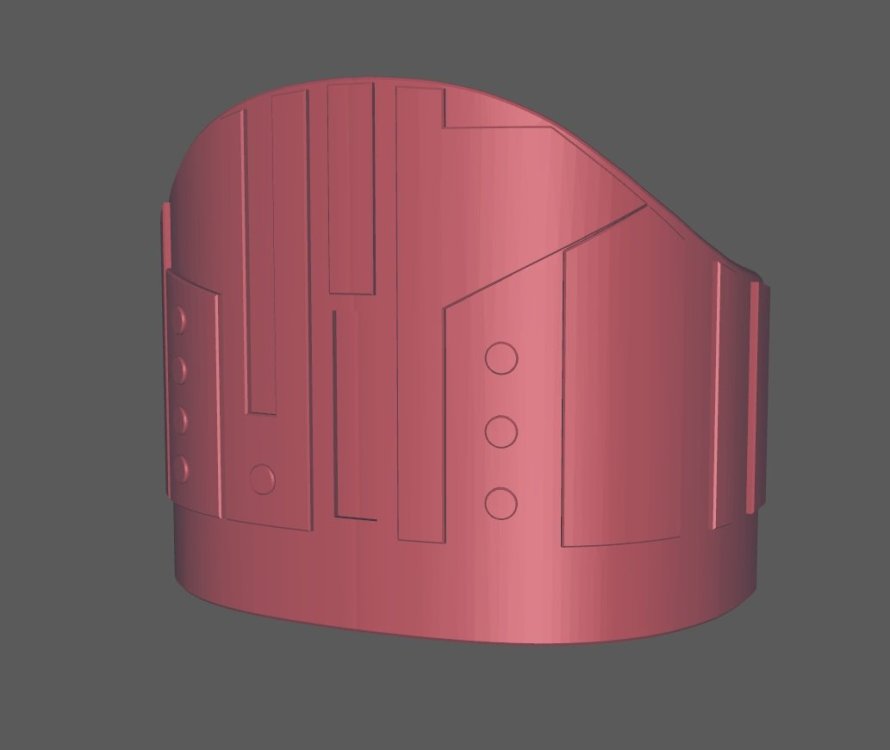
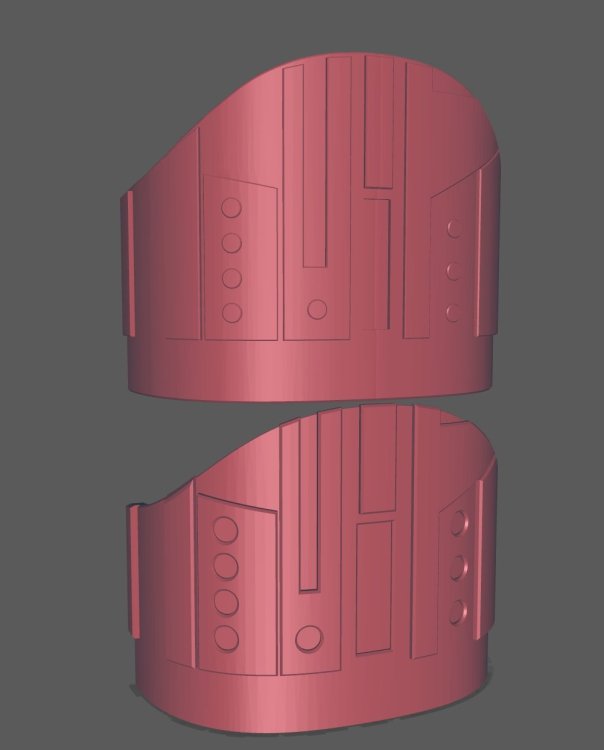
I noticed some inaccurate parts of the belly plate so made a new version. Still early in the learning curve but hopefully I can make more parts for the community as time goes on! : https://www.thingiverse.com/thing:5375297
 1 point
 -
OK So here's the hard work that's been happening this last week. Cape! I got the following pattern from the Captain Phasma Builders FB Group. Super helpful, if a little difficult to figure out without a legend. The measurements were originally in mm, I converted to cm and reduced by ~10%, since i'm not 6' tall. I used a white charcoal pencil to map out the placement of my panels - doing this I was able to triple-check my measurements and min-max my panels/fabric. With only slight adjustment, I managed to fit all 4 panels on 4 yards of fabric, in this orientation. I sewed the panels together, keeping a bit of length on them just in case. This is after extensive steaming/ironing. I used my pencil and roughed out my curve, this really helped a lot. The cats also helped a lot. I ironed & pinned the hems, following the CRL to make sure my sides were 1.25-1.5 inches, the bottom hem was double folded and roughly 3/4". I seamed all the pockets/straps (missing one in this pic). Then I sewed them down, doubling up the top stitches. Pinned the pockets down, ensured placement matched references as best I could. Yes, i'm adding a 2nd strap. Painted the long hem using cheap red gloss acrylic paint. I know some people use fabric paint, but I felt the acrylic looks better/more screen accurate. It took two coats. I then used Liquitex clear gloss gesso to give the shiny/waterproof look. This pic was after a first coat using 8oz jar. I should have just gotten the larger jar, I ended up going back and getting a 2nd for full coverage. On the second coating I mixed in some black acrylic paint, so I didn't get the hazy look - it's now full dark. Took the cape to a small build party, and had some garrison guys help pleat and clip some folds in to the neck area. Next i'm going to iron the pleats a bit more, clip my cape a bit more, and start to whip-stitch the pleats together to make sure they stay in place.1 point
-
Already in the plans dude! Count me in.1 point
-
Dave added a touch of weathering to his And also David's build1 point